|
|
Post by Roger on Mar 31, 2019 19:29:46 GMT
Just a few further comments on the 'secret' Ted Linden 'chamfer' on the entrance to the second half of the combining cone... One particular commercial product clearly has the 2 halves of the combining cone finished on it's internal taper once the 2 halves are pressed into the body, and I have observed a burr created as a result. If you add a chamfer, then I suppose this burr does not occur. The Ted Linden 'chamfer' is about 10 thou, and this was copied by Arthur Grimmett. That on the only Gordon Chiverton injector I have with the 2 halves of the combining cone pressed out has a chamfer of some 2 thou only. With a good light and keen eyesight you can see the chamfer on Linden and Grimmett injectors if you look carefully down the check valve seat. I have also pressed out quite a few combining cones on Arthur Grimmett injectors over the years plus inherited a lot of odds and sods of injectors and parts from Arthur, so am quite sure of all this. Only some of Arthur's last 2 batches worked on test because the brass castings for the bodies were porous in many cases. He had a large tin box of rejects from these last 2 batches - all finished and complete with cones fitted. (These faulty brass body castings were provided by Don Young!) To pick up on Roger's point about being 'depressed' that 'secrets are not shared', usually when I start talking about injectors, people's eyes glaze over and they simply are not interested. When you mention drilling a No.75 drill say 7/16" deep accurately they just switch off! Hardly any Model Engineers use a sensitive lever operated tailstock and accurate pin drill chucks for small drills. Actually, all the info was published by 1977 in ME and the SMEE journal, assuming the paper I have by Jim Ewins was in one of the SMEE Journals missing from my collection. You just have to piece it all together like a big jigsaw, and discard all the irrelevant stuff. I think there is a parallel here with miniature pressure gauges - no one makes their own generally. If you start talking about making your own working miniature pressure gauges you are considered a 'nutter' by most! Cheers, Julian Hi Julian, From what you say about the size and shape of the chamfer, it would seem that it's only to prevent the flow from being disrupted by passing over a ragged or sharp edge. If the alignment was really good, the natural tendency of the water to reduce in diameter would probably render that unnecessary. However, if the alignment is out far enough for the edge of the water column to touch the edge, I imagine it would help. I think what I find most annoying about 'secret' hoarders, is that their 'secret' is often no big deal, just a few key things you need to look out for. Mystery strokes the ego I'm afraid. Pretending you know more than you do, is not a virtue. |
|
jma1009
Elder Statesman

Posts: 5,901
|
Post by jma1009 on Mar 31, 2019 20:13:59 GMT
Hi Roger,
I've been sent over the last few years quite a few of these cheap commercial injectors supplied by the trade and they are very poorly made.
They also have quite a bit more than a 9 degree taper on the combining cone halves.
The only commercial injectors I recommend are the Len Steel injectors via Paviersteam (usual disclaimer).
Cheers,
Julian
|
|
JonL
Elder Statesman
WWSME (Wiltshire)
Posts: 2,907
|
Post by JonL on Mar 31, 2019 20:15:59 GMT
Further to Julians comments, my sincere apologies for derailing the thread Roger
1. Our club Myford has a lever operated tailstock, I'd not seen one before. I assumed it was for speed of production but when you describe it as "sensitive" suddenly it all makes sense. You must get so much feedback from it.
2. I'd be interested in your making of the pressure gauges; if you have any further info you would like to share it sounds like a perfect "teaching topic" for the forum.
|
|
|
|
Post by Roger on Mar 31, 2019 20:26:48 GMT
Further to Julians comments, my sincere apologies for derailing the thread Roger 1. Our club Myford has a lever operated tailstock, I'd not seen one before. I assumed it was for speed of production but when you describe it as "sensitive" suddenly it all makes sense. You must get so much feedback from it. 2. I'd be interested in your making of the pressure gauges; if you have any further info you would like to share it sounds like a perfect "teaching topic" for the forum. I'll probably start another thread on manufacturing techniques for injectors when j get that far. On the sensitive lever tailstock, personally I don't see the point in them. You don't need to feel what's going on to be able to drill the smallest of holes. A lever also makes it easier to make a jerky unintended motion. All you need is a digital scale so you know what the tip is and how fast it's moving |
|
JonL
Elder Statesman
WWSME (Wiltshire)
Posts: 2,907
|
Post by JonL on Mar 31, 2019 20:57:00 GMT
I don't have any of that! I just use the clumsy scale on the top of the tailstock
|
|
jma1009
Elder Statesman
Posts: 5,901
|
Post by jma1009 on Mar 31, 2019 21:48:41 GMT
[/quote]On the sensitive lever tailstock, personally I don't see the point in them. You don't need to feel what's going on to be able to drill the smallest of holes. A lever also makes it easier to make a jerky unintended motion. All you need is a digital scale so you know what the tip is and how fast it's moving[/quote]
Really?
Cheers,
Julian
|
|
|
|
Post by ettingtonliam on Mar 31, 2019 22:57:16 GMT
I sometimes think theres a parallel universe going on here, and I'm on the outside of it. Trouble is, I think I'm happier being outside it.
|
|
|
|
Post by simplyloco on Mar 31, 2019 23:04:35 GMT
I sometimes think theres a parallel universe going on here, and I'm on the outside of it. Trouble is, I think I'm happier being outside it. Agreed! John |
|
jma1009
Elder Statesman
Posts: 5,901
|
Post by jma1009 on Mar 31, 2019 23:16:54 GMT
It is quite simple really. You drill a few holes in brass, then taper them with specially made taper reamers. You work to tenths of thous as opposed to thous.
I am sure John can see the sense in this, and would be quite capable of this challenge if he wanted to make his own injectors!
Cheers,
Julian
|
|
|
|
Post by Roger on Apr 1, 2019 6:57:17 GMT
On the sensitive lever tailstock, personally I don't see the point in them. You don't need to feel what's going on to be able to drill the smallest of holes. A lever also makes it easier to make a jerky unintended motion. All you need is a digital scale so you know what the tip is and how fast it's moving[/quote] Really? Cheers, Julian [/quote] Hi Julian, Absolutely. CNC machines can drill the finest of holes without feel, and so can I. The problem with the usual tailstock isn't one of feel, it's not knowing where the drill tip is. I just find the starting point, set zero on the tailstock DRO and then it's all done watching the display. You know exactly how fast the tip is moving and where it is. You don't feel anything and you don't need to. I suppose you could attach a DRO to a sensitive lever type tailstock, but that feeding the drill slowly and smoothly won't be any easier. Relying on feel means you're using applied pressure to know when it's touching. I think you're more likely to break a drill doing it that way than by dead reckoning. |
|
|
|
Post by simplyloco on Apr 1, 2019 8:02:16 GMT
I don't have any of that! I just use the clumsy scale on the top of the tailstock Hi Jon Do not worry. You've seen my simple lever operated tail stock and its budgie DRO, which enables me to drill 0.6mm holes with ease on the big EMCO to precise depths at 2500 rpm without the benefit of CNC. Never broken a drill yet. The conversion is quite easy! Mind you, what do I know...?  John 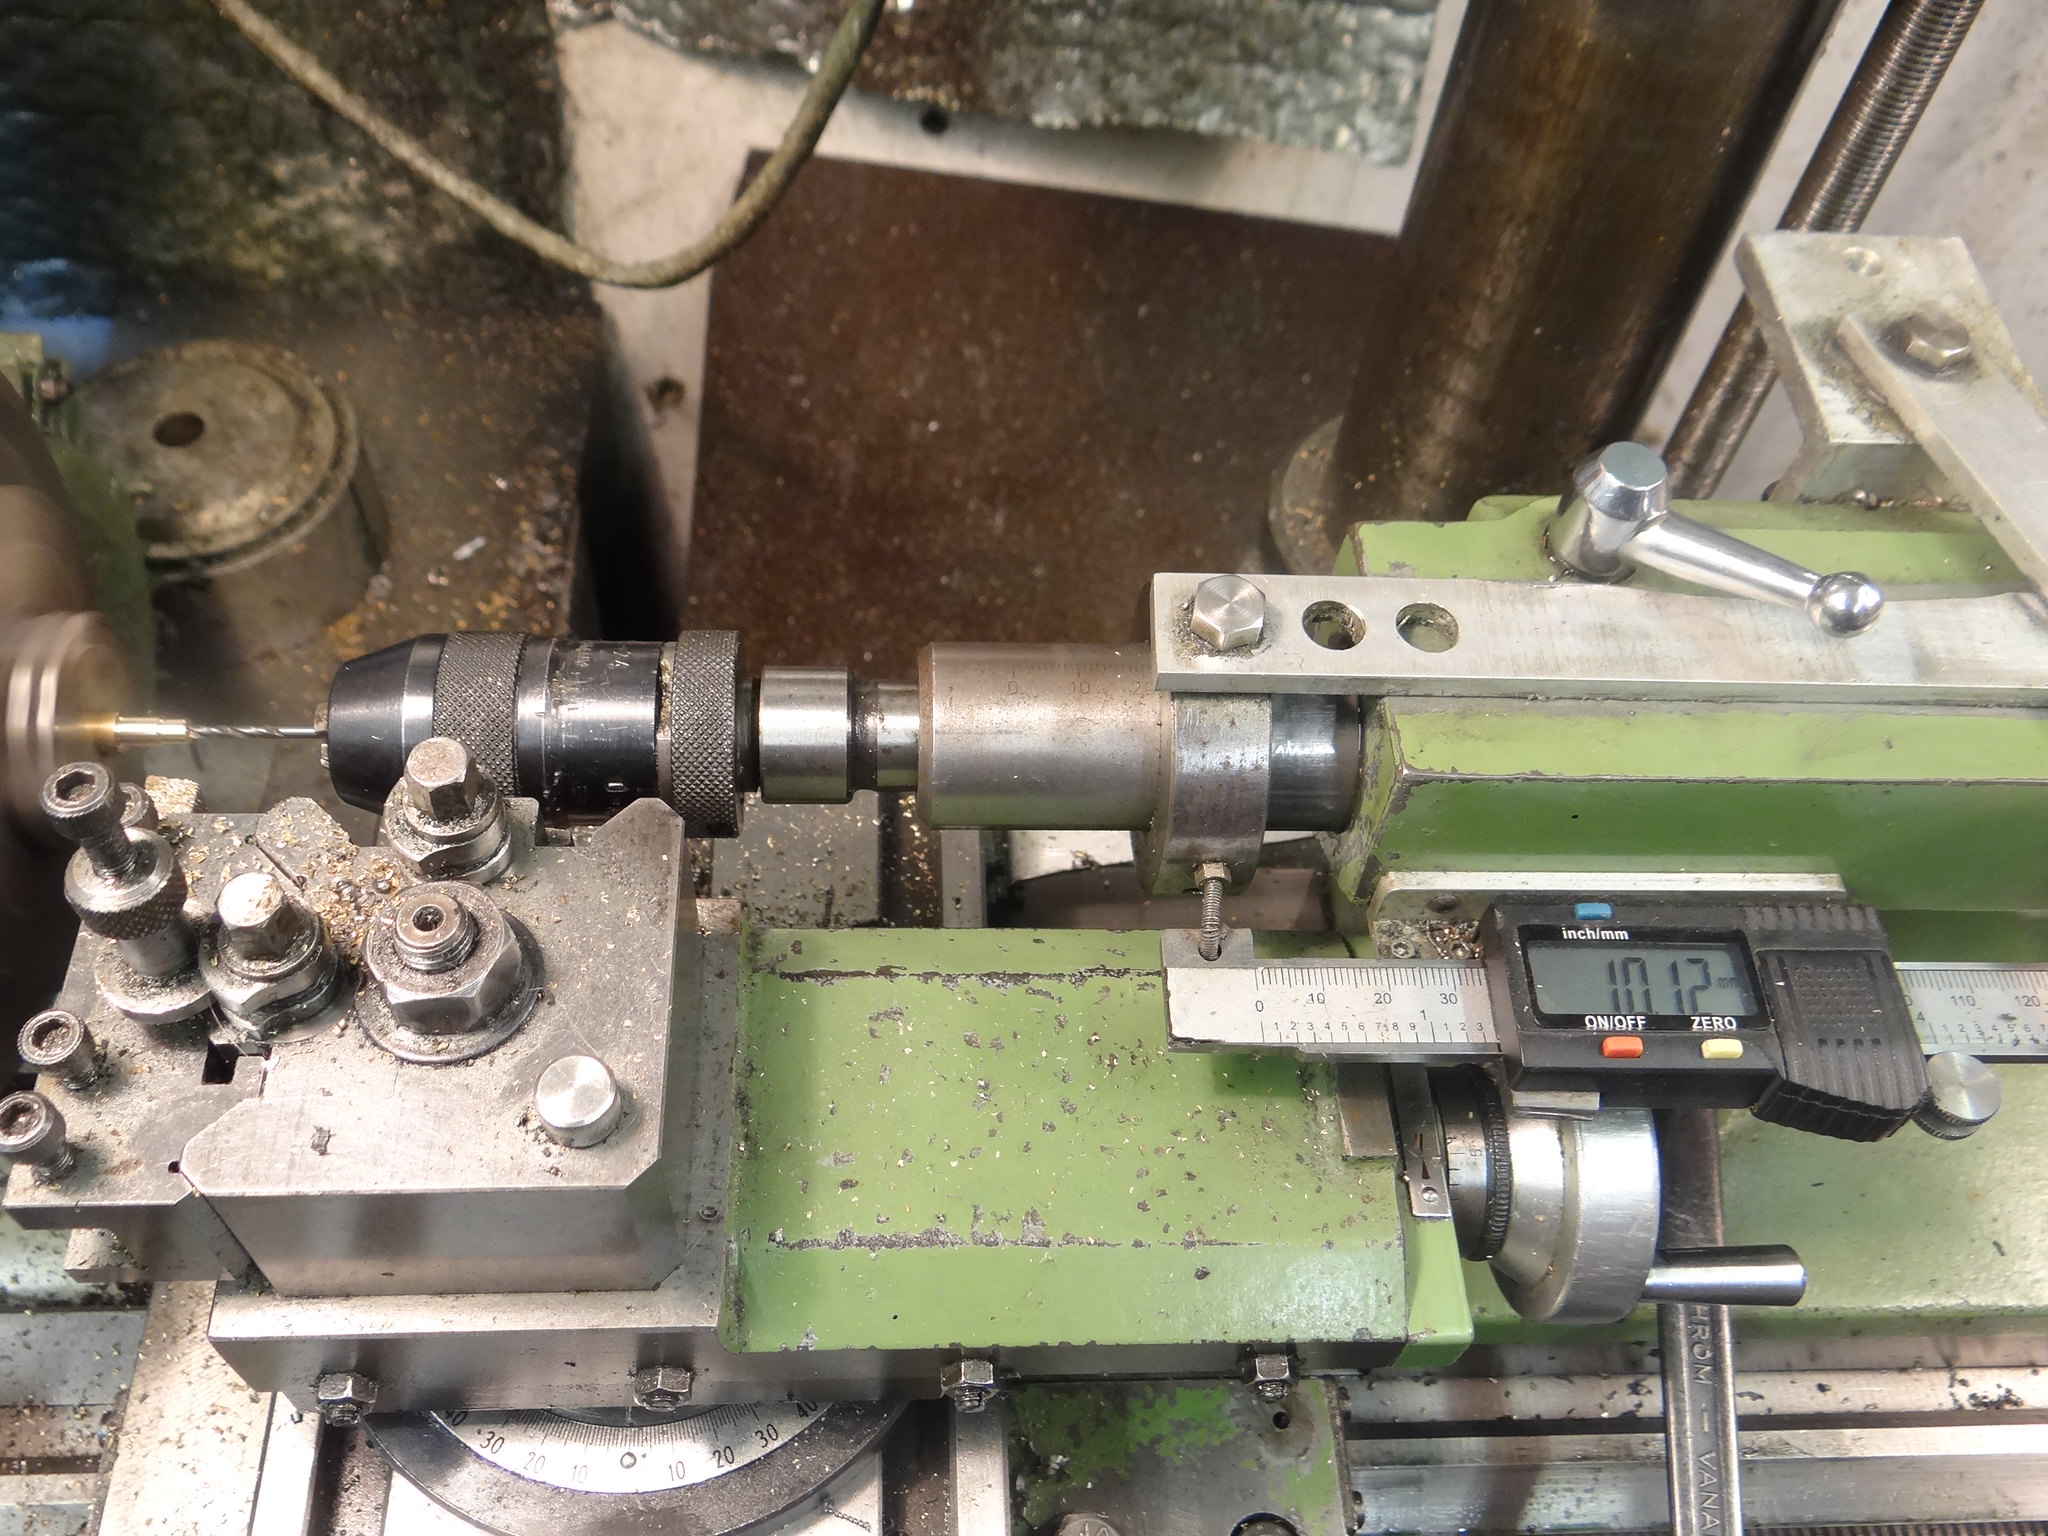 DSC00162 DSC00162 by inkaboat, on Flickr |
|
|
|
Post by Roger on Jan 11, 2020 23:08:05 GMT
Having recently been in contact with Bob Bramson for clarification on the design method shown in his book "All you need to know about Miniature Injectors and Ejectors", I'll now offer my interpretation of how this is done. To make sense of this you will need the tables in Bob's book.
NB:- You need to be very clear about the names of the various cones which are shown in diagrams earlier in this thread else you won't understand any of this!
In essence, you have to draw a pair of lines that represents the cone angle, usually 9 degrees. The various throat diameters of the three cones, Condensing, Mixing and Delivery ALL sit on that one cone. The Mixing and Delivery cone throats are taken from the graph Fig 20 page 19 and the throat of the Condensing cone is derived from the Steam cone throat diameter also taken from that table but scaled by the figure stated (1.38-1.45) which creates the required lift.
The lengths of the Condensing and Mixing cones it usually the same, and the gap is detailed on page 23. (0.030" - 0.040")
The outlet of the Steam cone is usually made the same as the Condensing cone throat, and the End regulation gap is found by trial and error, but it's only around 0.005" for 16fl oz/min injectors.
Anyway, here's a more detailed explanation of the above if you're intending to design one yourself. There isn't much wriggle room in the sizes to be honest. Once you draw it out with the conditions below, that's pretty much it. The description is for End regulation, but it's pretty much identical for Annular regulation.
1) Look up the throat sizes in Table 2 and Fig 20. and find the nearest PCB drill sizes to 0.05mm
2) Bramson Page 24 says use a divergent Steam Cone angle of between 8-10 degrees, so choose 9 which is what Bob uses. This is used universally by Brown too.
3) The combining cone has an angle of 9 degrees too.
4) The Steam cone and Condensing cone (the first one of the two) are effectively an Ejector. P6 Fig. 5 shows the D/d ratio should be between 1.38 and 1.45 (average 1.415 used in the 3D model). NB:- We're only interested in the condensing cone at this stage, not the mixing cone! This is necessary to guarantee that the injector will lift the feed water.
5) Bob tells me that he makes the outlet diameter of the Steam cone is the same as the throat diameter of the Condensing cone. This helps with getting the end of the Steam cone flat for End regulation.
6) So the size of the throat of the condensing cone is determined by the throat of the Steam cone driving the size from the ratio given above. This is true for both Annular and End regulation. This is controlled in the 3D model with a formula to link the two.
7) The Delivery cone diameter in the 3D model is set from the above table, and this drives the delivery cone length. This can be between 10 and 12 times the Delivery cone throat diameter, so use 11 in the 3D model. The Delivery cone angle should be between 6-8 degrees, so use 7 degrees in the 3D model. The gap between the combining cone and delivery cone is set by the intersection of the two taper angles. Bob just draws two lines right through the Condensing and Mixing cones to the point where they touch the throat of the Delivery nozzle.
8) The gap between the throat of the Mixing cone and the Delivery cone throat is determined by the angle and also the diameter of the Mixing and Delivery cone throats taken from Fig. 20 Page 19. There is a lead in before the throat, and that can protrude to the point where the gap is between 0.76mm and 1mm
9) The regulation gap is not defined well in Bob's book, he tells me it's a matter of trial and error but the gap is going to be small. I'm wondering if you can't just throttle the water inlet with a removable grub screw and a small hole drilled in it instead and leave say a 0.15mm gap which is bigger than the 0.12mm gap Bob says is typical for a 16fl oz/min injector.
10) The lengths of the Combining and Mixing cones can be the same up to 90 psi or can be taken from Table 4 page 23 if you're using higher pressures. At higher pressures the Mixing cone length is slightly longer than the Condensing cone. The length of the Mixing cone is set by the Mixing cone throat diameter, the angle, the Condensing cone throat diameter set earlier and the Gap between the cones which is 0.762mm-1.016mm (0.030”-0.040”) You can then set the length of the Condensing cone to be the same.
Hopefully that's reasonably clear. I'll update it if anything doesn't make sense or if I get more information from Bob Bramson.
|
|
jma1009
Elder Statesman
Posts: 5,901
|
Post by jma1009 on Jan 12, 2020 0:11:18 GMT
Hi Roger,
I can understand all that so far as it goes, but I don't think it is reasonably clear, and some of it is not logical or coherent. We can discuss it all next week!
But it is very worthwhile to hear from Bob!
Cheers,
Julian
|
|
|
|
Post by Roger on Jan 12, 2020 9:22:12 GMT
Hi Roger, I can understand all that so far as it goes, but I don't think it is reasonably clear, and some of it is not logical or coherent. We can discuss it all next week! But it is very worthwhile to hear from Bob! Cheers, Julian Hi Julian, That would be good. It's really hard to put it into words, what it really needs is to have a series of screen shots to show what decisions are being made and how that plays out with the geometry. Referring to things by name can be confusing, and it's not until you actually follow the process step by step that the penny drops and you can see how one dimension controls another. I'm still conversing with Bob, he certainly knows his stuff. |
|
|
|
Post by karel52 on Jan 14, 2020 10:09:44 GMT
|
|
robmort
Hi-poster
 3.5" Duchess, finishing 2.5" gauge A3 and building 3.5" King
Posts: 172
|
Post by robmort on Jan 14, 2020 22:46:08 GMT
Having recently been in contact with Bob Bramson for clarification on the design method shown in his book "All you need to know about Miniature Injectors and Ejectors", I'll now offer my interpretation of how this is done. To make sense of this you will need the tables in Bob's book. ..... Thanks for trying to clarify things, something I also tried to do in some respects with Bob Bramson a few years ago with a little success. However, I agree with Julian that his design procedure or explanation could be still clearer. Some questions I have are: 1) ".....you have to draw a pair of lines that represents the cone angle, usually 9 degrees. The various throat diameters of the three cones, Condensing, Mixing and Delivery ALL sit on that one cone." Don't understand how they can possibly all sit on the same cone - surely not possible? 2) "...he makes the outlet diameter of the Steam cone is the same as the throat diameter of the Condensing cone. This helps with getting the end of the Steam cone flat for End regulation." The "throat" here being the inlet or outlet? How does this help with getting it flat? Rob |
|
jma1009
Elder Statesman
Posts: 5,901
|
Post by jma1009 on Jan 14, 2020 23:18:34 GMT
Hi Rob,
Your point
"1)" I would agree with, and we have had all sorts of theoretical dimensions between the exit from the combining cone to the throat of the delivery cone. Laurie Lawrence seems to have based some of his pics in his articles on how jets behave on Karel52's book he has referenced, C M Keiller said the distance between the two should be the throat diameter of the delivery cone, and if you compare Bill Carter's 'Weeny injector' in Laurie's articles and draw it out, it is identical with one of DAG Brown's designs EXCEPT the gap between throat of the combining cone and the throat of the delivery cone!
Your point
"2)" is of course with reference to the smallest ID of the "condensing cone" as termed by Bob, namely the first half of the combining cone. I am also unsure how this applies to Bob's steam cone ends and his end regulation, and to my mind, this ought not to be 'trial and error' and can be specified via some formulae and with some exactitude - as the only definite requirement is the annular gap. I am confused with all this because I have copied Bob's end regulation on one example. The proportions of length of the first half of the combining cone to second half that Bob quite rightly stresses as important do have the steam cone part way into the first half of the combining cone in all the injectors that I have made and examined, which rather upsets the proportions that Bob adheres to with end regulation in his approach!
Cheers,
Julian
|
|
|
|
Post by Roger on Jan 15, 2020 0:03:29 GMT
Having recently been in contact with Bob Bramson for clarification on the design method shown in his book "All you need to know about Miniature Injectors and Ejectors", I'll now offer my interpretation of how this is done. To make sense of this you will need the tables in Bob's book. ..... Thanks for trying to clarify things, something I also tried to do in some respects with Bob Bramson a few years ago with a little success. However, I agree with Julian that his design procedure or explanation could be still clearer. Some questions I have are: 1) ".....you have to draw a pair of lines that represents the cone angle, usually 9 degrees. The various throat diameters of the three cones, Condensing, Mixing and Delivery ALL sit on that one cone." Don't understand how they can possibly all sit on the same cone - surely not possible? 2) "...he makes the outlet diameter of the Steam cone is the same as the throat diameter of the Condensing cone. This helps with getting the end of the Steam cone flat for End regulation." The "throat" here being the inlet or outlet? How does this help with getting it flat? Rob Hi Rob, I point 1, imagine you have a cone that goes right down to a point. From the pointy end, move up a small distance and you come to the diameter of the throat of the delivery cone. Move a little further up the cone and you come too the throat of the mixing cone. Further up, you come to the throat of the condensing cone. In a two dimensional drawing, those three diameters and the sides of the mixing and condensing cones all lie on two lines which represent the sides of an imaginary cone. On point 2. The throat is always the smallest diameter of any cone. If you look back at the shape of the steam cone outlet on my earlier diagrams, you can see that the outlet end is flat. The smaller the diameter of the outlet of the steam cone, the larger the flat area. The advantage of end regulation is that you avoid that wafer thin end of the steam cone that you need for annular regulation Hopefully that makes sense. |
|
robmort
Hi-poster
3.5" Duchess, finishing 2.5" gauge A3 and building 3.5" King
Posts: 172
|
Post by robmort on Jan 15, 2020 10:43:58 GMT
Thanks for the replies.
1) Ok but the accuracy with which the delivery cone throat lies exactly on this cone is debatable as experiment shows it's not that critical especially with the usual bell-mouth entry, but no harm to do it.
2) OK so when you say "Bob tells me that he makes the outlet diameter of the Steam cone is the same as the throat diameter of the Condensing cone"....... that's just a guide.
His end-regulation scheme is unique to him, afaik, and while I see the edvantage of the thicker steam cone end, there are few problems in making or using the usual thin steam cones, and practical experience of the repeatabilty and ease of making the end-regulation version is scarce so I'd like to hear more of that. When he says: "the End regulation gap is found by trial and error, but it's only around 0.005" for 16fl oz/min injectors", for the smaller injectors which I'm interested in, this gap would become even smaller and very critical it seems, but with annular regulation the gap is much more finely adjustable.
Rob
|
|
|
|
Post by Roger on Jan 15, 2020 19:31:35 GMT
Thanks for the replies. 1) Ok but the accuracy with which the delivery cone throat lies exactly on this cone is debatable as experiment shows it's not that critical especially with the usual bell-mouth entry, but no harm to do it. 2) OK so when you say "Bob tells me that he makes the outlet diameter of the Steam cone is the same as the throat diameter of the Condensing cone"....... that's just a guide. His end-regulation scheme is unique to him, afaik, and while I see the edvantage of the thicker steam cone end, there are few problems in making or using the usual thin steam cones, and practical experience of the repeatabilty and ease of making the end-regulation version is scarce so I'd like to hear more of that. When he says: "the End regulation gap is found by trial and error, but it's only around 0.005" for 16fl oz/min injectors", for the smaller injectors which I'm interested in, this gap would become even smaller and very critical it seems, but with annular regulation the gap is much more finely adjustable. Rob Hi Rob, Some things are much more important than others, Bob Bramson's book tells what those are. However, when you're trying to design an injector from scratch, vagueness is of little help. What you need is clear guidance with usable values that put you in the middle of the working range for each of the parameters. That's what I've tried to do. So in point 1) The ideal is that the design 'cone' shape has all three throats lying on it. I don't see the point in deviating from that. 2) One problem with making the wafer thin Steam cone is that a slightly blunt reamer will cause the end to bell mouth. It's also easliy damaged. I think it's easy enough to shave a little off the shoulder or a little off the end of an End regulated steam cone. If you change the shoulder on the usual Steam cone, you can't easily go back. Personally, I think this whole business of Regulation is flawed. I think some experiments need to be done to see if this requirement can be done differently. We all know that some injectors need to have the water backed off to get them to pick up, so they clearly have the regulation gap too large. The thing to note here is that the fix is to throttle the water in a crude way upstream. My feeling is that a likely simple solution is to deliberatelty set the Steam Cone (with a flat end) so that it's always too big a gap, ie with next to no regulation. I don't see why that can't be a fixed figure for each size of injector. Then I think the regulation can be done with a Stainless Steel Allen grub screw, screwed into the water inlet to the injector, a small hole being drilled to set the regulation. It's easy to change the regulation in a controlled way. I've run this idea past Bob Bramson, and he thinks it might work, so that's what I'm going to try. If you think about it, the amount of water passing into the boiler is determined by the throat diameter of the Delivery cone. That water is made up from the feed water plus the condensed steam. The volume of feed water is going to be very much more than the volume of Steam condensed to water, so the regulation hole ought to be very nearly the same as the throat diameter of the Delivery cone unless I'm missing something obvious. On another note, you can definitely combine the Mixing cone and Delivery cone into one single cone, drilling holes for the overflow just before the throat. Bob has tried doing something similar for the main gap between theCondensing and Mixing cones, but says it didn't work well. Personally, I don't think this has been explored sufficiently, probably because most people who've tried this haven't used Carbide PCB drills to do it accuratly. More than that, I don't think anyone has tried really small holes or more than one row. To me, the Holy Grail is to make the Condensing, Mixing and Delivery cones in one piece. That overcomes so many issues that I think it's worth exploring. You know me, I'm not in the least put off because others have failed to do it! There are plenty of other development avenues to explore. |
|


