cfmrc
Seasoned Member

Posts: 107
|
Post by cfmrc on Dec 30, 2021 18:48:17 GMT
I am currently settling in the boiler: but these Kelloggs cornflakes boilers will probably not catch on. 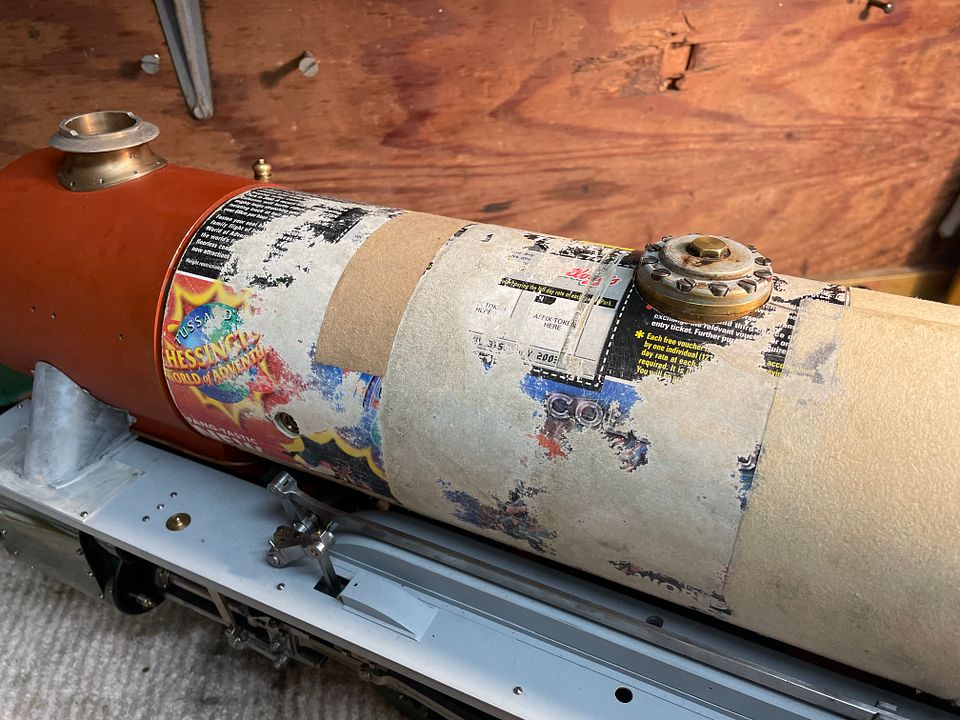 I have also been working out the plumbing and fittings at the back head: just loosely in place at present. 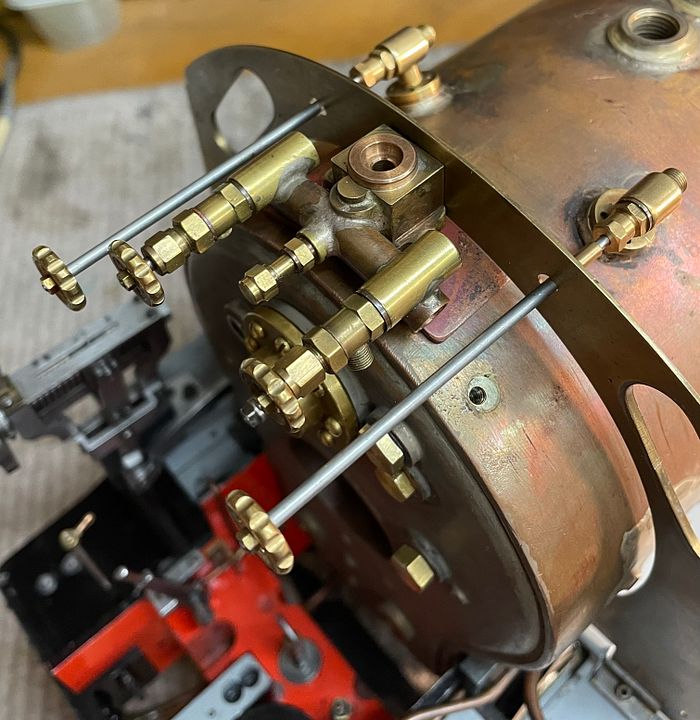 Trying to work out what goes where is quite tricky, but it’s all beginning to make sense.  Tim |
|
mbrown
Elder Statesman

Posts: 1,719
|
Post by mbrown on Dec 30, 2021 20:50:35 GMT
Those boiler fittings are very neat.
Just a little bit of useless knowledge, but did you know that the injector steam valves on the Arthurs (and presumably other Eastleigh designs) turned clockwise to open them?
Not a lot of people know that!
I love the cornflake packet boiler. If I collect enough packet tops, maybe I could claim a replacement for my leaking boiler.
Malcolm
|
|
cfmrc
Seasoned Member
Posts: 107
|
Post by cfmrc on Dec 31, 2021 9:09:06 GMT
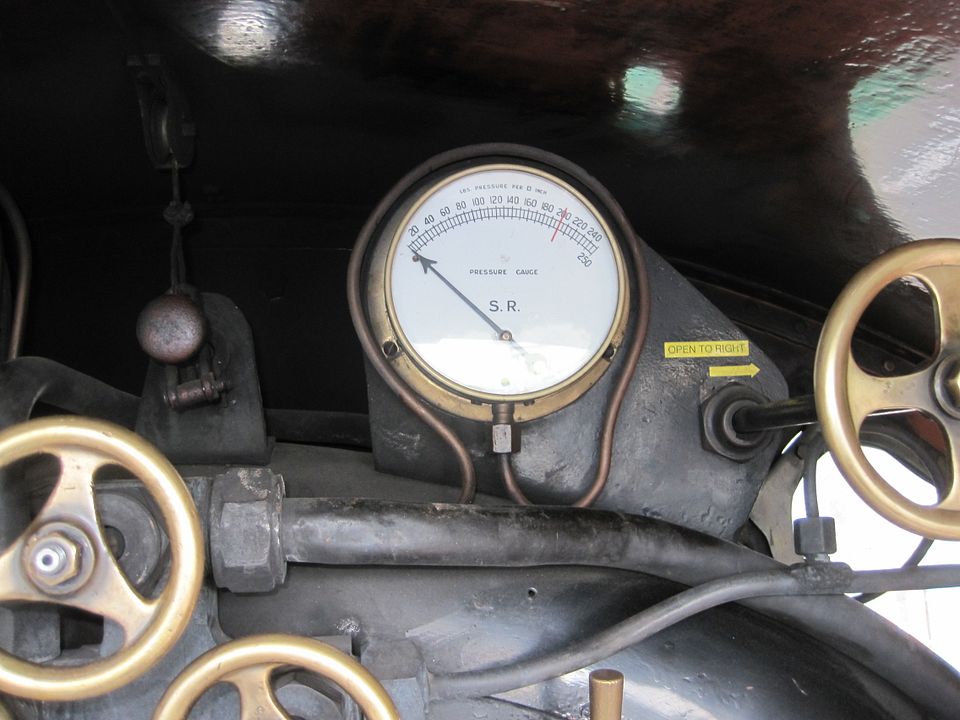 Any suggestions for size - 3/4” or 1/2” and pressure range on the model pressure gauge? The running pressure is 80PSI. Tim |
|
|
|
Post by osiris09 on Dec 31, 2021 10:17:38 GMT
On my 3.5" Pamela I've gone with 1/2" 150psi. It means I can see it from a distance and the needle sits about vertical at 80psi. Only issue is that it's a little over scale.
|
|
mbrown
Elder Statesman
Posts: 1,719
|
Post by mbrown on Dec 31, 2021 11:22:11 GMT
It is normal practice to ensure the pressure gauge reads 50% higher than working pressure, so a 0-120psi gauge would be the lowest range, although 0-150psi would be acceptable too.
A fairly standard diameter for a full size pressure gauge would be 9-10". So a 1/2" dia one would be about right for 3/4" scale, but a 3/4" one wouldn't be too far over.
Hope that helps.
Malcolm
|
|
cfmrc
Seasoned Member
Posts: 107
|
Post by cfmrc on Dec 31, 2021 12:48:27 GMT
I have fettled the boiler cladding into place this morning. I don’t think that has been done before, as it was catching on the firebox retaining slides. The boiler bands will pull the tapered front sheet into shape. 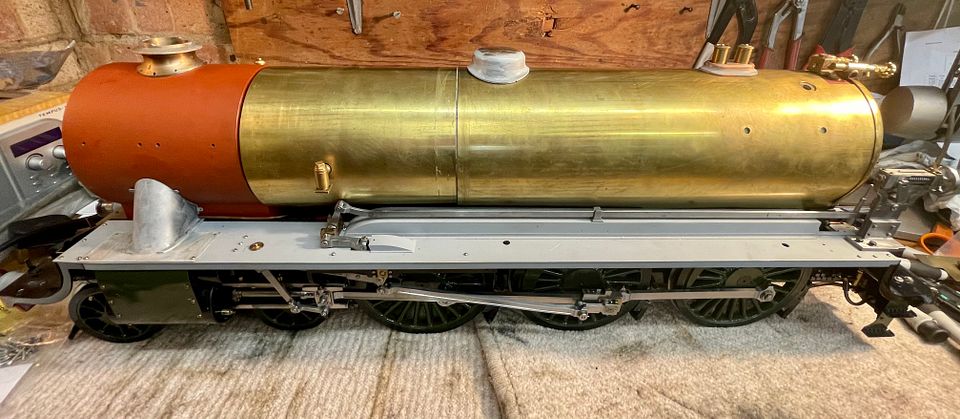 As one would expect, there is a beautifully finished corner beading for the firebox in the cab. Again this needed quite a bit of trimming, but will be a good basis for the false back head that I will make. 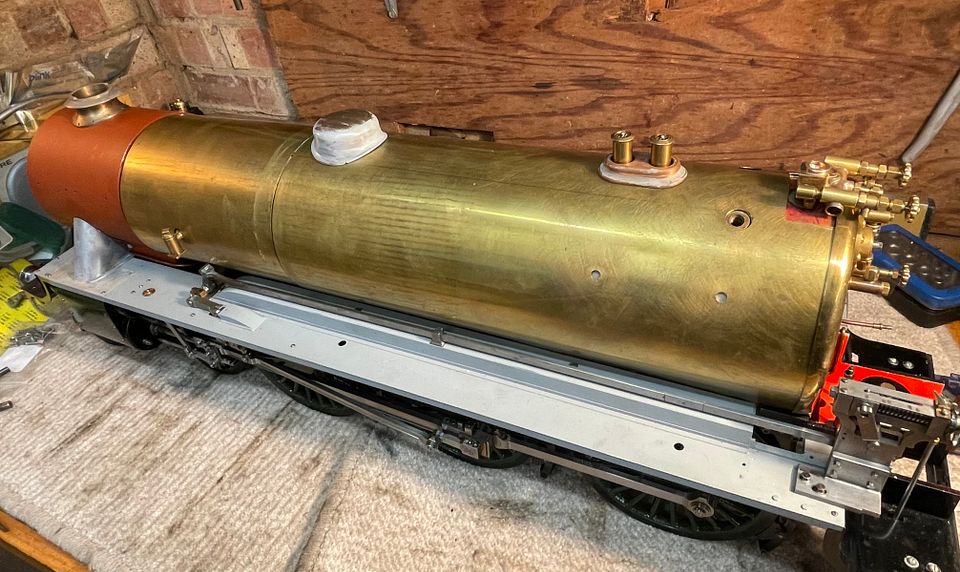 Tim |
|
cfmrc
Seasoned Member
Posts: 107
|
Post by cfmrc on Jan 3, 2022 10:51:32 GMT
I have been trial fitting the cab sides & spectacle plate. 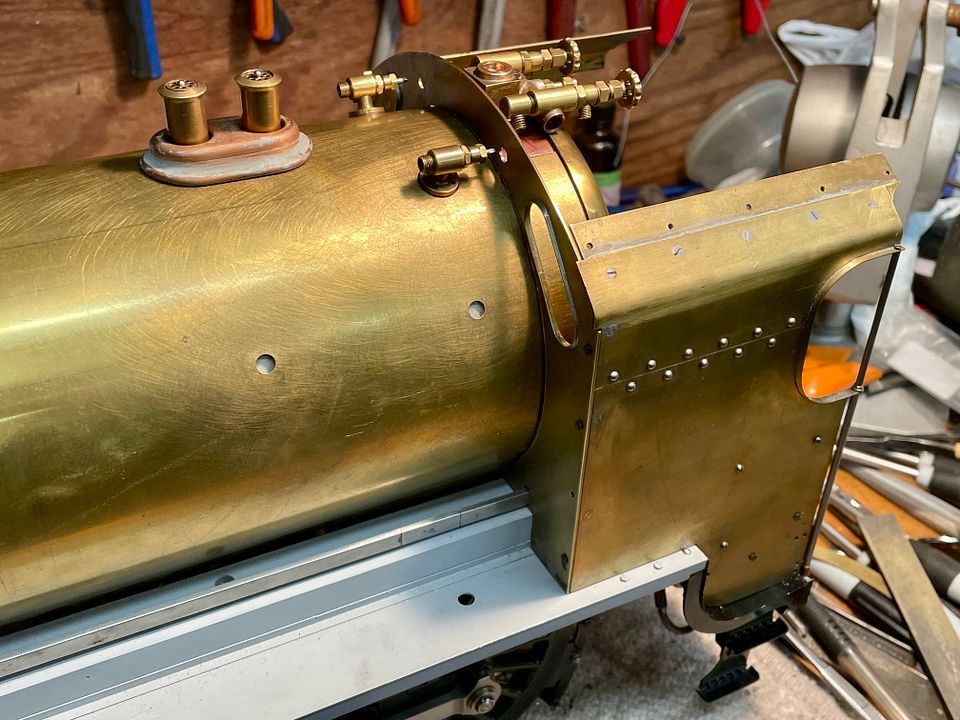 I will have to roll the cab roof, which will be made of steel. For ease of driving, part of the roof will need to be removable. The fixed front section might go as far as the rear of the firebox. The removable section will be retained by a row of rare earth magnets let into the brass. However, I am a bit concerned that the rear ends of the cab roof will be quite vulnerable as they are unsupported. Tying them together with a cross bar might defeat the object of a removable cab roof, but there is a prototypical bar in that area. Any thoughts? Tim |
|
|
|
Post by Deleted on Jan 3, 2022 11:09:43 GMT
Looking good Tim regarding supporting the rear removable roof section. On 4472 the rear arched beam has a detachable middle section which is secured by 4 bolts, 2 on either side. The middle section is permenantly fixed to the removable roof section which strengthens the removable roof and keeps it's shape when removed. There are also a row of small hex head bolts which bolt the top of the roof down to the frame below. To make life easier I have made these bolts dummies except for one in each corner at the front to hold the roof in place. These two bolts are just for extra security as the roof is a good fit and unlikely to come loose.
There are pictures on my blog that will show this, perhaps you could do something similar if the prototype allows?
Cheers
Pete
|
|
cfmrc
Seasoned Member
Posts: 107
|
Post by cfmrc on Jan 3, 2022 17:18:23 GMT
Thanks Peter. I re-looked at your blog - I had originally examined it in detail when I was considering modifying the roof on Hyperion: that never happened as Sir Percivale came along. The KA cab is very plain on top with no useful hatches. The servicing split on the prototype to remove the cab roof is just in front of the curved section, or horizontally between the prominent paired rivets on the cab side, so either way, plain ugly. I think it will be a case of making it and working out stiffening strategies down the line. Sometimes it’s too easy to overthink a problem.
Tim
|
|
cfmrc
Seasoned Member
Posts: 107
|
Post by cfmrc on Jan 8, 2022 20:39:26 GMT
Just like Goldilocks. The first cab stanchion was too thin at the top. The second one two thin at the bottom. The third, just right! (Only 0.1mm difference between them.)  Tim |
|
cfmrc
Seasoned Member
Posts: 107
|
Post by cfmrc on Jan 9, 2022 23:16:17 GMT
Little bit of extra detail on the rear cab stanchion: it now matches the LHS. 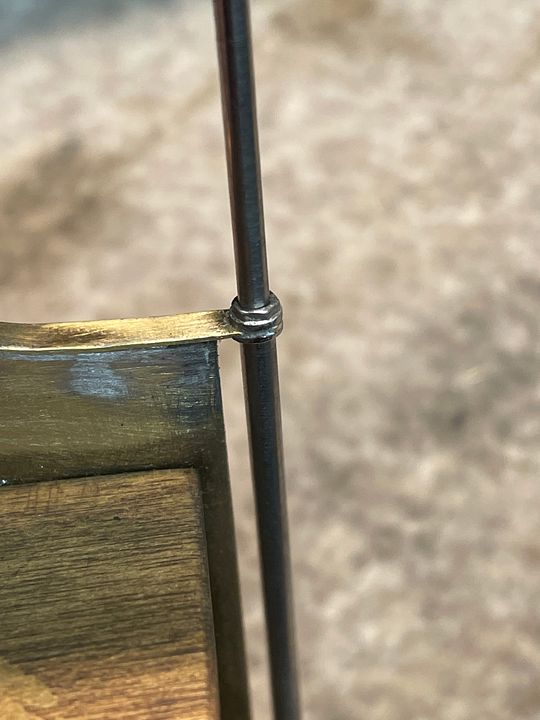 Tim |
|
cfmrc
Seasoned Member
Posts: 107
|
Post by cfmrc on Jan 14, 2022 9:11:01 GMT
Returned to the front end yesterday. The smokebox door dogs were rectangular in shape whereas they sound be more trapezoid in shape. 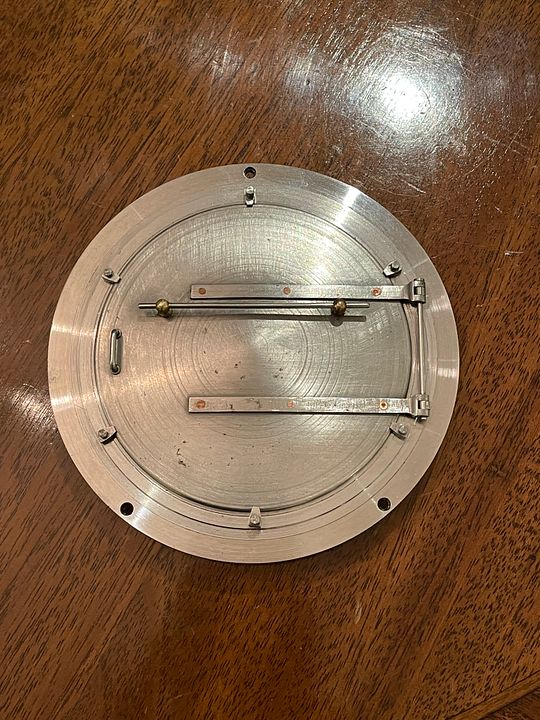 The fixing bolts are 10BA with 12BA heads. Two are long enough with a decent shoulder, but four are too short, so it’s not a matter of if they’re lost but when. I have some 12BA steel hex stock of the right size on order so that will rectify that problem. I can’t think of any clever way to make the bolts captive… The hinge support base also needs re-engineering, but again currently waiting for a tap & due set. The straps themselves are not quite the right shape on the ends, so I will punch out the copper rivets, remove the straps, refinish the ends and polish the steel - but use steel bolts / rivets to re-fix them. Tim |
|
mbrown
Elder Statesman
Posts: 1,719
|
Post by mbrown on Jan 14, 2022 12:31:02 GMT
Hi Tim,
This might be a bit tricky for 12 BA heads, but if you look on my thread for 99 3462, you'll see that by making castellated nuts, they grip the thread rather like a Nyloc nut. They are not captive but they tend to stay put.
Best wishes
Malcolm
|
|
cfmrc
Seasoned Member
Posts: 107
|
Post by cfmrc on Jan 14, 2022 16:13:31 GMT
The straps have now been screwed / riveted with steel bolts, the ends curved and the finish improved. 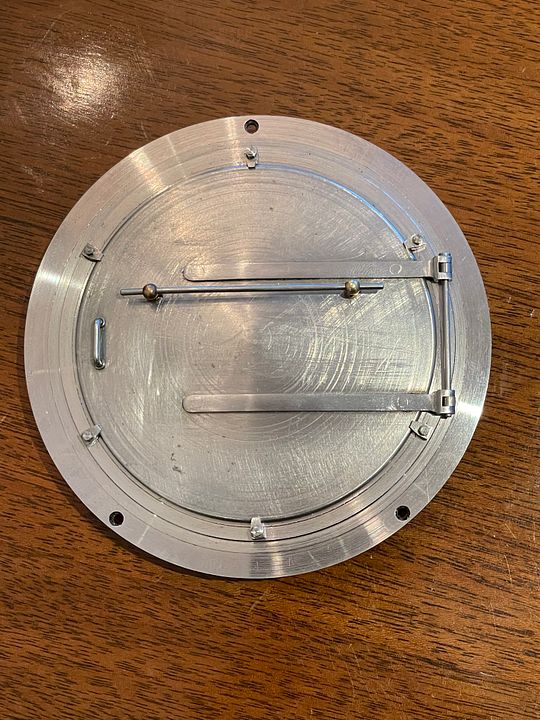 I have also modified a couple of the (longer) bolt heads with a representation of the nut and bolt. I think the use of a long shouldered bolt will suffice, with this minor visual modification. The two brass handrail knobs will need to be replaced with steel, as these will be in a bright finish. Tim |
|
cfmrc
Seasoned Member
Posts: 107
|
Post by cfmrc on Jan 15, 2022 20:46:46 GMT
Following from yesterday’s post I have now re-made the front handrail and stanchions on Sir Sagramore. The handrail is straight (it’s pivot steel) and slightly longer, whilst the stanchions are more understated. 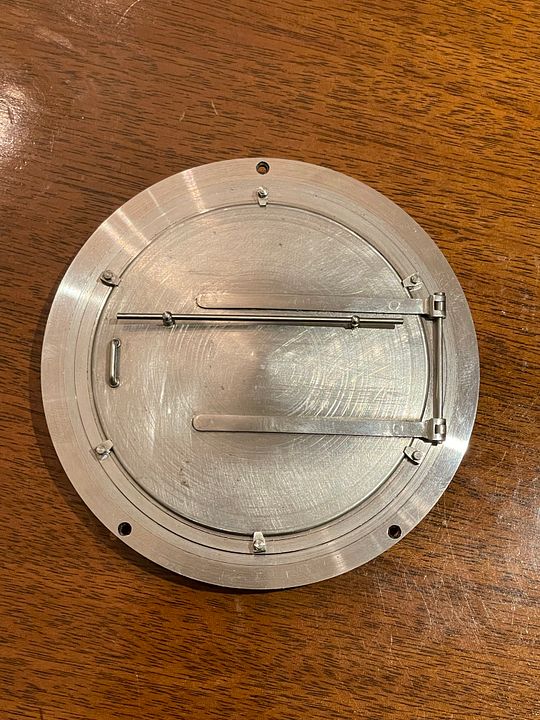 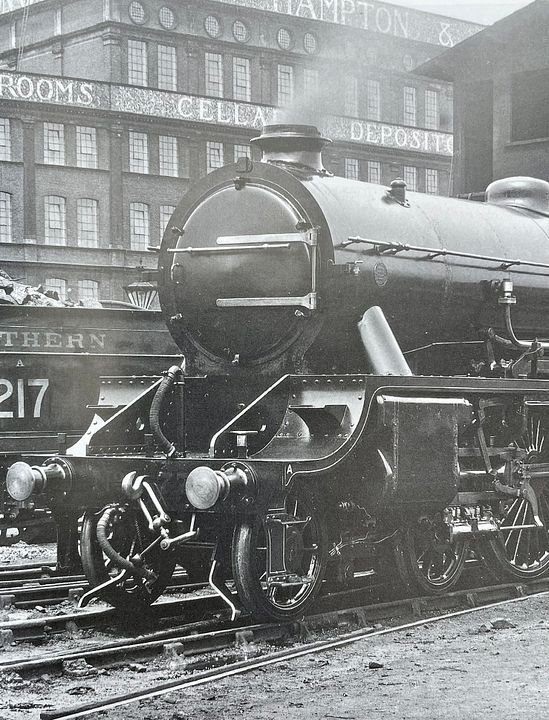 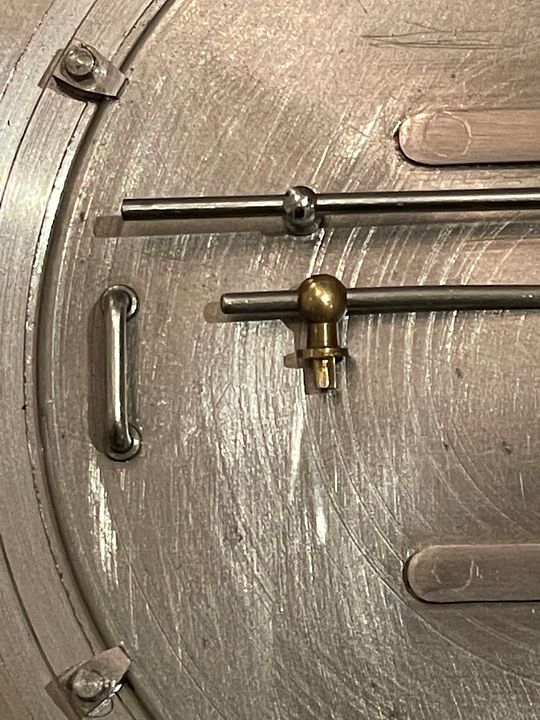 They’re about right now. Tim |
|
|
|
Post by simplyloco on Jan 15, 2022 20:51:56 GMT
Following from yesterday’s post I have now re-made the front handrail and stanchions on Sir Percivale. The handrail is straight (it’s pivot steel) and slightly longer, whilst the stanchions are more understated. They’re about right now. Tim Good job. On both my locos I opted for a scale size smaller in the pursuit of realism! |
|
cfmrc
Seasoned Member
Posts: 107
|
Post by cfmrc on Jan 15, 2022 21:41:51 GMT
I think in most scales, model locomotives have handrail stanchions that are too bulky, too ‘knobby’. Will have to gear up to make the rest, along the boiler.
Tim
|
|
cfmrc
Seasoned Member
Posts: 107
|
Post by cfmrc on Jan 18, 2022 10:08:11 GMT
I had a very productive day in the garret (small scale) workshop yesterday, but worked far too late into the night. The spectacle plate on Sir Sagramore was made from relatively thin brass and so wasn’t very rigid. 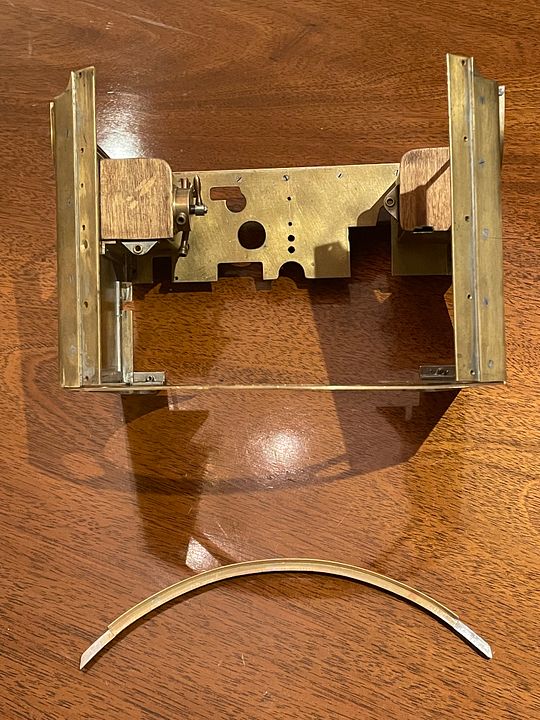 As suggested by a clever chap on another forum, I therefore soldered together two pieces of 4mm right angle brass section and bent them into the correct curve between fingers and thumbs: Yuri Geller eat your heart out!  These were tinned, 12BA-bolted together with the spectacle plate and soldered to the top with a whiff of heat from a blow torch. 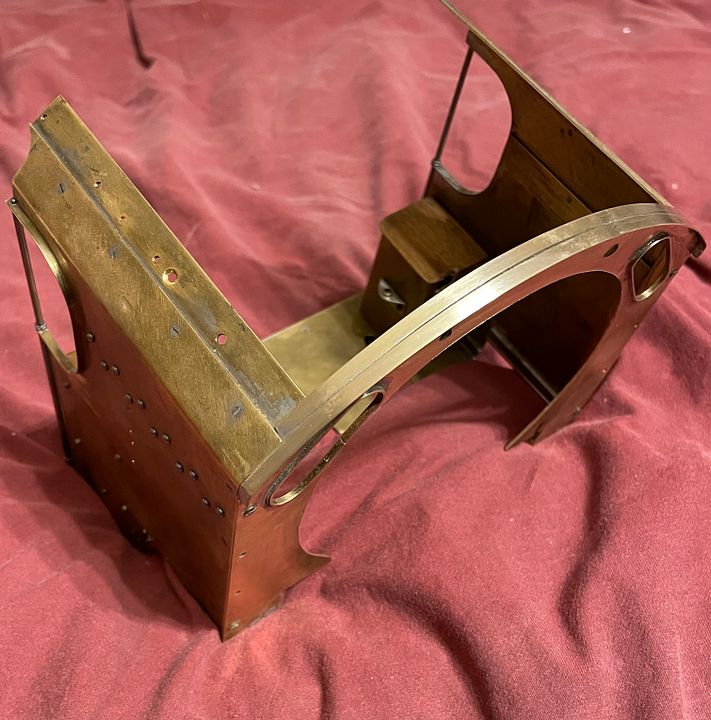 The whole front end is much more sturdy now. The next job will be to roll the roof from steel with the front section bolted to the T section with probably a string of 16BA bolts. The rear section will be removable for hand access to the controls. Tim |
|
cfmrc
Seasoned Member
Posts: 107
|
Post by cfmrc on Jan 21, 2022 21:45:08 GMT
It is very satisfying when you have the correct instrument for the job. The flexibility of my John Stevens watchmakers mill / drill really is invaluable for this sort of work: drilling 1mm diameter for 12BA.  The front of the cab roof is held in place with 3x 12BA and 2x 10BA bolts. The 12BA are countersunk and blackened so should hide quite well. This bit of roof has to be removable when required for maintenance, the rear portion will slide in and out for driving. 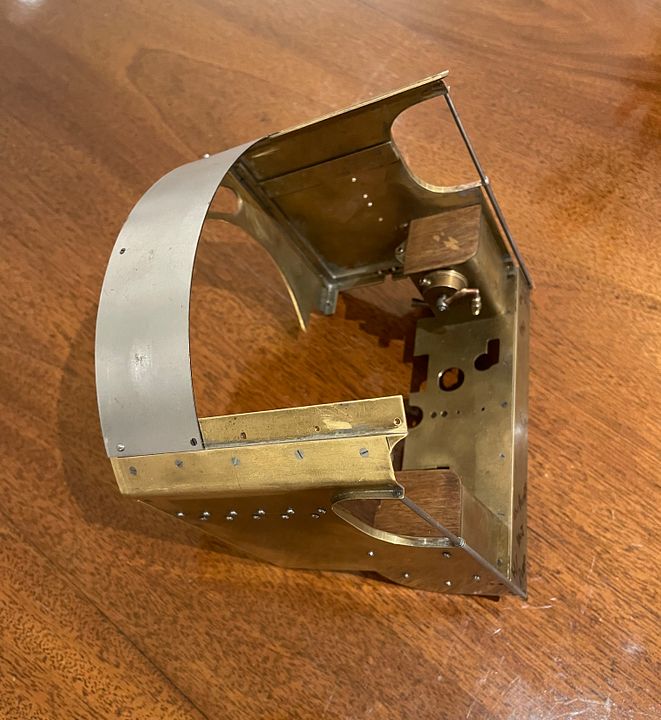 The roof has a passive fit and so fixings can be quite minimal (no need for multiple 16BAs) Tim |
|
|
|
Post by simplyloco on Jan 22, 2022 9:45:43 GMT
It is very satisfying when you have the correct instrument for the job. The flexibility of my John Stevens watchmakers mill / drill really is invaluable for this sort of work: drilling 1mm diameter for 12BA. SNIP Tim Hi Tim. I've had my Proxxon BFW40 for many years now, and really couldn't do without it. Similar functionality to yours but one third of the price!  John www.proxxon.com/en/micromot/20165.php |
|


