abby
Statesman

Posts: 925
|
Post by abby on Oct 27, 2011 19:34:45 GMT
I am now at the stage where I need to get the valve train layout finalised , so , having recently purchased a yard of ale , oop's , rail , I put the frames together and had an hours playtime. 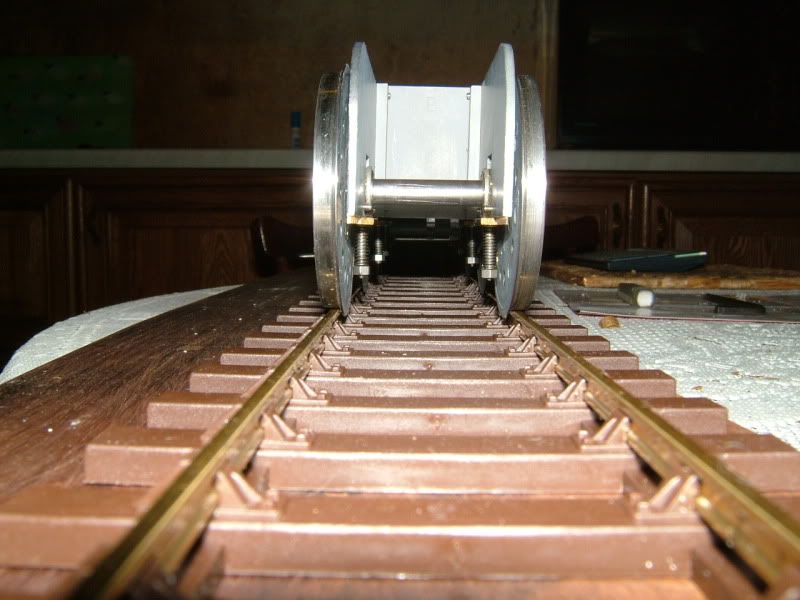 she runs as free as a bird on the ball-bearing axles. 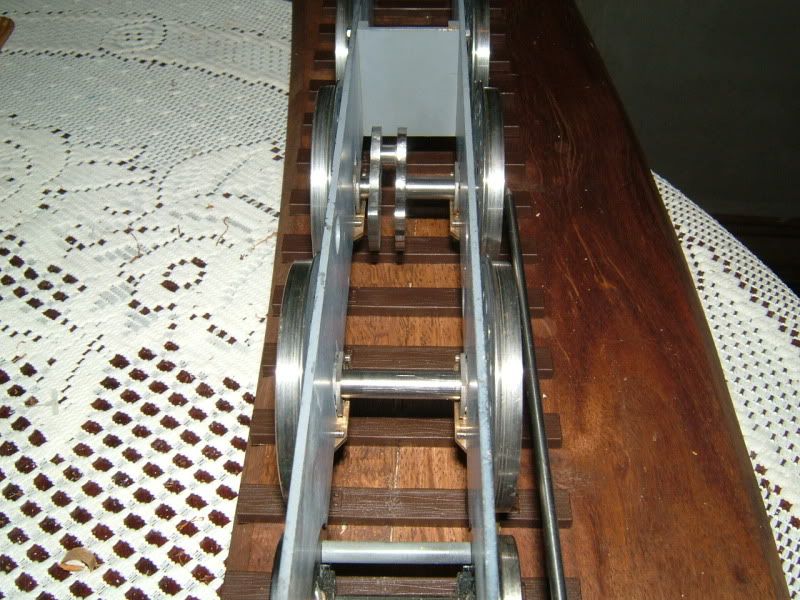 with the cylinders mounted I think I will make the outside motion brackets next, 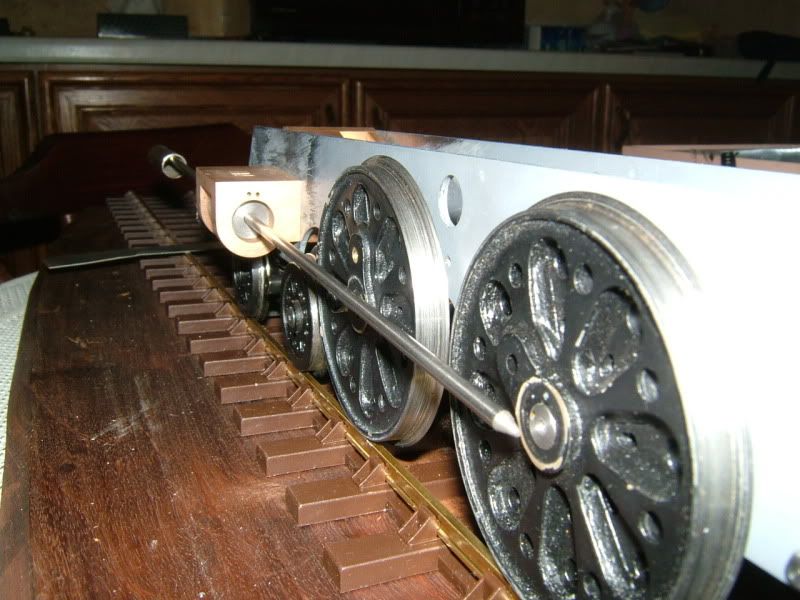 but I will also need new crossheads. My decision to fit ball bearings in the little ends means a slightly larger clearance is needed. This means a new casting will have to be made. It never rains does it? |
|
pault
Elder Statesman

Posts: 1,496
|
Post by pault on Oct 27, 2011 21:16:26 GMT
Hi Abby,
It is a satisfying point when it starts to look like a loco rather than a pile of parts. Just a word of caution regarding the use of ball races on the little end. Bearings like that can have issues when used in reciprocating applications which do not travel very far, if you get what I mean. Basically the angle of movement needs to exceed the angle between the balls. If it does not then the grease can get pushed into the dead areas, allowing the bearing to run dry. It might be worth talking to your bearing supplier
I first came across the problem when using prop shafts between diesel engines and dynamometers. The same problem occurs with the roller bearings in the prop shaft. We used to align the engine and dyno using a laser alignment system and then offset the dyno by a calculated amount to get the required angle for the prop shaft.
That said if you are going to be oiling it ever couple of trips it should not be a problem.
Keep us posted with your progress
Regards
Paul
|
|
abby
Statesman
Posts: 925
|
Post by abby on Oct 31, 2011 21:13:21 GMT
I will bear that in mind Paul! I couldn't find a decent drawing for the motion brackets , and the brackets for the re-built MN's carry part of the outside valve gear.  In the end I fabricated something that looks about right to me.  They are a bit on the beefy side made from 16 swg brass but should do the job. A few holes here and there will make them look a bit more "Bulleid", I will see about making castings for them because they are very fiddly to fabricate. 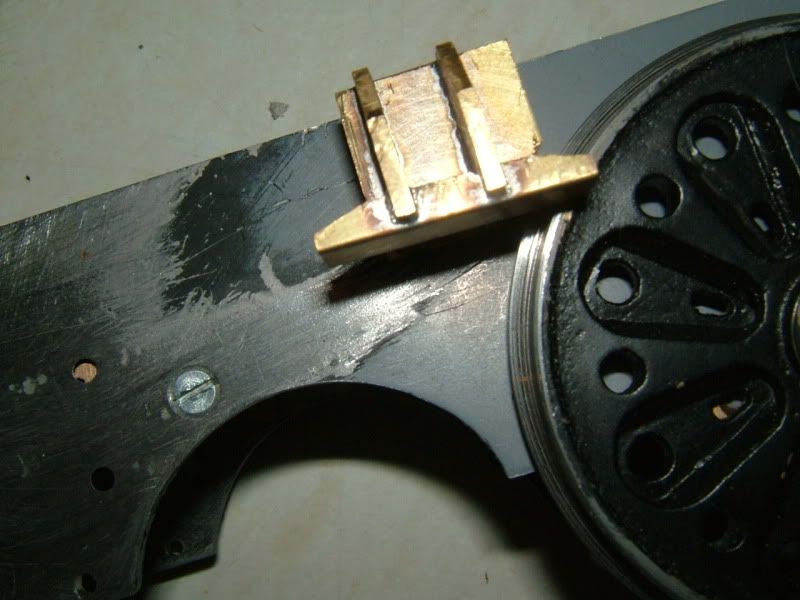 once the body is fitted they can't really be seen anyway. I have also made a die for the new cross-head, 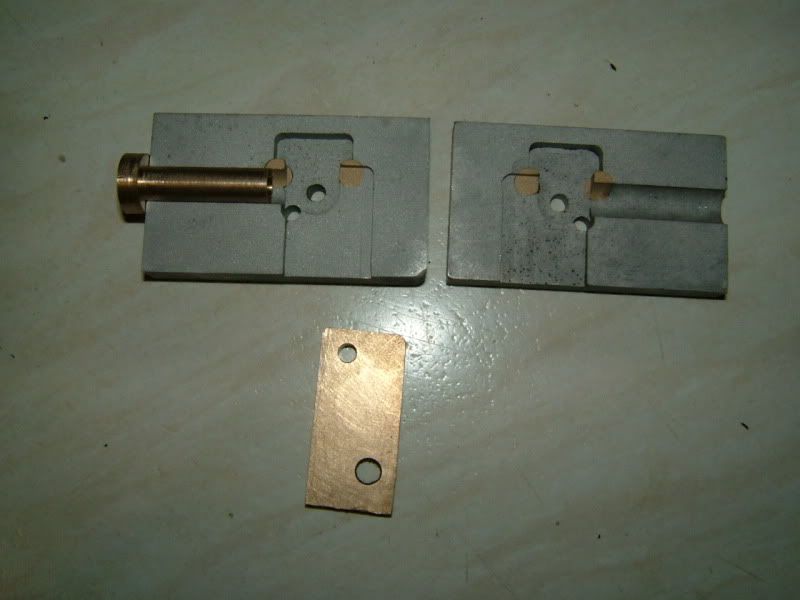 which will give the clearance needed for the enlarged connecting rod little ends , 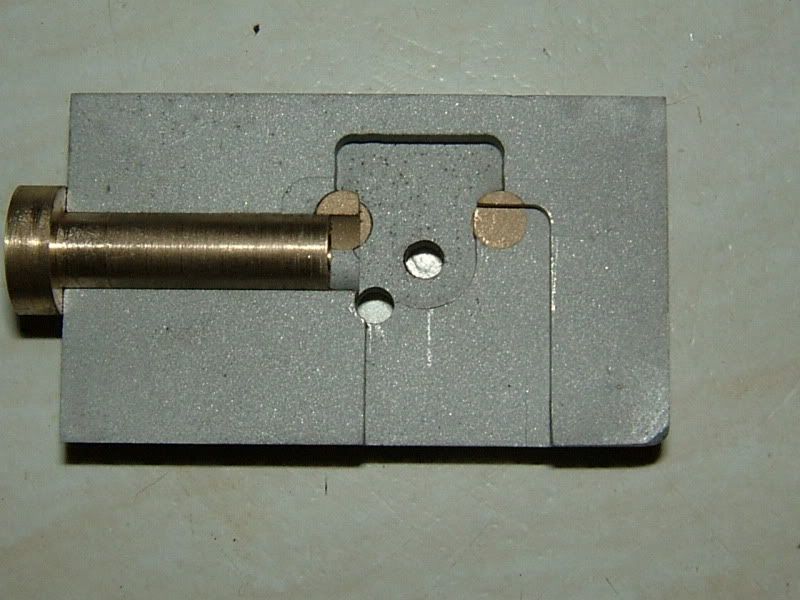 and finished the session with a fabricated pattern for the new rear cylinder covers which are more SR than my existing castings. 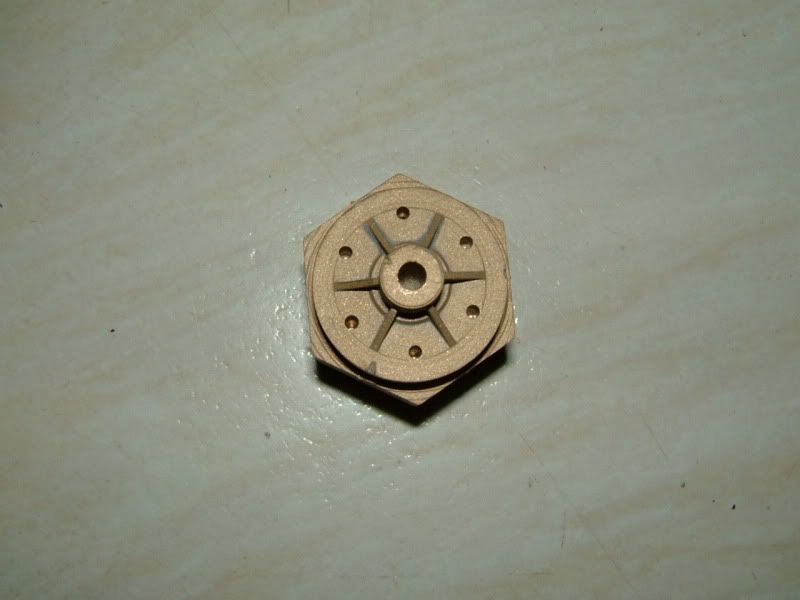 Next job will be the rubber moulds and wax pattern production. |
|
abby
Statesman
Posts: 925
|
Post by abby on Nov 10, 2011 12:11:26 GMT
I managed to get some castings done for the cross-heads and rear cylinder covers
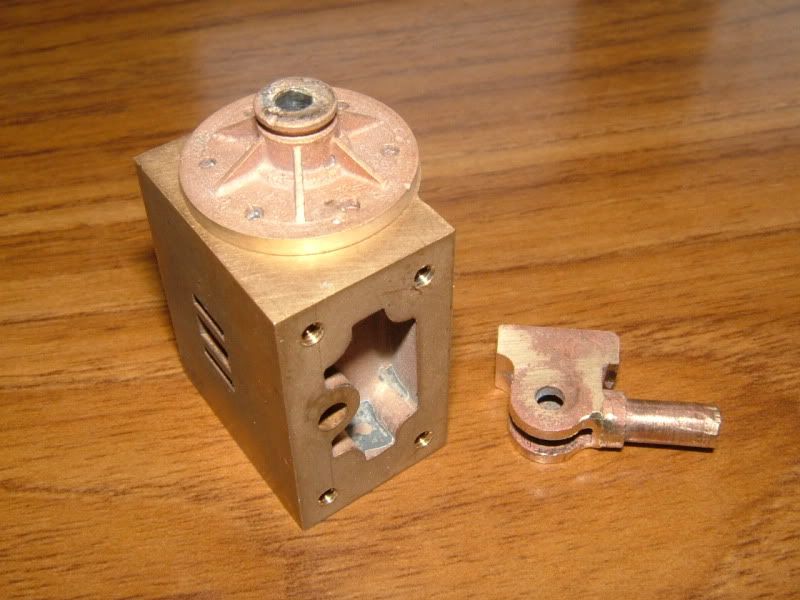
so next job is to machine and fit them , then sort out the guide bars and see how the brackets will fit. |
|
|
|
Post by masahiraoka on Mar 1, 2014 7:33:14 GMT
|
|
abby
Statesman
Posts: 925
|
Post by abby on Mar 4, 2014 10:26:12 GMT
|
|
|
|
Post by masahiraoka on Mar 6, 2014 6:48:38 GMT
Thanks Abby
the videos show that you've done a great job well done
is the three cylinder version also Gauge 1?
i might be missing something but i can't see anything on your Union Steam Models website
regards Martyn
|
|
abby
Statesman
Posts: 925
|
Post by abby on Mar 6, 2014 9:46:14 GMT
|
|


