|
|
Post by Roger on Jan 15, 2022 9:39:39 GMT
If I may, I will share my experiences of smokebox sealing. When I built my Stanier, I made the whole front of the smokebox removeable - in fact, I turned the ring and door from a single piece of steel. It made cleaning the smokebox a doddle. The front of my Rob Roy is a conventional ring and hinged door, and the ring is held in with 4 x 10 BA screws. Thinking I would like to be able to clean the smokebox like I did with the Stanier, I removed the 4 screws. It made cleaning out convenient, but the steaming of the loco was awful. I put the screws back in, and the steaming returned to its former performance. Hi Steve, That's very interesting, and proves the point nicely. Ok, that's a small locomotive, but then so are the screw holes. |
|
|
|
Post by Roger on Jan 15, 2022 12:51:38 GMT
If you look at the Cylinder Wrapper, you can see that there are two Red lines and to the left are the fixing bolts. To the left of those are four rivets, right on the edge, which presumably hold on a piece of angle that the four bolts on the front of the cylinder screw into.  20140204_112625 20140204_112625 by Timothy Froud, on Flickr The edge details are both dummies, so I've added the rivets which are flush on the back. The other bolts are functional and M1.4 bolts.  20220115_124154 20220115_124154 by Timothy Froud, on Flickr This is how that tidied up on the back.  20220115_124205 20220115_124205 by Timothy Froud, on Flickr |
|
|
|
Post by Roger on Jan 15, 2022 21:55:29 GMT
The M1 bolts from Knupfer arrived today, so here I'm reducing the height of the heads from 1mm to 0.7mm I'd already fitted quite a few of them, but the heads looked too thick for a scale appearance.  20220115_170353 20220115_170353 by Timothy Froud, on Flickr I've added all of them to these now, and just have the backs to tidy up.  20220115_214627 20220115_214627 by Timothy Froud, on Flickr  20220115_214652 20220115_214652 by Timothy Froud, on Flickr  20220115_214719 20220115_214719 by Timothy Froud, on Flickr I've contacted Knupfer asking that they consider chamfering the back of the hex heads on the bolts they sell, so that they don't chew up the paint. I've also asked them to make Steel M1 bolts too, because Brass ones are pretty feeble. We'll see if they give a positive response. |
|
|
|
Post by 92220 on Jan 16, 2022 9:11:25 GMT
Hi Roger. I've noticed the Knupfer hex heads are a bit thick too, and have had to turn them down. I found another Germany company, similar to Knupfer, but not as large a range of products, has screw heads that are thinner. Their M1 hex head screws are advertised as having 1mm thick heads, so no need to mess around thinning them. I've bought from them and they are as good quality as Knupfer. Their website is ghw-modellbau.de/index.php?cPath=4_5_6 This will bring up the M1 hex heads, and all others are on a menu at the side. It's just a pity nobody does these small sizes in steel. Bob. p.s. That sheet metal work is superb!!! Edit: You beat me to it with mentioning the lack of small size steel screws. I didn't see your last line on the post above. |
|
|
|
Post by Roger on Jan 16, 2022 11:33:53 GMT
Hi Roger. I've noticed the Knupfer hex heads are a bit thick too, and have had to turn them down. I found another Germany company, similar to Knupfer, but not as large a range of products, has screw heads that are thinner. Their M1 hex head screws are advertised as having 1mm thick heads, so no need to mess around thinning them. I've bought from them and they are as good quality as Knupfer. Their website is ghw-modellbau.de/index.php?cPath=4_5_6 This will bring up the M1 hex heads, and all others are on a menu at the side. It's just a pity nobody does these small sizes in steel. Bob. p.s. That sheet metal work is superb!!! Edit: You beat me to it with mentioning the lack of small size steel screws. I didn't see your last line on the post above. Hi Bob, I think the right thickness for M1 hex bolts is around 0.7mm, assuming 1.5mm AF. That's what I've gone for. If you buy the Low Head versions from Knupfer, they seem pretty good to me regarding the height, so I've left them as is. Does the modellbau supplier chamfer the back of the hex as well as the front? That's the thing that's a real pain to do on every bolt that you need to fit after painting. The only sheet metal work I've done is the wrapper, all of the face plate work is from Solid material. Hopefully it doesn't show. |
|
|
|
Post by 92220 on Jan 16, 2022 14:37:48 GMT
Hi Roger. I have used the sizes from my British Standard Workshop Practice 1962, that I used when I was a draughtsman. I made up this listing of scale sizes. It may help with scale head sizes. I converted to scale in imperial and metric so that there was a choice, depending if I used imperial or metric hex rod. Hope this might be helpful:-  Scale Whitworth Hex Bolt Sizes Scale Whitworth Hex Bolt Sizes by Robert Shephard, on Flickr Bob. Edit: p.s. I've sent you an email. |
|
|
|
Post by Roger on Jan 16, 2022 14:56:05 GMT
Hi Roger. I have used the sizes from my British Standard Workshop Practice 1962, that I used when I was a draughtsman. I made up this listing of scale sizes. It may help with scale head sizes. I converted to scale in imperial and metric so that there was a choice, depending if I used imperial or metric hex rod. Hope this might be helpful:- Scale Whitworth Hex Bolt Sizes by Robert Shephard, on Flickr Bob. Edit: p.s. I've sent you an email. That's great Bob, thanks for that. I'll have to compare those to the chart I've made up myself. |
|
|
|
Post by Roger on Jan 17, 2022 21:35:48 GMT
I've cut countless M1.4 Steel Bolts to length to attach the Cylinder Wrappers for a trial assembly. I've left the Chequer Plate cover off since that doesn't affect the fit. The front covers now have the M1 bolts riveted in place. The Cylinder covers hold the face plates on nicely, those won't need anything else to keep them in place. So although this looks complicated, you only have to remove one screw on the front Cylinder Cover, three on the rear Cylinder Cover and the large bolts on the wrapper and this all comes off. All of the Brass bolts and the rivets are cosmetic. The crosshead support is painted black on 1501, so I've made a 3D printed support so I can spray that area. There's no point painting the rest of the Bronze cover, I'll mask that off.  20220117_211759 20220117_211759 by Timothy Froud, on Flickr I think these are ready to prep for painting at last.  20220117_213752 20220117_213752 by Timothy Froud, on Flickr  20220117_213759 20220117_213759 by Timothy Froud, on Flickr |
|
|
|
Post by doubletop on Jan 18, 2022 8:12:06 GMT
This works very well, and can be removed easily when servicing (650F or 343C) 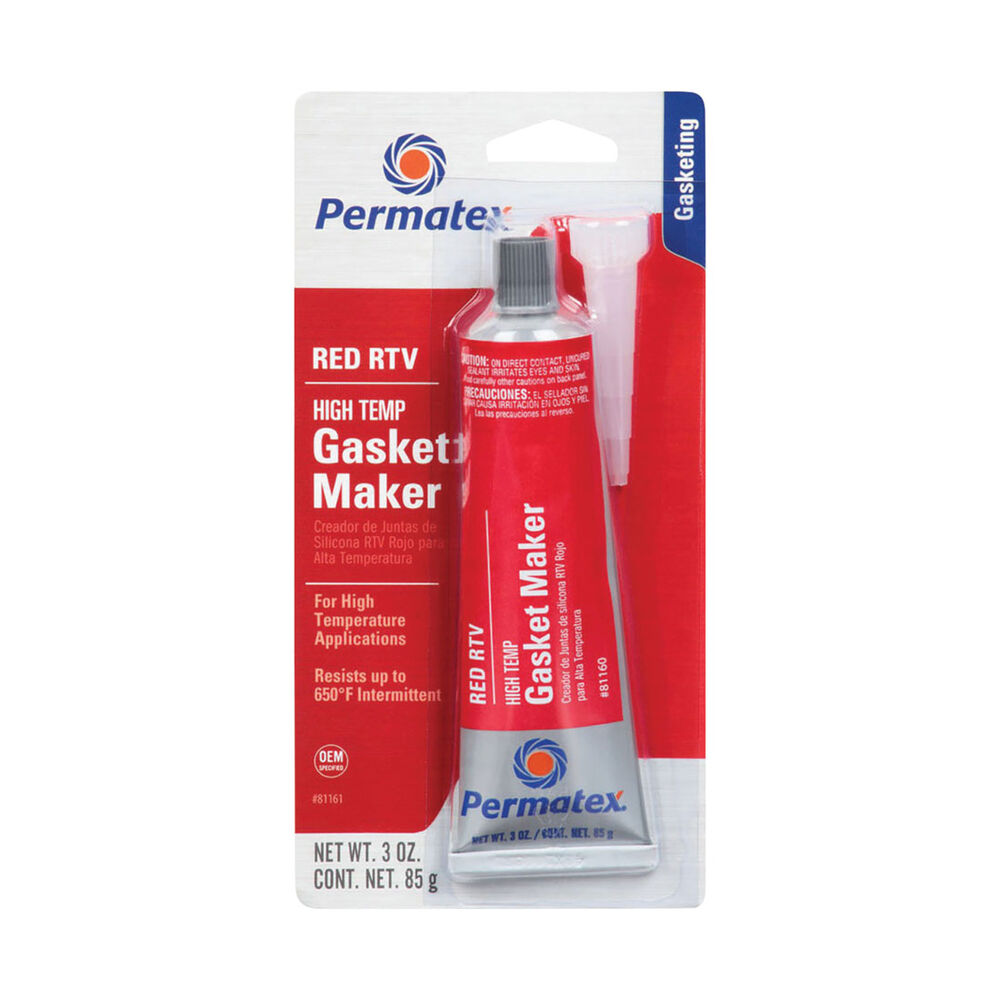 Pete |
|
|
|
Post by doubletop on Jan 18, 2022 8:19:38 GMT
Hi Roger, The first article is in issue number 4682 , page 152. Along with the series of articles about constructing injectors has worked in as much as I'll be giving it a go. Thanks for that. I don't know how many parts this will be broken into, it's fairly long. I don't go into specific manufacturing details, although I do provide a drawing for the One Piece Cone that also appears in this thread
If there's enough interest, I might do an article about a specific build of an injector. There are five videos on my YouTube channel that show my mass production method for the cone bodies, and some experiments in case anyone missed those. Roger It looks like we are in it together, so to speak. My Puma article has just started to run from issue 4681. When I'll see a paper copy in New Zealand is another matter. Pete |
|
JonL
Elder Statesman
 WWSME (Wiltshire)
Posts: 2,906
|
Post by JonL on Jan 18, 2022 10:51:06 GMT
The Red (or reddy orange) RTV is what we use on the engine bays of aircraft as a firewall sealant and its very good. I've used it in my smokebox and it peels out nicely when you need it to. Highly recommended by me as well Pete.
I know it harks back to a previous entry but I would stress I found even small leaks in the smokebox had a strangely large affect on draughting. For example running some grease around the smokebox door as a test showed a far larger improvement in draw than I would have thought possible.
|
|
|
|
Post by andyhigham on Jan 18, 2022 11:14:25 GMT
This works very well, and can be removed easily when servicing (650F or 343C) Pete I'll raise your 650F/343C to 700F/371C. This is what I use to seal the slip joints on my race bike exhaust system.  20220118_110914 20220118_110914 by Sigma Projects, on Flickr |
|
|
|
Post by Roger on Jan 18, 2022 13:28:31 GMT
Thanks for that. I don't know how many parts this will be broken into, it's fairly long. I don't go into specific manufacturing details, although I do provide a drawing for the One Piece Cone that also appears in this thread
If there's enough interest, I might do an article about a specific build of an injector. There are five videos on my YouTube channel that show my mass production method for the cone bodies, and some experiments in case anyone missed those. Roger It looks like we are in it together, so to speak. My Puma article has just started to run from issue 4681. When I'll see a paper copy in New Zealand is another matter. Pete Hi Pete, Now there's a coincidence! I don't buy the magazine, so I wouldn't have known if you hadn't mentioned it. |
|
|
|
Post by keith1500 on Jan 18, 2022 16:35:18 GMT
Let me get this right?
Sounds like, despite writing an article for the magazine they don’t send you a complimentary copy?
|
|
stevep
Elder Statesman
Posts: 1,070
|
Post by stevep on Jan 18, 2022 17:02:17 GMT
In the past, I've written a couple of odd articles for ME, and I've never received a complimentary copy.
|
|
|
|
Post by keith1500 on Jan 18, 2022 17:06:43 GMT
What’s the incentive?
|
|
stevep
Elder Statesman
Posts: 1,070
|
Post by stevep on Jan 18, 2022 17:24:50 GMT
They do (or used to) pay you a little money.
|
|
|
|
Post by Roger on Jan 18, 2022 17:52:15 GMT
Let me get this right? Sounds like, despite writing an article for the magazine they don’t send you a complimentary copy? Correct. as Steve says. they pay a nominal sum per page. I suppose it mounts up if you've got a long running build, but it's just pocket money otherwise. Personally, I don't do it for the money, I just think it's a way to contribute to the wider community. Model Engineering changes at an achingly slow pace, I'd like to think that I can move things along a bit. If people like it and they say so at some point, that's pleasing too. I've never had a word of feedback on anything I've written either, and no encouragement to write anything else. If I was the editor, I'd have a very different relationship with the contributors. |
|
|
|
Post by simplyloco on Jan 18, 2022 18:32:05 GMT
Let me get this right? Sounds like, despite writing an article for the magazine they don’t send you a complimentary copy? Correct. as Steve says. they pay a nominal sum per page. I suppose it mounts up if you've got a long running build, but it's just pocket money otherwise. Personally, I don't do it for the money, I just think it's a way to contribute to the wider community. Model Engineering changes at an achingly slow pace, I'd like to think that I can move things along a bit. If people like it and they say so at some point, that's pleasing too. I've never had a word of feedback on anything I've written either, and no encouragement to write anything else. If I was the editor, I'd have a very different relationship with the contributors. Agreed. I've had a number of articles published in the ME press. Max £50 min £35/page, no free copy, and not a word of encouragement or guidance as to desired material. They are just pleased to get something decent! |
|
dscott
Elder Statesman
Posts: 2,437
|
Post by dscott on Jan 19, 2022 1:25:27 GMT
I had a lovely long chat with Martin the Editor of M E at the IMLEC and encouraged him to seek out a drive.
I have had photos published in both magazines and lots of mentions over the years.
Must get to writing something. Martin did encourage.
He also smiled when we dashed round with the Battery Drill/driver loco on the Sunday afternoon.
I still cant get over a Winston kit built Britannia winning... 40% bunged away of course. And new cylinders.
Practice getting bits put in the Club Magazine. I have just sent off a part 2.
David and Lily
|
|


