|
|
Post by Deleted on Aug 24, 2016 18:59:29 GMT
I have bought a glanze 8mm parting off tool, replaceable tip type, for use on my Unimat 3. I have a set of 6mm for normal work on order, but 8mm was the smallest parting tool available.
When in position, at the lowest position in the tool post , the tip of the tool is slightly above centre line.
I suspect this is incorrect and should be on the centre line but advice would be appreciated.
I have a spare tool post that could be modified by milling down the slot so it lowers the tip to bring it on centerline if so advised.
Still learning, so advice would be appreciated.
Thank you
Rodger
|
|
|
|
Post by Roger on Aug 24, 2016 19:06:27 GMT
Hi Rodger,
Yes, you should be able to set the parting tool to the centre line, although one professional turner I knew always set it a thou above to allow for a little deflection. Personally, I think that's splitting hairs, and I set mine to the centre line.
I bought an oversized indexable parting tool for my Warco, and that needed the bottom machining off to fit the tool holder. I think I took 3mm off the bottom and it was amazingly tough material to machine.
I'm not sure what you mean by an 8mm parting tool, I hope you don't mean 8mm wide. That's miles too wide for most amateur's lathe, 3mm is about the maximum you can hope to use without chatter, and even that might be pushing it a bit. Mine's 3mm but the lathe is very robust so it copes very well.
|
|
SteveW
Elder Statesman

Posts: 1,397
|
Post by SteveW on Aug 24, 2016 19:32:46 GMT
rodger,
Consider making your own rear tool post. Certainly if it means mincing metal off existing kit. Years back I had an impulse purchase of a biggish piece of square bar big enough to take a slot across one side and space at the top for a three clamping screws and a hole down through the it to bolt it down to the slide. I made it to set the parting tool upside down at centre height.
The next bit I've reported here several times and never had a bite or comment:
On examining my premium parting tool bought at one of the MEXs from (Green<something>) I noticed the top form and attempted to replicate it on the standard replaceable blade type parting tool. The blade is sort-of 'V' shaped but any attempt to add any top rake quickly takes the cutting edge below the top edge and ends up narrower than the top edge which can result in binding as the tool gets deeper leading to swarf jamming and disaster.
My solution is to use a Dremel or similar tool to grind a little dish on the top surface just behind the cutting edge. This dish should break into the front cutting face forming a slight 'U' but not reaching the corners. The effect on cutting rolls the swarf towards the centre of the cut exit path making it narrower than the newly cut slot. I find this modification lets me part off steel bits at nearer normal speeds and I don't usually need back-gear.
Would be interested to hear if anyone else here has tried this one.
|
|
|
|
Post by Roger on Aug 24, 2016 19:50:51 GMT
I'd be curious to know why rear parting off tool posts are considered a good idea. To me, they must surely try to lift the carriage assembly upwards until it's stopped by the keeper underneath. This sounds like totally wrong thing to do to me, but I guess it must work. I would have thought that the potential for chatter would be much greater because there must be some free play in between the keeper and the underside of the carriage. A parting tool at the front forces the carriage more firmly into the ways, so it's much stiffer. Perhaps it's the carriage lifting and unloading the tool that makes this work? It doesn't sound like it's good for the ways if the carriage is bobbing up and down all the time though.
|
|
|
|
Post by Deleted on Aug 24, 2016 19:54:26 GMT
Roger, 8mm is shank size, The bit is about 2mm wide just pushes in sideways i it is an the Glanze website if you want to see it. Machining a bit off the spare toolpost to reduce overall height so it is on centre line will be easiest as can just keep that toolpost for the parting off tool.
SteveW, The motor is in the way on the Unimat to do as you suggest but I will take your suggestion on board and see if there is a way round it.
Thank you both for your answers and suggestions.
I bought the Unimat to learn on and see how I got on so am now thinking in terms or replacing with somethng larger as this one is somewhat limited in what it can do.
Rodger
|
|
|
|
Post by goldstar31 on Aug 24, 2016 20:13:20 GMT
Do people actually read posts? I recall answering this question only a few days ago! I'm 86+ and that should be a reasonable] excuse.
Frankly, I question this rear tool post idea unless it is upside down. The more flimsy the lathe, the greater the need to be 'inverted' Again, I'd be loathe to part off on a Unimat3 with the suggested configuration. I'.
I' ve got a MJ189 which in case of mental aberration is a Unimat clone.
As far as grinding a groove with a dremel, I don't know but I have done it with a worn thin cutting disk from an angle grinder. This was was for my Super7B.
What it does is rolls the cut parted off metal into narrower rolls thus avoided binding.
But I've said it all - before and 'Life gets tedious, don't it?'
For those who need a further reprise, it is all in Model Engineer Vol 142 or GHT, Model Engineer's Workshop Manual.
Room for duplicating paper?
Norman
|
|
|
|
Post by bobpendleton on Aug 24, 2016 20:26:56 GMT
I have bought a glanze 8mm parting off tool, replaceable tip type, for use on my Unimat 3. Rodger: A couple of thoughts from another Unimat user: 1. Chronos are currently offering a set of quickchange toolholders, quite expensive but you do get eight toolholders enabling you to have one each for different tools, and the toolholder holder(!) is height adjustable. The QCT height adjustment does not affect the tip angle. 2. Axminster have a rocker type toolpost, their catalogue code 600823 - but I imagine using the rocker for tool height adjustment will affect the cutter angle. You may care to check the recent discussion on the Yahoo Unimat 3 group. Bob |
|
SteveW
Elder Statesman
Posts: 1,397
|
Post by SteveW on Aug 24, 2016 20:48:11 GMT
I'd be curious to know why rear parting off tool posts are considered a good idea.<snip> By having the forces from the upwards cutting action it tends to lift the tool in an arc up, out and away from the cut thus reducing the cutting load. Yes the tool is inverted and comes in from the rear of the target material. In cutting from the front increased load on the tool causes it to tip in to the job thus increasing the cutting load. This can lead to sudden digging in and disaster. Lighter lathes prefer rear tool posts as they have an automatic back-off action when cutting. Norman: I'm not that old to have read all those publications  |
|
|
|
Post by goldstar31 on Aug 24, 2016 21:05:24 GMT
[quote author= Norman: I'm not that old to have read all those publications [/quote] For the price of about 30 quid, I replaced my old and very worn and almost unreadable copy of GHT's book- at the 2016 London Exhibition. Again, the scalloping( well sort of) is covered in John Moran's Gadget Builder.com Perhaps other people are finding what was written in the past to be of some use in this day where people rush to the internet in the hope that some old fart still has a bit of memory left- to contribute. Perhaps the word Pelmanism springs to mind and it may be prudent to write it down in case it is forgotten. Norman |
|
|
|
Post by springcrocus on Aug 24, 2016 22:38:38 GMT
I'd be curious to know why rear parting off tool posts are considered a good idea.<snip> By having the forces from the upwards cutting action it tends to lift the tool in an arc up, out and away from the cut thus reducing the cutting load. Yes the tool is inverted and comes in from the rear of the target material. In cutting from the front increased load on the tool causes it to tip in to the job thus increasing the cutting load. This can lead to sudden digging in and disaster. Sorry, Steve, but I can't agree with those statements. The cutting actions of an upright parting tool in the front or an inverted tool in the rear are totally identical. The only difference is where the swarf goes, with gravity assisting in the rearward example. Scalloping the front of a parting tool, as described by Norman, makes the swarf form into a vee-shape on top of (or under) the tool and, therefore, doesn't bind up with the sides and is the most useful tip to consider when grinding your parting tool. This assumes that the cross-slide is adjusted in the normal manner and doesn't jump up and down like a fiddler's elbow! Steve |
|
|
|
Post by chris vine on Aug 24, 2016 23:23:03 GMT
Hi Steve,
with the front parting tool, being forced downwards, the bending of the toolpost etc makes the cut deeper (it bends down and forwards), so dig-ins can easily happen on a light lathe.
With the parting tool in a rear toolpost with the cutting forces upwards, the toolpost bends up and backwards and away from the work, so the cut reduces and dig-ins less likely.
However I have never used a rear parting tool as I find the modern replaceable tip blades work a treat as long as you make them work!
Chris.
|
|
|
|
Post by springcrocus on Aug 25, 2016 6:10:59 GMT
Chris,
Have another look at what happens to the tool. A front-mounted tools bends downwards and AWAY from the work. It would spring back and dig in. A rear-mounted tool bends upwards and AWAY from the work. it would spring back and dig in. The motion is identical, just reversed.
I stand by my previous statement. There is no evidence that I'm aware of that proves either case but my years of using parting tools in all sorts of lathes tells me the whole thing is a total myth.
The main advantage of rear-mounted parting tools is in production engineering on capstan lathes where it is almost traditional to mount a double chamfer tool in the front and parting tool in the rear, with all other ops being done from the capstan. It's all about speed, hence prodution times.
Steve
|
|
jasonb
Elder Statesman
Posts: 1,209
|
Post by jasonb on Aug 25, 2016 6:48:45 GMT
As the area available to fit a toolpost on a U3 is so small there is no chance of using a rear toolpost on it and even if you dod the cross slide just won't go back far enough.
The other option would be to machine a little off the bottom of the 8mm shank, they are not that hard and a carbide tool will do it, I have done the same on far better quality holders with no problem.
Just hope your U3 has the guts to take the 2.2mm wide cut, from what I remember when I used mine its likely to be too much. Might be better with one of the micro parting systems if you want an insert parting tool, something like the "mini-thin" parting & grooving tools.
|
|
|
|
Post by Deleted on Aug 25, 2016 7:17:30 GMT
Jasonb - thanks indeed.
Found a small one from sheffield tools at 1.5mm blade width so will go with your suggestion and return the Glanze.
Rodger
|
|
|
|
Post by goldstar31 on Aug 25, 2016 7:29:13 GMT
Thanks Jason, you are getting back to the reality of a world of unimats etc. Incidentally, do people actually have to resort to making a living on capstan lathes? I suppose that I might have seen one- but forgotten as being of no consequence.
I suspect that it IS possible to fit a rear parting tool to a Unimat but I fear that a Glanze or whatever is a rather pretty thing to keep on a mantelpiece until something more appropriate turns up. In the meantime, our poster needs guidance- for a Unimat.
Probably the avenue to pursue is what Jason suggests and that means 'making one's own tooling'
I have to apologise but my MJ189 is back in its box and I am struggling to cure the faults in a half my age Myford ML10. Grrrrrrr!
Maybe, that Rex Tingey book on the Unimat would be helpful?
Tingey- was also a former 'Boy in Blue' and would have been my age.
Happily
Norman
|
|
|
|
Post by goldstar31 on Aug 25, 2016 7:57:56 GMT
I removed the non standard rear cover on my lathe.
Whilst there is only one tee slot, there is no practical reason why a subtable could not be fixed.
Whether our poster can manage this is not known- but I repeat that is possible!
I did this on an old 9x20 series lathe to take Myford goodies.
N
PS Oh joy unconfined! One of the posters has got me a capstan attachment.
|
|
|
|
Post by chris vine on Aug 25, 2016 8:13:04 GMT
Hi Steve,
The fun of engineering and science! I have never owned a rear toolholder, but I think it is not just the tool bending, it is the toolpost and cross-slide etc etc which distort. If you just take the toolpost, then the load and bending direction (into or away from the work) are opposite for a front or rear (cutting upwards) toolholder.
Chris.
|
|
SteveW
Elder Statesman
Posts: 1,397
|
Post by SteveW on Aug 25, 2016 8:23:02 GMT
Guys,
Steve's point that the tool will always bend away from the material under load regardless of being mounted front or rear assumes that any bending that occurs will be around a point at/near tool centre height and perhaps a distance out. It is more likely that the bending that does occur will be distributed into the tool post, slide, saddle and lathe bed. These being below centre relative to centre height means that a front tool will always bend in and increase the cut while a rear tool will bend out and away safely removing itself from the cut and reducing the load.
Agreed, a rear mount tool post could well improve productivity because its always there ready to use. Bonus!
The problem I've always had with my premium parting tool is that its too wide and I loose too much of the increasingly expensive and difficult to get metal. So, I now tend to use the narrower replaceable blade parting tools and take the hit on changing tools. With the tool tip modification that I re-discovered for myself I no longer find parting off that traumatic. I just take a bit of care over it.
Getting back on topic: I tend to go for setting the tool height to be just after actual centre height given cutting direction so that it's guaranteed that the cutting edge will be the first thing that touches the job and saving me having to push too hard to make it cut.
|
|
|
|
Post by goldstar31 on Aug 25, 2016 8:39:10 GMT
[quote author=" chris vine" source="/post/140886/thread" timestamp="1472112784" If you just take the toolpost, then the load and bending direction (into or away from the work) are opposite for a front or rear (cutting upwards) toolholder. Chris. [/quote] Quite! This is why GHT turned it upside down. But you missed the bonus. GHT angled the blade so that once an Eclipse blade is altered by grinding a flat, along its cutting edge, all that is required is a lick on the grinder on the front of the tool. No cutting an arc or whatever.. But you improve things by the grinding of a curve along the tool. This, I repeat for the umpteenth time, neatly reduces the width of the swarf and into pretty little curls as it falls down- away from the work in progress. Then the front edge is ground with a male vee rather like what I imagine is part and parcel of a capstan lathe- if I ever recall seeing one. So does it all work as it is claimed on the tin? Well, Hemingway, who was GHT's executor sold the kits in his firm. With the changeof ownership, I see that the new owner has larger variety. And there you have it. Of course Chris is right about boring tables bending under load. It's scraping them that is the hard job. |
|
jasonb
Elder Statesman
Posts: 1,209
|
Post by jasonb on Aug 25, 2016 9:07:58 GMT
This is about as far back as the cross slide goes so unless you want some massively overhung mounting and like parting a long way from the chuck then a rear post is out of the question. 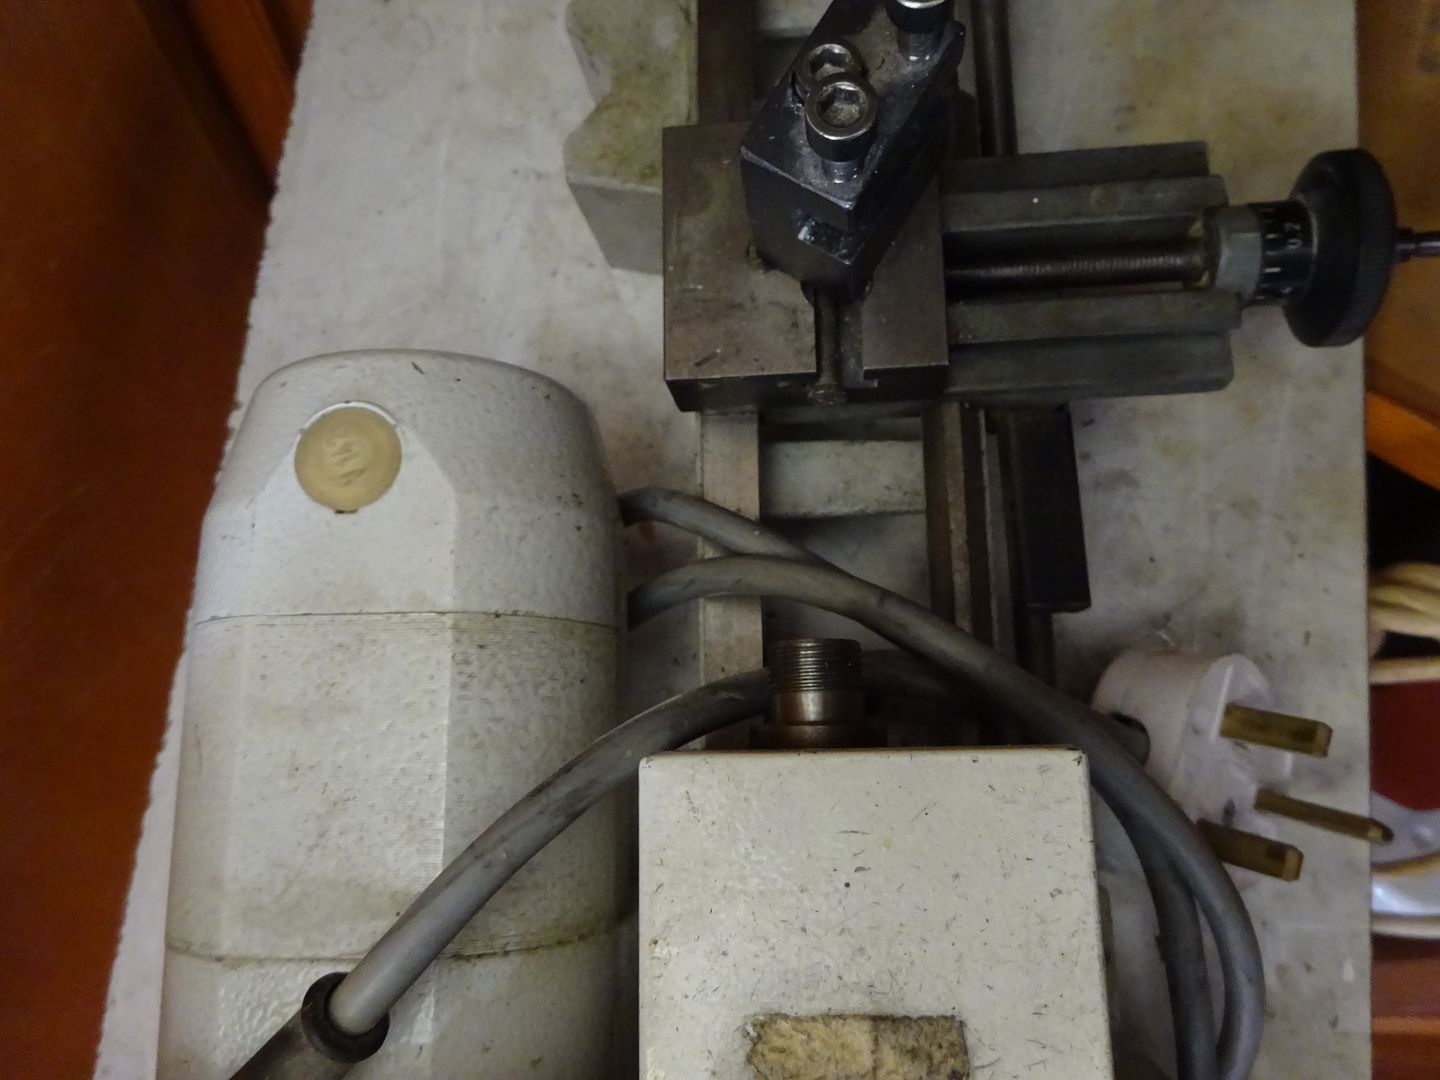 Here is my Mini-thin, I bought a 1/2" sq one as it wa son offer but had to machine it down with my Little Hogger 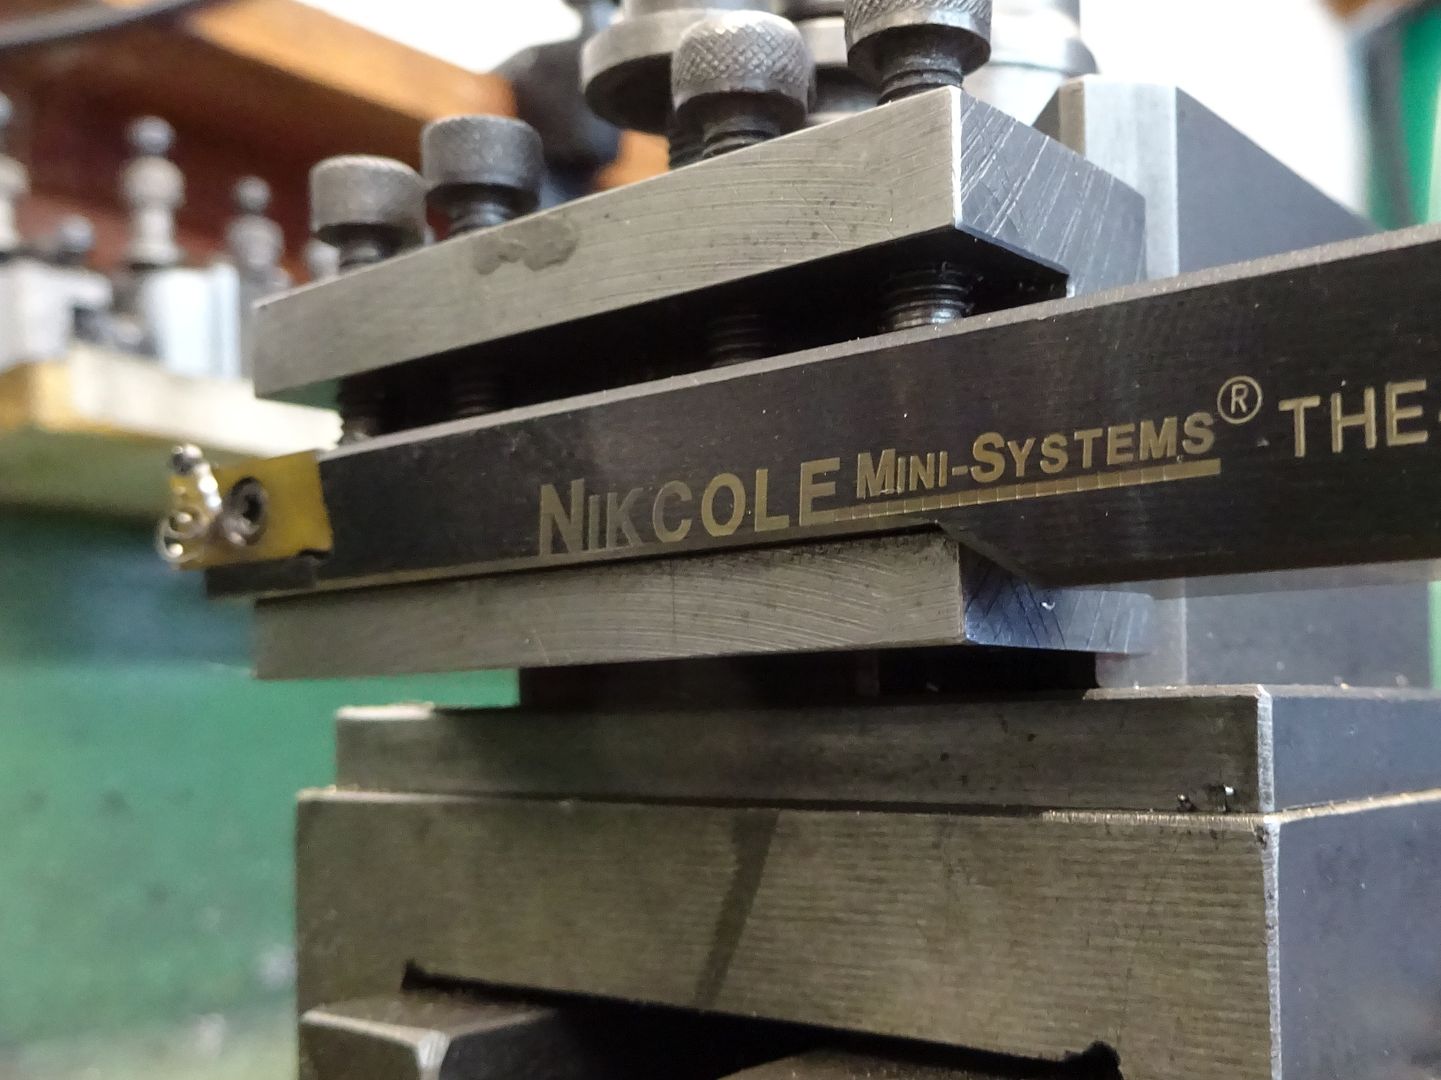 |
|


