|
|
Post by Doug on Feb 20, 2016 15:18:23 GMT
Why not allow a non-compliant new boiler in an old locomotive, using the same grandfather concept? I understand what your saying, however my old loco has a bunch of home made valves of a "type" if one of those valves fail as in this case then I make a near as I can replica of the original. I would not expect to get away with replacing the boiler with sweated stays as I have on this one. But it would ruin the whole thing if I had to take all the valves off and replace them with a different type. i will on both my new loco's be fitting captive spindles as I think it's the right thing to do and would be happy for it to be mandatory as its a better way. |
|
|
|
Post by GeorgeRay on Feb 20, 2016 16:50:08 GMT
As a matter of interest how many of the commercial suppliers valves have captive spindles. When the code was first introduced there were none. Is it still the case or have the valves been redesigned to have captive spindles.
George
|
|
uuu
Elder Statesman
   your message here...
Posts: 2,856
Member is Online
|
Post by uuu on Feb 20, 2016 18:13:27 GMT
The ones I've seen have thinned down the spindle to make it captive(so leaving the inner threaded part as original) , so it's a bit flimsy. Too easy to bend.
Edit: I'm referring to commercial ones here.
Wilf
|
|
|
|
Post by runner42 on Feb 20, 2016 21:12:26 GMT
Thanks Doug,
from the Oz perspective the code at para 5.8.1 states that screw operated valves shall be fitted with a spindle and bonnet retaining device, to ensure that the valve stems cannot be screwed out under pressure. The code also at para at 5.3.8 .............. Cleaning out plugs shall be provided opposite each passage into the boiler to allow the passages to be cleaned and proved clear.
I personally don't understand the need for the latter requirement because if there is some obstruction in the water gauge then it would not indicate a water level. I wonder how many drivers periodically remove these plugs to demonstrate that they are clear?
Brian
PS Since modification to the water gauge valve can be readily undertaken along the lines that Wilf indicated then perhaps the grandfather exclusion should not exist and a BI can insist on a captive valve.
PPS I have sympathy with Doug's reconciliation that the screw valve operates at first turn and that removal takes a number of turns. Unlike the blower valve or injector steam valve where regulation of the flow of steam is controlled by the valve and it is more readily fully unscrewed if not made captive. |
|
|
|
Post by ejparrott on Feb 20, 2016 21:35:56 GMT
I'll have to go and check, but I've got some valves that are commercial and in the order of 15 years old, pretty sure they are captive spindles.
Come to think of it, I'm pretty sure the ones on my Lilla are commercial, and they are over 20 years old now, and I'm sure they are captive. All of this pre-dates any kind of thought of retained spindles.
As regards a non-compliant new boiler on an old engine - we don't allow fittings screwed directly to the copper on new boilers to an old design, so what's the difference?
|
|
jma1009
Elder Statesman
  
Posts: 5,917
|
Post by jma1009 on Feb 20, 2016 22:36:46 GMT
i remember one occasion many years ago when the late Peter Brown of the IWMES managed to totally unscrew the injector steam valve on the club loco Ajax. the spindle shot out and was never found, and Peter narrowly avoided scalding his hand. the loco was low on water at the time. i pulled out the dumping pin on the ashpan to drop the fire whilst Peter faffed about.
Don Young via Gordon Chiverton supplied captive valves for many years pre the change in the boiler regs.
last time i looked (not that i buy commercial boiler fittings) most of the commercial suppliers still supply non-captive valves. captive valves require a great deal of extra care and precision in making, especially the double ended connections which must of course be concentric on all 3 threads. this increases the price quite a bit.
i dont see any problem with Doug's repair so far as the boiler regs are concerned. i am sure his club boiler inspector will be of the same view.
cheers,
julian
|
|
waggy
Statesman
 
Posts: 747
|
Post by waggy on Feb 20, 2016 23:00:09 GMT
The age of the loco is irrelevant, the test code deals with boilers and fittings.
Wilf mentions thinning of the spindle making the stem weak, a valid point, but you don't have to reduce the diameter much to make the spindle captive. An interference fit of the threaded part of the spindle through the gland nut is all that is required.
Waggy.
|
|
|
|
Post by Doug on Mar 20, 2016 19:00:53 GMT
Had a good shakedown run at home today Spent some time making a storage and transport box after the loco got damaged going to the midlands show 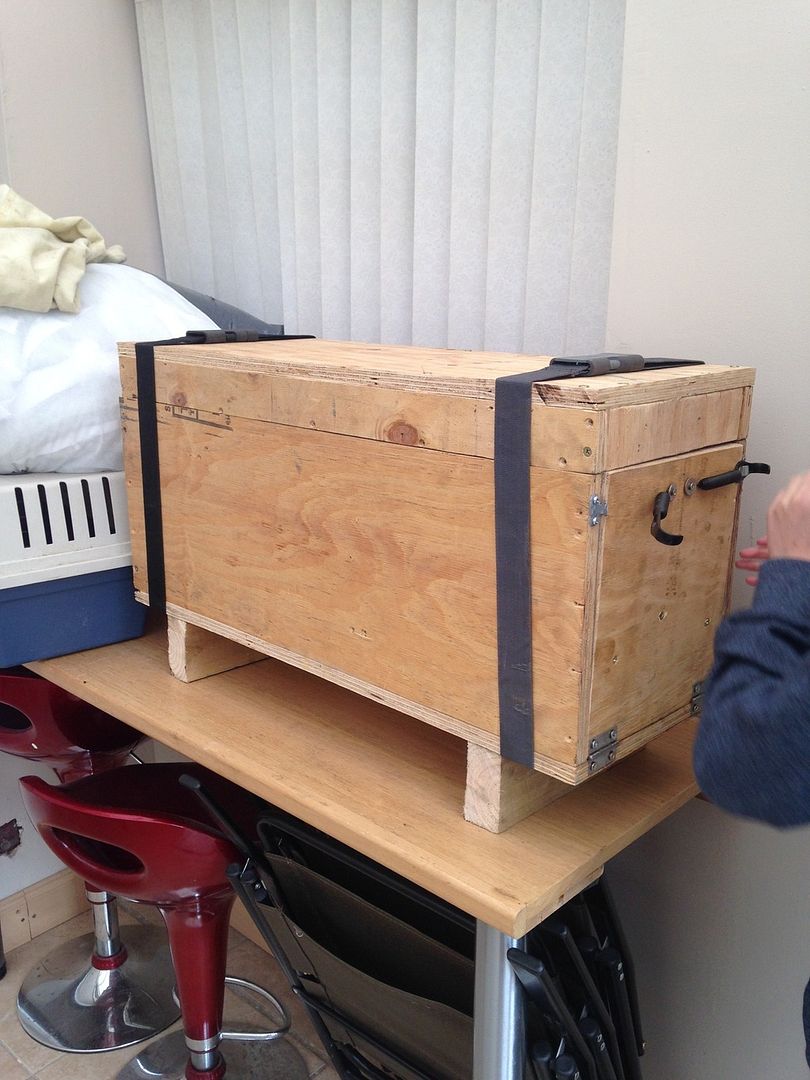 Put some restraints on it so it can't bounce about 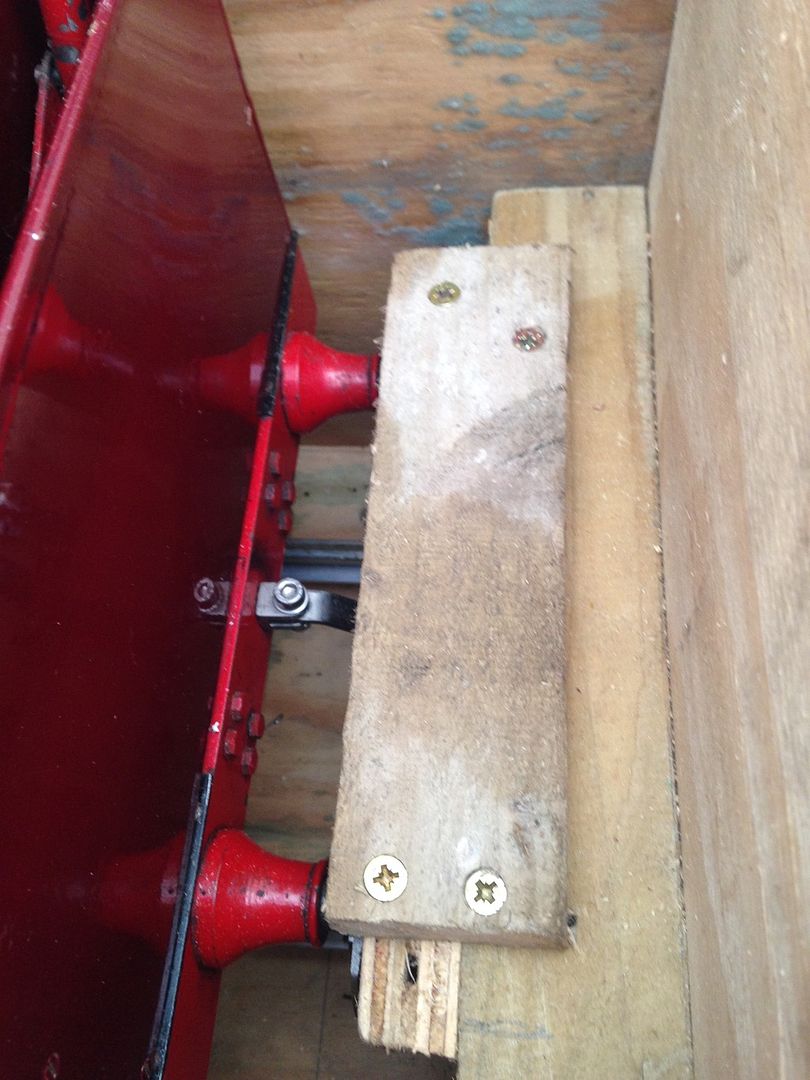 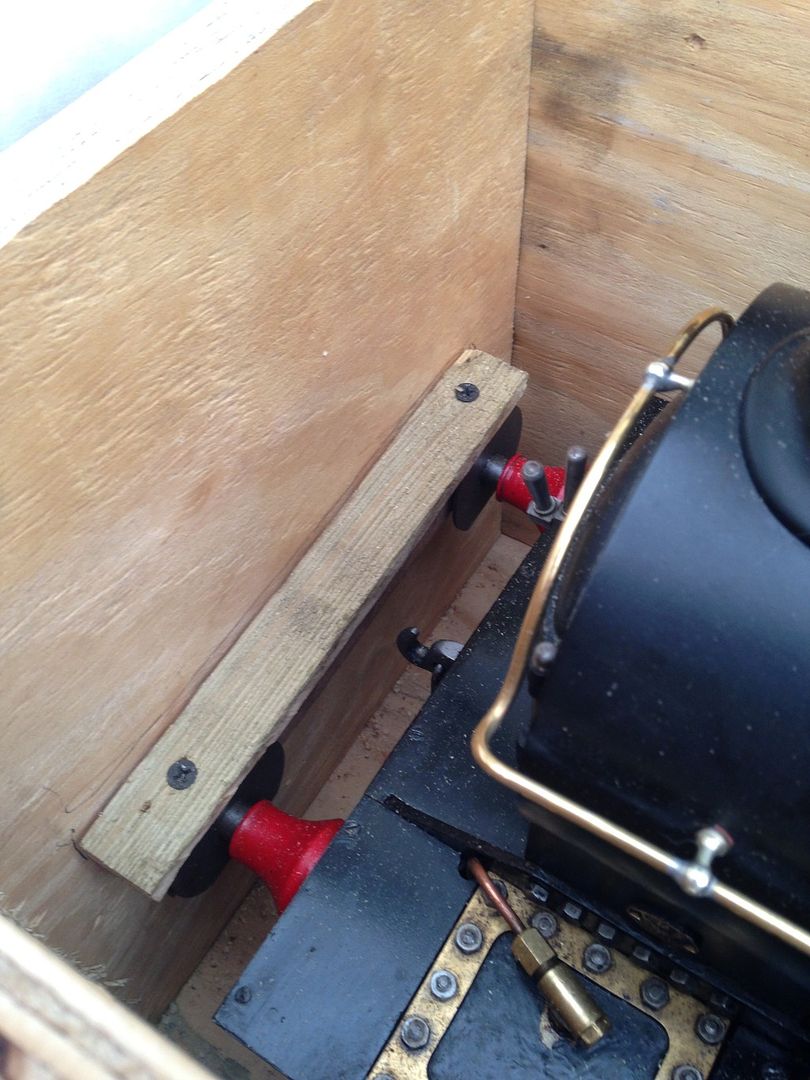 And a door to roll it out 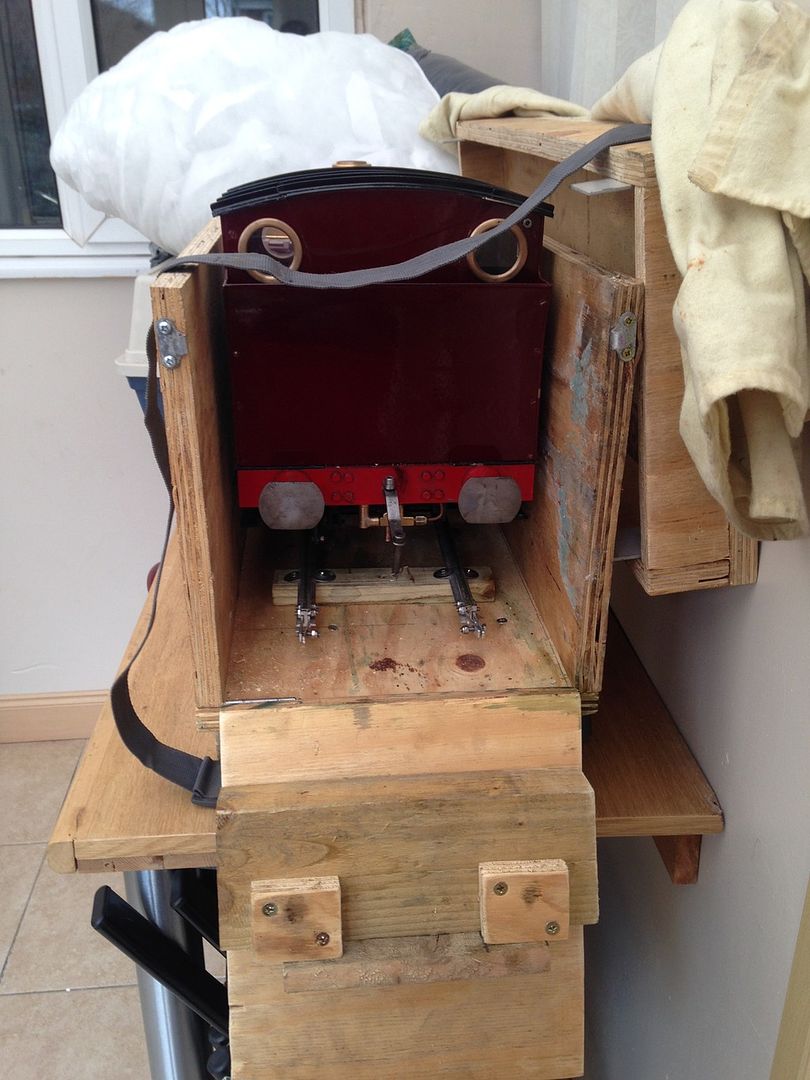 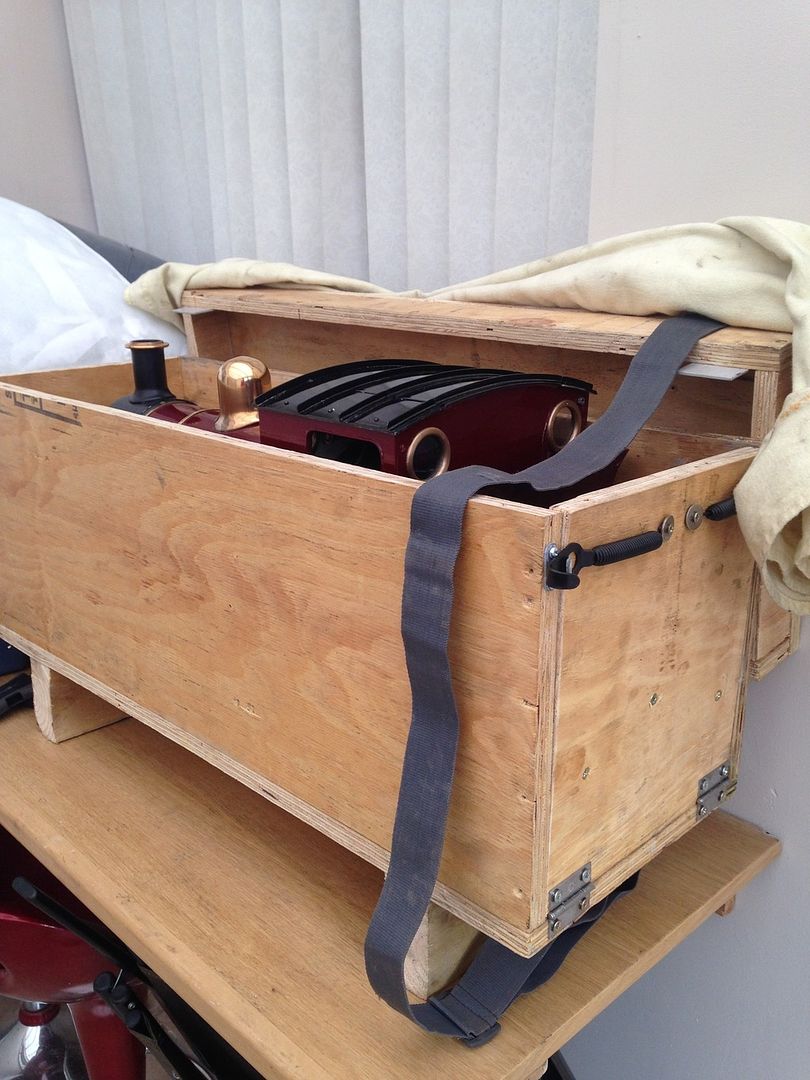 Had a couple small leaks but all else was very good. |
|
miken
Statesman
 
Posts: 500
|
Post by miken on Mar 20, 2016 19:55:33 GMT
Heres how I transport mine. They look like twins. Mike  |
|
|
|
Post by Doug on Dec 24, 2017 18:22:29 GMT
the old Loco is back in for repairs, after a couple of years of running its time again for a boiler test. So I have taken it upon myself to fix all the bugs and little issues that have been "sub optimal" in the last few years. first off is the strip down the cab roof is the fist bit to come off, 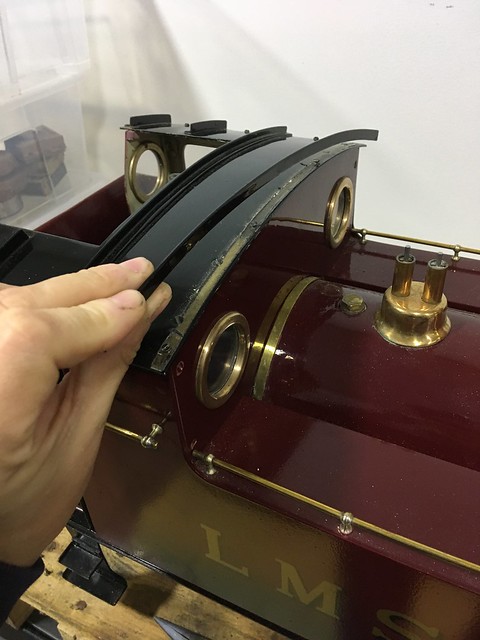 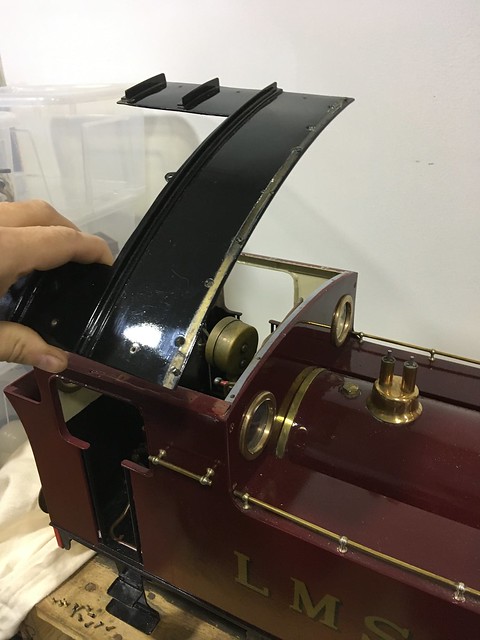 then the rear bunker plate to expose the hand pump 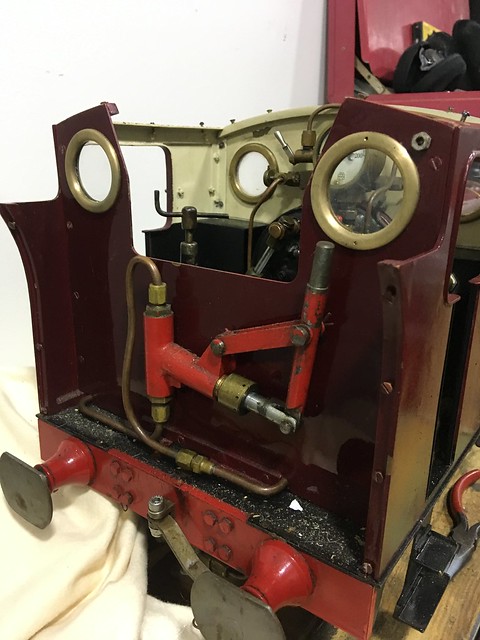 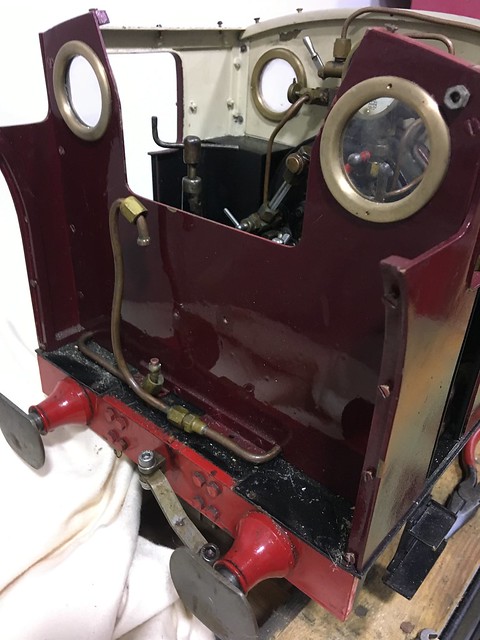 then the rear cab wall which exposes the pipes and cab components 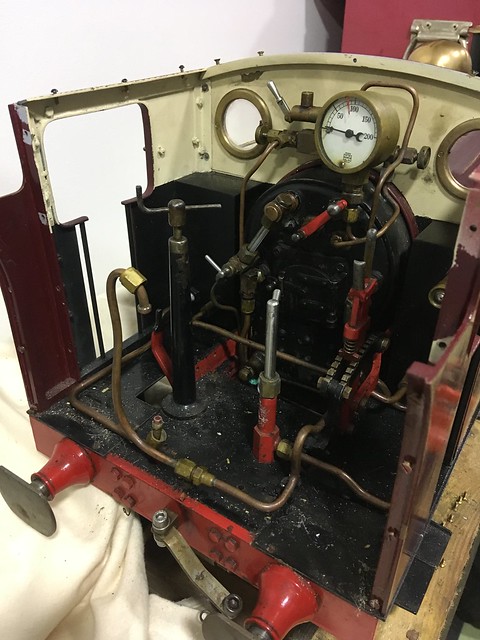 then the front specticle plate 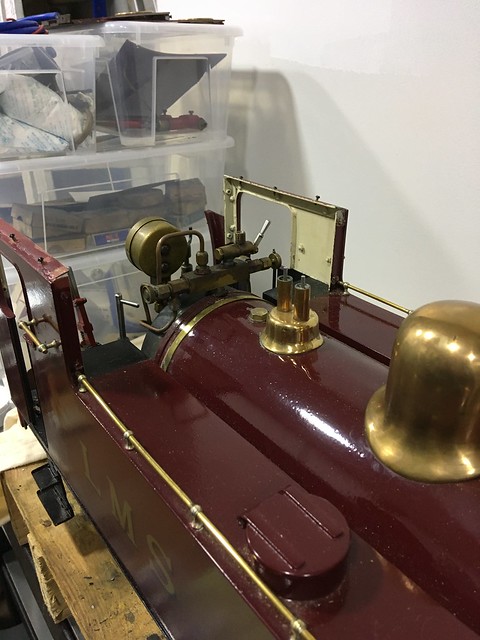 i then removed the side tanks, this is oneof the faults i have to fix a small bit of damage caused during transport to a model show. 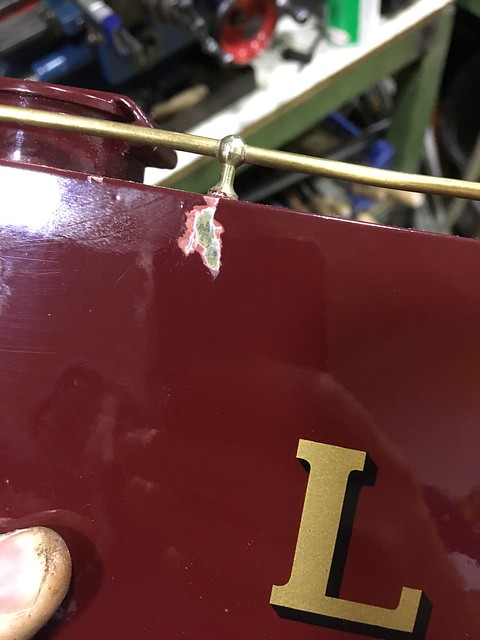 and another issue with the axle pump that has been leaking during running  at this stage I am almost ready to remove the boiler, just afew more connections to remove 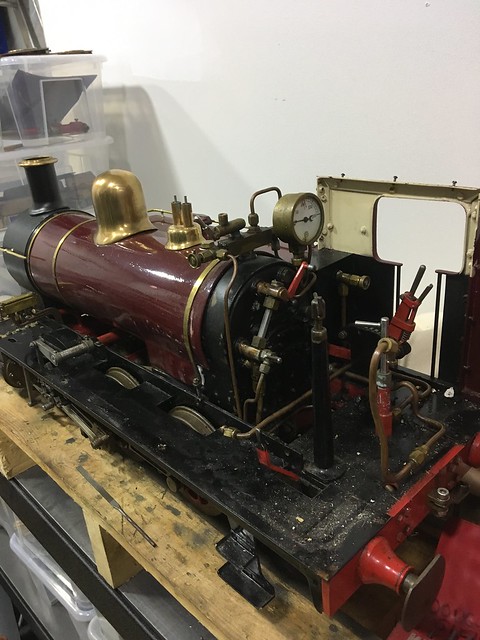 undoing the last few boiler connections in the cab end 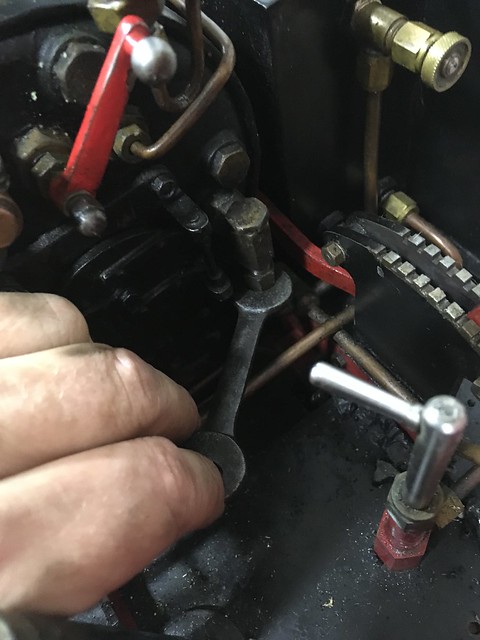 the rear boiler strap that holds the boiler in place 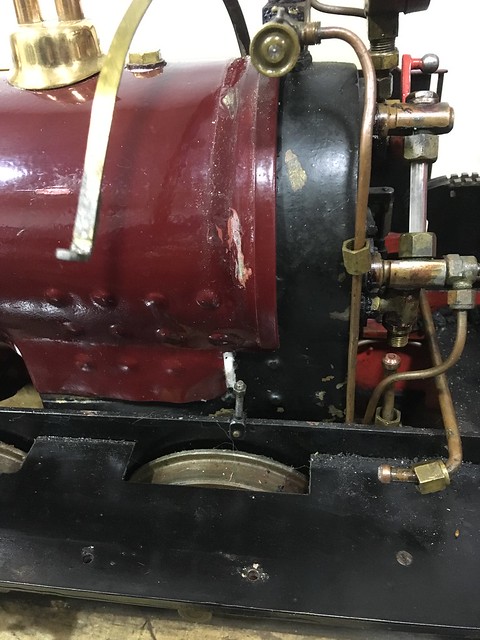 |
|
|
|
Post by Doug on Dec 24, 2017 18:35:24 GMT
then its on to the smoke box to remove the connections that end, first off the door stay 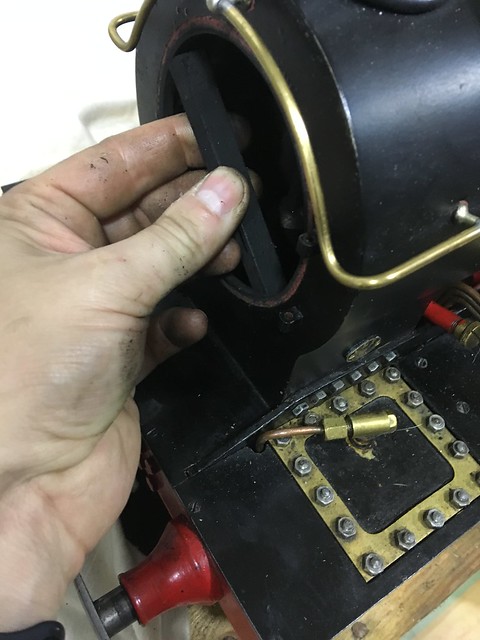 another issue will be the exhaust which needs a little bit of alteration (thanks to Julian Atkins for the correct smokebox chimney drawing modification that i will employ). 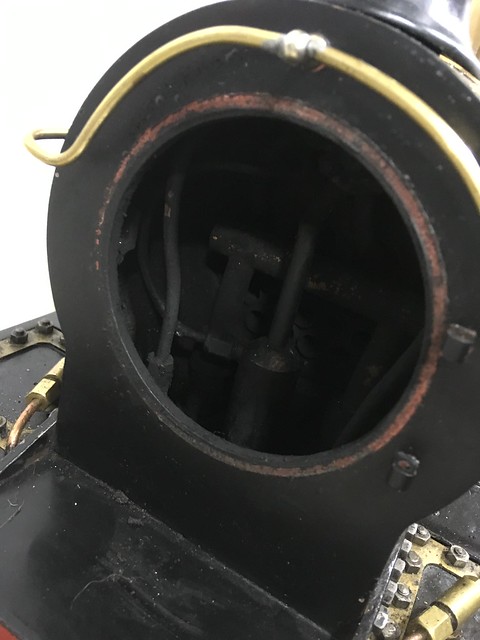 removing all the connections 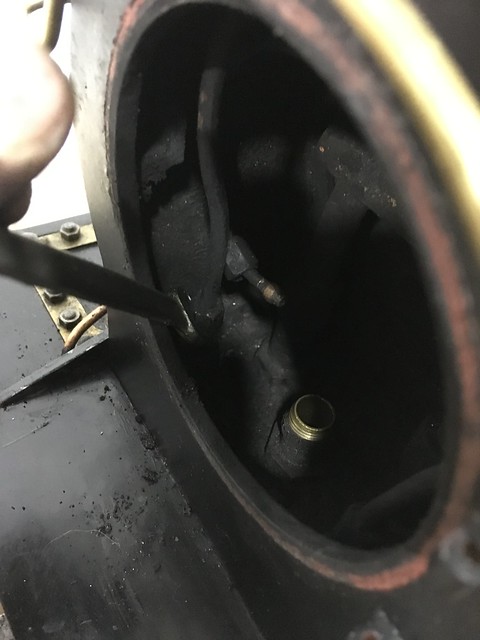 another issue is the injector that i have not yet been able to get to work correctly (again thanks to Julian the injector works but the plumbing needs an upgrade) 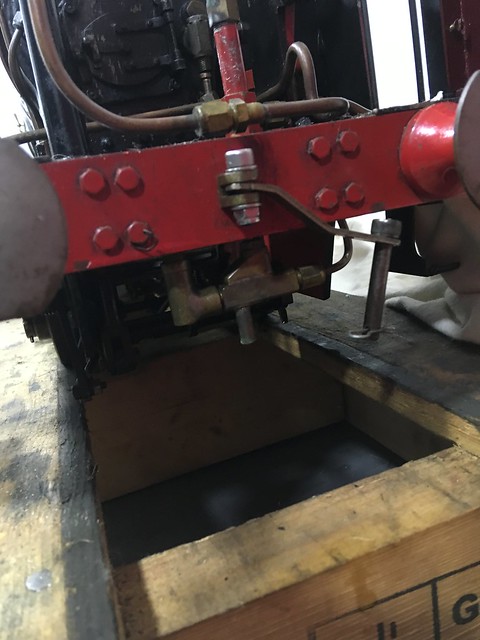 the pipe work feeding the injector with steam is a bit on the small side 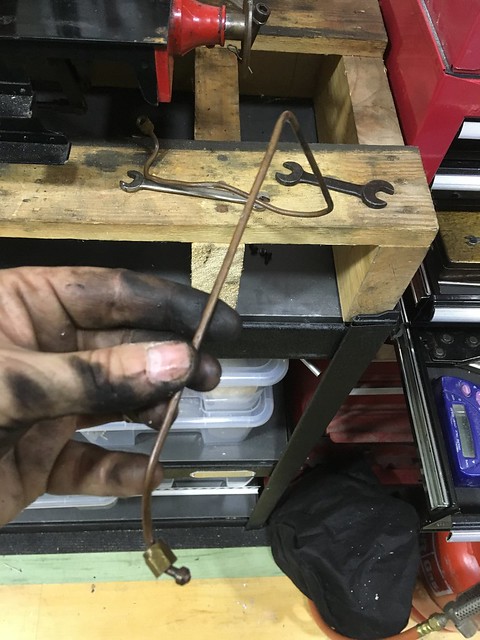 a comparison of what it should be 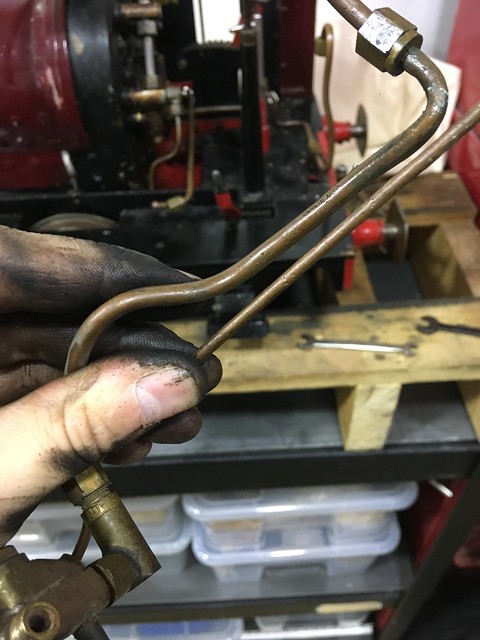 and the final job will be to remove the piston rings (currently PTFE) and replace with carbon graphite wadding. 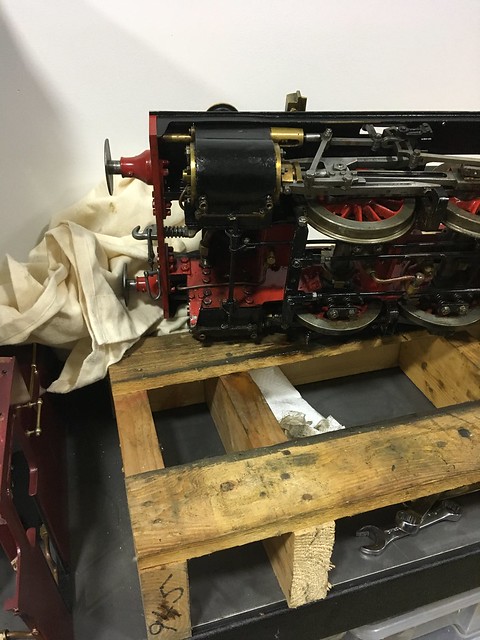 oh and i decided to make a turnover frame to help with my loco builds so that will be first before i do any more work on the repairs. i have had a good look at Rogers frame and mine will be based loosly on that as his looks awesome and although i wont be able to match the quality of his the general design is very easy to replicate. thanks for looking in hopefully more to follow soon. doug |
|
|
|
Post by engpete on Dec 26, 2017 11:59:53 GMT
Thanks for the pictures Doug Here is my butch on the rotating frame I built. I have drawing that I can point you at if required.  I also have a leak from the axle pump area, so I would be interested on what you find with yours. Peter |
|
|
|
Post by Doug on Dec 26, 2017 12:13:41 GMT
Thanks for the pictures Doug Here is my butch on the rotating frame I built. I have drawing that I can point you at if required. Rotaing FrameI also have a leak from the axle pump area, so I would be interested on what you find with yours. Peter Thanks Peter, I would love to see the drawing (you can never have too much inspiration) I like the frame I have a couple of plumber blocks and a worm and wheel for the rotation part but the lifting bit is almost identical using leadscrews The pump looks like it is leaking from one of the non return valves but I need to remove it to be sure, as you probably already know this means dropping the axles. Hence the frame. Butch is a horrible design for maintenance, my Speedy is a similar design without the crazy maintenance issues, but I still love the little quirky Butch which is why I am pulling it apart and fixing it up so I can use it. have you done much running? Any recommendations/modifications while its apart? all the best doug |
|
|
|
Post by engpete on Dec 26, 2017 13:51:14 GMT
Hi Doug I previously took my axle pump off, whilst I had the loco upside down. I managed it without the need to remove any axles. Although, it was a bit fiddly. I have not run it too much, managing about 6 outings with some issues after most of them. The loco was finished in about 1980 by D McKay from the Bradford club. Here it is displayed at the 2007 Harrogate show. 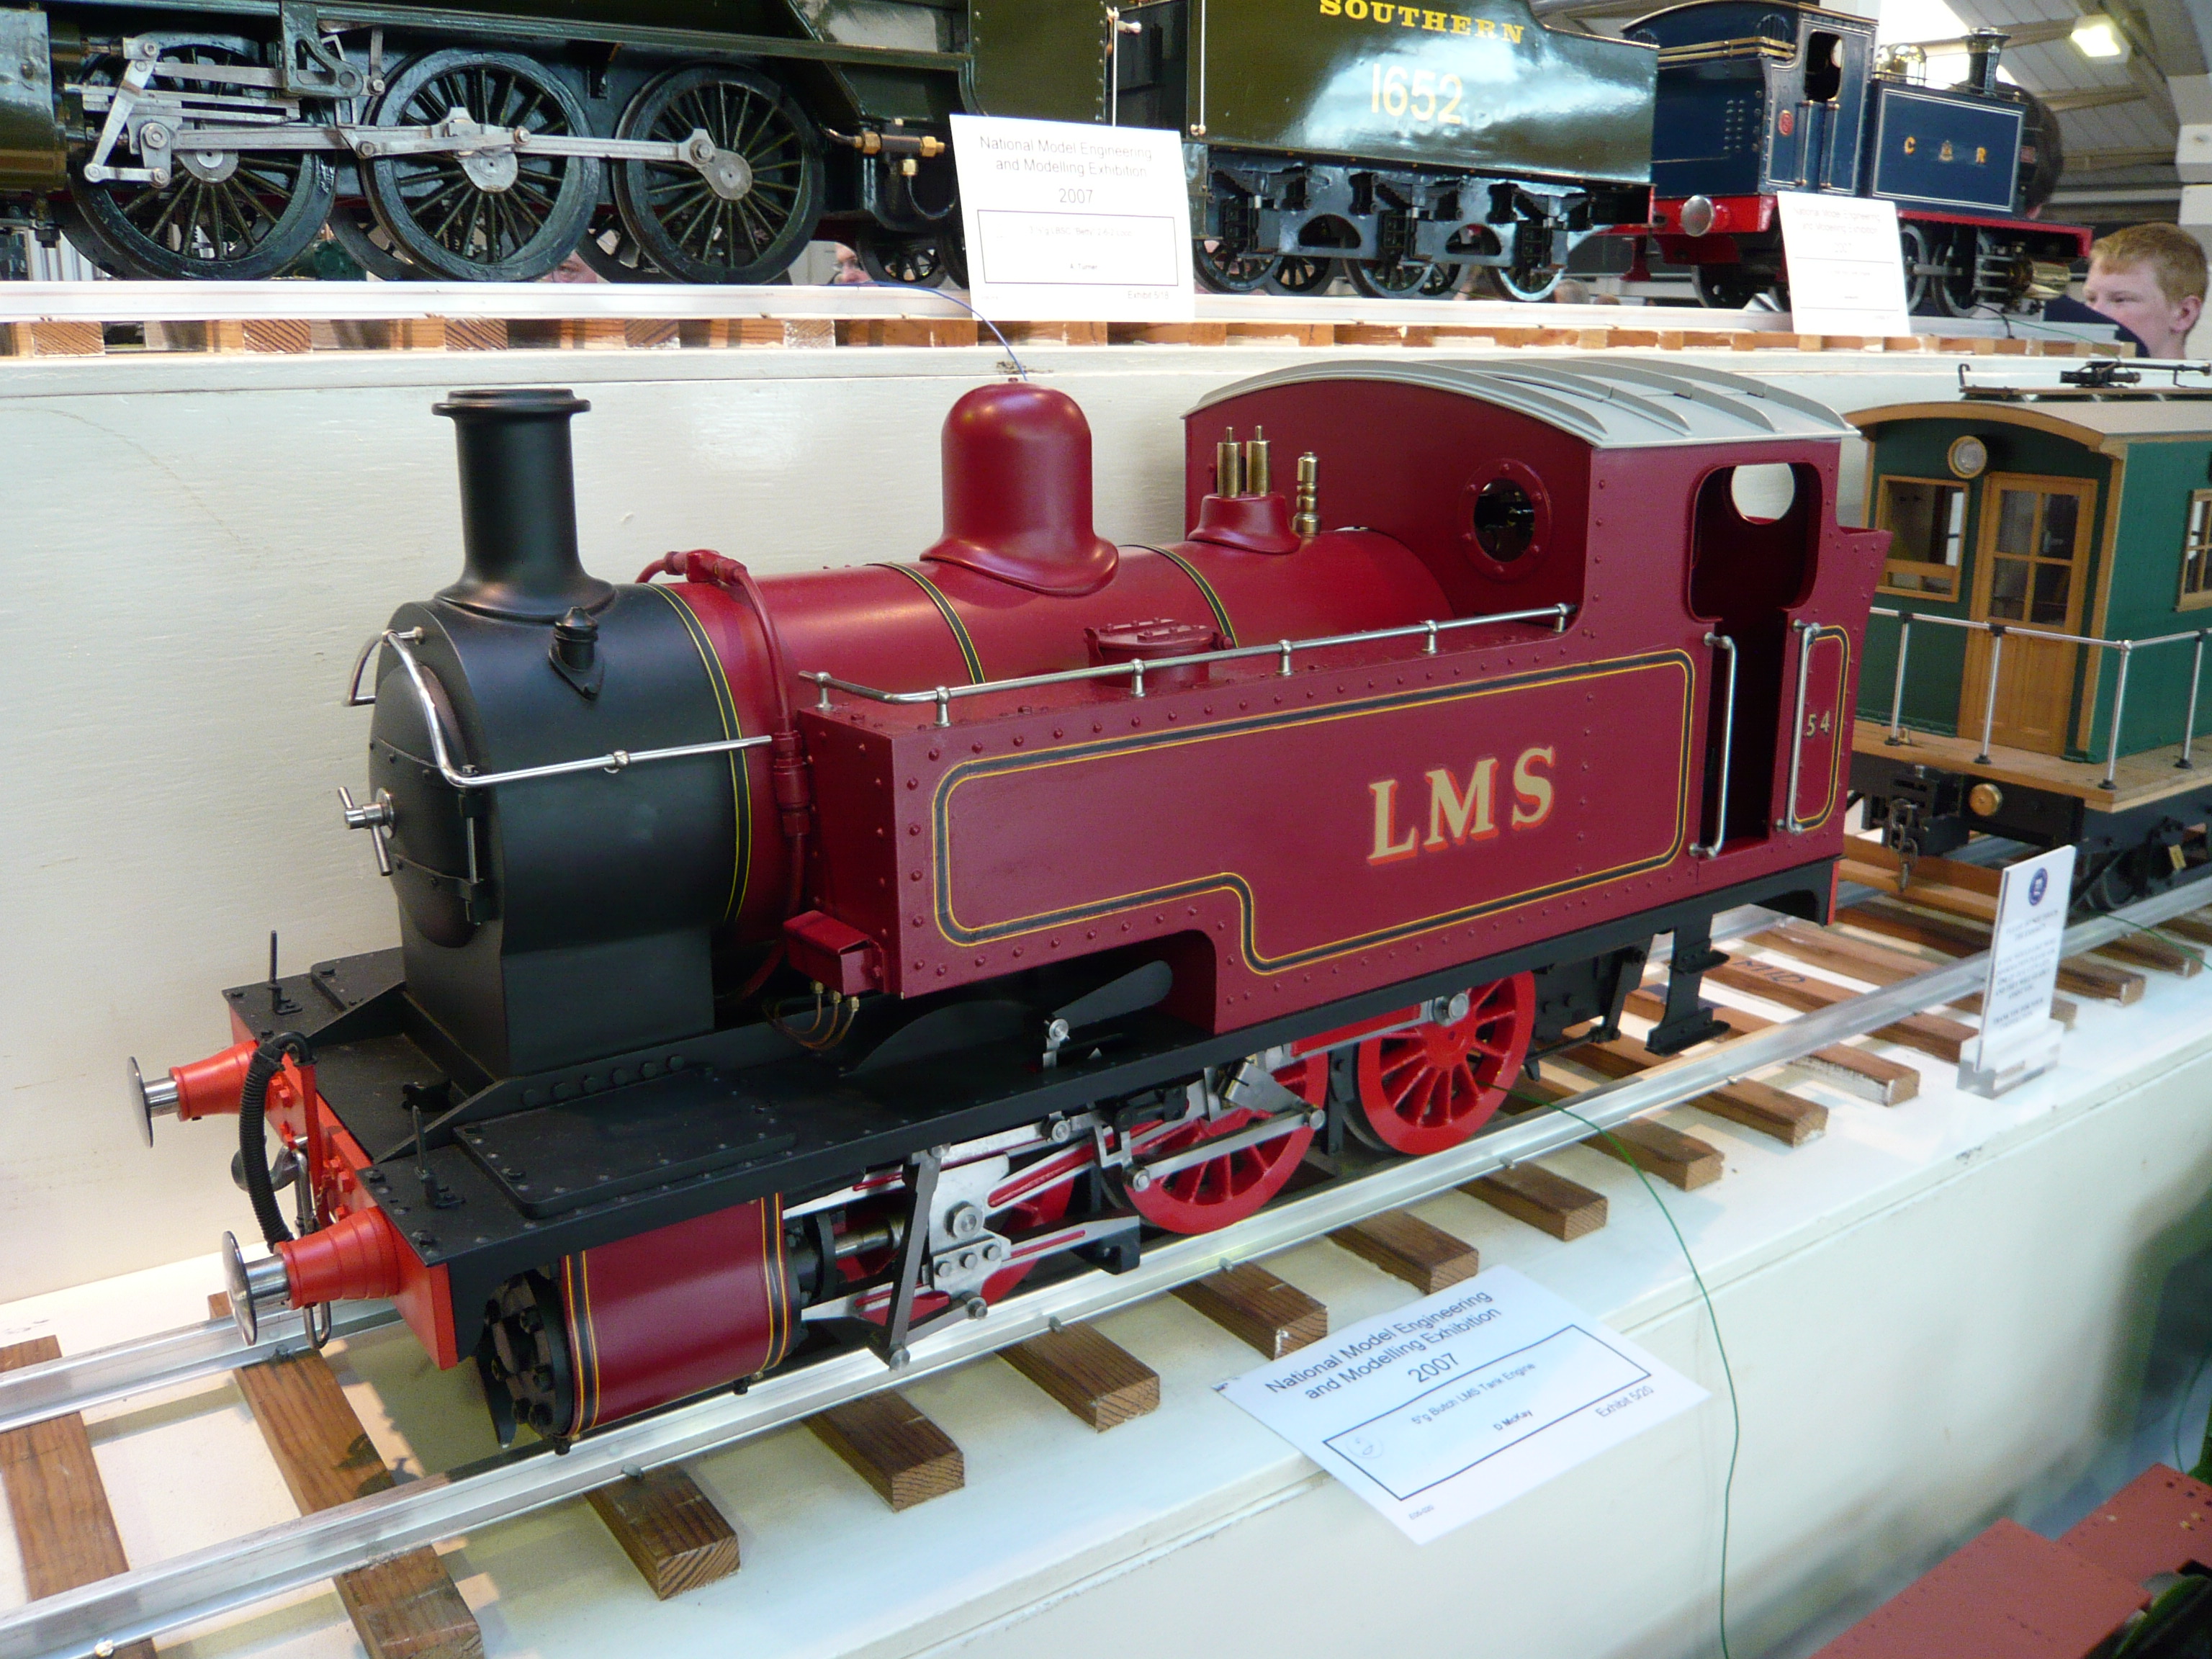 It was Hydraulic tested in 1981, purchased by a member of my local club in about 2008 and then hydraulic / steam tested in 2009. It had never run on the track, until I purchased it earlier this year. The lack of use after it had been tested /steamed has caused me problems. The worst one was that the 'stainless' shaft for the regulator corroded away where it joined the brass lever on the regulator body inside the boiler. Low quality magnetic stainless probably suffered from galvanic corrosion. The builder had not really tightened everything up, plus other oddball things has given me quite a few 'commissioning' issues. All part of the fun of buying second hand ? I have currently mislaid the drawings of the rotating frame, but will post as soon as I find them. Regards, Peter |
|
|
|
Post by Doug on Jan 7, 2018 13:59:08 GMT
I have managed to get most of the turning frame made. from a box of bits 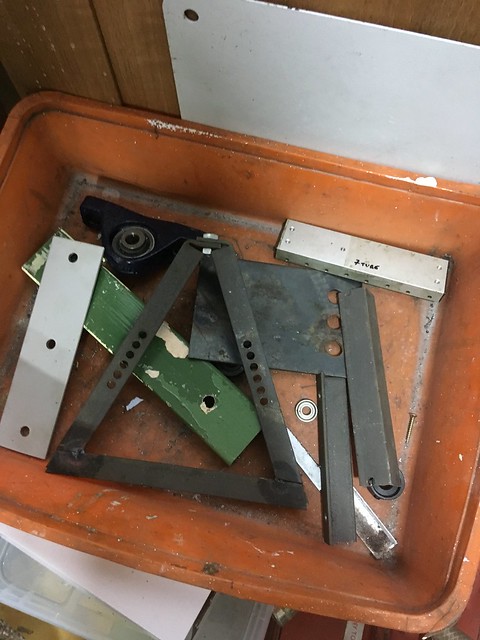 to a sliding frame 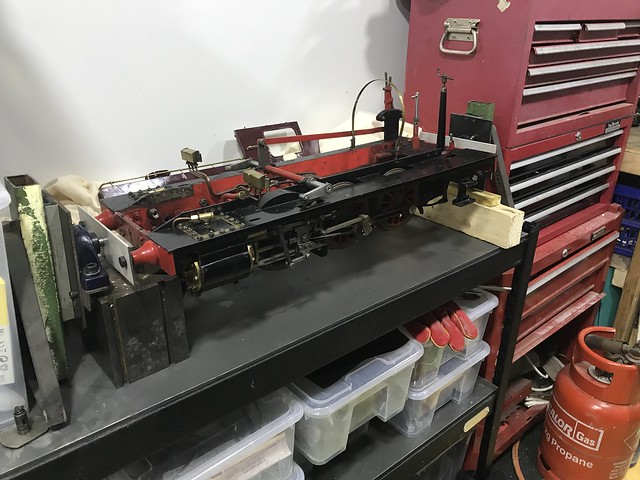 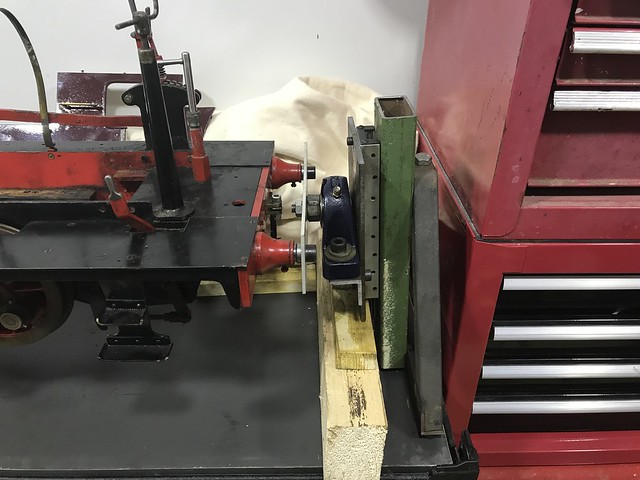 just need to make some adjusters to raise and lower (thinking of some threaded bar) and fit the worm and wheel to rotate the frame. least now i can remove the wheels and axle pump for servicing. |
|
|
|
Post by Doug on Jan 10, 2018 20:28:55 GMT
ok now the loco is upside down I have removed the pump, it was quite a struggle so i will be modifying it before it goes back to ease refitting. 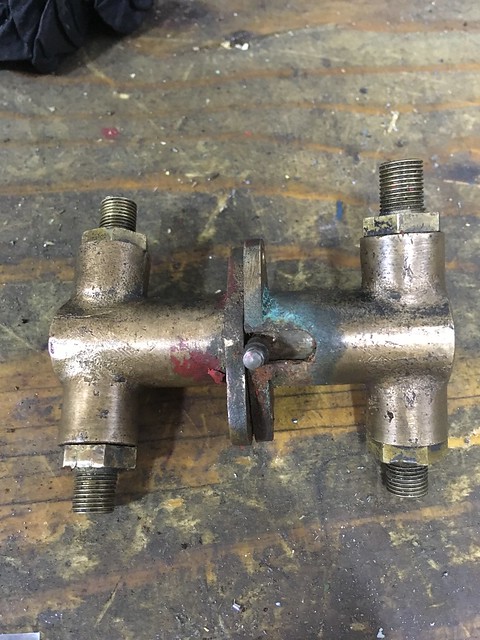 on close inspection of the seals i can see the silicon seal (white one) has worn away causing the leak also the fit is not exactly nominal. the other issue is the mild steel pin through the piston, it has corroded badly and will have to be replaced. 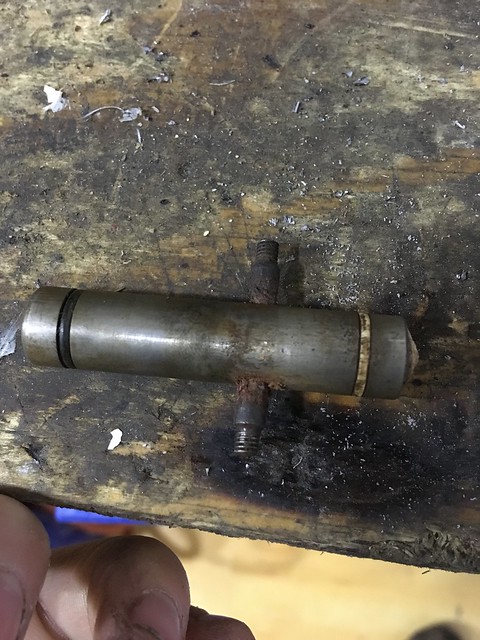 after a bit of thinking i have decided to replace both the piston and pin with some 316 stainless steel (now on order) cost £1.79 for the 3/16" pin and £6.99 for the 1/2" pistion,I will also have some spare stock left over for future projects. This should allow me to improve the fits of the orings which will both be Nitrile (NBR) silicon is really not the right material for this aplication as it wears way too easily FYI the seals are 3/8"ID 0.07" section. the next thing to address is the eccentric strap which has a crack in it (this is probably from a casting defect. i have ordered a replacment casting from GLR kenions as they have a cheap supply of castings for Butch and i dont have any blank stock of this size to CNC one from. it only cost me £8.60 total pretty reasonable me thinks. 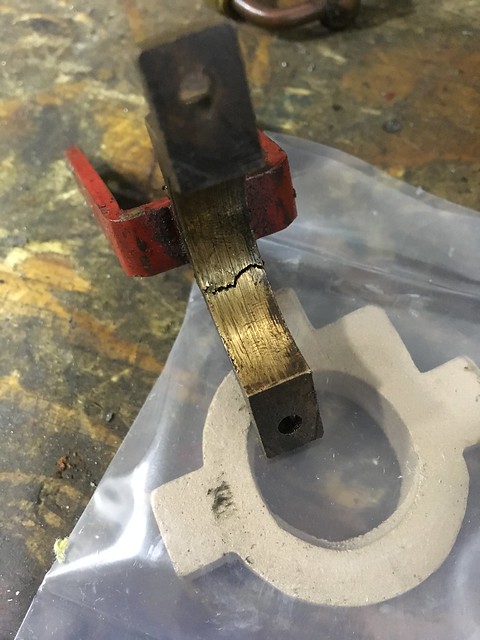 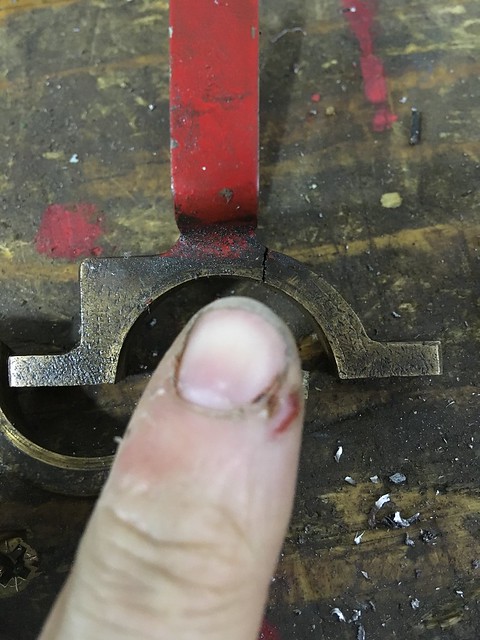 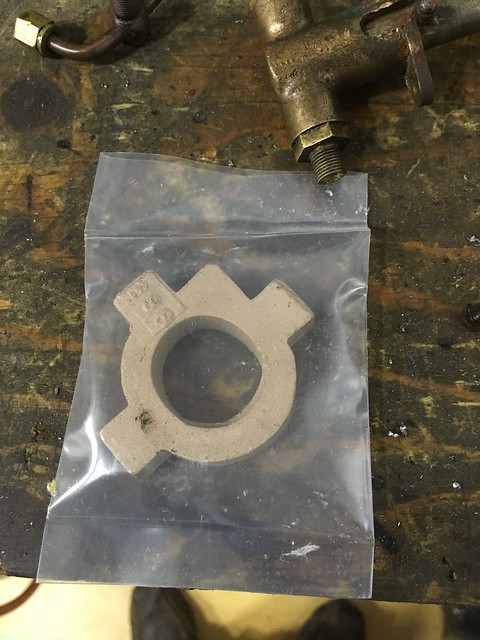 |
|
|
|
Post by engpete on Jan 13, 2018 20:35:07 GMT
Hi Doug
Looks like you are getting somewhere with the pump.
I found a clack issue on the axle pump side, and will see if this has fixed my leak when I next steam up. Otherwise I will have to take the axle pump off again for inspection.
Good Luck with things
Peter
|
|
|
|
Post by Doug on Jan 14, 2018 16:22:40 GMT
got the new piston for the pump made, the orings are a much better fit now they can move about a bit they should last longer. there are lots of places on the web that describe the propper fits for static and dynamic oring fits, it seems odd that you give the oring room to move at first, but it is well described in most of the articles why this is the best way to do it. 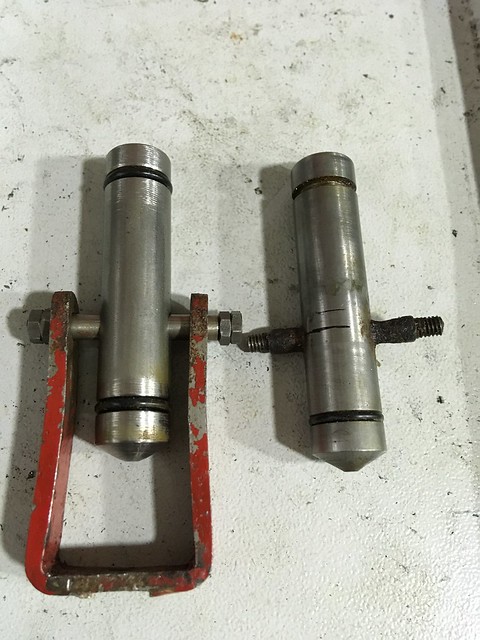 also cleaned up the pump bodies ready for paint 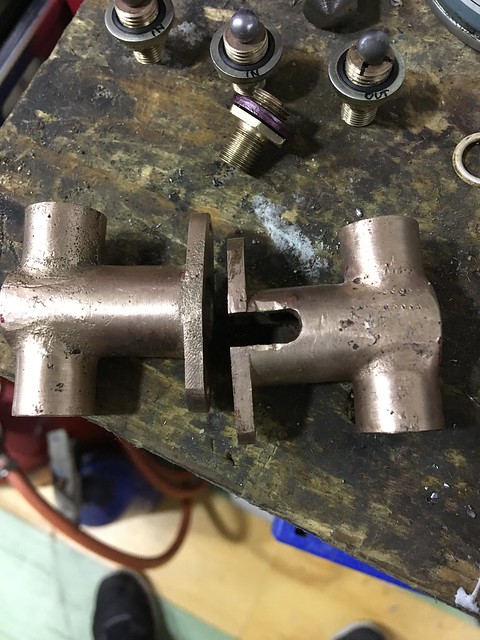 I have also fitted the pump non-return valves with bonded washers as the the treads were not tapered, this will ensure a good seal. 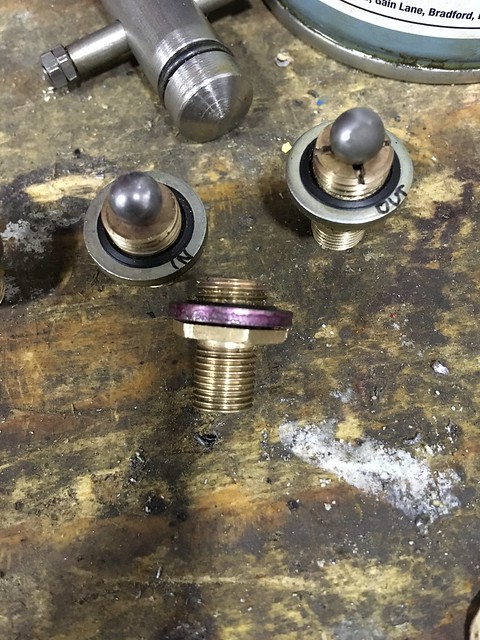 and finally I have made a good start on the new eccentric strap for the pump. 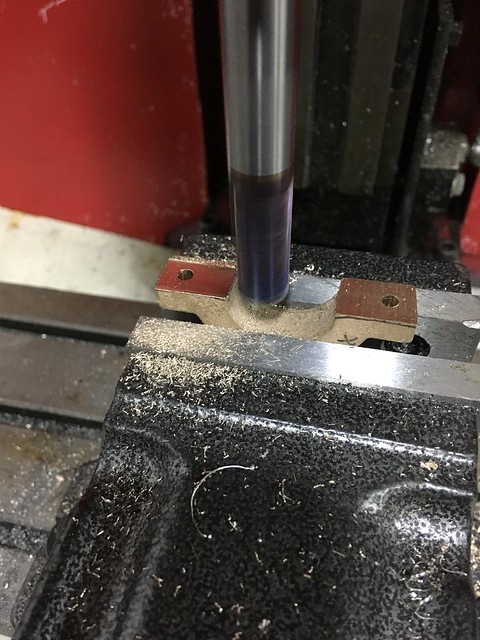 once completed I am happy the axle pump will be as good as it can possibly be even if it is too big for the job. i am going to copy some of the lessons learnt on this over to my speedy when I get back onto that. |
|
|
|
Post by builder01 on Jan 15, 2018 10:28:33 GMT
I wonder if adding the washers to the check valves will change the amount of lift of the balls?
David
|
|
|
|
Post by Doug on Jan 15, 2018 12:00:07 GMT
I wonder if adding the washers to the check valves will change the amount of lift of the balls? David Hi David I thought the same thing so I turned down the nuts 2mm (the thickness of the bonded washer) this should place the valve in the same spot as before, unfortunately it makes the nut surface really small so I am going to have to be very careful when I tighten up or I will round them off. |
|