CNC machinging a Crankcase on the Sieg KX3
Jul 4, 2019 18:07:46 GMT
Mike Clarke, uuu, and 7 more like this
Post by jasonb on Jul 4, 2019 18:07:46 GMT
As its been a bit quiet in on this section of the forum I thought I would add this bit of machining from thisafternoon
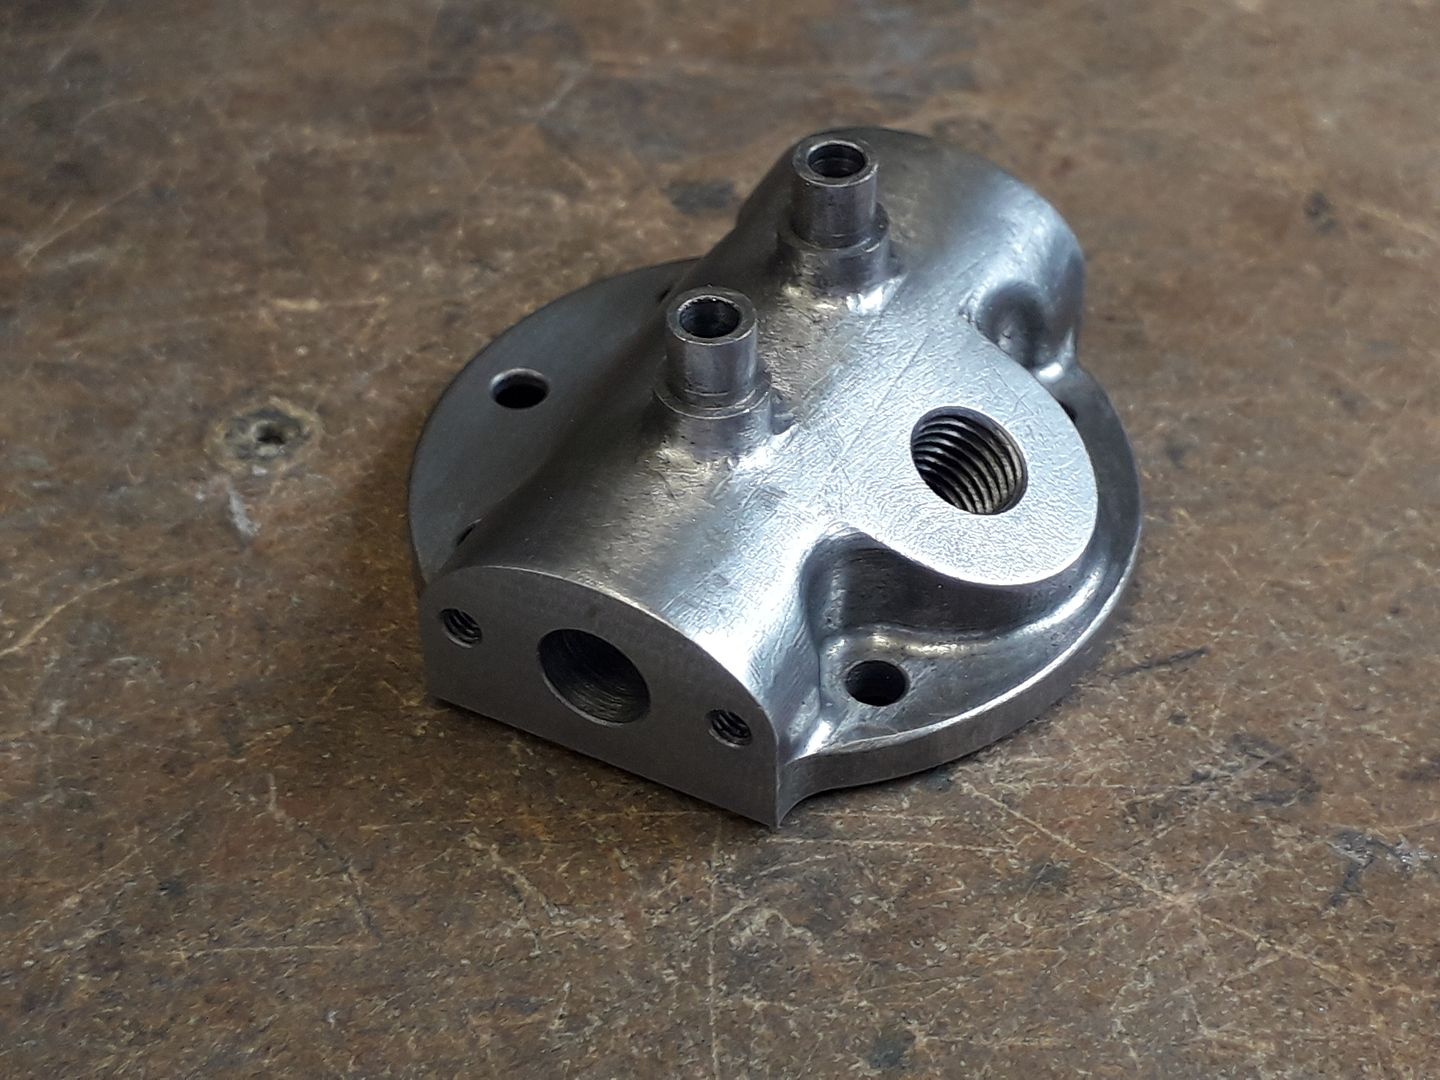
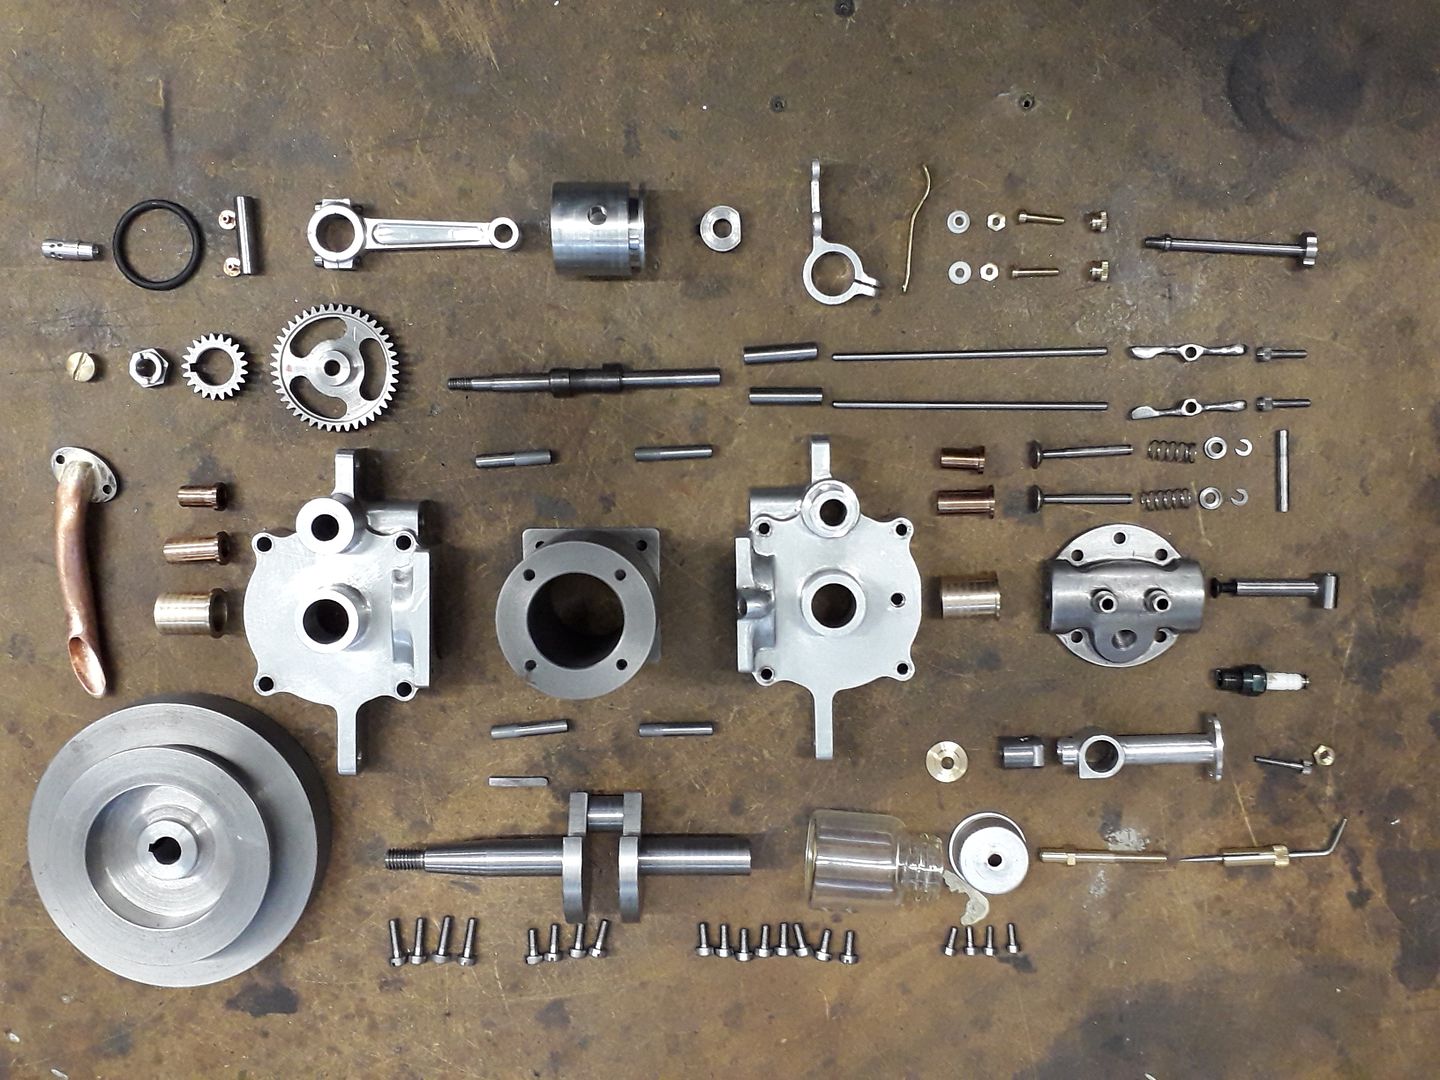
I've not had the need to do much on the KX3 over the last couple of months but thought I had better blow the dust off it and see if it (and me) could handle something a bit more complicated. I have been drawing up a 24mm bore single cylinder 4 stroke with side rods loosly based on a design published in Practical Mechanics in 1938 with the intention of CNC machining the two crankcase halves.
So with a piece of 1" 6082 T6 aluminium mounted onto a holding block I loaded up the code and let rip.
The first 3 clips in the video show the 3D adaptive clearing which was done using one of ARC's 6mm 2-flute aluminium specific HSS cutters, I was in two minds whether to use this as I had noticed a bit of chatter when using it in the manual mill in the past particularly as I wanted 27mm sticking out of the collet so that would not crash into the work but after a chat with Ketan a while back I decided to give it a go. 5000rpm, 8.5mm height of cut (1/3rd stock height) 1mm depth of cut, feed rate of 300mm per min giving achip load of 0.03mm which was just right and did not need altering. 0.5mm material left for finishing
4th clip is the same as above except height is reduced as the surface was between the two 8.5mm increments, this is where a tiny amount of chatter could be heard on the lighter loaded cutter.
Clips 5-7 are the 3D contour which was used as the sides of the crankcase all have draft angle rather than vertical sides. I used a 2-flute carbide 6mm cutter with 1.0mm corner radius. Again run at 5000rpm, with a 0.5mm stepdown and the DOC was the 0.5mm that was left, feed 400mm/min. In hindsight a 4 flute cutter would have been better as the amount of swarf was not great so the 2-flutes extra clearing capacity was not needed and then I could have fed faster.
Clip 8 Spotting the bolt holes with a 5mm HSS spotting drill at 5000rpm
Lastly drilling the 3mm holes with a Dormer A002 split point drill at 5000rpm and using a pecking cycle to clear the swarf.

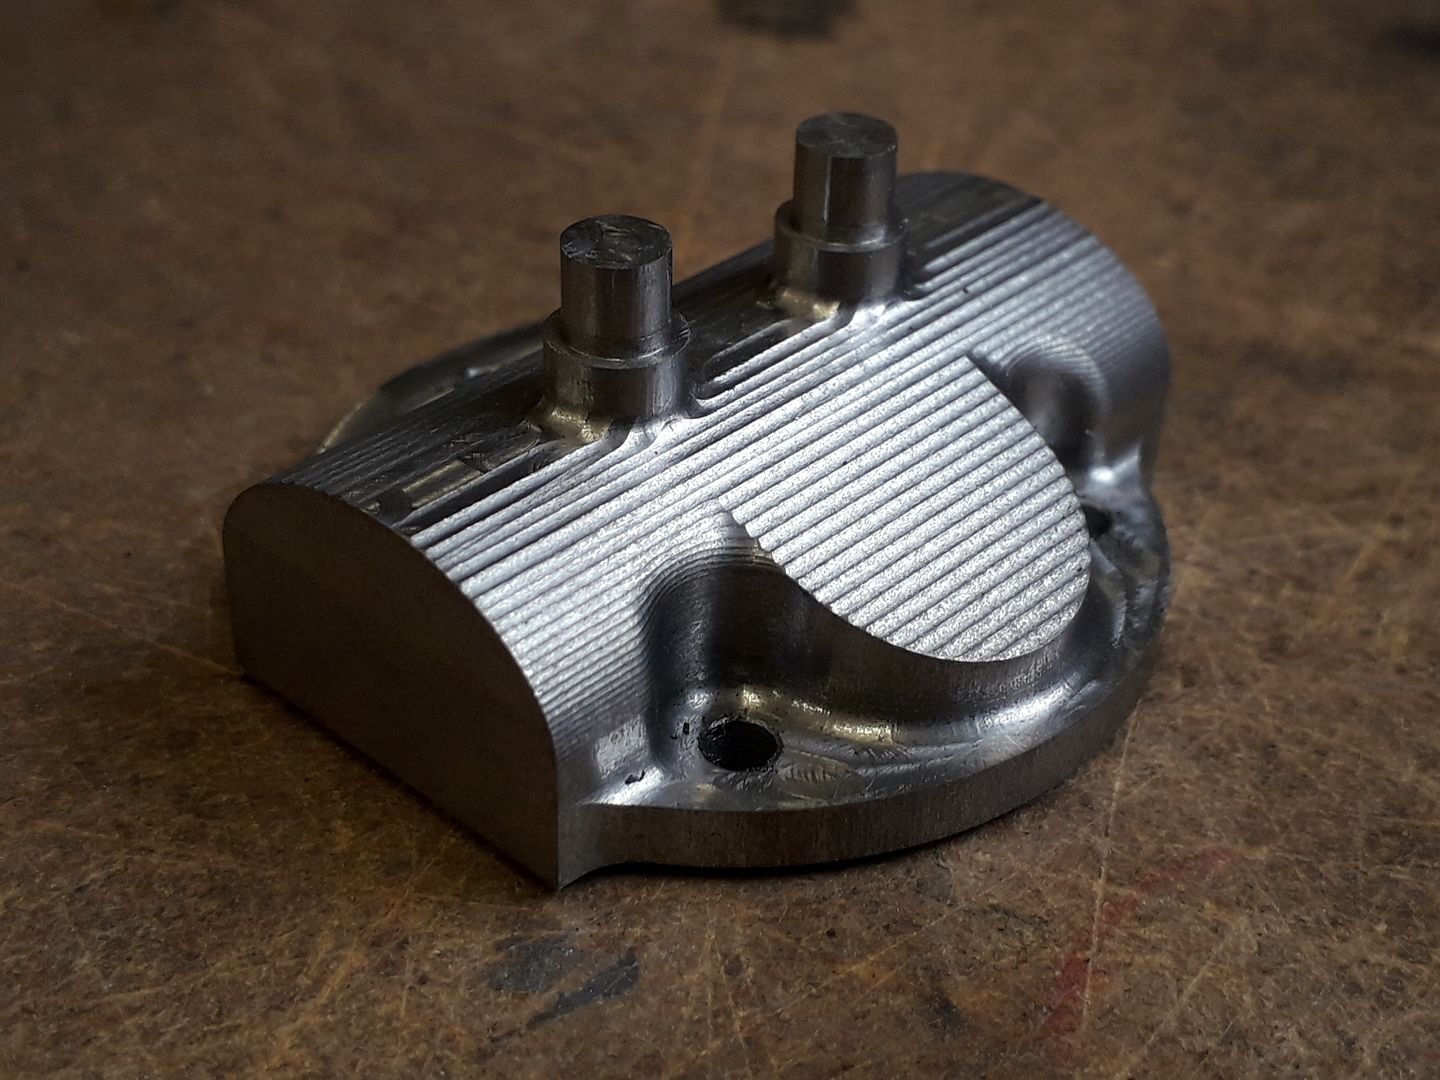
The bit of flash around the bottom is due to me doing the CAM for 25mm stock but using 1" , there are a couple of things I will alter slightly for the other half but overall I'm quite pleased with how it turned out. particularly the tapered surfaces as I was expecting them to need more fettling but they are quite smooth and will just need a quick rub with emery before blasting the surface to get it to look like a casting.
I've not had the need to do much on the KX3 over the last couple of months but thought I had better blow the dust off it and see if it (and me) could handle something a bit more complicated. I have been drawing up a 24mm bore single cylinder 4 stroke with side rods loosly based on a design published in Practical Mechanics in 1938 with the intention of CNC machining the two crankcase halves.
So with a piece of 1" 6082 T6 aluminium mounted onto a holding block I loaded up the code and let rip.
The first 3 clips in the video show the 3D adaptive clearing which was done using one of ARC's 6mm 2-flute aluminium specific HSS cutters, I was in two minds whether to use this as I had noticed a bit of chatter when using it in the manual mill in the past particularly as I wanted 27mm sticking out of the collet so that would not crash into the work but after a chat with Ketan a while back I decided to give it a go. 5000rpm, 8.5mm height of cut (1/3rd stock height) 1mm depth of cut, feed rate of 300mm per min giving achip load of 0.03mm which was just right and did not need altering. 0.5mm material left for finishing
4th clip is the same as above except height is reduced as the surface was between the two 8.5mm increments, this is where a tiny amount of chatter could be heard on the lighter loaded cutter.
Clips 5-7 are the 3D contour which was used as the sides of the crankcase all have draft angle rather than vertical sides. I used a 2-flute carbide 6mm cutter with 1.0mm corner radius. Again run at 5000rpm, with a 0.5mm stepdown and the DOC was the 0.5mm that was left, feed 400mm/min. In hindsight a 4 flute cutter would have been better as the amount of swarf was not great so the 2-flutes extra clearing capacity was not needed and then I could have fed faster.
Clip 8 Spotting the bolt holes with a 5mm HSS spotting drill at 5000rpm
Lastly drilling the 3mm holes with a Dormer A002 split point drill at 5000rpm and using a pecking cycle to clear the swarf.

The bit of flash around the bottom is due to me doing the CAM for 25mm stock but using 1" , there are a couple of things I will alter slightly for the other half but overall I'm quite pleased with how it turned out. particularly the tapered surfaces as I was expecting them to need more fettling but they are quite smooth and will just need a quick rub with emery before blasting the surface to get it to look like a casting.


