|
|
Post by runner42 on Nov 28, 2020 6:26:25 GMT
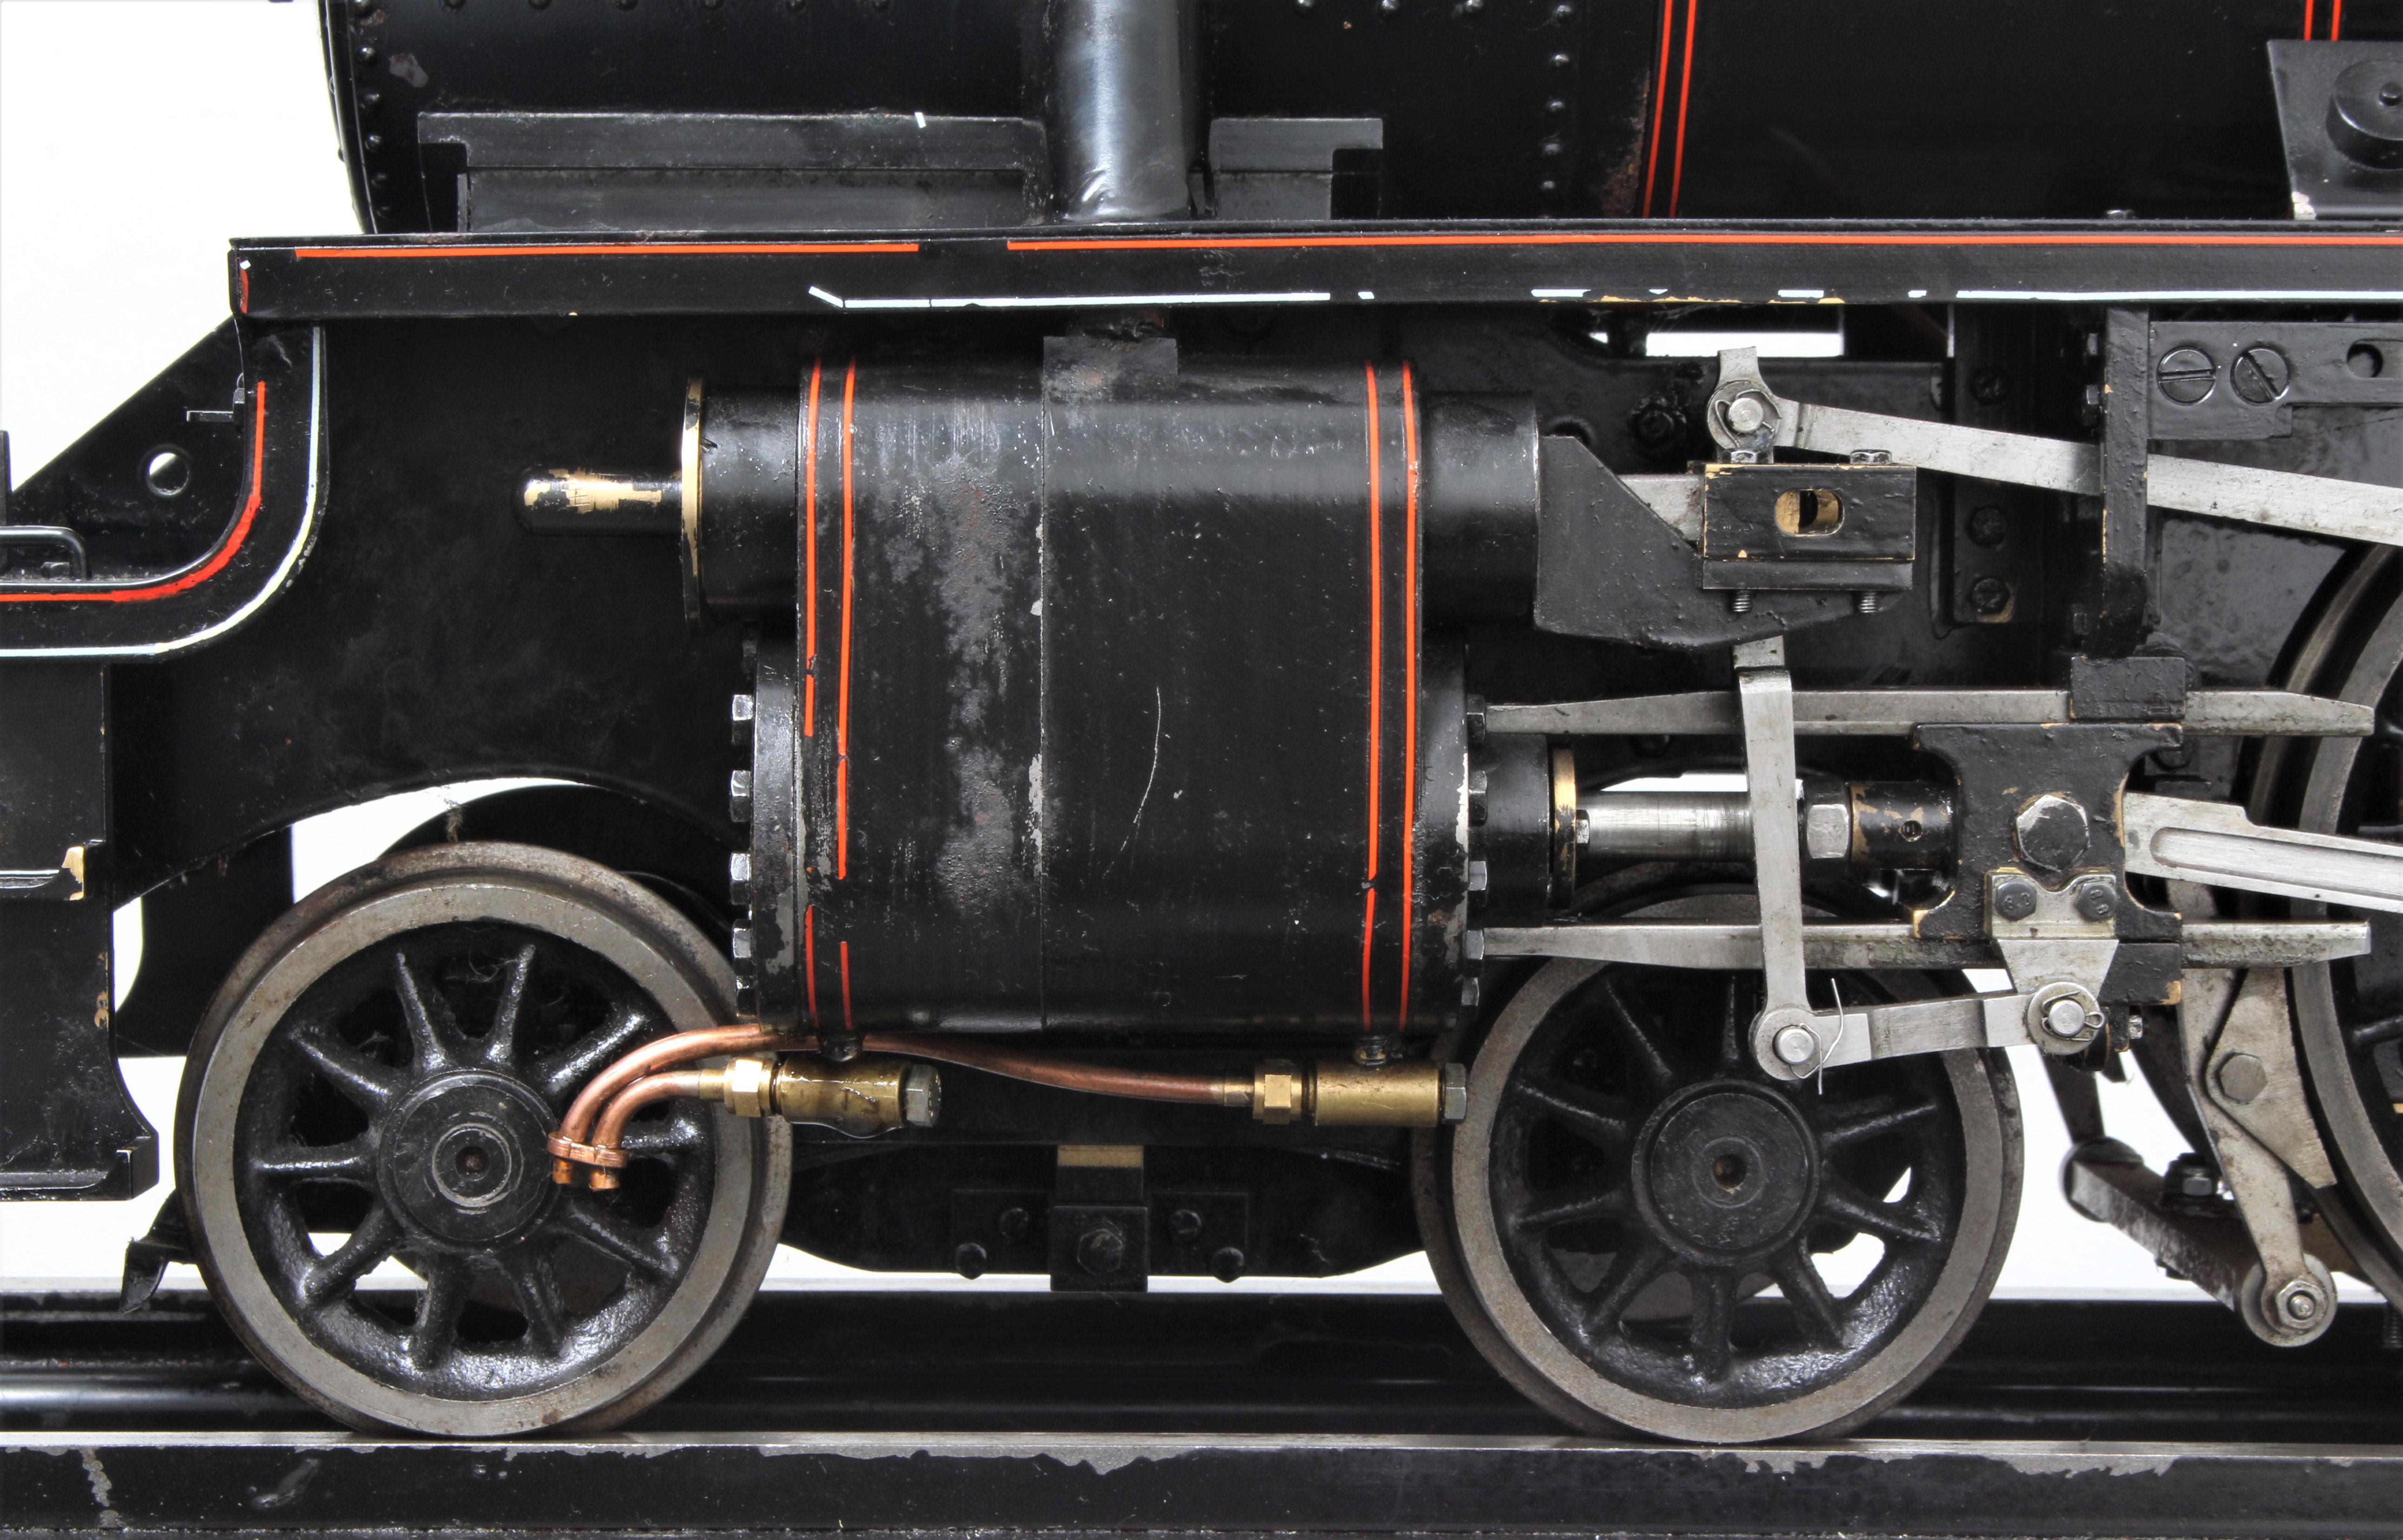
For the record all three axles are machined the same so is all six wheels, there is no difference in the wheel flanges or treads. Thus the end float (side play) is the same for all three wheel sets and its ability to negotiate curves is vested in the distance set between the outside of the wheel flanges and the width of the tread. It is a 4-6-0 and the front bogie has side springs to enable it to move laterally with respect to the pivot point, but no special articulation, ie increased end float of the leading axle is required. This is all DY Black 5 stuff, but I provide to the originator info if there is some reading across from one design to the other.
That is why I provided the end float value of .020" and an indication of the closeness of the leading axle's securing pin and connecting rod. What I have in practice is about 0.030" because perhaps I have used flange material on affixing the cylinders and therefore moving them out further. This sort of problem is rectified on assembly and on a case by case principle.
Brian
|
|
|
|
Post by michaelfive on Nov 28, 2020 14:03:49 GMT
Thank you all for the comprehensive information and the provided DY drawings.
I checked the axles and it seams that not all the wheels are fully home on the axle seat. I will correct this and aim for the 0.020" clearance. If necessary i might increase the lenght of the seat. I'm going to attack this later as i will need to tur the engine to side and remove the wheel assembly. As for now i already shortened the bolt the secures the rod on the crankpin. Thus the bolt is not fouling the rod anymore.
|
|
Gary L
Elder Statesman

Posts: 1,208
|
Post by Gary L on Nov 28, 2020 14:18:08 GMT
For the record all three axles are machined the same so is all six wheels, there is no difference in the wheel flanges or treads. Thus the end float (side play) is the same for all three wheel sets and its ability to negotiate curves is vested in the distance set between the outside of the wheel flanges and the width of the tread. It is a 4-6-0 and the front bogie has side springs to enable it to move laterally with respect to the pivot point, but no special articulation, ie increased end float of the leading axle is required. This is all DY Black 5 stuff, but I provide to the originator info if there is some reading across from one design to the other. That is why I provided the end float value of .020" and an indication of the closeness of the leading axle's securing pin and connecting rod. What I have in practice is about 0.030" because perhaps I have used flange material on affixing the cylinders and therefore moving them out further. This sort of problem is rectified on assembly and on a case by case principle. Brian Articulation is a red herring. It was very rare in British main line practice, and the few examples were accordingly well known. The Black Five was entirely conventional by the standards of its day (though highly successful too) and although it had equals, nothing better was designed in its class right up to the end of steam. Models cannot scale the tolerances of full-size, and 30 thou might well be satisfactory on the front drivers (it depends entirely on clearances for the motion etc) but bear in mind you need to allow for the effects of wear on top. Gary |
|
|
|
Post by michaelfive on Nov 28, 2020 14:50:06 GMT
Since I’m now able to post pictures, i will share some of the work I did on the engine upon this day. As you might notice I concentrated on the easier tasks so far:
Cab: De-rusted and painted the floorplate and changed the screws to SST countersunk screws, that I will paint later. Removed rust and painted the firebox door. Cleaned and sealed all the leaking and clogged valves. I’m might change the water valves to globe valves. Cleaned and painted the reverser and the reverser stand. I also fixed the reverser stand with a bolt to the main frames, since it was only fixed to the floor and not stable. Reworked and removed rust from the brake spindle and the brake gear.
Before:
After
|
|
|
|
Post by michaelfive on Nov 28, 2020 14:58:16 GMT
Cylinders: The cylinders showed marks from the milling process. With some filing and sanding I could remove the vertical line on both cylinders. After sanding I masked the engine, 3d-printed some covers for the valves and cylinders and spray painted the reworked parts with heat resistand paint.
(looks much better in reality then on the pictures)
|
|
|
|
Post by michaelfive on Nov 28, 2020 15:15:03 GMT
Valve Gear:
Made new bolts and nuts to get rid of the massive play in the valve gear.
Cleaned and adjusted the valve crosshead and the crosshead guides. Fixed the links reassembled and lubricated everything. The engine has now a defined, valve stroke.
Before:
After:
|
|
oldnorton
Statesman
 5" gauge LMS enthusiast
Posts: 693
|
Post by oldnorton on Nov 28, 2020 17:46:20 GMT
You are doing well Michael.
What sort of rings did you find on the main pistons? You said you were going to make PTFE piston valve heads - has this cured the air blow in mid gear?
Norm
|
|
|
|
Post by michaelfive on Nov 28, 2020 20:13:22 GMT
You are doing well Michael. What sort of rings did you find on the main pistons? You said you were going to make PTFE piston valve heads - has this cured the air blow in mid gear? Norm The main piston were fitted with used silikon O-rings in the center of the pistons. I changed the o-rings with new onces for the momment. It's not ideal, but should now be tight at last. Much worse are the sloppy valve bobbins made of brass, fitted with brass piston rings. Next step will be reworking the pistons and turning ptfe tyres for it. Once the valves work well i'm going to make new main cylinder pistons, piston rings and rods. But i'm not yet sure, that the valve events are ok. Still trying to understand walschaerts better. |
|
Gary L
Elder Statesman
Posts: 1,208
|
Post by Gary L on Nov 30, 2020 0:18:35 GMT
You are doing well Michael. What sort of rings did you find on the main pistons? You said you were going to make PTFE piston valve heads - has this cured the air blow in mid gear? Norm Hi Norm I've found PTFE to be pretty good for piston valve heads, but you will still get a blow when running on air. PTFE expands a lot more than metal, so once it has run in to the right dia. under steam, it will shrink as it cools and leave an appreciable gap. I never found this a problem when running. The usual blast through the draincocks on opening the regulator soon expands them back to size; it is unnoticeable in practice. Gary |
|
|
|
Post by runner42 on Nov 30, 2020 5:44:21 GMT
Valve Gear:
Made new bolts and nuts to get rid of the massive play in the valve gear.
Cleaned and adjusted the valve crosshead and the crosshead guides. Fixed the links reassembled and lubricated everything. The engine has now a defined, valve stroke.
Before:
After:
I see that you have removed the automatic drain cocks in order to paint the cylinder cover. This type of drain cock is more suitable for horizontally positioned cylinders and not the inclined type, the sealing ball tends to fall to the lowest point which is away from the seating, so operation is hit and miss at times. Suggest you consider manually operated or steam operated type as a replacement. Both options require significant rework, so it is best you convince yourself that the automatic type is going to be satisfactory earlier on in the rework so if you have to make a change it can occur during other stripdowns. Brian PS If they fail it will be better that the drain cock remains open because continued loss of steam through one or more is not that dramatic, however a stuck closed drain cock will cause water build up and subsequent lock up of locomotive. |
|
|
|
Post by mikessme on Nov 30, 2020 11:07:00 GMT
I purchased one one these several years ago now and your initial findings reflect my experience. I had the same issues with piston valve leakage and ended up remaking 3 of the 4 valve liners with the o ring grooves repositioned. When I measured the position of the drilled steam ports in the cylinders they overlapped the original o rings so there is a steam leakage path between the inlet and exhaust ports.
I tried ptfe rings on the valves and although a fairly tight fit and pressure tight on air, they wore out within 2 laps of our club track, so as I couldn't find commercially available 22mm rings I eventually made a set of jigs to produce cast iron rings which work well.
The CI pistons in CI cylinders were a nightmare as they seized every winter despite care in condensate removal and lubrication, so these have been replaced with dural pistons with 2 CI rings each, I am very pleased with these.
It has taken me 3 years to work through many issues and to get this loco to run well, but now it does, it's a delight to drive. If I can help with any details please feel free to ask as I have a lot of pictures taken of the mods I made, I also have the original assembly manual which details the updates you mention.
Mike
|
|
|
|
Post by Roger on Nov 30, 2020 14:06:14 GMT
I tried ptfe rings on the valves and although a fairly tight fit and pressure tight on air, they wore out within 2 laps of our club track Mike PTFE expands a lot when it gets hot, so these needed to be a loose fit. I imagine they swelled into the ports and were shaved off. Others have reported success with solid PTFE rings, but only when the size was carefully set so they only seal when they expand as they get hot. They leak initially when cold. Flourosint would be a better choice for this method since the thermal expansion is about a third of PTFE. |
|
rrmrd66
Part of the e-furniture
Posts: 339 
|
Post by rrmrd66 on Nov 30, 2020 15:15:27 GMT
Afternoon everybody.
At the risk of boring everybody silly (I ran a successful hydraulic seal company for 30+ years) I can only add to Rogers erudite comments.
Virgin PTFE, as a seal material,(especially high pressure and temperature) is pretty useless due to its cold flow/deformation under load characteristics.
It must be modified by the addition of some filler material to gain partial improvement.
Fluorosint is modified by the addition of mica. It boasts improved characteristics when compared with the unmodified, at a price btw.
Here is some blurb from the manufacturer:
FLUOROSINT® 500 (PTFE + mica) (ivory)
FLUOROSINT® 500 has nine times greater resistance to deformation under load than unfilled PTFE (tested according to ASTM D 621; stress of 14 MPa of 50°C). Its coefficient of linear thermal expansion approaches the expansion rate of aluminium and is 1/5 that of virgin PTFE. It is considerably harder than virgin PTFE, has better wear characteristics and maintains low frictional properties. FLUOROSINT® 500 is also nonabrasive to most mating materials.
Happy Sealing
Malcolm
|
|
|
|
Post by michaelfive on Nov 30, 2020 17:39:35 GMT
Valve Gear:
Made new bolts and nuts to get rid of the massive play in the valve gear.
Cleaned and adjusted the valve crosshead and the crosshead guides. Fixed the links reassembled and lubricated everything. The engine has now a defined, valve stroke.
Before:
After:
I see that you have removed the automatic drain cocks in order to paint the cylinder cover. This type of drain cock is more suitable for horizontally positioned cylinders and not the inclined type, the sealing ball tends to fall to the lowest point which is away from the seating, so operation is hit and miss at times. Suggest you consider manually operated or steam operated type as a replacement. Both options require significant rework, so it is best you convince yourself that the automatic type is going to be satisfactory earlier on in the rework so if you have to make a change it can occur during other stripdowns. Brian PS If they fail it will be better that the drain cock remains open because continued loss of steam through one or more is not that dramatic, however a stuck closed drain cock will cause water build up and subsequent lock up of locomotive. Thanks for the input Brain. The cylinders are actually horizontally mounted even if the original model has inclined cylinders. Nevertheless I will probably switch to manually operated drain cocks. I prefer having control over the draining processs. But I will have to postpone this update till i fixed the other issues. |
|
|
|
Post by michaelfive on Nov 30, 2020 17:56:37 GMT
I purchased one one these several years ago now and your initial findings reflect my experience. I had the same issues with piston valve leakage and ended up remaking 3 of the 4 valve liners with the o ring grooves repositioned. When I measured the position of the drilled steam ports in the cylinders they overlapped the original o rings so there is a steam leakage path between the inlet and exhaust ports. I tried ptfe rings on the valves and although a fairly tight fit and pressure tight on air, they wore out within 2 laps of our club track, so as I couldn't find commercially available 22mm rings I eventually made a set of jigs to produce cast iron rings which work well. The CI pistons in CI cylinders were a nightmare as they seized every winter despite care in condensate removal and lubrication, so these have been replaced with dural pistons with 2 CI rings each, I am very pleased with these. It has taken me 3 years to work through many issues and to get this loco to run well, but now it does, it's a delight to drive. If I can help with any details please feel free to ask as I have a lot of pictures taken of the mods I made, I also have the original assembly manual which details the updates you mention. Mike Thanks you for offering pictures of your mods. I will surly come back to that offer. That there might be an additional leakage between the valve liners and the cylinder blocks was already one of my fears. I still hope it's not the case and its only the bobbins that leak. But since you observed that on your engine, i will check that before making the new bobbins. I think will print a "test-piston" with o-rings to statically seal the valves and check for leakage. Could you easily remove the liners for rework or were they glued in? Did you on this occasion also enlarge the size of the bores of the steam ports in the casting? I read in another thread, that the crossection of the steam ports is to small to get a good performance... |
|
|
|
Post by michaelfive on Nov 30, 2020 18:04:56 GMT
Afternoon everybody. At the risk of boring everybody silly (I ran a successful hydraulic seal company for 30+ years) I can only add to Rogers erudite comments. Virgin PTFE, as a seal material,(especially high pressure and temperature) is pretty useless due to its cold flow/deformation under load characteristics. It must be modified by the addition of some filler material to gain partial improvement. Fluorosint is modified by the addition of mica. It boasts improved characteristics when compared with the unmodified, at a price btw. Here is some blurb from the manufacturer: FLUOROSINT® 500 (PTFE + mica) (ivory) FLUOROSINT® 500 has nine times greater resistance to deformation under load than unfilled PTFE (tested according to ASTM D 621; stress of 14 MPa of 50°C). Its coefficient of linear thermal expansion approaches the expansion rate of aluminium and is 1/5 that of virgin PTFE. It is considerably harder than virgin PTFE, has better wear characteristics and maintains low frictional properties. FLUOROSINT® 500 is also nonabrasive to most mating materials. Happy Sealing Malcolm I will give it a try with graphite loaded ptfe. It's a bit less expensive than Fluorosint. I know that the thermal expansion coefficient is higher than Fluorocint but it works well in dynamic sealing applications. I used to work for a biomedical company and we used it for a special extruder in operating temperatures between 100C and 250C. The manufacturing tolerances are important and it need some room to expand. But we never had a problem with wear. |
|
|
|
Post by Roger on Nov 30, 2020 19:40:01 GMT
Afternoon everybody. At the risk of boring everybody silly (I ran a successful hydraulic seal company for 30+ years) I can only add to Rogers erudite comments. Virgin PTFE, as a seal material,(especially high pressure and temperature) is pretty useless due to its cold flow/deformation under load characteristics. It must be modified by the addition of some filler material to gain partial improvement. Fluorosint is modified by the addition of mica. It boasts improved characteristics when compared with the unmodified, at a price btw. Here is some blurb from the manufacturer: FLUOROSINT® 500 (PTFE + mica) (ivory) FLUOROSINT® 500 has nine times greater resistance to deformation under load than unfilled PTFE (tested according to ASTM D 621; stress of 14 MPa of 50°C). Its coefficient of linear thermal expansion approaches the expansion rate of aluminium and is 1/5 that of virgin PTFE. It is considerably harder than virgin PTFE, has better wear characteristics and maintains low frictional properties. FLUOROSINT® 500 is also nonabrasive to most mating materials. Happy Sealing Malcolm I will give it a try with graphite loaded ptfe. It's a bit less expensive than Fluorosint. I know that the thermal expansion coefficient is higher than Fluorocint but it works well in dynamic sealing applications. I used to work for a biomedical company and we used it for a special extruder in operating temperatures between 100C and 250C. The manufacturing tolerances are important and it need some room to expand. But we never had a problem with wear. One article I read explained that one method of getting the right size is to put the cylinder in the oven and get it to the maximum running temperature and then adjusting the fit to be a light sliding fit. |
|
|
|
Post by mikessme on Dec 1, 2020 9:35:10 GMT
Good morning, I did the same and made a test piston which showed the leakage on the outside of the liners. My loco was made in 2004, one of the last I believe and the valve liners were a push fit with o ring seals, although from what I've read on the Modelworks pages some of the earlier ones were pressed in. As the edges of the ports in the cylinder block are very sharp they will cut the o rings on assembly so I made some wooden plugs filed flush with the bore to stop this happening but the existing o rings will be destroyed when the liners are removed. The steam ports in the block are very restrictive consisting of 2 small holes drilled at an angle, and as these were at slightly different angles, the ellipse they form where they break through into the valve bore gives the problem with the o ring positions. On my cylinders I removed the metal between the 2 holes to form a slot and removing the restriction.
A lot of work ahead but worth it in the end as its basically a nice engine when sorted.
Mike
|
|
|
|
Post by michaelfive on Dec 1, 2020 12:33:54 GMT
I will give it a try with graphite loaded ptfe. It's a bit less expensive than Fluorosint. I know that the thermal expansion coefficient is higher than Fluorocint but it works well in dynamic sealing applications. I used to work for a biomedical company and we used it for a special extruder in operating temperatures between 100C and 250C. The manufacturing tolerances are important and it need some room to expand. But we never had a problem with wear. One article I read explained that one method of getting the right size is to put the cylinder in the oven and get it to the maximum running temperature and then adjusting the fit to be a light sliding fit. What i don't know yet is what the typical running temerature is. How hot is the superheated steam of a miniature loco? How hot do the cylinders get when in contact with the steam. Does anyone have some empirical values? |
|
|
|
Post by michaelfive on Dec 1, 2020 12:40:45 GMT
Good morning, I did the same and made a test piston which showed the leakage on the outside of the liners. My loco was made in 2004, one of the last I believe and the valve liners were a push fit with o ring seals, although from what I've read on the Modelworks pages some of the earlier ones were pressed in. As the edges of the ports in the cylinder block are very sharp they will cut the o rings on assembly so I made some wooden plugs filed flush with the bore to stop this happening but the existing o rings will be destroyed when the liners are removed. The steam ports in the block are very restrictive consisting of 2 small holes drilled at an angle, and as these were at slightly different angles, the ellipse they form where they break through into the valve bore gives the problem with the o ring positions. On my cylinders I removed the metal between the 2 holes to form a slot and removing the restriction. A lot of work ahead but worth it in the end as its basically a nice engine when sorted. Mike Thanks for the additional info. The boiler of my engine is dated 2004. So i guess the valve liners are made to the same design as yours. There are two set screws that probably secure the valve liners to the block. But the liners don't move at all when the screws are removed and gentle force is applied. Thus i taught that the liners are additionally glued in or sealed with some compound. May I ask how you combined the two hole to a slot? Filing? Did you open it over the whole lenght of the two bores? |
|