paul
Member

Posts: 8
|
Post by paul on Jun 12, 2007 19:58:04 GMT
Here's a work in progress shot of the crank arrangement for my engine. As you can see it needs lots of tidying but the bits all fit together and that's the main thing. The nasty surface of the web was created thanks to a dodgy lathe tool at evening class - lots of polishing required! The crank head is held on the pin by a disc-headed 'bolt' slightly larger than the bearing. I'm not sure if that's what the original drawings called for (it's not quite clear) but it looks ok and does the job. The only slight snag is due to my scaling the original down - there's insufficient room around the tapered con-rod to accommodate 'nuts on studding' (the usual arrangement) so I made a couple of small slotted cheese-headed bolts (one currently longer than the other!) - just need to make some nice brass nuts to fit now  (To give some idea of scale the crank disc is 38mm diameter)  |
|
lancelot
Part of the e-furniture

Posts: 471
|
Post by lancelot on Jun 13, 2007 11:01:33 GMT
Keep it up, Paul...looking forward to the final product, It is great to hear that some classes are still available to enable us Model Engineers to learn how to use our equiptment properly, as most if not all Technical Colleges, Training Centres and the like have sold on their tooling and these outlets for training no longer exist. So JOIN a CLUB I hear you all say  All the best, John. |
|
ace
Statesman
 
Posts: 528
|
Post by ace on Jun 15, 2007 23:38:55 GMT
Hi Paul / Lancelot Looks good to me. I am self taught when it comes to engineering skills, reading books watching other folk etc. I enjoy it more now even if by learning from my mistakes (expensive ones sometimes). I did attend night class once but it wasn't run well and I gave up. I am currently building a steam crane 'Hercules' as published in Tubal Cain's Building model steam engines. I have just started to silver solder the boiler, first time at silver soldering. Then its a strip down, a polish and and then a run on full steam. (hopefully) P.S. the stuff stuck to it is oil and saw dust. 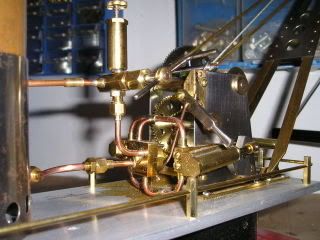 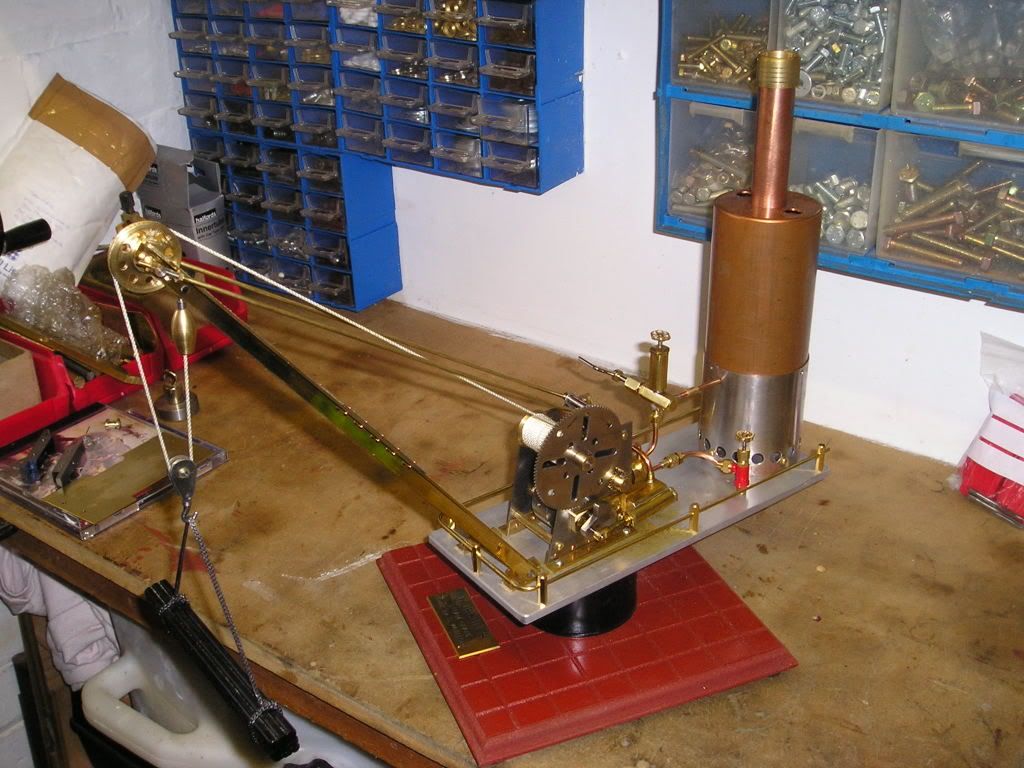 ACE |
|
|
|
Post by Shawki Shlemon on Jun 16, 2007 9:37:20 GMT
Skills are very good to have but they can be acquired ,what one needs can be summarized in one word " WILL" . Correct me if I am wrong Churchill said success is moving from one failure to another without loosing enthusiasm .
|
|
|
|
Post by jgb7573 on Jun 16, 2007 11:25:49 GMT
You may well be right about Churchill Shawki. What both Paul and Ace are doing is having a go. And that can't be beaten. Keep it up guys.
|
|
ace
Statesman
 
Posts: 528
|
Post by ace on Jun 16, 2007 17:52:17 GMT
Its about enjoyment and learning the skills along the way.
|
|
steam4ian
Elder Statesman
   One good turn deserves another
Posts: 2,069
|
Post by steam4ian on Jun 21, 2007 6:03:18 GMT
G'day Ace.
That crane is a great job. I too have Tubal Cain's book, but I haven't built the crane.
I like the way you fabricated the cylinders.
A question. Where did you get the gears?
One good turn deserves another.
Regards,
Ian
|
|
ace
Statesman
 
Posts: 528
|
Post by ace on Jun 21, 2007 7:37:10 GMT
Hi Ian
I have made a few personal changes to the design such as the cylinders and the engine standards, which although look good but didn't perform well under steam as they lacked power, so I am now turning some new ones and bigger. The gears are Mecano gears that I bought on ebay and are easy to get hold of but you would need to off set the holes in the shaft bushes to allow you to mess the gears smoothly. The rest is straight forward as per the instructions. the boiler performs well and is capable of at least 15 / 20 Min's of steam at 20 psi, however I am going to re-route the exhaust pipe as it blows water/oil down the flue and has extinguished the fire twice. The base is an off cut from the tube used in the making of boiler.
Steve
|
|
|
|
Post by spurley on Jun 22, 2007 5:58:19 GMT
Hi Ace
You got the boiler done then? Any pictures of that available?
Cheers
Brian
|
|
ace
Statesman
 
Posts: 528
|
Post by ace on Jun 22, 2007 11:02:08 GMT
Hi Brian I have take these pics' not great and its hard to see the joints that well but they have withstood a hydraulic test of 30psi for over 5 mins. The cylinders were a bit of a let down though under steam, lacking power and leaking at the front. However I am a present building new bigger ones. The boiler works great just took some time to reach pressure and then away it went. There are a few minor details to correct and the exhaust is one of them, it spits water down the flue and puts the fire out  so I think I may have to send it down to the bottom and out of the base or something like that. Hopefully you can see it up and running when your over here. The safety valve blows at 20 psi but fails to seal again and leaks so theres another job. Steve 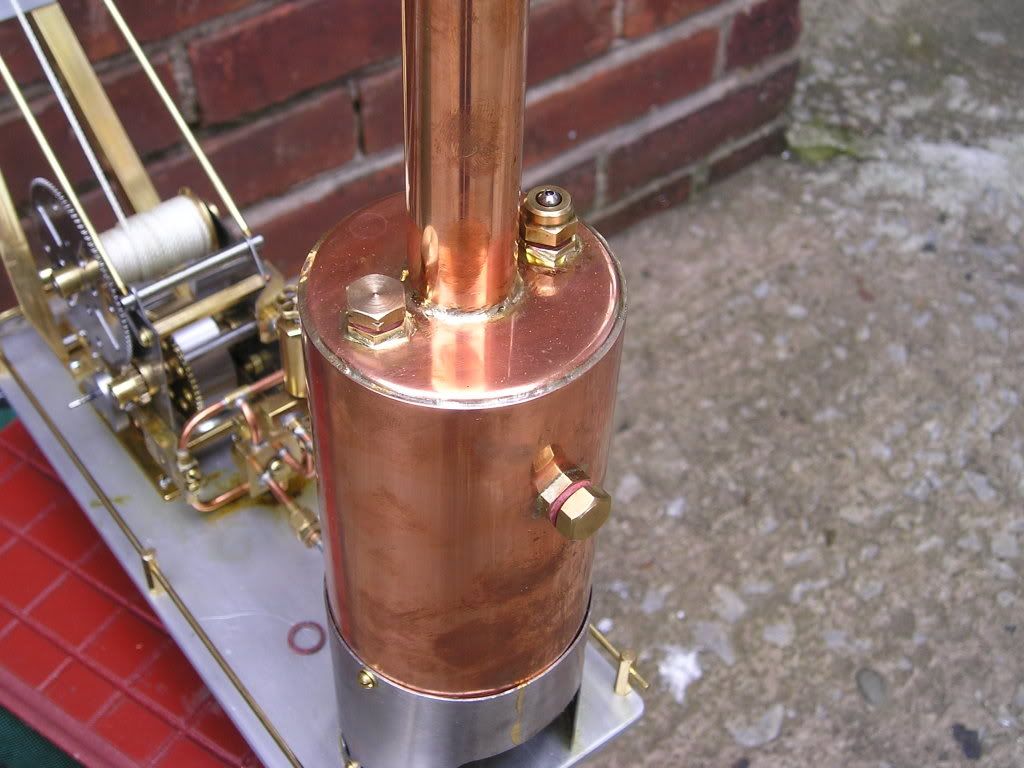 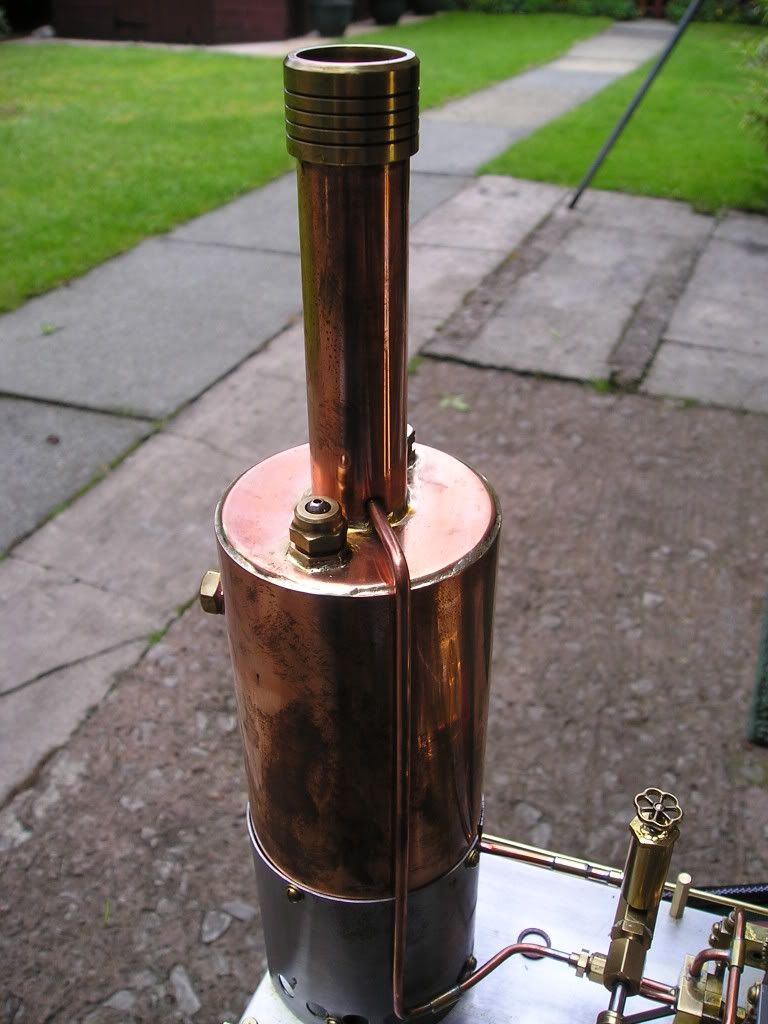 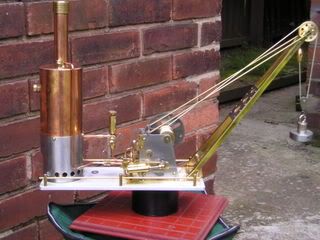 |
|
Pete H
Member
 A wise man has his after thoughts first.
Posts: 9
|
Post by Pete H on Jul 5, 2007 9:41:19 GMT
Hello Paul,
This assembly looks like it's from a 'Vulcan' mill engine by Andrew Smith. I have just got some drawings and instructions for it to start as my first project.
I'm a newbie that has just got an old 1940's Myford 4" precision running and want something to do with it.
If you want copies of the drawings/instructions just let me know. I would be interested to see how it all progresses.
Good Luck,
Pete
|
|
paul
Member

Posts: 8
|
Post by paul on Jul 5, 2007 11:40:34 GMT
Hi Pete Yes that's well spotted - I'm making Vulcan, at half the published scale though. I've got all the drawings/instructions although the instructions make some assumptions about equipment (and skills!) that I don't yet have! As you probably gathered I'm pretty new to this too so maybe you'll find my experiences 'interesting'  Oh, I see it's you first post - welcome to the forum BTW  |
|