|
|
Post by Oily Rag on Sept 19, 2019 20:59:42 GMT
My little camera is ill, hence the pink tinge. A new one is on its way.
|
|
|
|
Post by Oily Rag on Sept 20, 2019 22:04:40 GMT
1001 uses for small cut off discs, I just love em!
 |
|
|
|
Post by simplyloco on Sept 20, 2019 22:12:12 GMT
1001 uses for small cut off discs, I just love em!
So do I, provided they are not the cheap and nasty ones which turn to dust immediately upon first use!  Dremel Rules, OK? John |
|
twombo
Seasoned Member

Posts: 120 
|
Post by twombo on Sept 20, 2019 23:31:57 GMT
Dazza, what is that device holding the drill and tap. Does it. Provide sensitive controll for drilling and tapping? I must have one! do you have a source?
Adds much to the living with 10ba, i am sure!
That Mary Valley is a treasure! In the land of the Southern Cross! oh My!
Mick
|
|
|
|
Post by Oily Rag on Sept 21, 2019 20:20:41 GMT
At the world wide head quarters of the Llewellyn Locomotive Works the drawing staff generated a plot to chain drill the front foot plate. It may seem fussy but it makes the final hand filing smooth and easy. One has to love DRO on the mill drill. After zero progress on the little loco and the POR garden railway it was nice to bolt this part on with 8 BA hex. No slotted screws are allowed to be seen on the exterior of this loco. After zero progress on the little loco and the POR garden railway it was nice to bolt this part on with 8 BA hex. No slotted screws are allowed to be seen on the exterior of this loco. 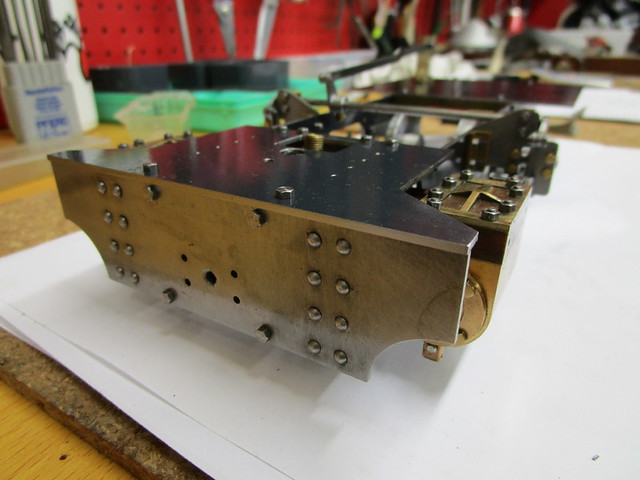 
Saddle casting and the completion of the cab foot plate are the next steps, then the smoke box so the boiler can be trial fitted to the frames.
|
|
|
|
Post by Oily Rag on Sept 21, 2019 20:34:59 GMT
Dazza, what is that device holding the drill and tap. Does it. Provide sensitive controll for drilling and tapping? I must have one! do you have a source? Adds much to the living with 10ba, i am sure! That Mary Valley is a treasure! In the land of the Southern Cross! oh My! Mick |
|
|
|
Post by Oily Rag on Sept 22, 2019 21:36:04 GMT
Clean up the bottom of the new smoke box saddle casting. Sanity marks before using the DRO. Sanity marks before using the DRO. Trimming the 10 BA hex bolts. Trimming the 10 BA hex bolts.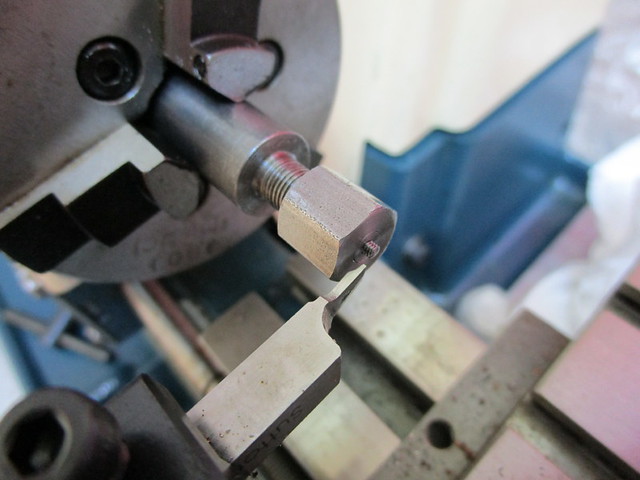 Fit up Fit up  
|
|
|
|
Post by Oily Rag on Sept 22, 2019 21:54:56 GMT
Dropped the kettle in to see how it looked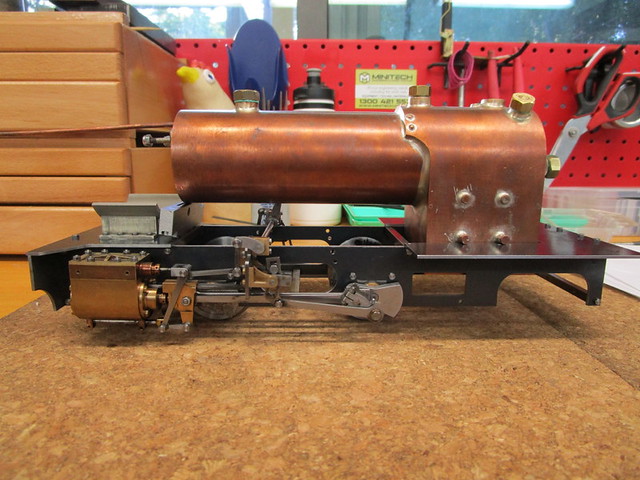 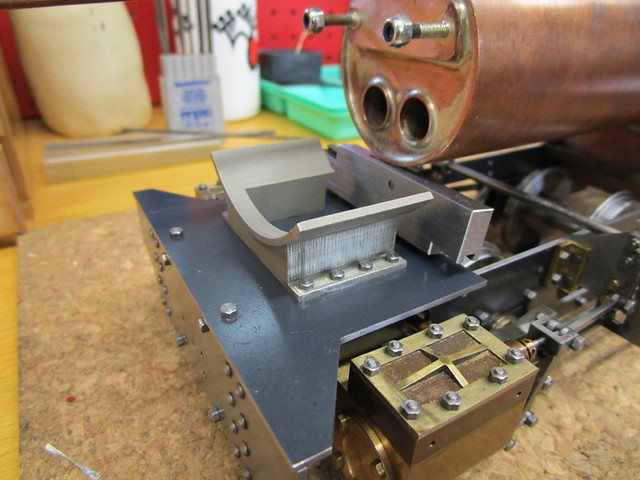
|
|
44767
Statesman
 
Posts: 539
|
Post by 44767 on Sept 22, 2019 23:14:21 GMT
Hi Darrell,
That's good progress on the casting! I'm interested to know how it machines. Is it like a half hard brass with stringy swarf or more like a gunmetal?
Cheers,
Mike
|
|
|
|
Post by Oily Rag on Sept 23, 2019 0:17:52 GMT
Hi Darrell, That's good progress on the casting! I'm interested to know how it machines. Is it like a half hard brass with stringy swarf or more like a gunmetal? Cheers, Mike |
|
stevep
Elder Statesman
  
Posts: 1,073
|
Post by stevep on Sept 23, 2019 9:36:19 GMT
Looking great Dazza!
|
|
|
|
Post by Oily Rag on Sept 23, 2019 21:15:54 GMT
In hindsight I would have recessed the front tube plate deeper into the boiler barrel so the smoke box could be attached in a more traditional method, of rivets, screws etc but ................... So I have have hatched a plan to use the super heater attachments to pull and secure the smoke box to the barrel. Unlike the original (vague) drawings I am going for a fixed smoke box/boiler to the saddle and allow the expansion back wards in the frames, as like full size locos. Fixed at the rear and expansion movement forwards into the fixed smoke box/saddle seems a strange way to do it ? ! Considering that joint will foul up, even seize with the muck in the box and or keeping the joint air tight for good steaming, it just did not make sense. A reminder it is all a design and metal working exercise for the locos to come. The material is LG2 bronze a friend had left over, in payment for this material I brazed up some more full size loco motion oil pots that were needed as spares for the Rattler's 974 and 967.  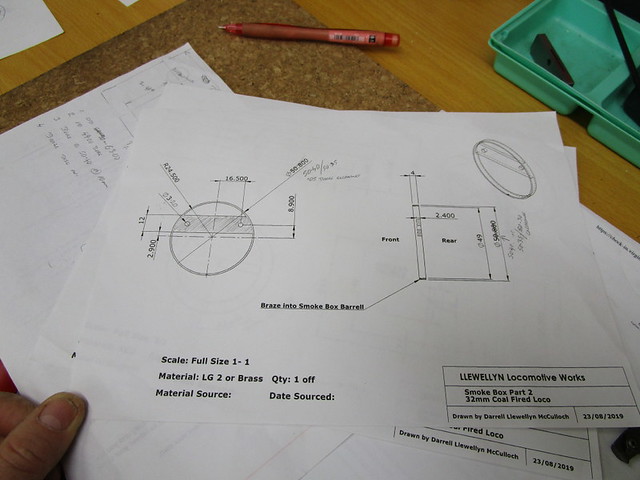 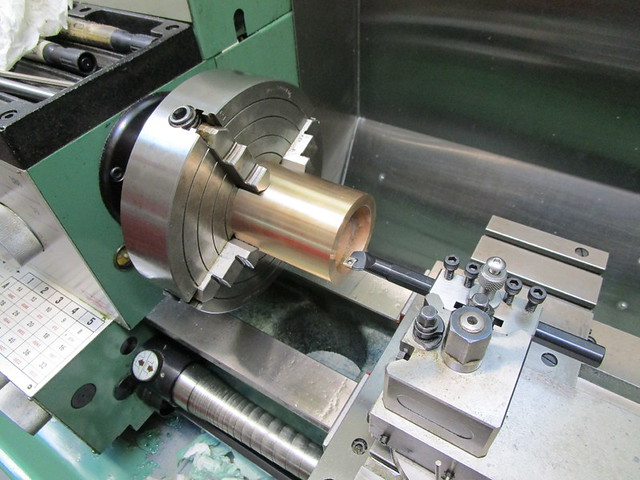
|
|
|
|
Post by Oily Rag on Sept 25, 2019 21:14:09 GMT
Parted off the bronze smoke box barrel. Worked out some of the next steps, checked the drawings via sectioned view of the smoke box assembly and prepared another lump of bronze.
Slow but incremental progress.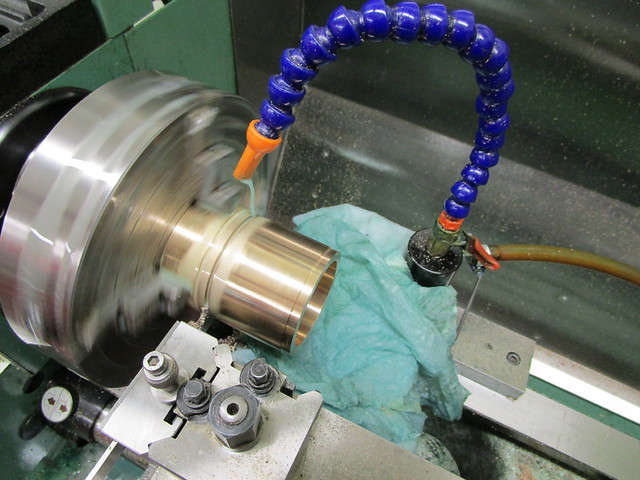   While in the Red Room MAM shows me another one of her Orchids doing its thing.
|
|
|
|
Post by Oily Rag on Sept 26, 2019 21:38:46 GMT
A trepanning type of cut. I originally ground this parting tool blade for use on the driving wheels. The pics would be here earlier in this thread.  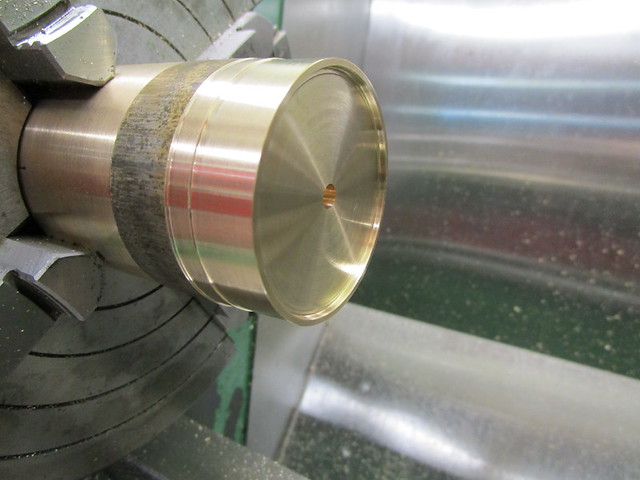 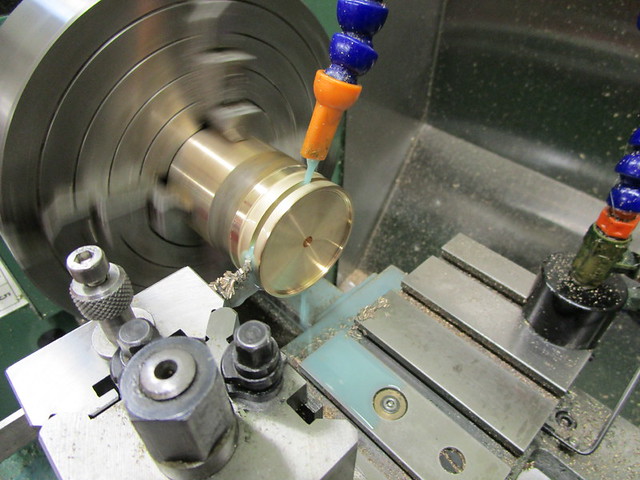 Cooking up the smoke box to disc. Cooking up the smoke box to disc.   A nice meniscus of silver on the other side.The reason for all this will become apparent as time goes by, however it is all due to inadequate published drawings and details, and I missed the detail that was missing. A nice meniscus of silver on the other side.The reason for all this will become apparent as time goes by, however it is all due to inadequate published drawings and details, and I missed the detail that was missing.
|
|
|
|
Post by Oily Rag on Sept 27, 2019 19:23:28 GMT
Red Room action last night, some progress on the smoke box after it was pickled in the Citric tub.    
|
|
|
|
Post by Oily Rag on Sept 28, 2019 8:07:40 GMT
|
|
|
|
Post by Oily Rag on Sept 28, 2019 8:10:49 GMT
|
|
|
|
Post by Roger on Sept 28, 2019 8:20:58 GMT
That looks superb, you've been busy! It's great to finally get a boiler and frame together and get the first impression of what it will finally look like. You can start to feel that the end of the project is actually possible now.
|
|
stevep
Elder Statesman
  
Posts: 1,073
|
Post by stevep on Sept 28, 2019 8:27:14 GMT
Excellent work Gazza.
How about some details of that lathe tool height gauge?
|
|
|
|
Post by simplyloco on Sept 28, 2019 9:08:16 GMT
Excellent work Gazza. How about some details of that lathe tool height gauge? Hi Steve May I ask why? The EMCO centre height from the saddle is 108mm dead, so I use the vernier caliper depth gauge to set my tools. Besides, I have nowhere to put extra gauges these days...  John |
|