|
|
Post by simplyloco on Dec 20, 2018 23:26:37 GMT
Not one to sit around, I made a start on a 4" diameter Scotch boiler: it will power the existing Stuart Beam engine and the Sirius high speed engine that I intend to build in the New Year.  harrisknmodelboilersboilermaking1982pbksbb harrisknmodelboilersboilermaking1982pbksbb by inkaboat, on Flickr I made the 18 boiler tubes exactly to 160mm long between shoulders using the bed stops and the internal spindle distance stop: the new DRO is a bit of a White Elephant... 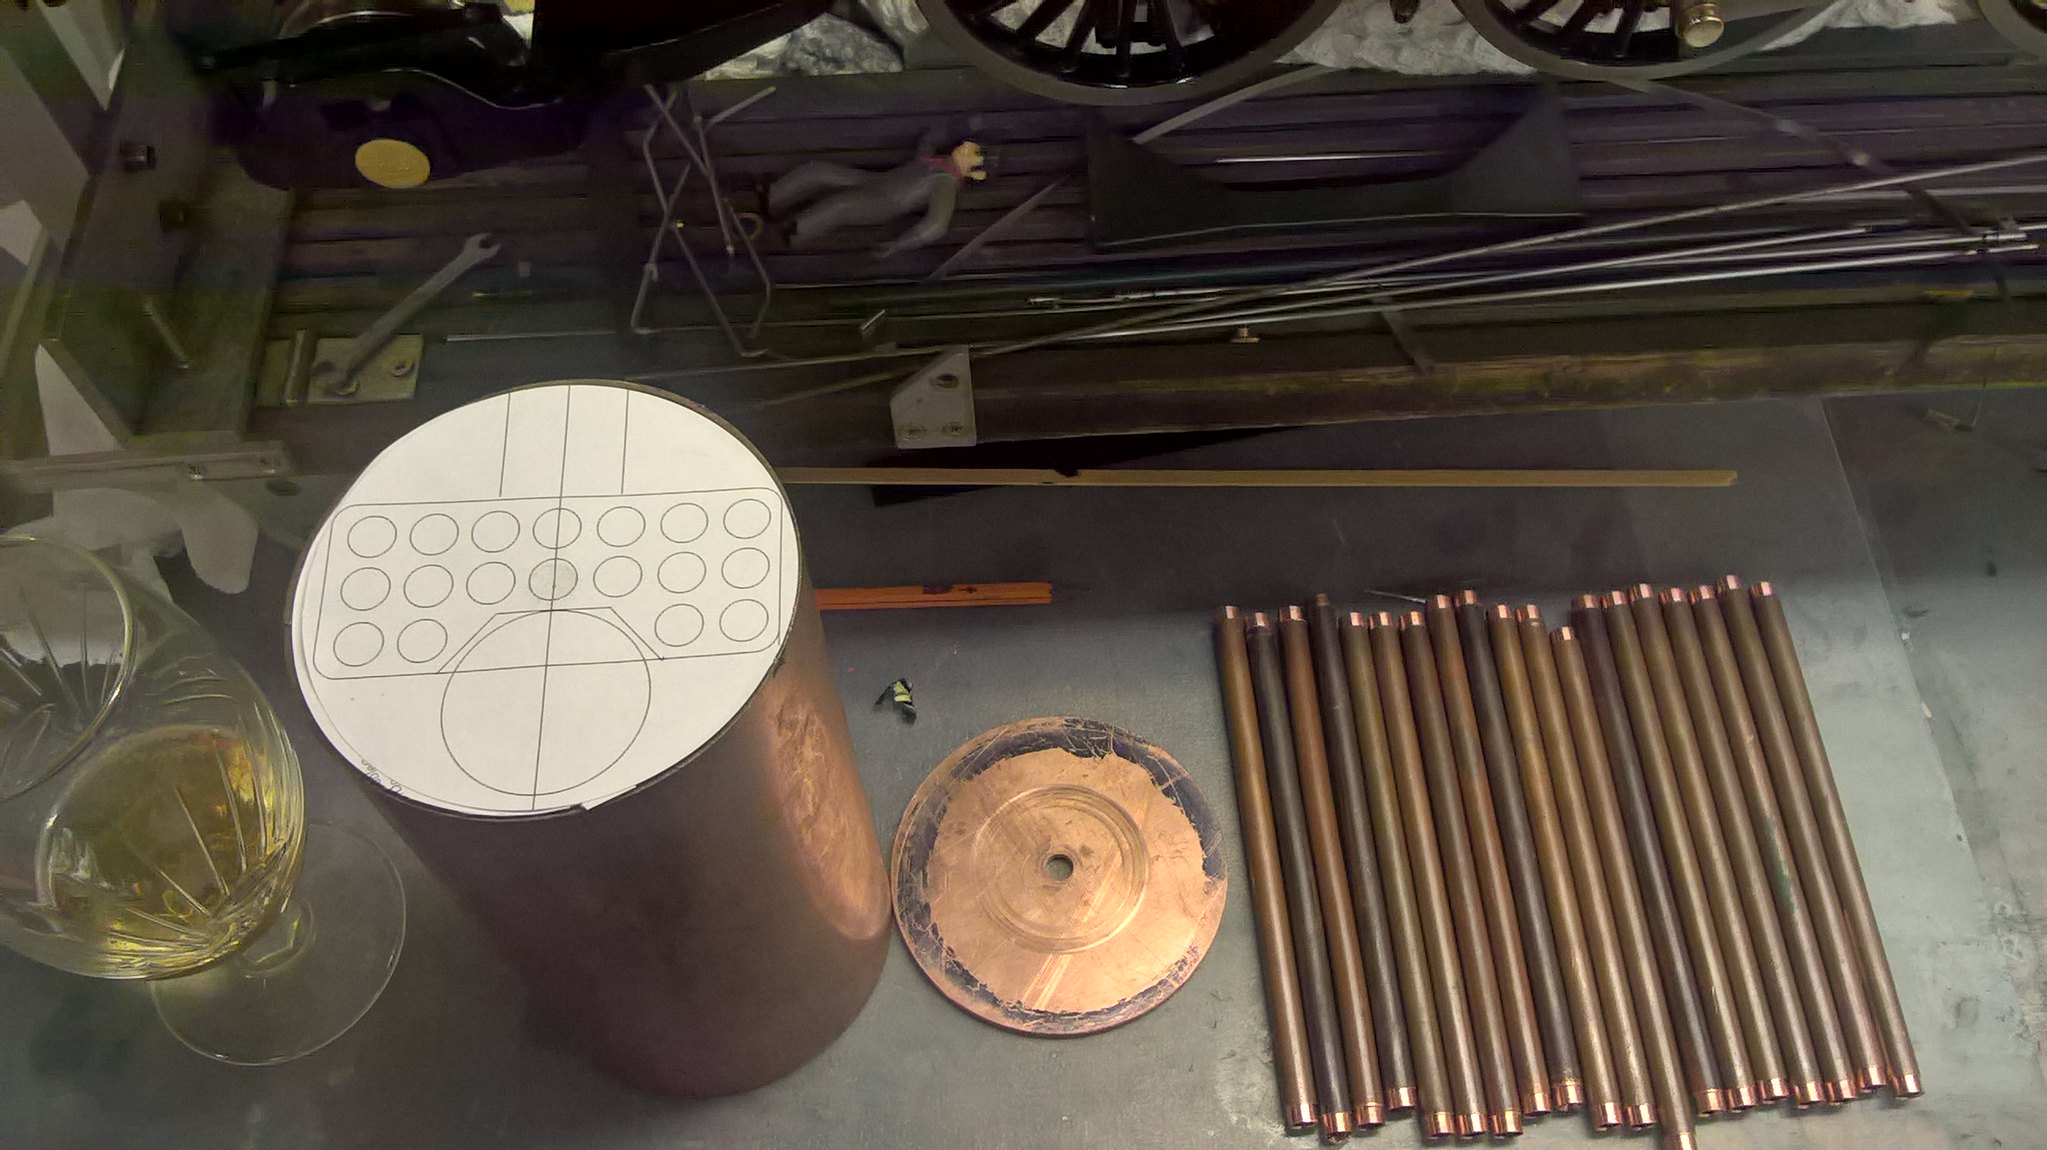 WP_20181220_22_23_38_Pro[1] WP_20181220_22_23_38_Pro[1] by inkaboat, on Flickr |
|
|
|
Post by Deleted on Dec 21, 2018 8:19:02 GMT
That looks interesting John, I have been giving some thought to making something along these lines myself as a test bed for all those fittings/injectors that I need to make and test. Are there words and music covering this boiler in the book that you show? Can you tell me what the operating pressure is?
Cheers
Pete
|
|
|
|
Post by simplyloco on Dec 21, 2018 9:28:47 GMT
That looks interesting John, I have been giving some thought to making something along these lines myself as a test bed for all those fittings/injectors that I need to make and test. Are there words and music covering this boiler in the book that you show? Can you tell me what the operating pressure is? Cheers Pete Pete There is an undimensioned drawing in the book, and a short description, and then you are on your own! IIRC it can go to 100psi wrong - 50psi!: the end caps are 1/8" thick with five 5/32" stays across the top hemisphere. If I get a round tooit I'll scan and publish the relevant page. John |
|
|
|
Post by Deleted on Dec 21, 2018 9:37:29 GMT
thank's John....it's something that I need to look into in the near future.. I'll need something to test with, I could use 4470 but that's just too much aggro, especially as the model is currently in the living room, I don't have space in the workshop...
Pete
|
|
|
|
Post by simplyloco on Dec 21, 2018 13:30:10 GMT
This boiler is similar to the one on the front cover of the book, so if you have made a boiler before, the illustration should make it a doddle!  John  SCOTCH BOILER scan SCOTCH BOILER scan by inkaboat, on Flickr |
|
|
|
Post by Deleted on Dec 21, 2018 16:00:23 GMT
not built a boiler yet but a small boiler like this looks simple enough. I also have 'Alec Farmers' great book on boiler making for tips/guidance. thanks for sharing the image John...
cheers
Pete
|
|
JonL
Elder Statesman
   WWSME (Wiltshire)
Posts: 2,988
|
Post by JonL on Dec 22, 2018 17:08:11 GMT
I've read my copy of that book to death! Following with interest.
|
|
|
|
Post by ettingtonliam on Dec 28, 2018 13:37:13 GMT
Interesting.
Your posting led me to re-read my copy of KN Harris's book, something I haven't done in a lot of years.
Its generally very sound IMHO,with some fascinating boiler types, although getting a bit dated in that he's happy to use Sil-Phos (for flux free brazing of copper) and Silbralloy (for oxy-acetylene flux free brazing of copper) on the grounds that much of the phosphorous content is oxidised during the heating process. I think I'd use flanged end plates in that Scotch boiler though, rather than plain flat plates.
He seems to manage the whole book without a single reference to either LBSC or Martin Evans, who must have been the most prolific loco and boiler designers of the time!
|
|
|
|
Post by simplyloco on Dec 29, 2018 17:59:28 GMT
Drilling the unflanged end plates. 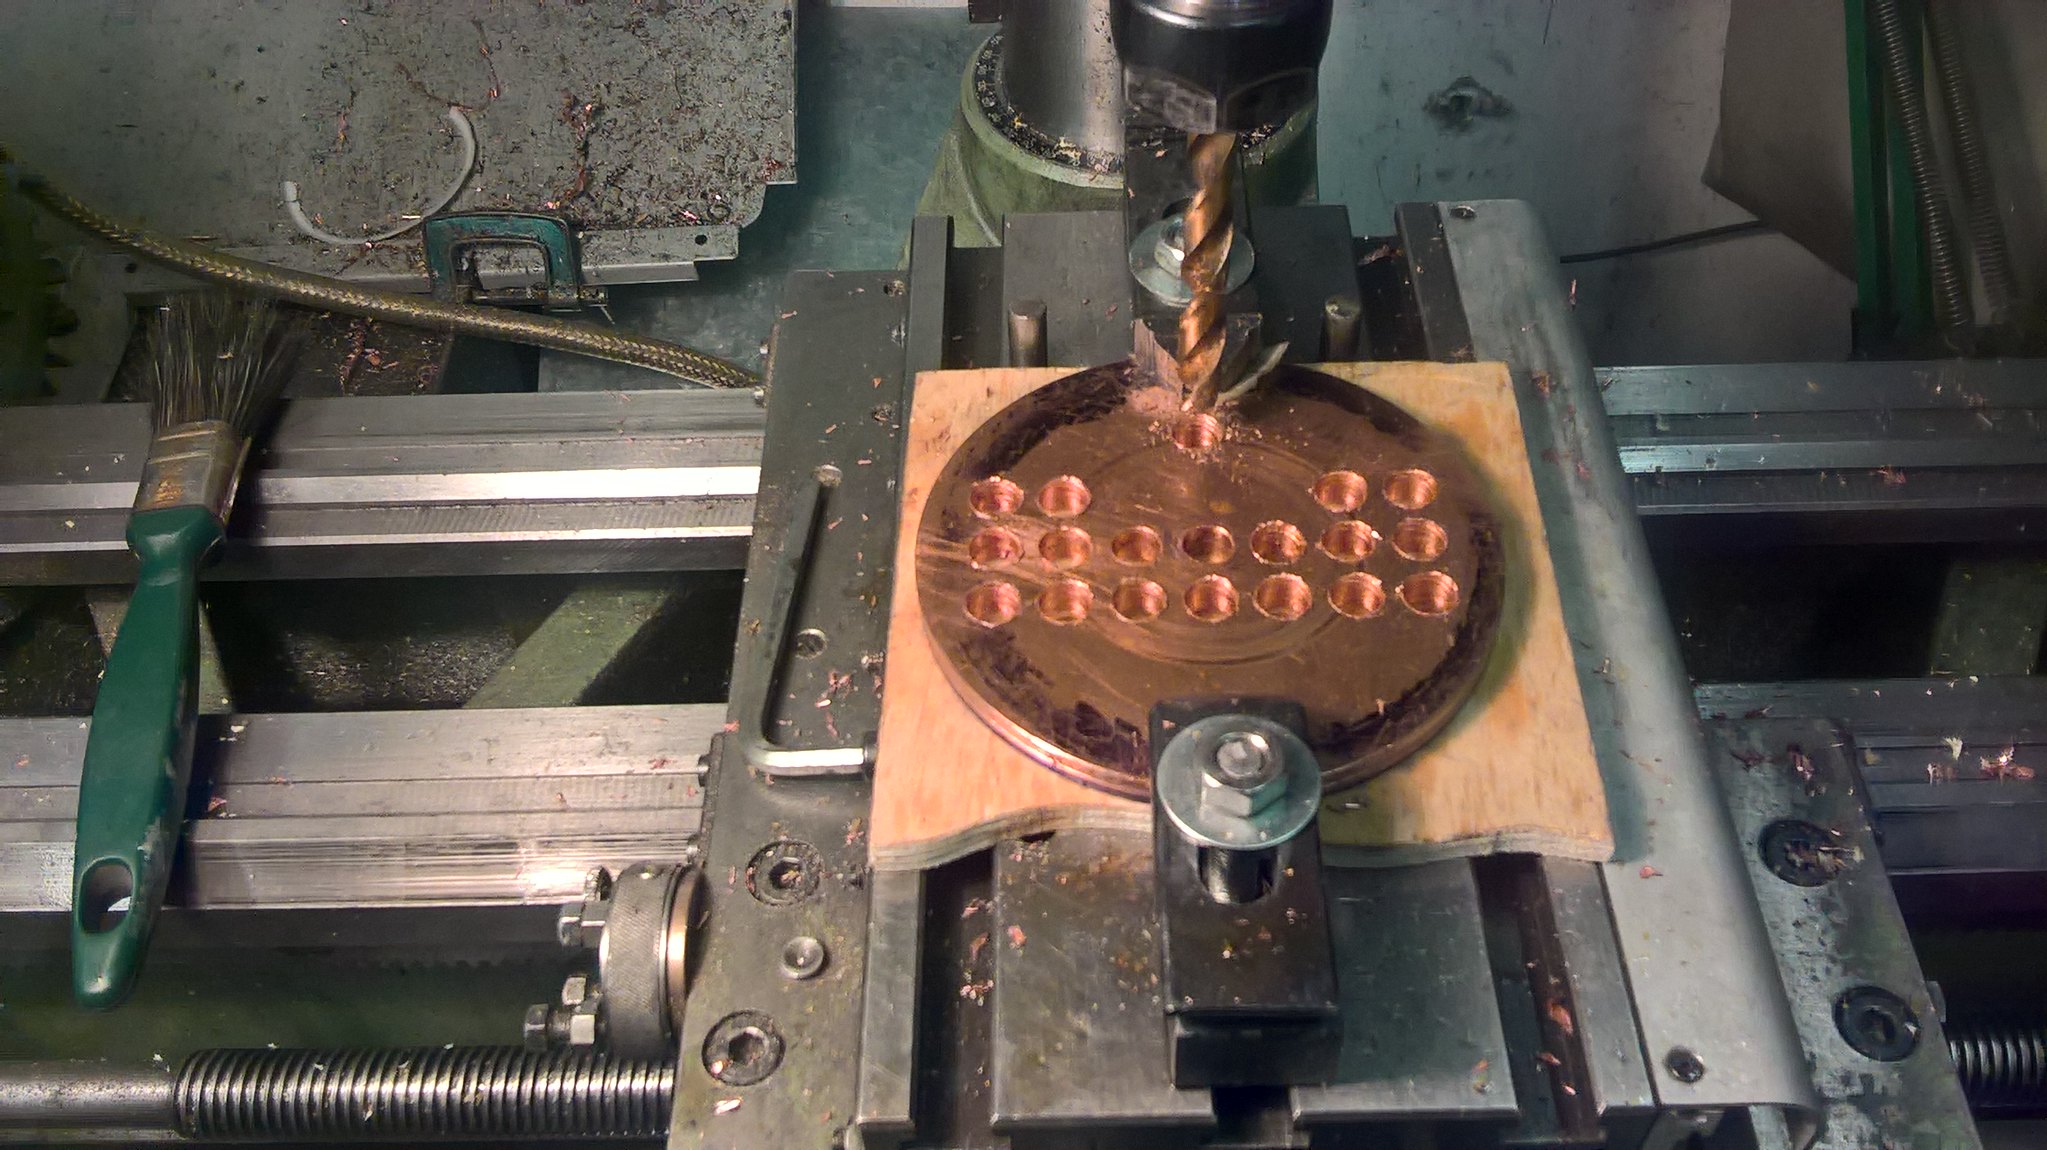 WP_20181229_11_43_52_Pro WP_20181229_11_43_52_Pro by inkaboat, on Flickr Setting up for the 42mm tube. I much prefer faceplate work to using a floppy boring head on a dodgy bed setup!  WP_20181229_13_03_57_Pro WP_20181229_13_03_57_Pro by inkaboat, on Flickr Drilling using the biggest 2MT drill available.  WP_20181229_13_05_54_Pro WP_20181229_13_05_54_Pro by inkaboat, on Flickr Copper is awful stuff to machine. Here, instead of a boring bar I'm using a 10mm end mill which has a lovely curvy top rake and it goes through it like a knife through butter on a 1.5mm cut! 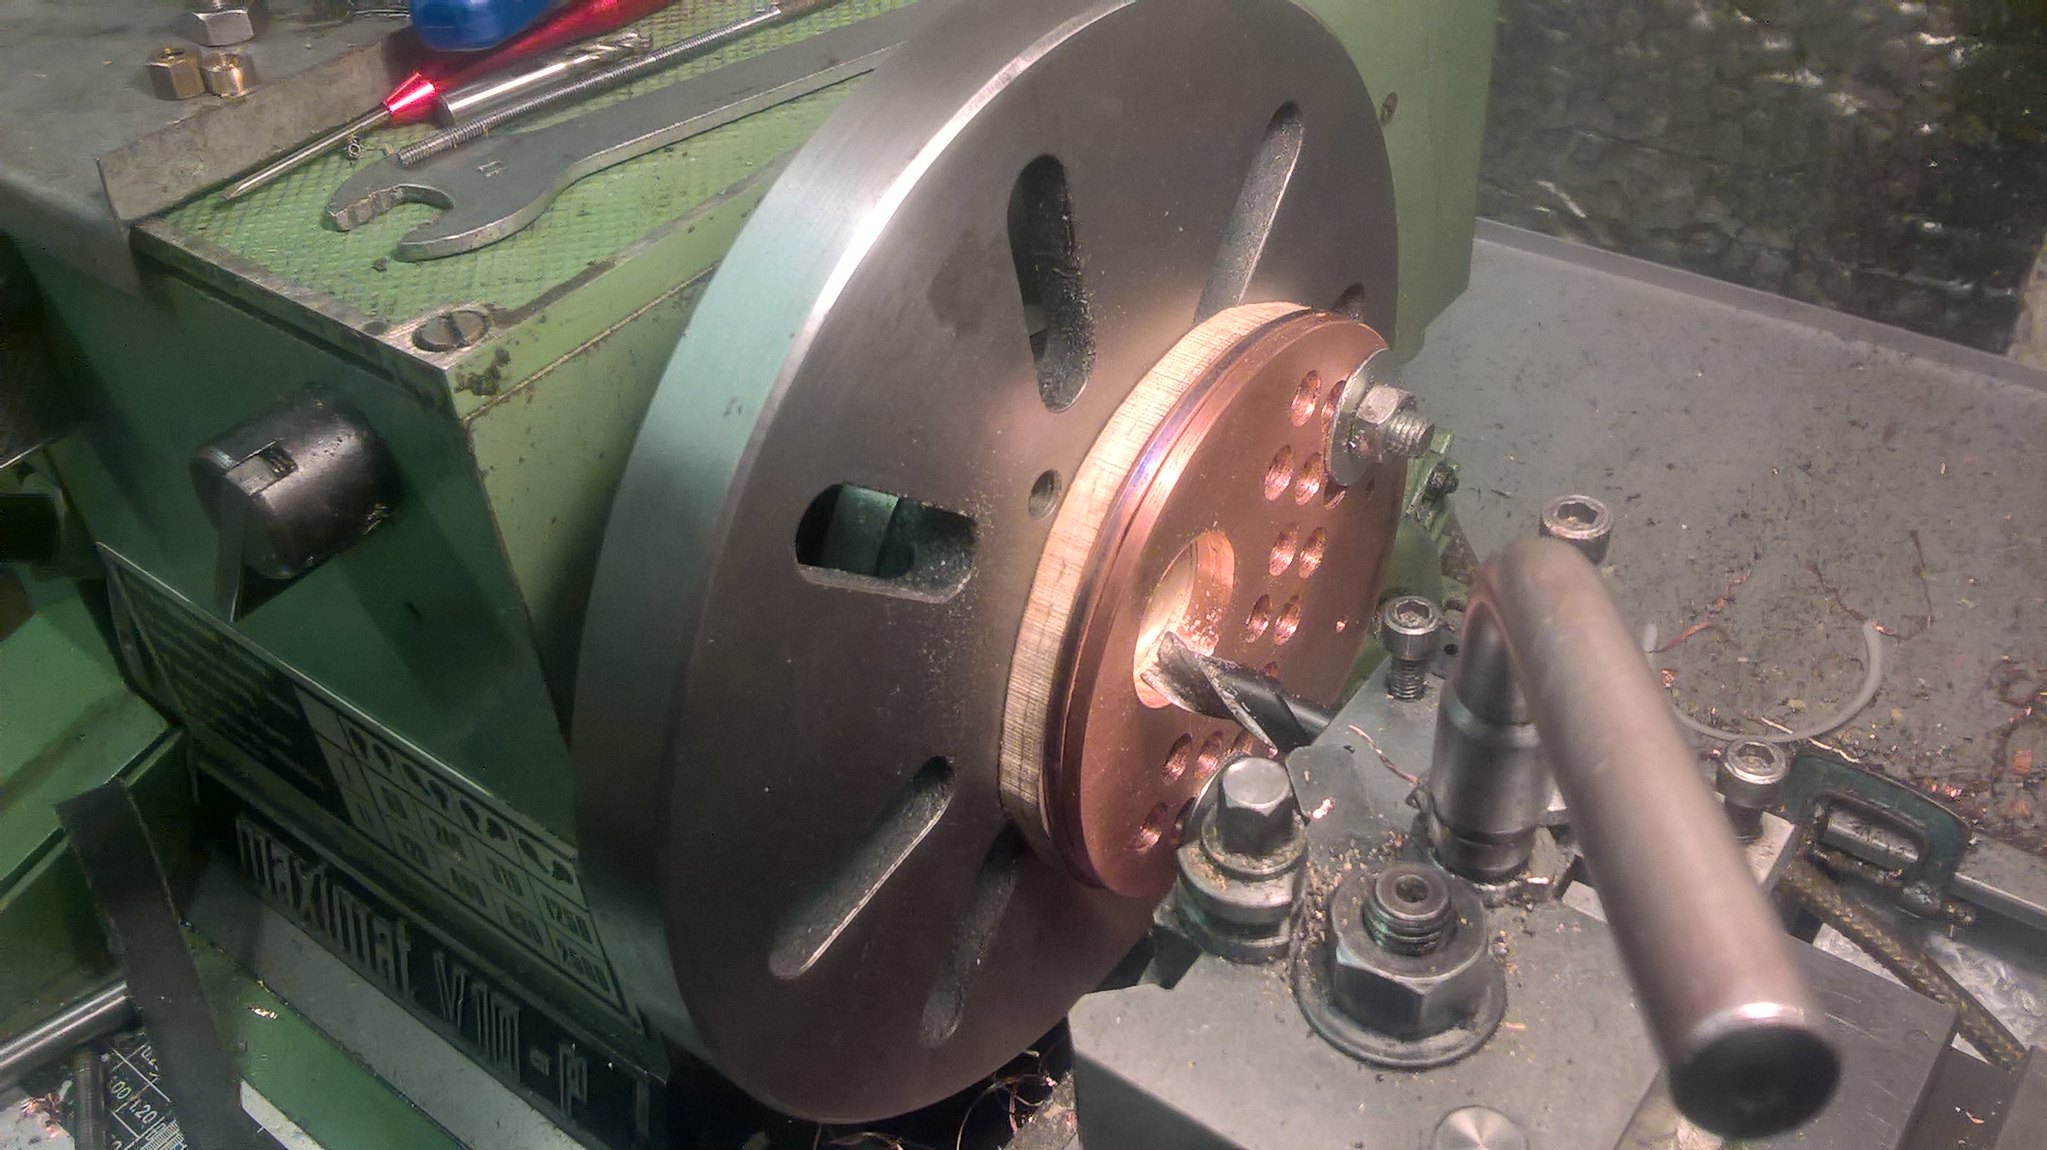 WP_20181229_15_52_22_Pro WP_20181229_15_52_22_Pro by inkaboat, on Flickr Almost there, and looking pretty! Of course, in my dotage I shouldered both ends, which was a mistake as it is virtually impossible to align 18 miscreant tubes at the same time! I'll enlarge the superheater end plate holes and drop them through. 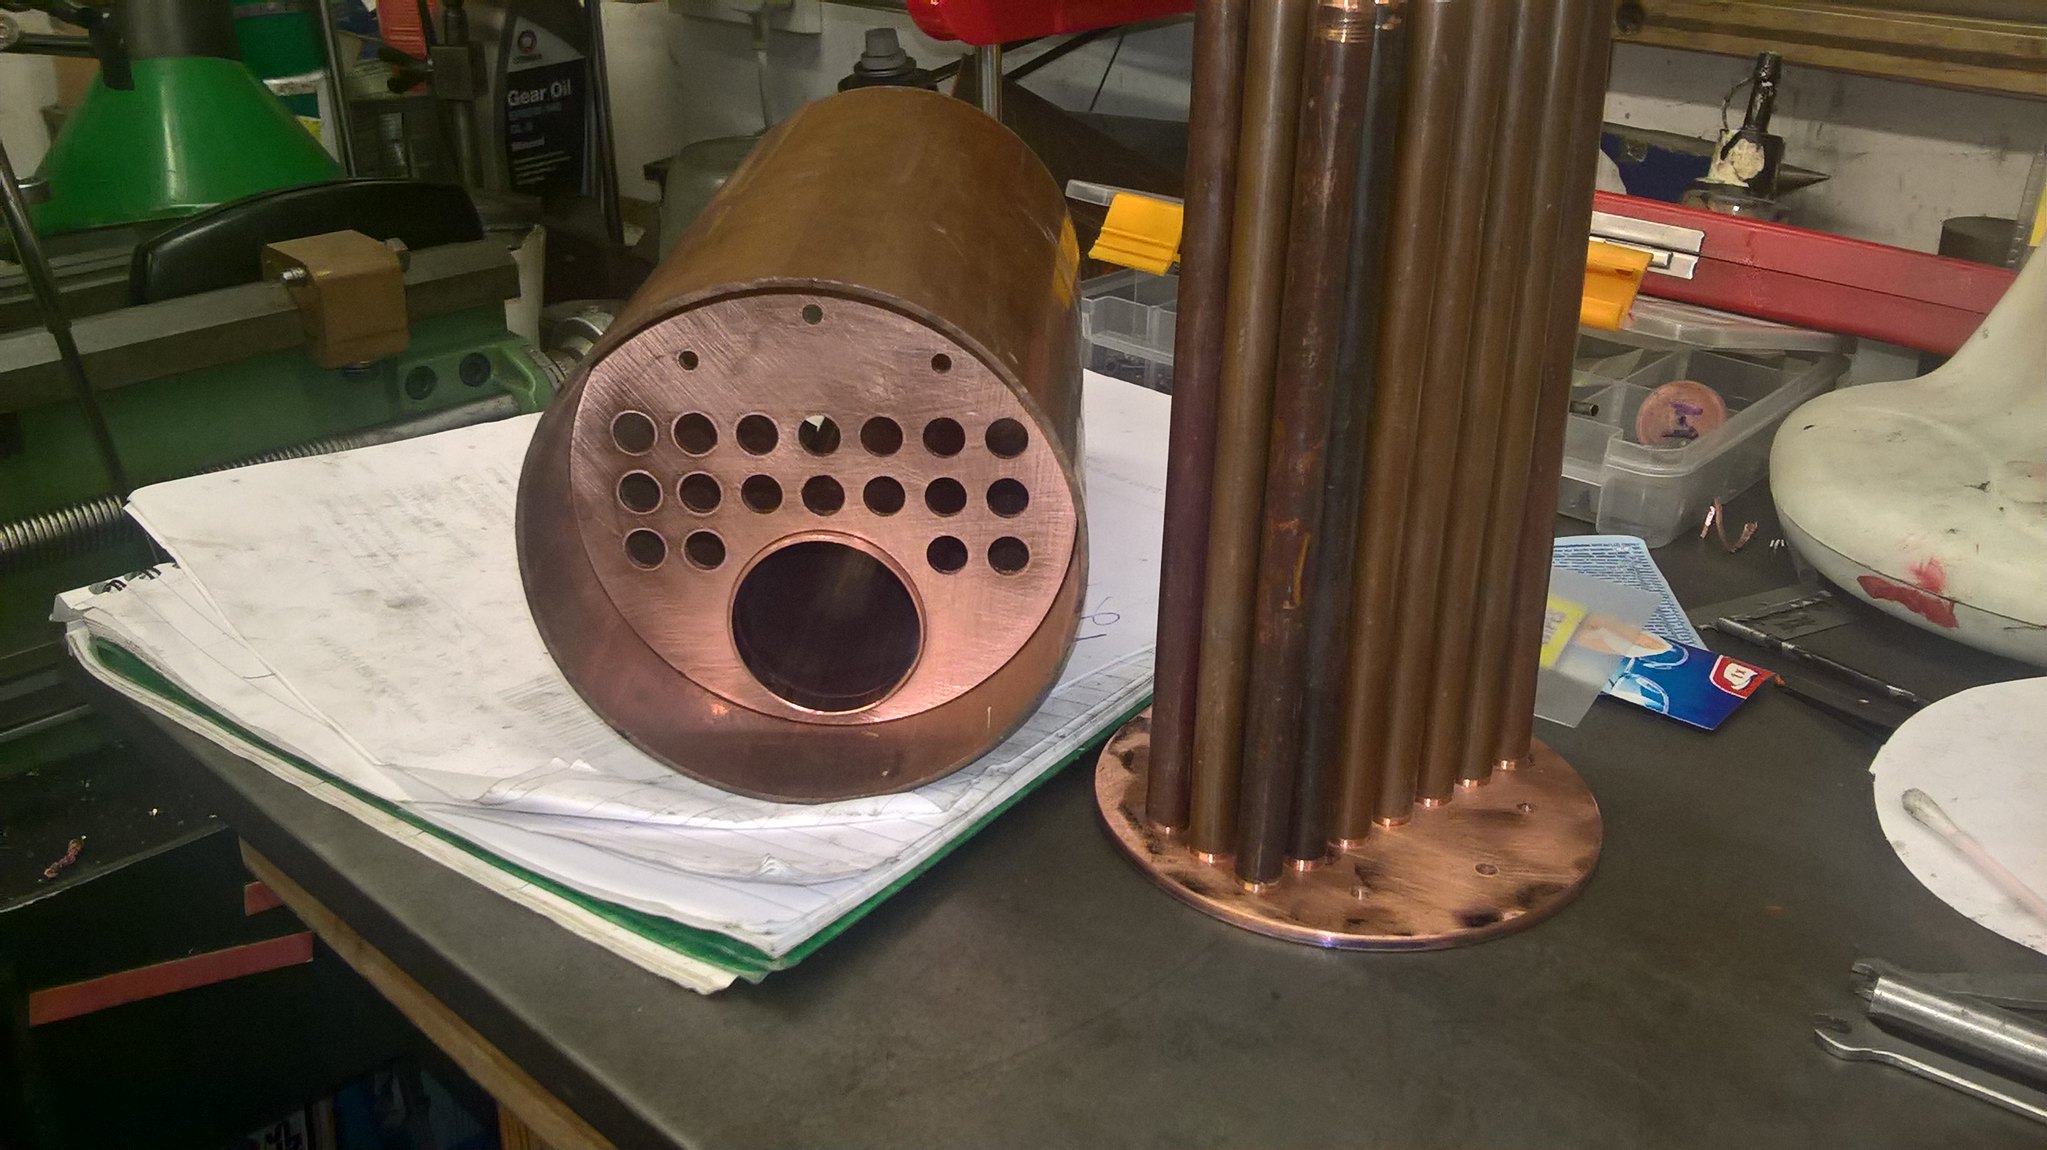 WP_20181229_16_40_44_Pro WP_20181229_16_40_44_Pro by inkaboat, on Flickr 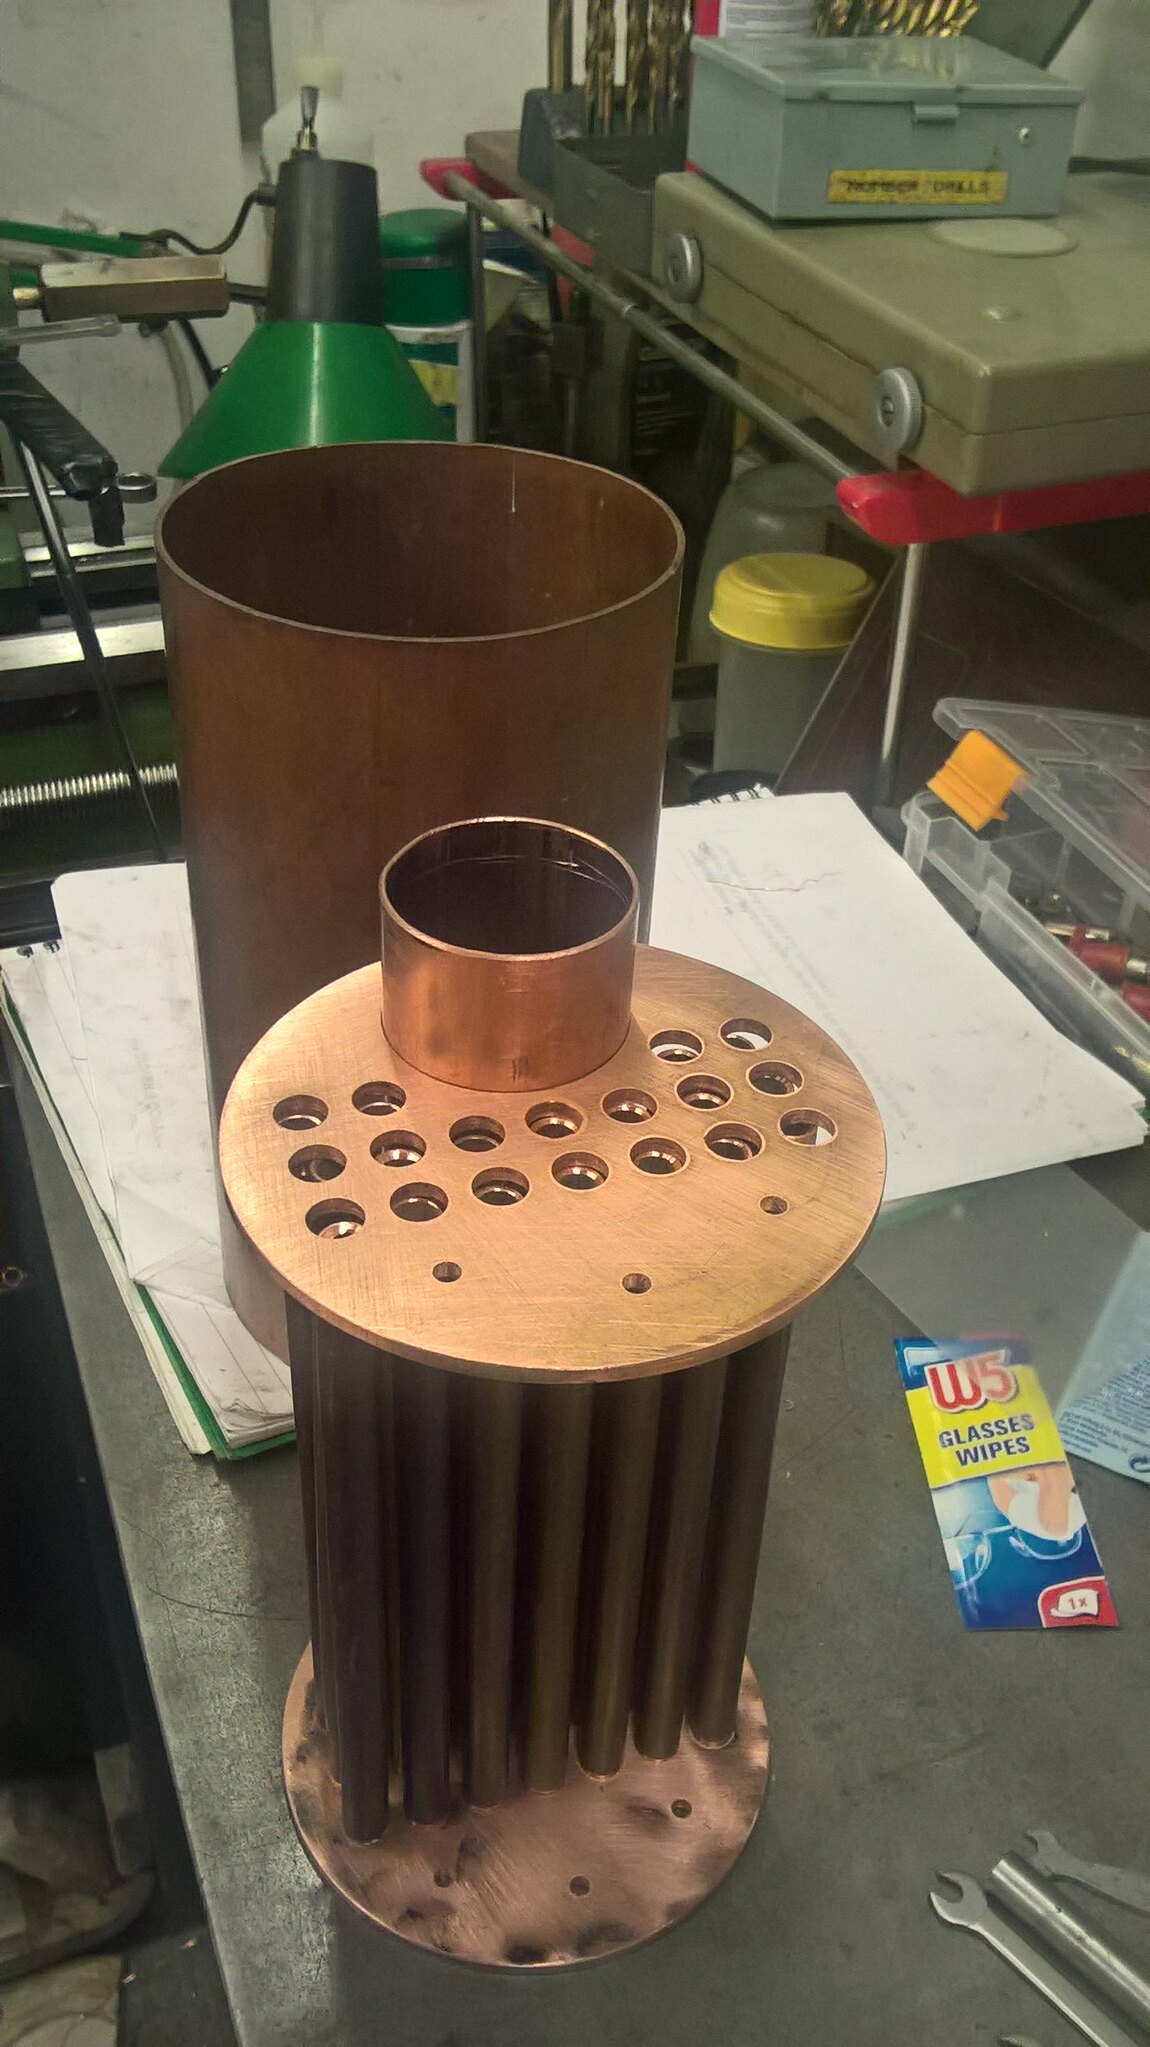 WP_20181229_16_39_12_Pro WP_20181229_16_39_12_Pro by inkaboat, on Flickr 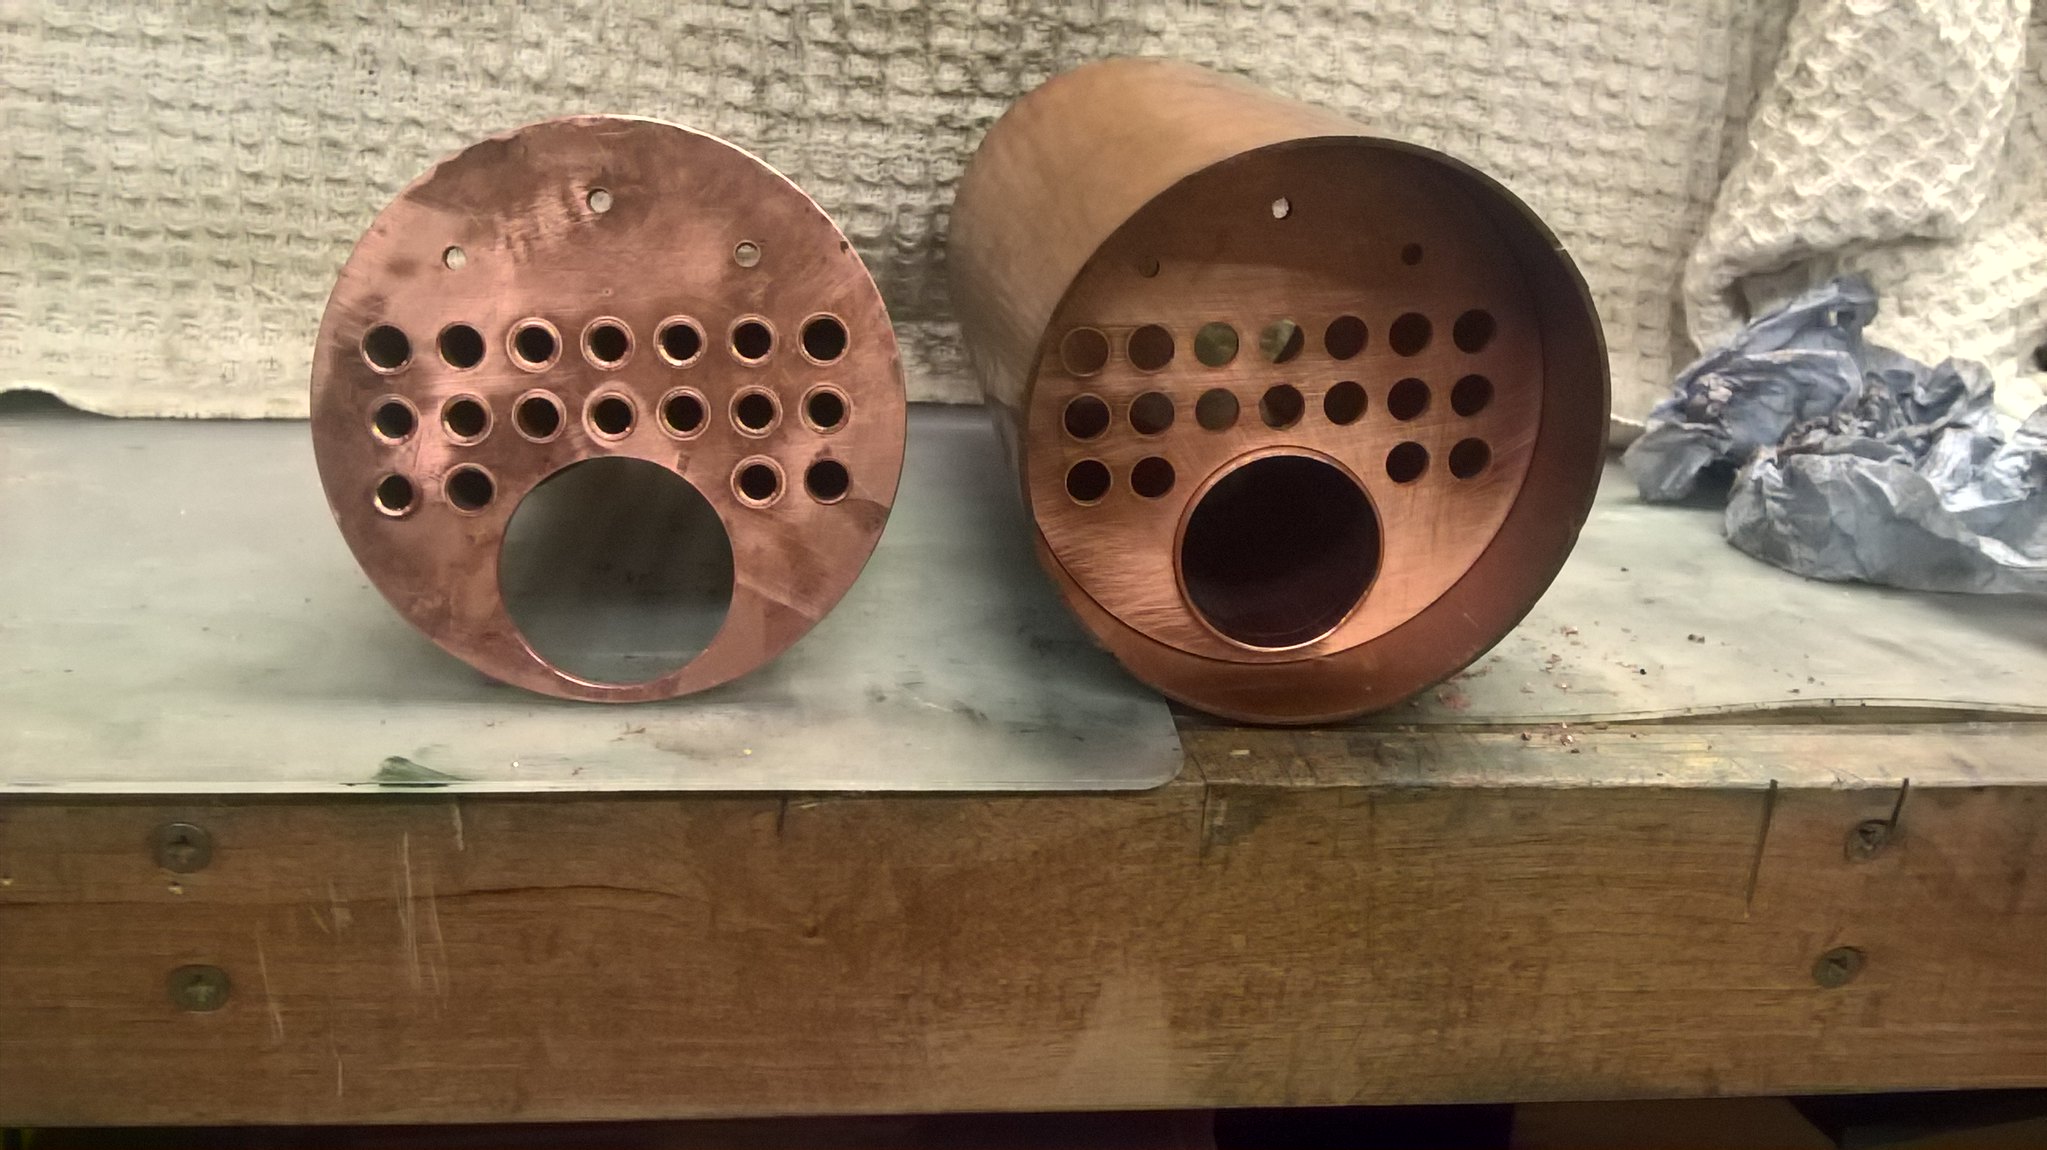 WP_20181229_16_55_10_Pro WP_20181229_16_55_10_Pro by inkaboat, on Flickr |
|
JonL
Elder Statesman
   WWSME (Wiltshire)
Posts: 2,988
|
Post by JonL on Dec 29, 2018 21:14:35 GMT
That looks exceptional, top work.
|
|
|
|
Post by ilvaporista on Dec 29, 2018 22:09:25 GMT
To locate the tubes I use rolled up card stuffed in the tube ends, if you cut them at different lengths then you can line them up with a pen or scriber as you push the tube plate down. I have also seen cone shaped bungs used as well. I find that card from shirts is the best followed by cornflake packets.
|
|
|
|
Post by simplyloco on Dec 29, 2018 23:02:05 GMT
SNIP I find that card from shirts is the best followed by cornflake packets. The latter method is at best a little flaky, and if I adopted the former I would probably lose my shirt...  |
|
|
|
Post by simplyloco on Dec 31, 2018 18:15:34 GMT
Only a couple of hours in the workshop today: after all it is New Year's Eve and I also went to see the great man in hospital... I shortened all the tubes to leave the one shoulder, and I opened out the one affected end plate accordingly. I used this gadget to keep the lengths all the same. It is a slight interference fit in the spindle end - it taps in and out-, and is a boon for repetitive, accurate working. I have different rod ends for different tasks! 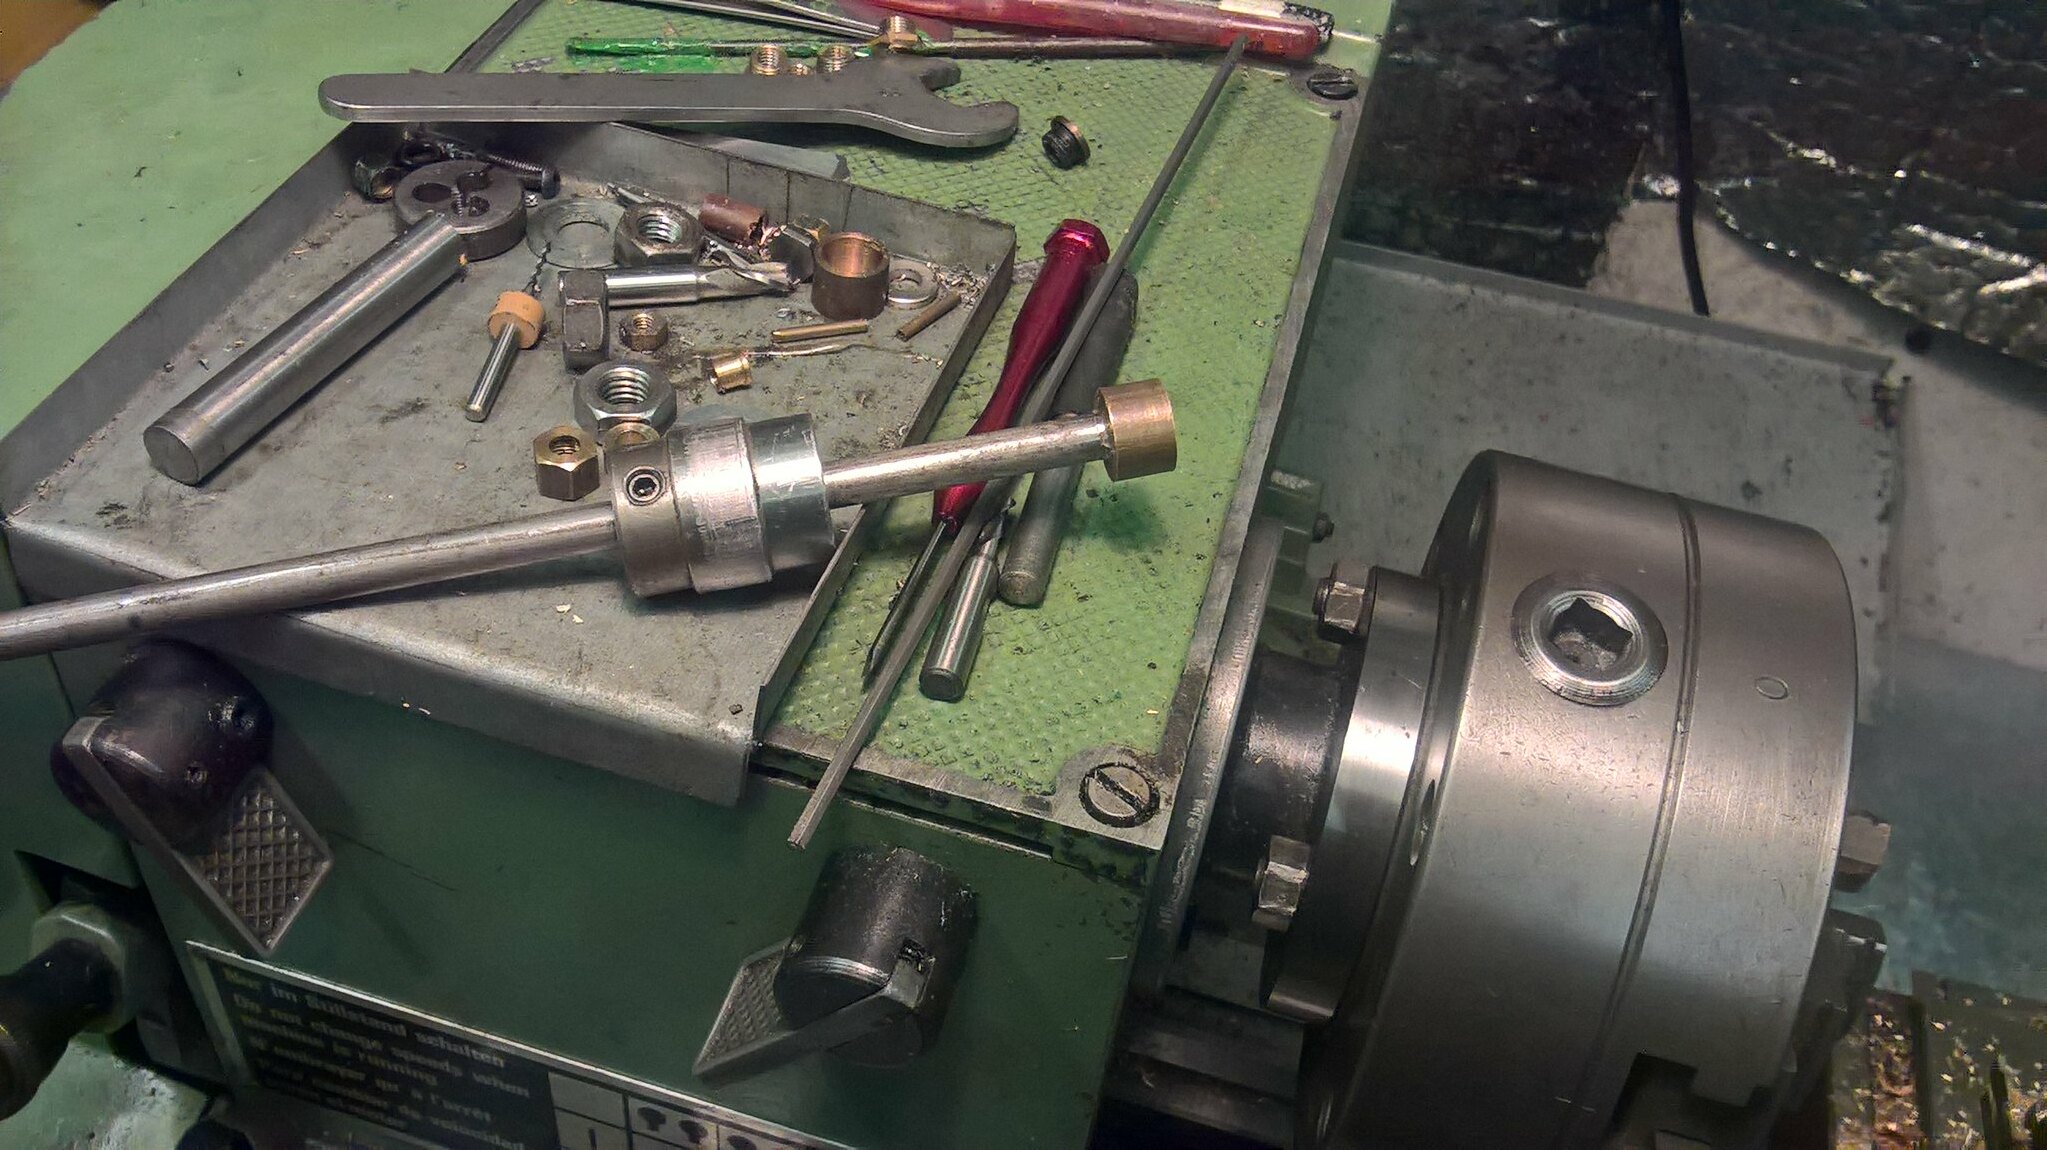 WP_20181231_15_39_16_Pro WP_20181231_15_39_16_Pro by inkaboat, on FlickrThere are three stays And it goes in here. 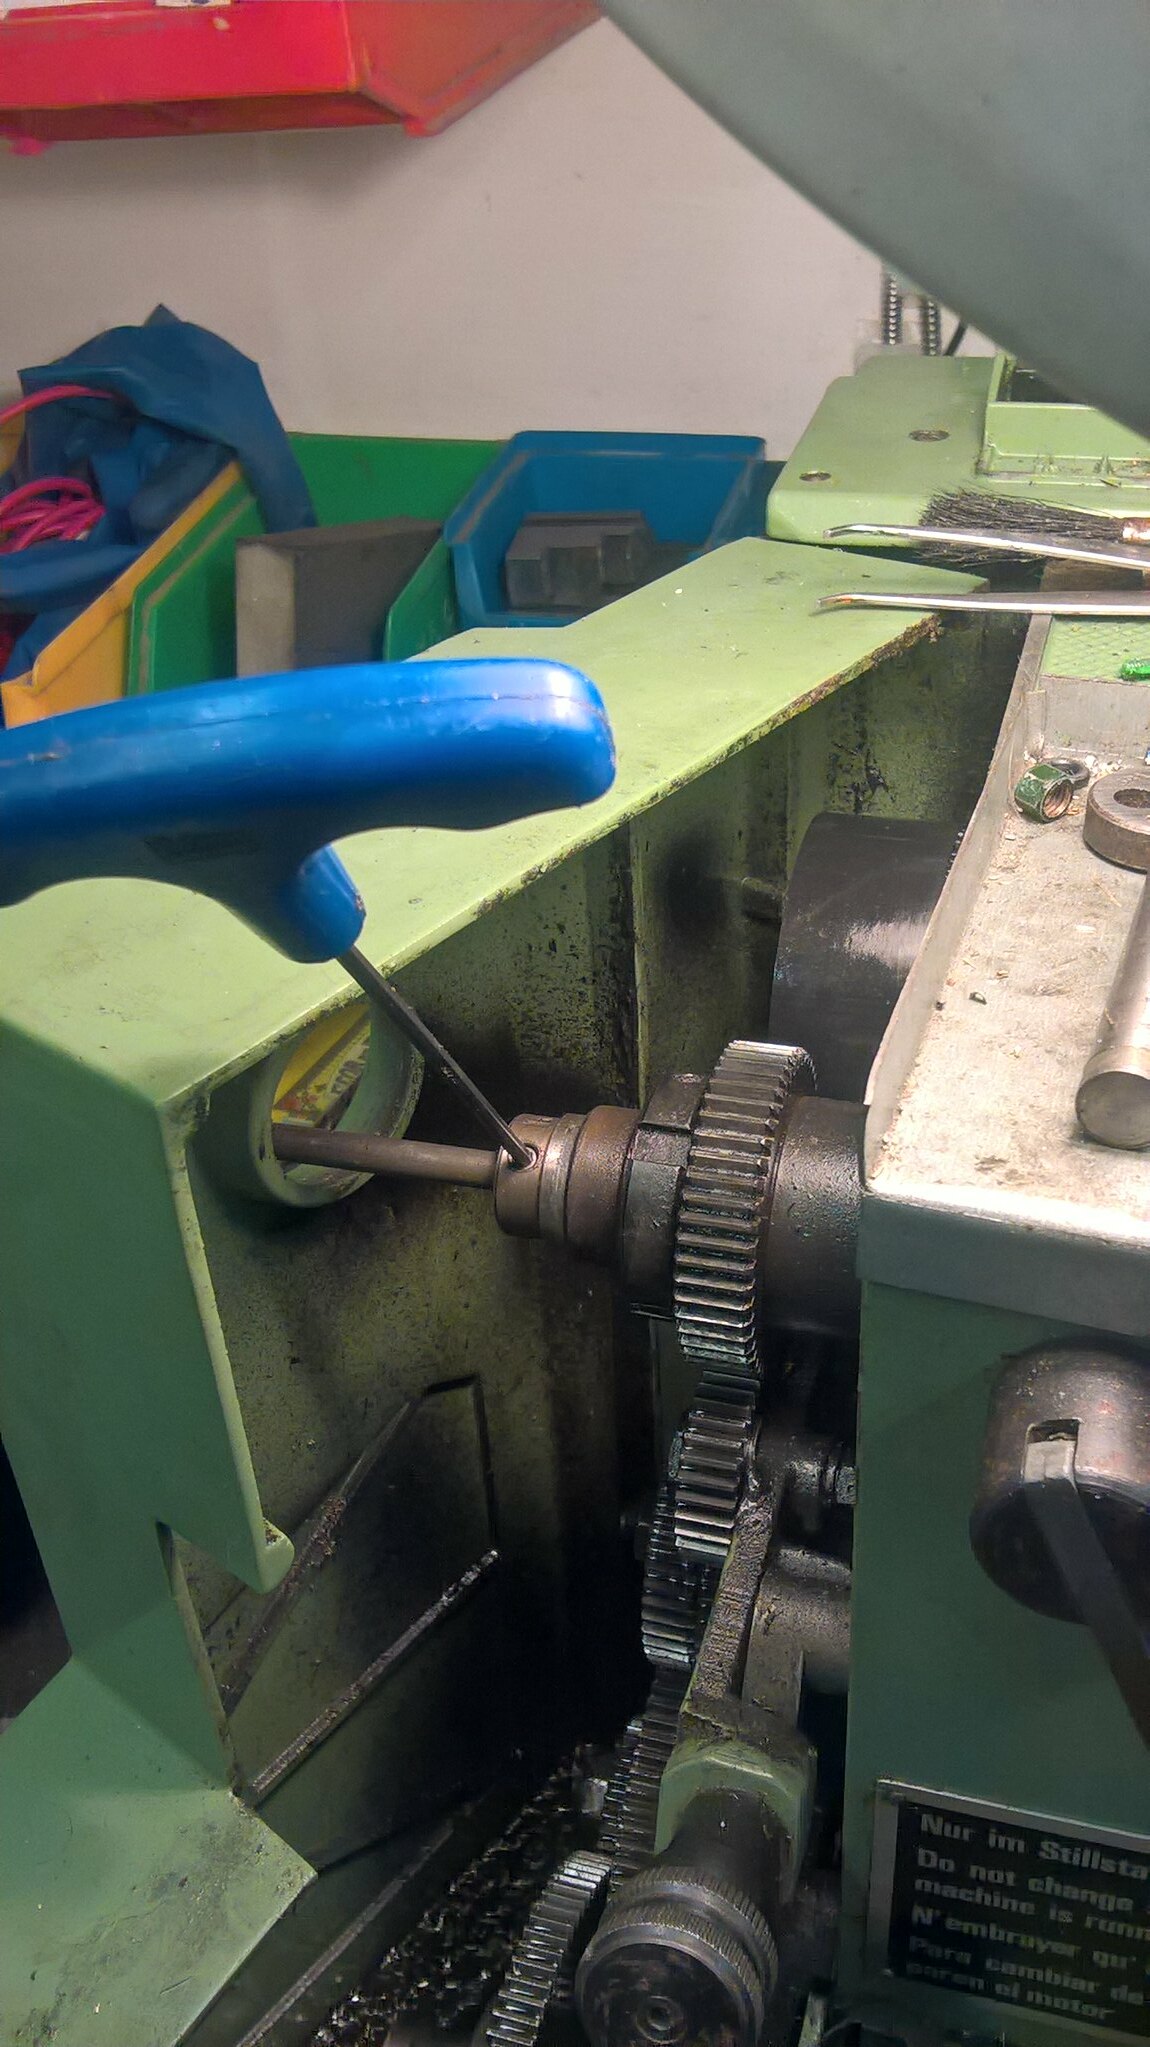 WP_20181231_15_12_58_Pro[1] WP_20181231_15_12_58_Pro[1] by inkaboat, on Flickr Three 3/16" stays will be adequate, threaded 2BA, which is made easy with the home made die holder and some tapping compound. 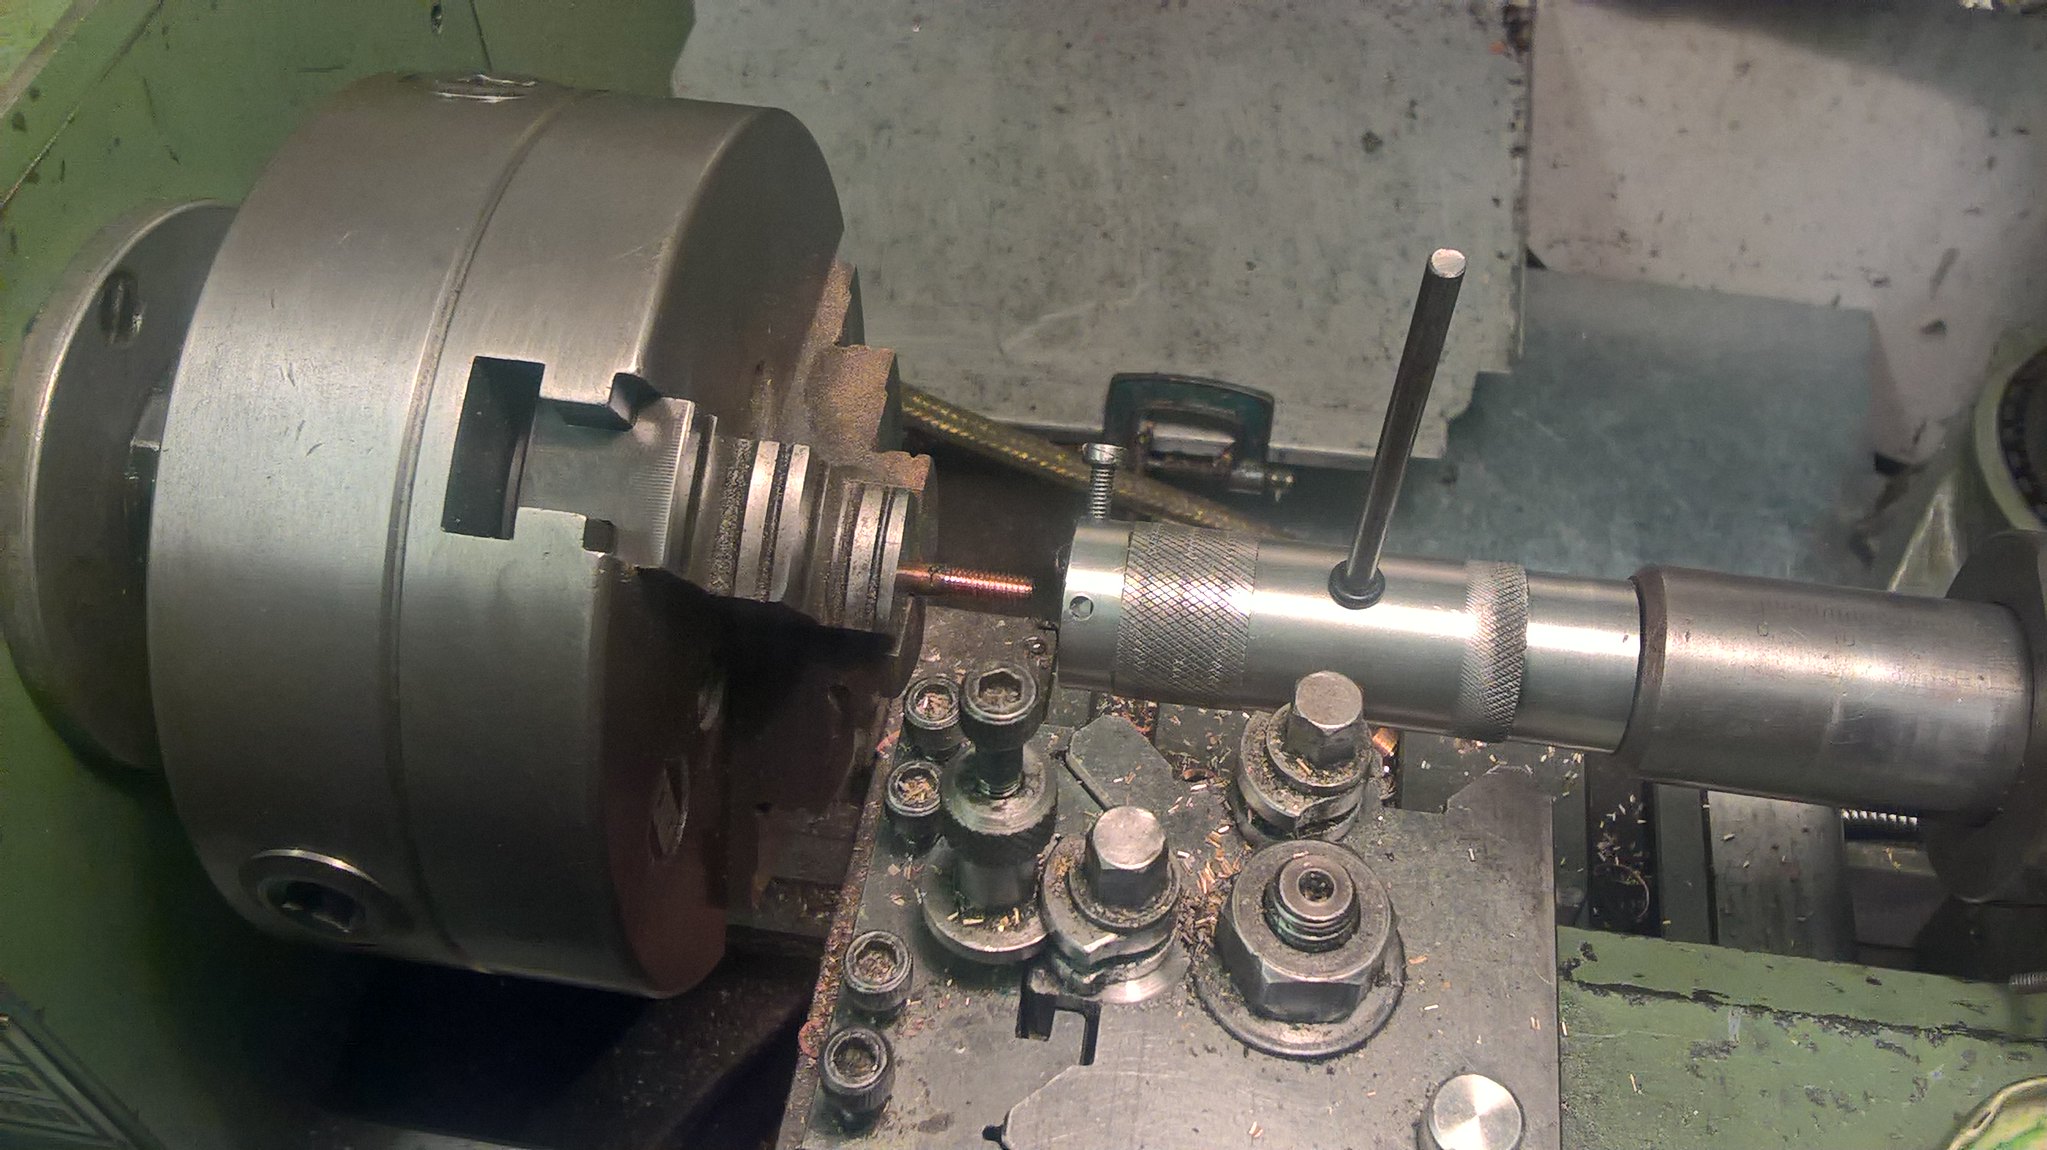 WP_20181231_15_53_18_Pro WP_20181231_15_53_18_Pro by inkaboat, on Flickr Boiler stays will be threaded into the end plates, at BOTH ends, and nutted. Impossible you might say, but make a bush of a different diameter and the same pitch, and the job is made easy when the bush is threaded in at the same time as the stay! 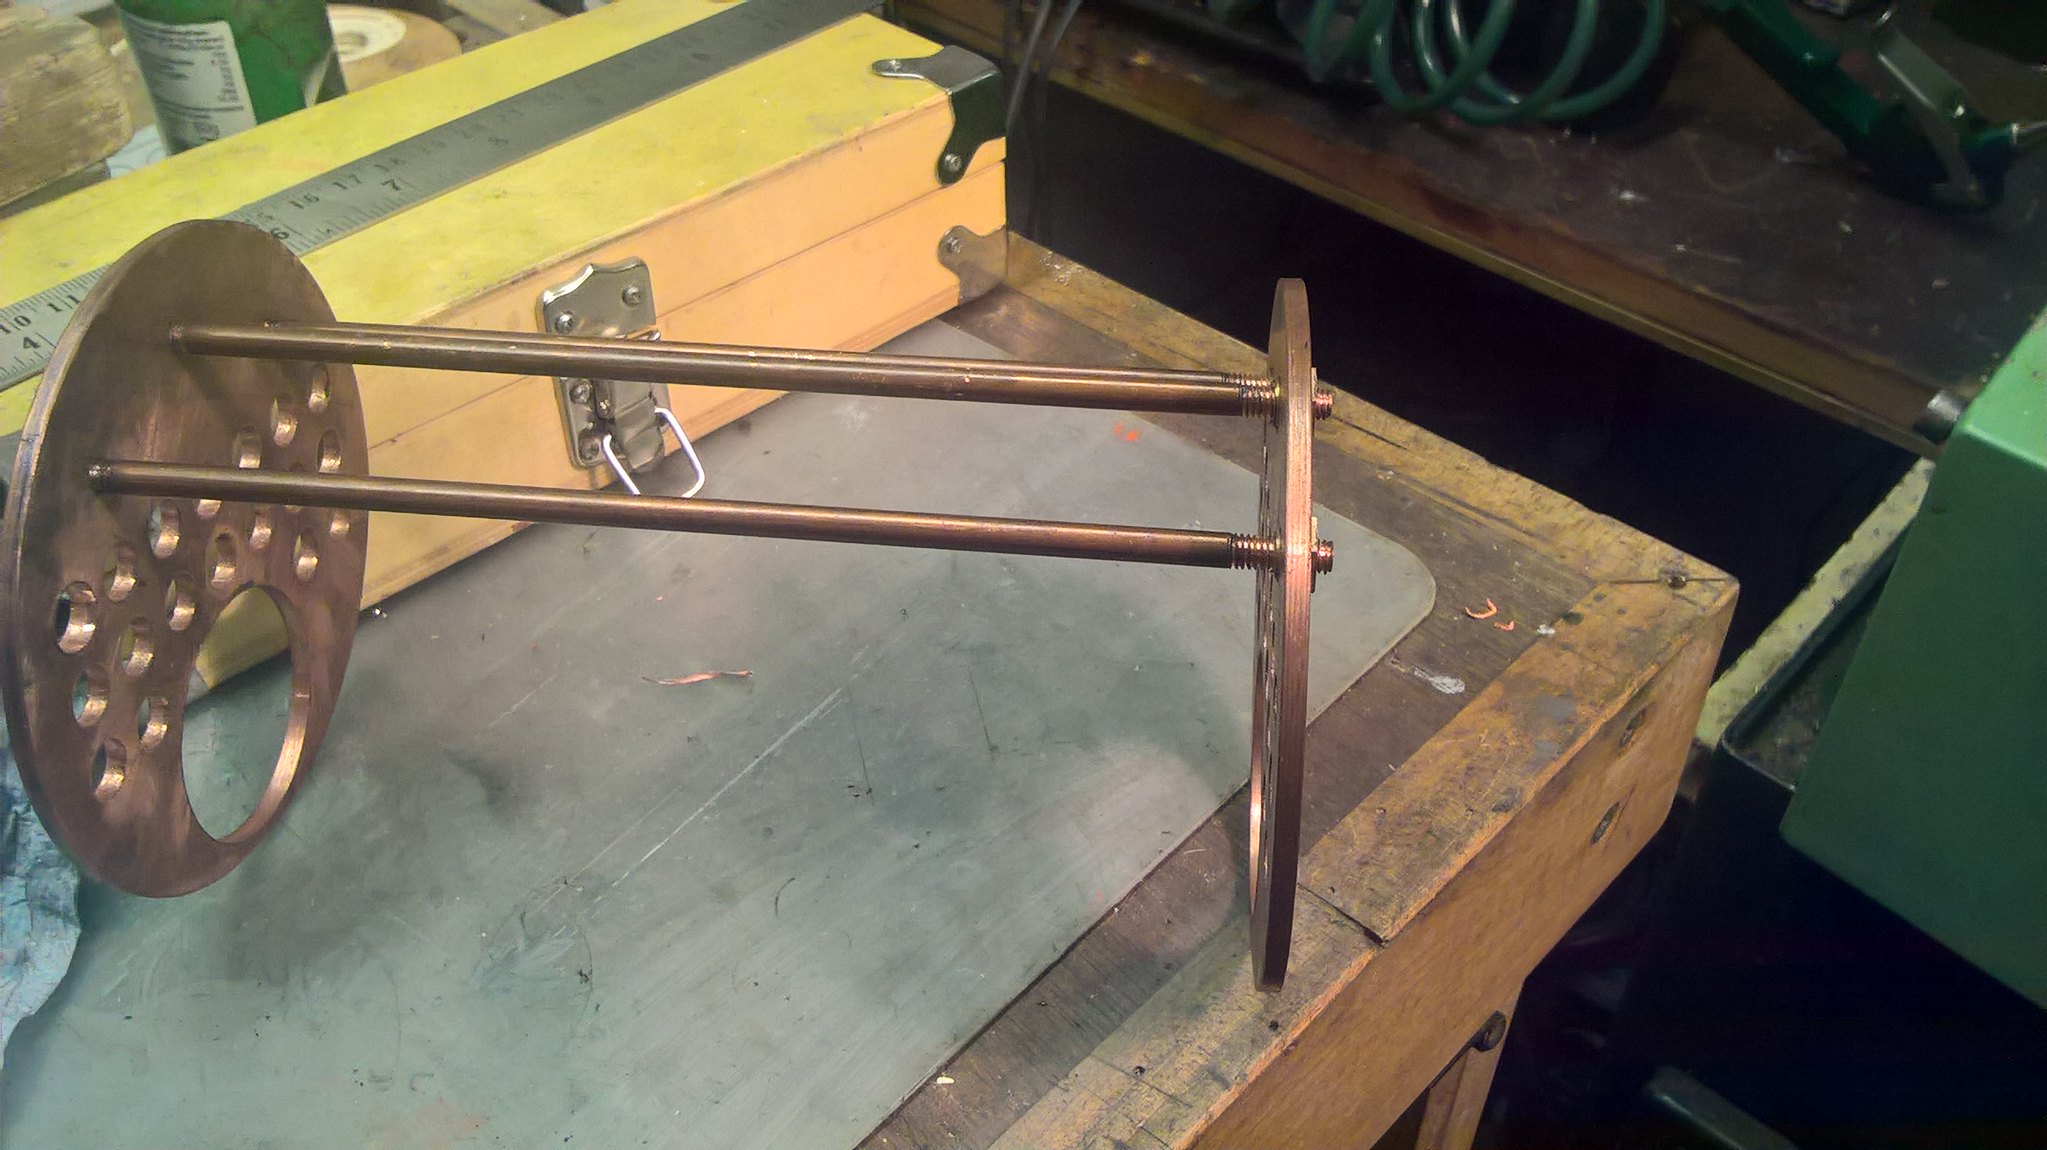 WP_20181231_16_45_06_Pro WP_20181231_16_45_06_Pro by inkaboat, on Flickr Looking pretty ready for the tubes to be dropped in after the boozing holiday! 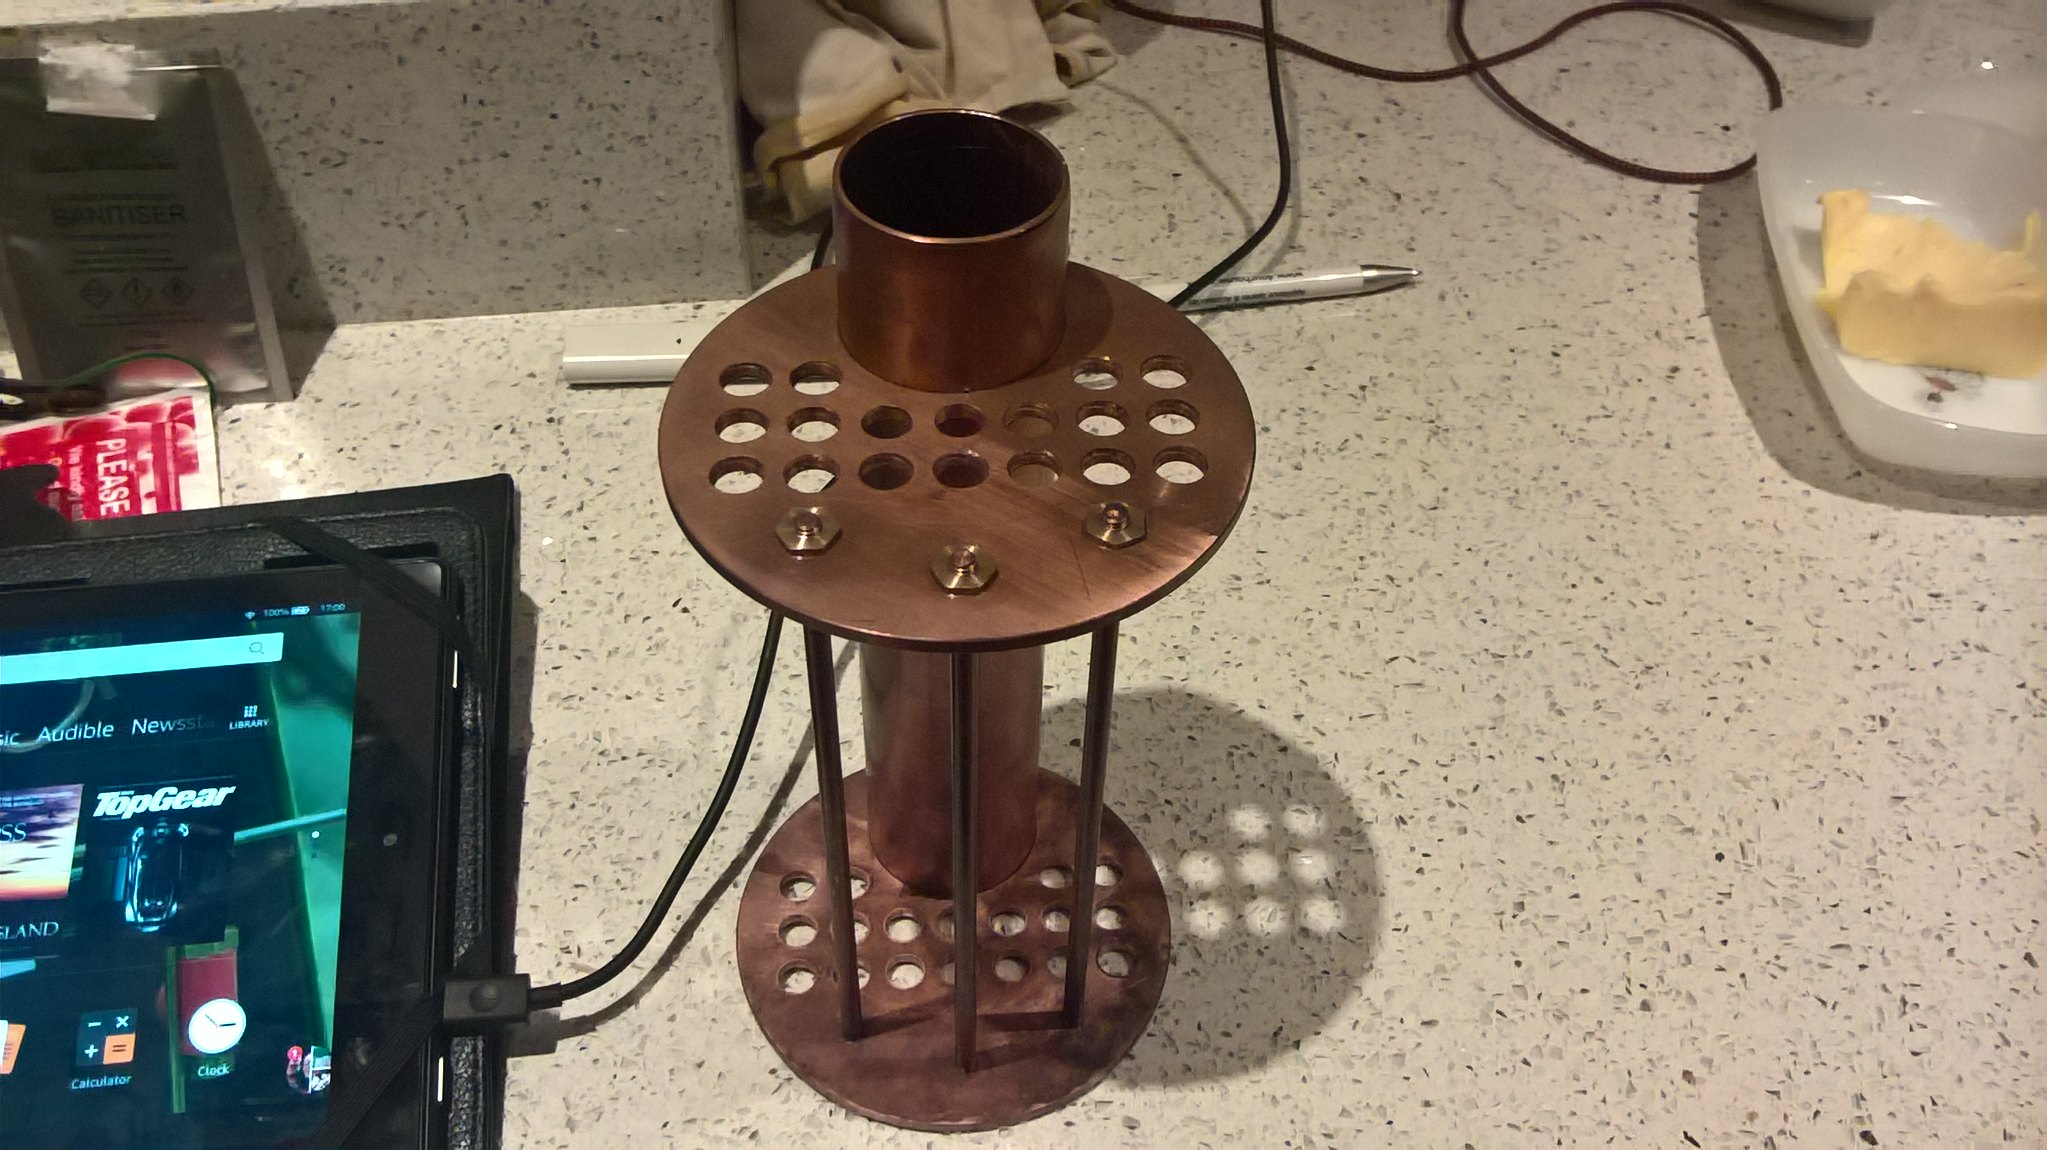 WP_20181231_17_00_50_Pro WP_20181231_17_00_50_Pro by inkaboat, on Flickr |
|
JonL
Elder Statesman
   WWSME (Wiltshire)
Posts: 2,988
|
Post by JonL on Dec 31, 2018 21:11:47 GMT
Cunning, I like the stay threading idea! Coming together lovely.
|
|
|
|
Post by simplyloco on Jan 2, 2019 19:42:02 GMT
DOME: not the O2 one...
A dome is optional, as there is plenty of steam space in the top of the boiler to prevent excessive ebullition, but what the hell... There is no regulator in it, so it can do without a removable cap, and I'll have three steam exits: to superheater, pressure gauge, and a plugged fountain for accessories such as an injector or steam driven pump. I'm not making a big hole in the shell: there will be a number of 3mm holes feeding the outlets instead. Even though it is silver soldered at the flange, it will have a 4BA stay up through the middle of it, and the top nut will be a nice neat lifting eye! I just happened to have a piece of brass just the right size. Holding these lumps can be tricky, so I machined a step at one end, turned it round and held it against the chuck with an adaptor in my home made revolving centre, while I made the 'top hat'. 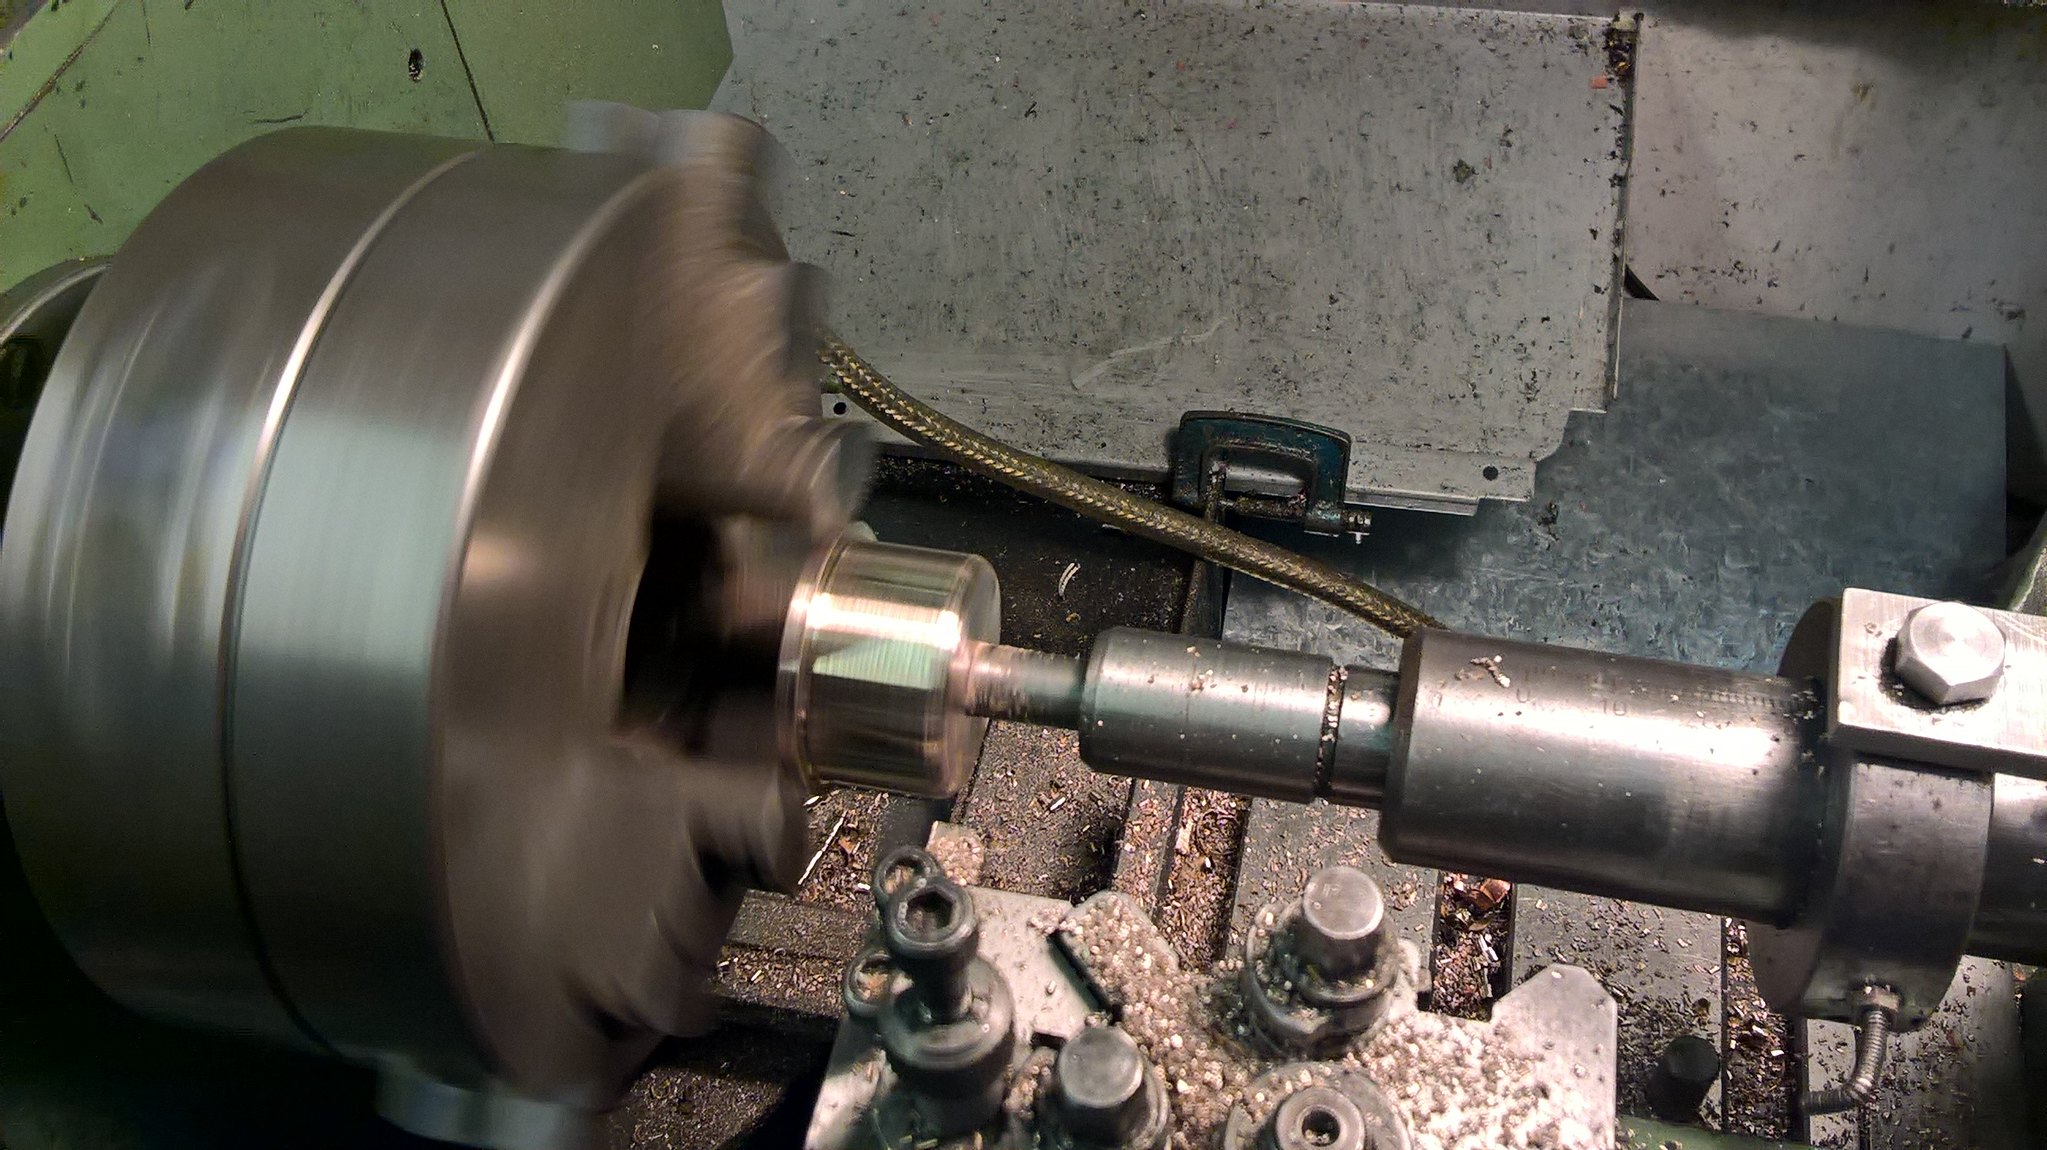 WP_20190102_15_22_12_Pro WP_20190102_15_22_12_Pro by inkaboat, on Flickr Bored to leave a 3mm wall thickness for the bushes. I used the saddle stop to prevent any embarrassment on the depth! 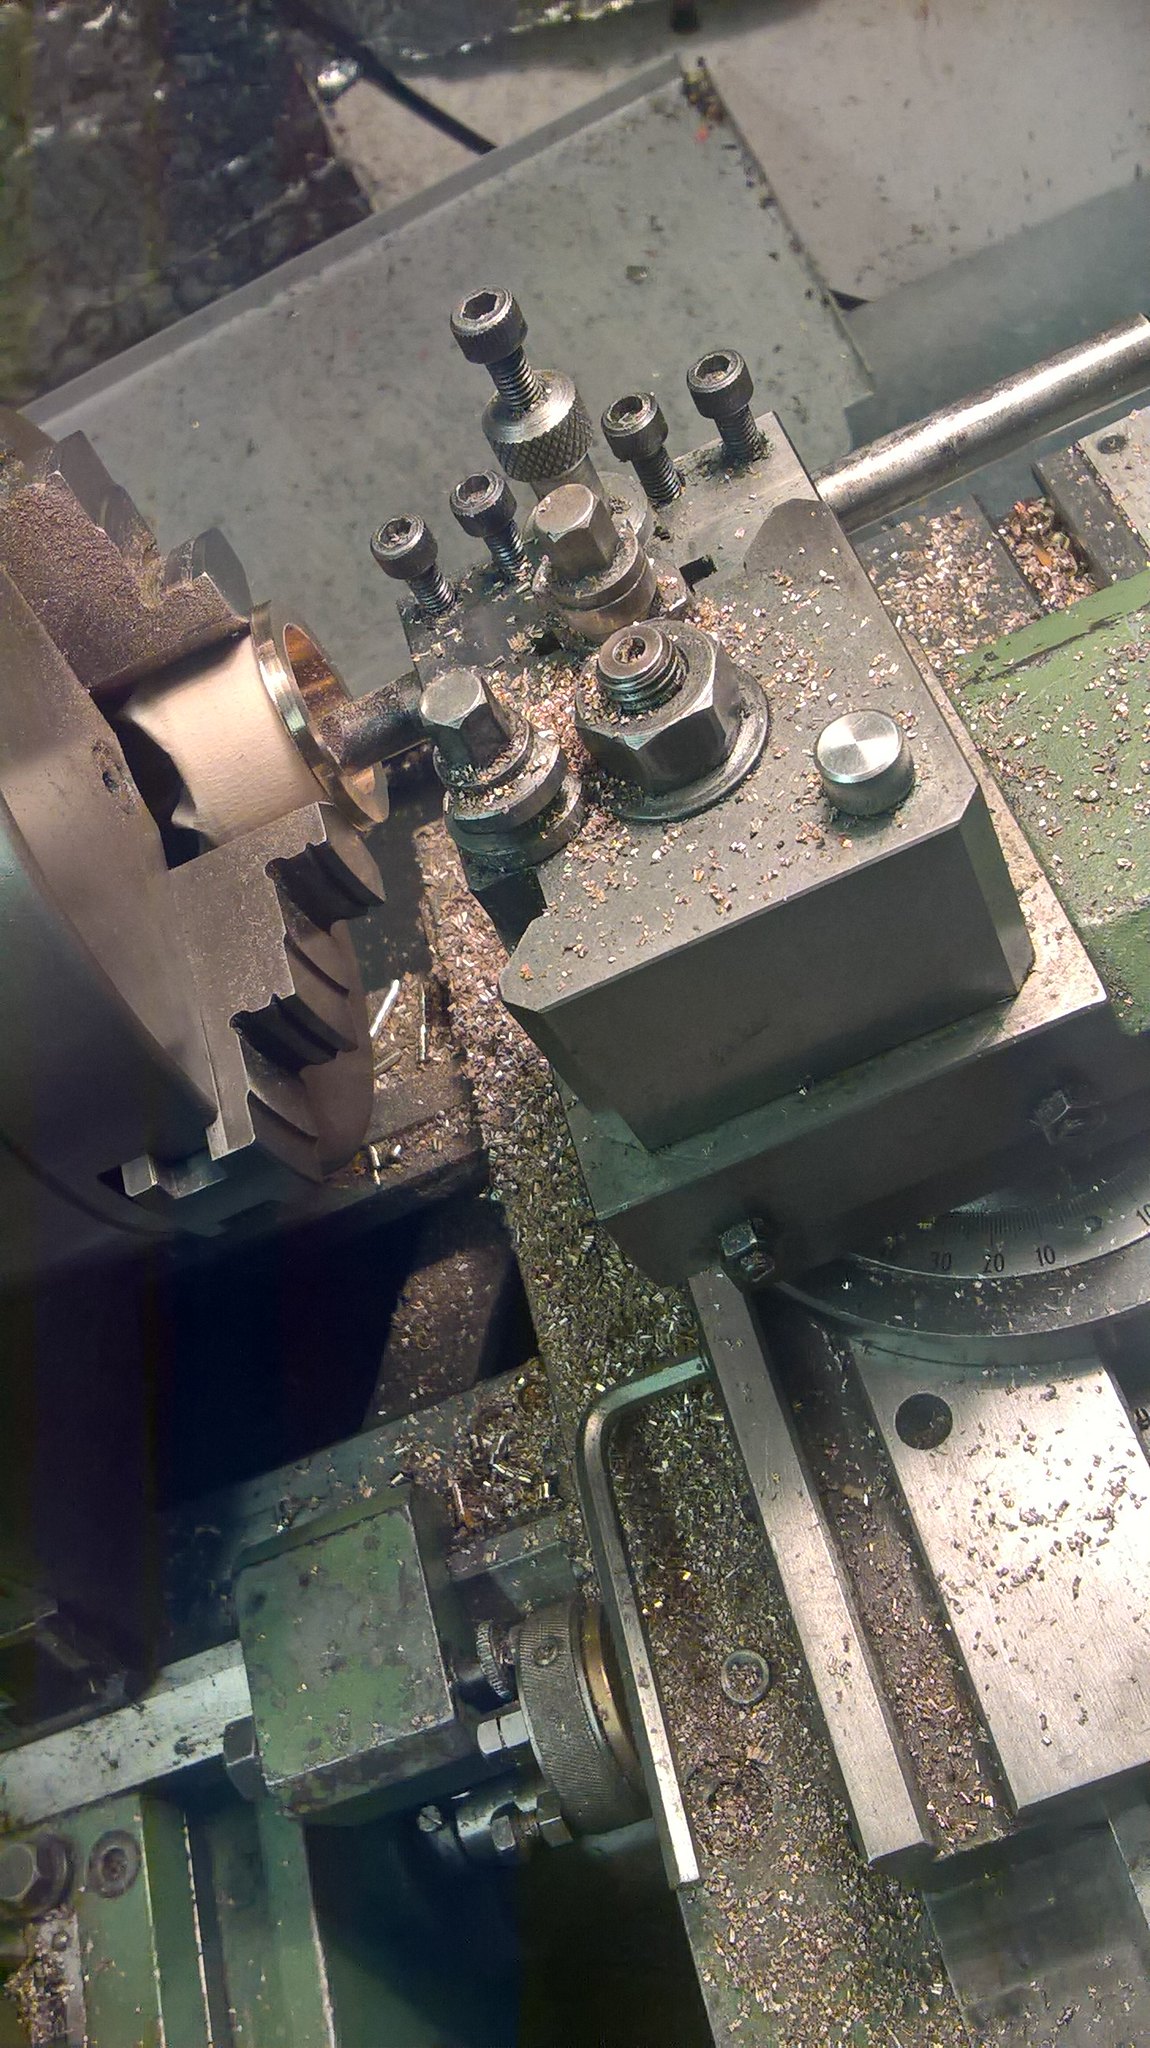 WP_20190102_15_40_27_Pro WP_20190102_15_40_27_Pro by inkaboat, on Flickr Half an hour with progressive grades of emery to get the correct radius. I could have milled it but the setup time didn't justify the output. 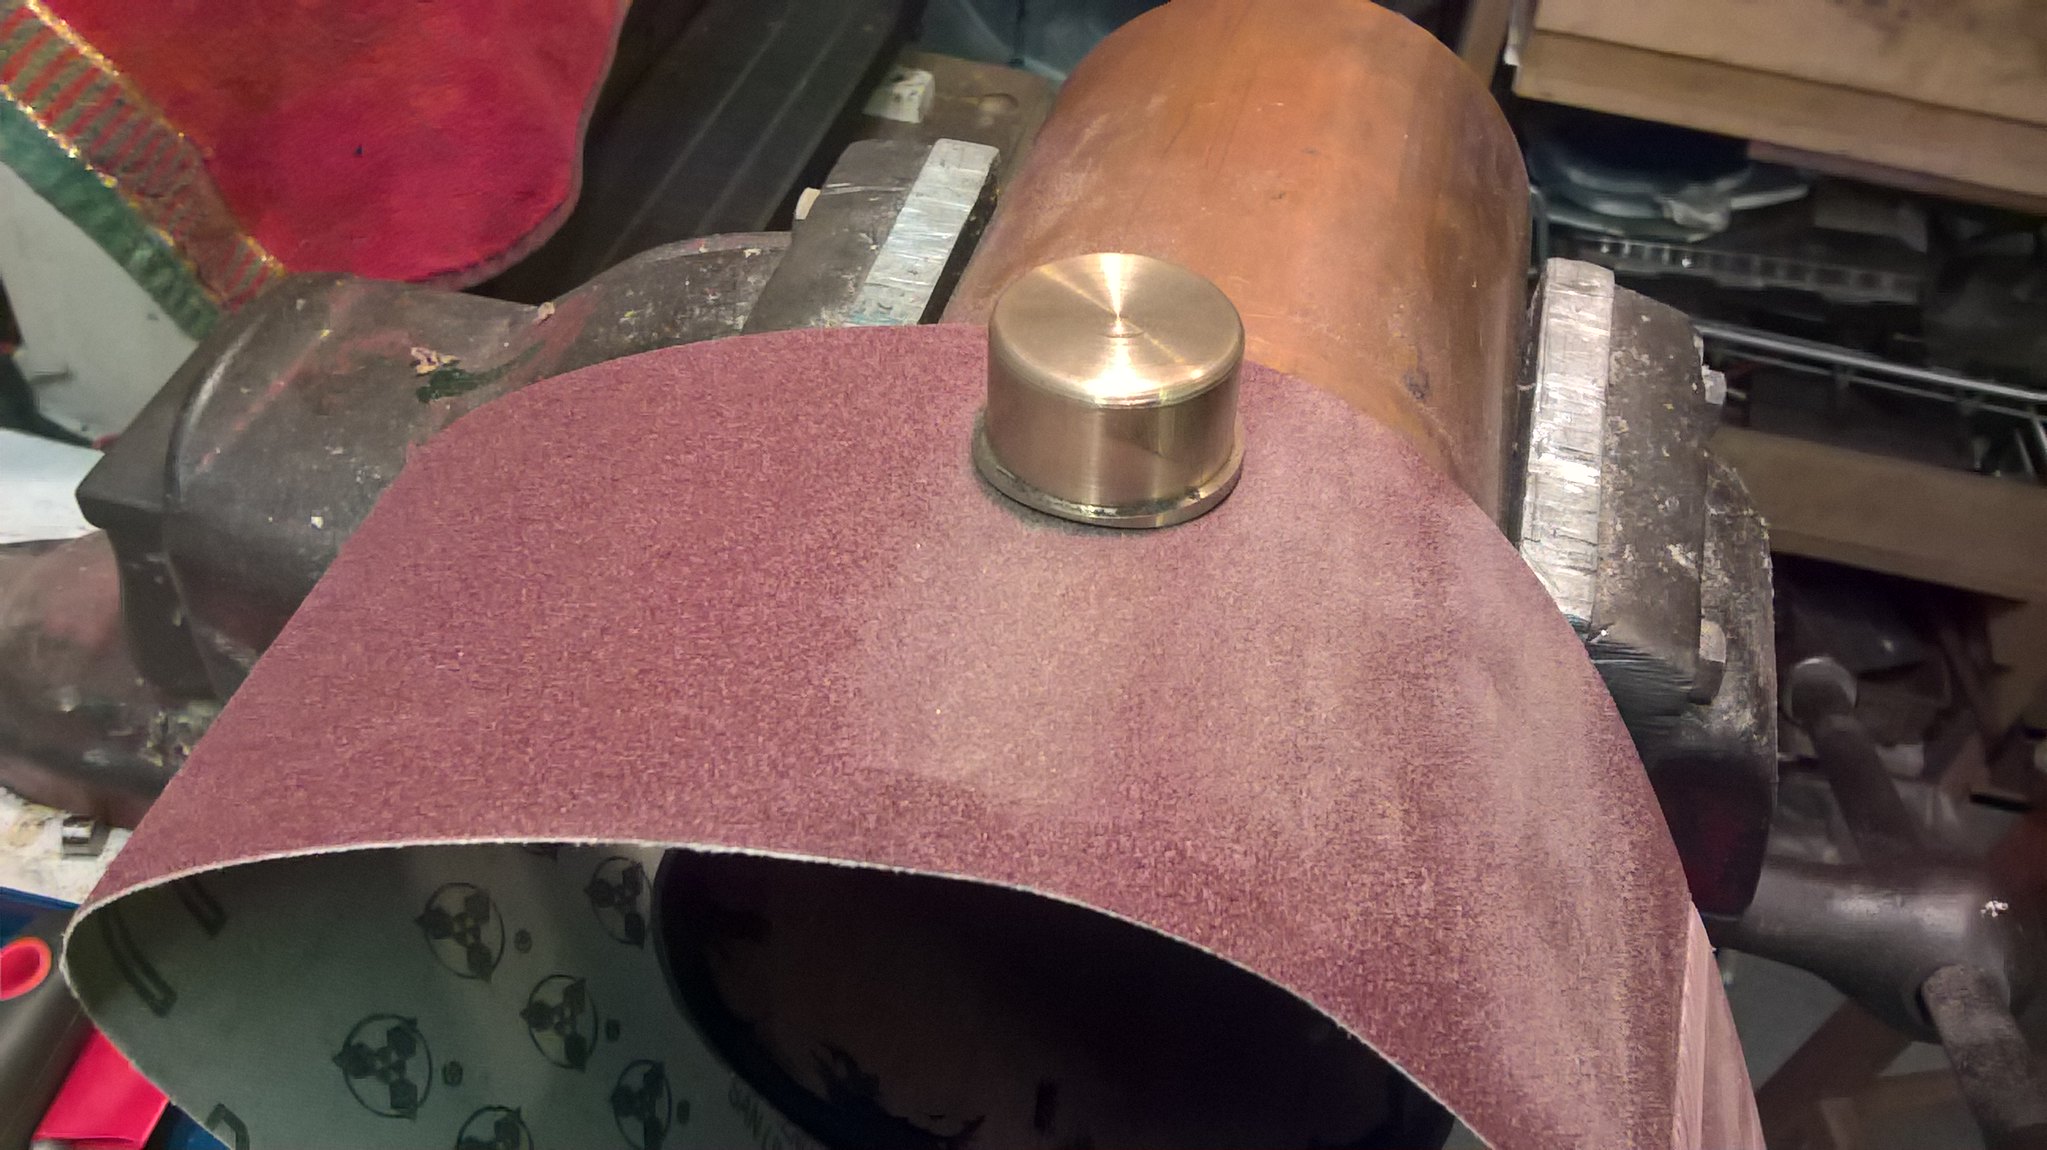 WP_20190102_15_53_24_Pro WP_20190102_15_53_24_Pro by inkaboat, on Flickr I now have to drill the holes for the dome stay, safety valve and clack valve, water gauge and blowdown. Then I'll be ready to heat up!  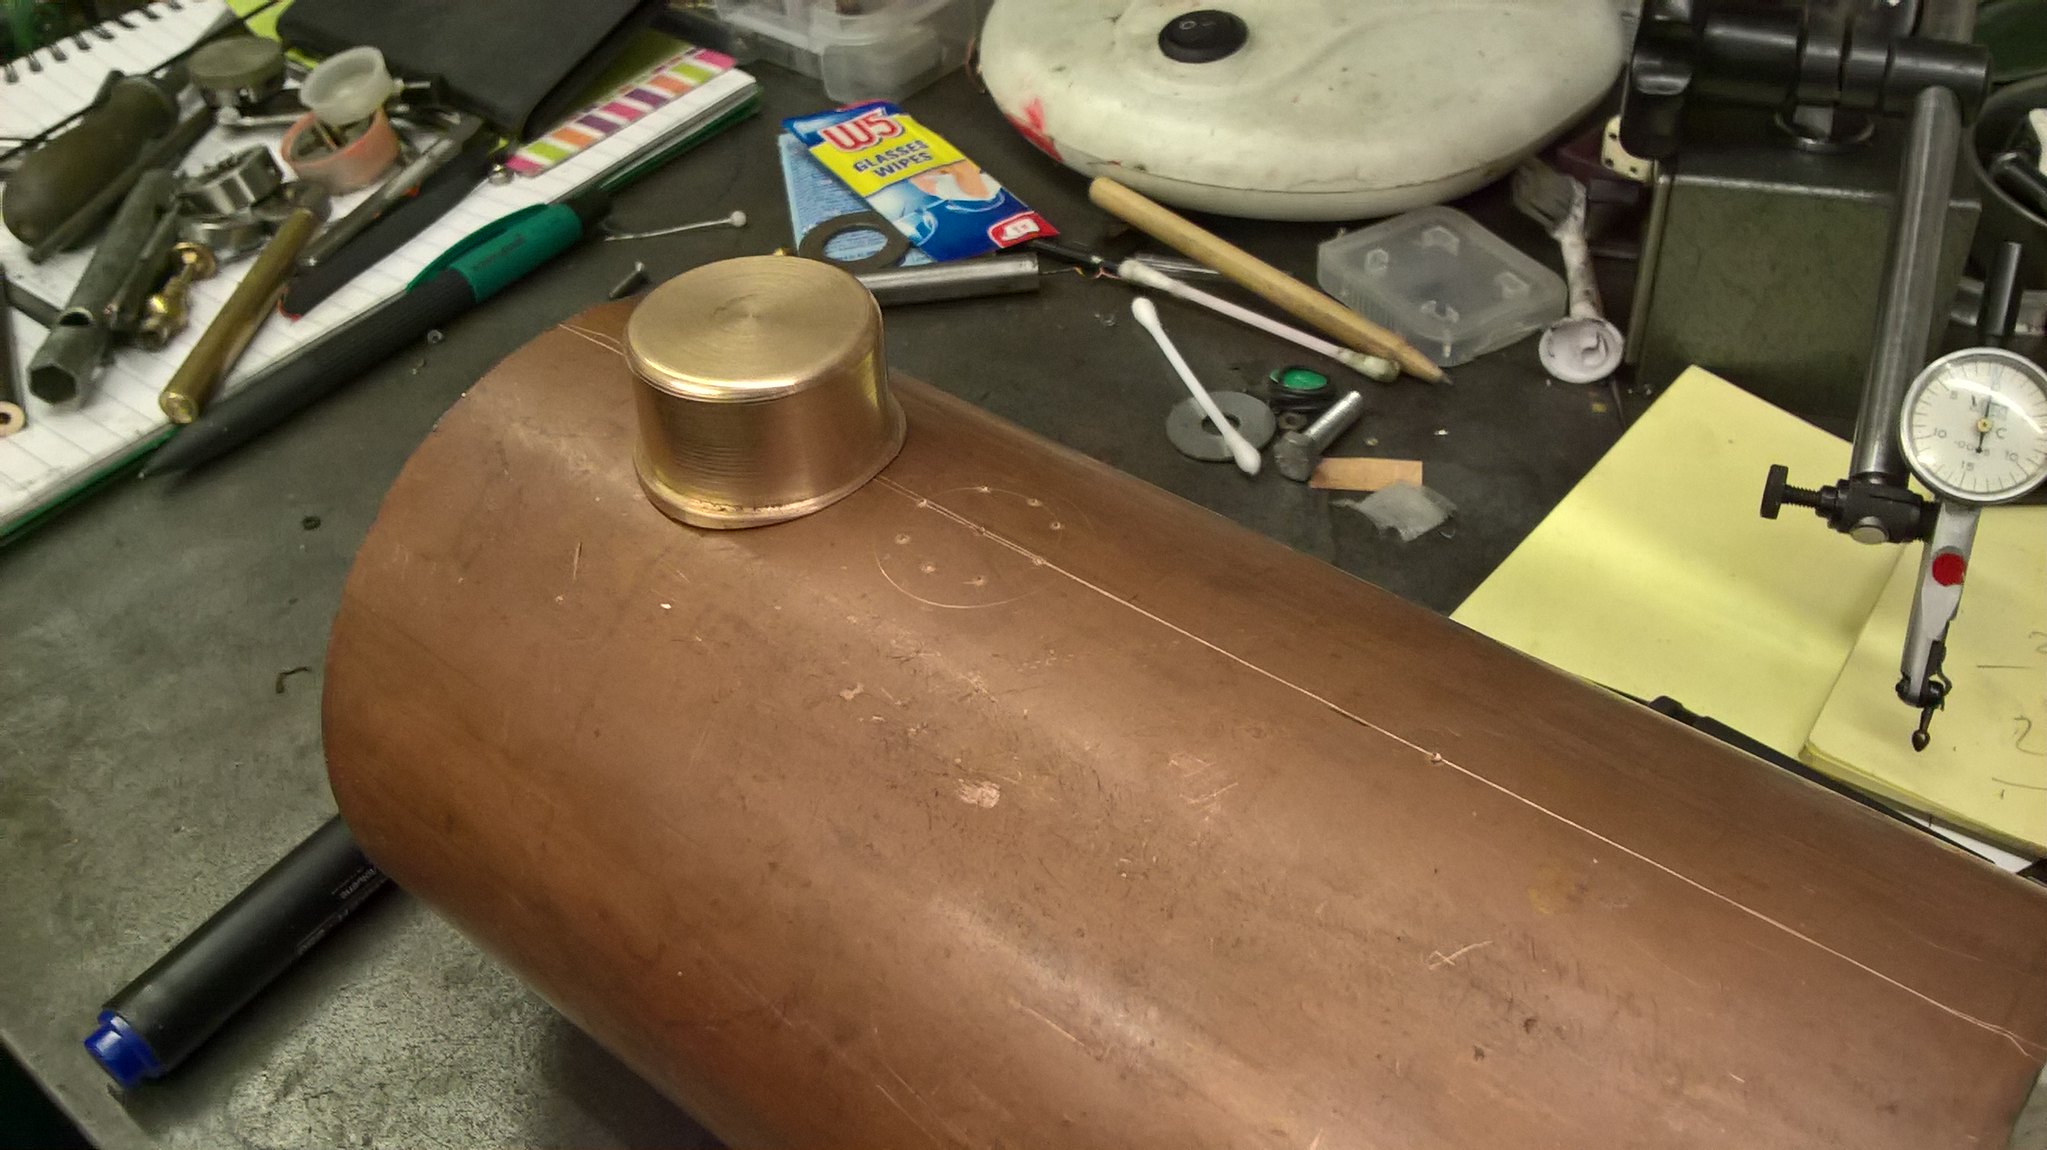 WP_20190102_18_50_04_Pro WP_20190102_18_50_04_Pro by inkaboat, on Flickr
|
|
JonL
Elder Statesman
   WWSME (Wiltshire)
Posts: 2,988
|
Post by JonL on Jan 2, 2019 20:28:47 GMT
I was very confused there for a while, I thought I was on the Britannia thread! I like the emery paper idea; makes perfect sense. I realise its probably a trick everyone but me knew...
|
|
|
|
Post by simplyloco on Jan 3, 2019 16:26:04 GMT
|
|
JonL
Elder Statesman
   WWSME (Wiltshire)
Posts: 2,988
|
Post by JonL on Jan 3, 2019 19:31:35 GMT
Time to start a production line!
|
|
|
|
Post by simplyloco on Jan 3, 2019 22:38:45 GMT
DOME II I don't really like disproportionate fat additions like the dome I just made, so I decided to resurrect my long lost tin bashing skills - as opposed to plate work - and knock out a little dome from 16g copper, and here it is. It will have a low side exit delivery pipe to the superheater connection, and that's where the control valve will be, not waving about in the air above the boiler! The dome will be painted black, and the flats will be obscured by the teak lagging. Well, that's the plan anyway... 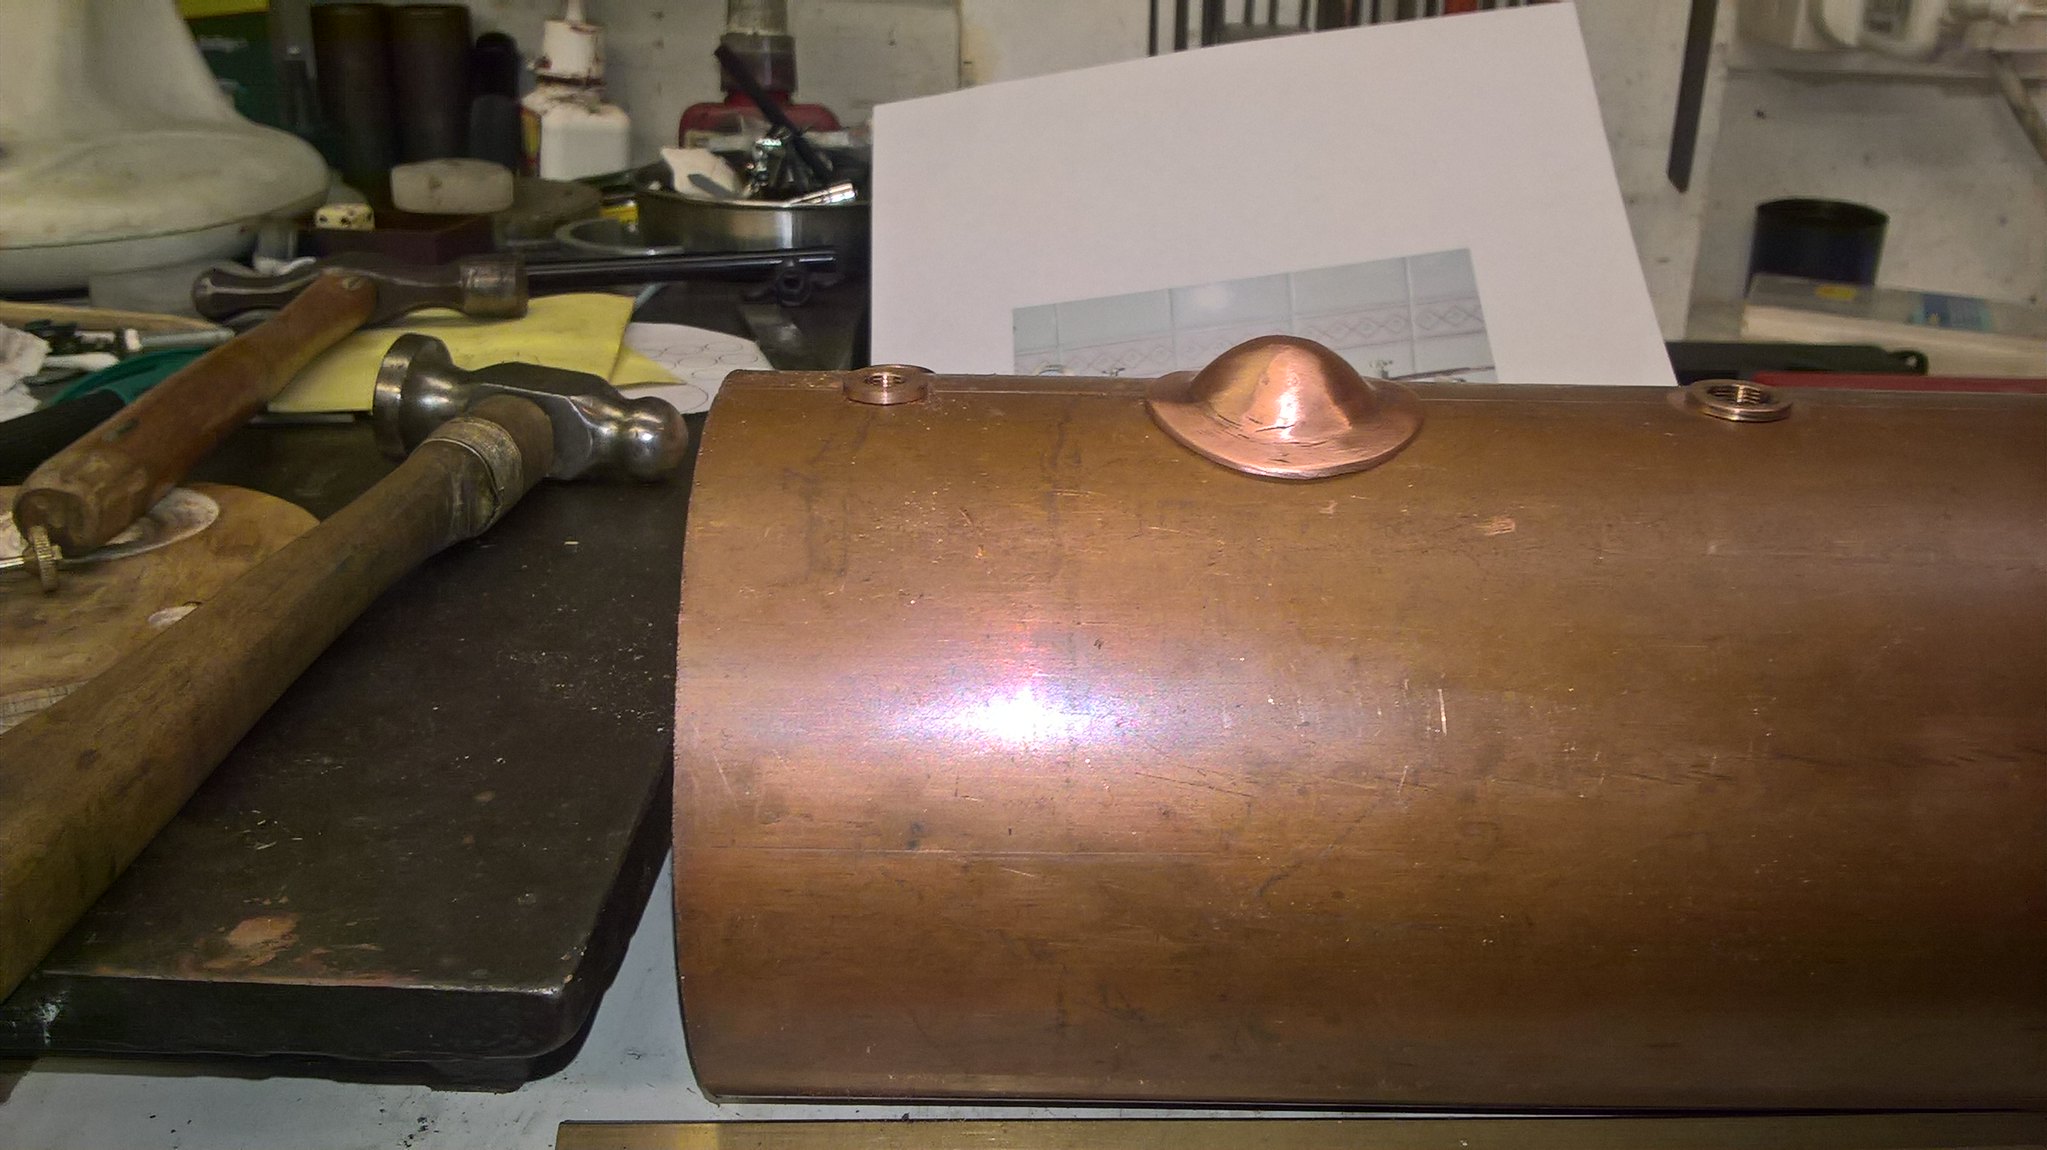 WP_20190103_21_26_28_Pro WP_20190103_21_26_28_Pro by inkaboat, on Flickr It was VERY easy to make. I buzzed out (thank you Suctionhose for the expression) a disc on the linisher, annealed it, and placed it over the bottom of the brass dome that I was going to use, and had already shaped to the curve of the boiler. A few whacks with a suitably sized ball pein hammer brought it the correct diameter within the dome, and subsequent annealings and more whacks brought it to shape. A bit more buzzing to size and QED! 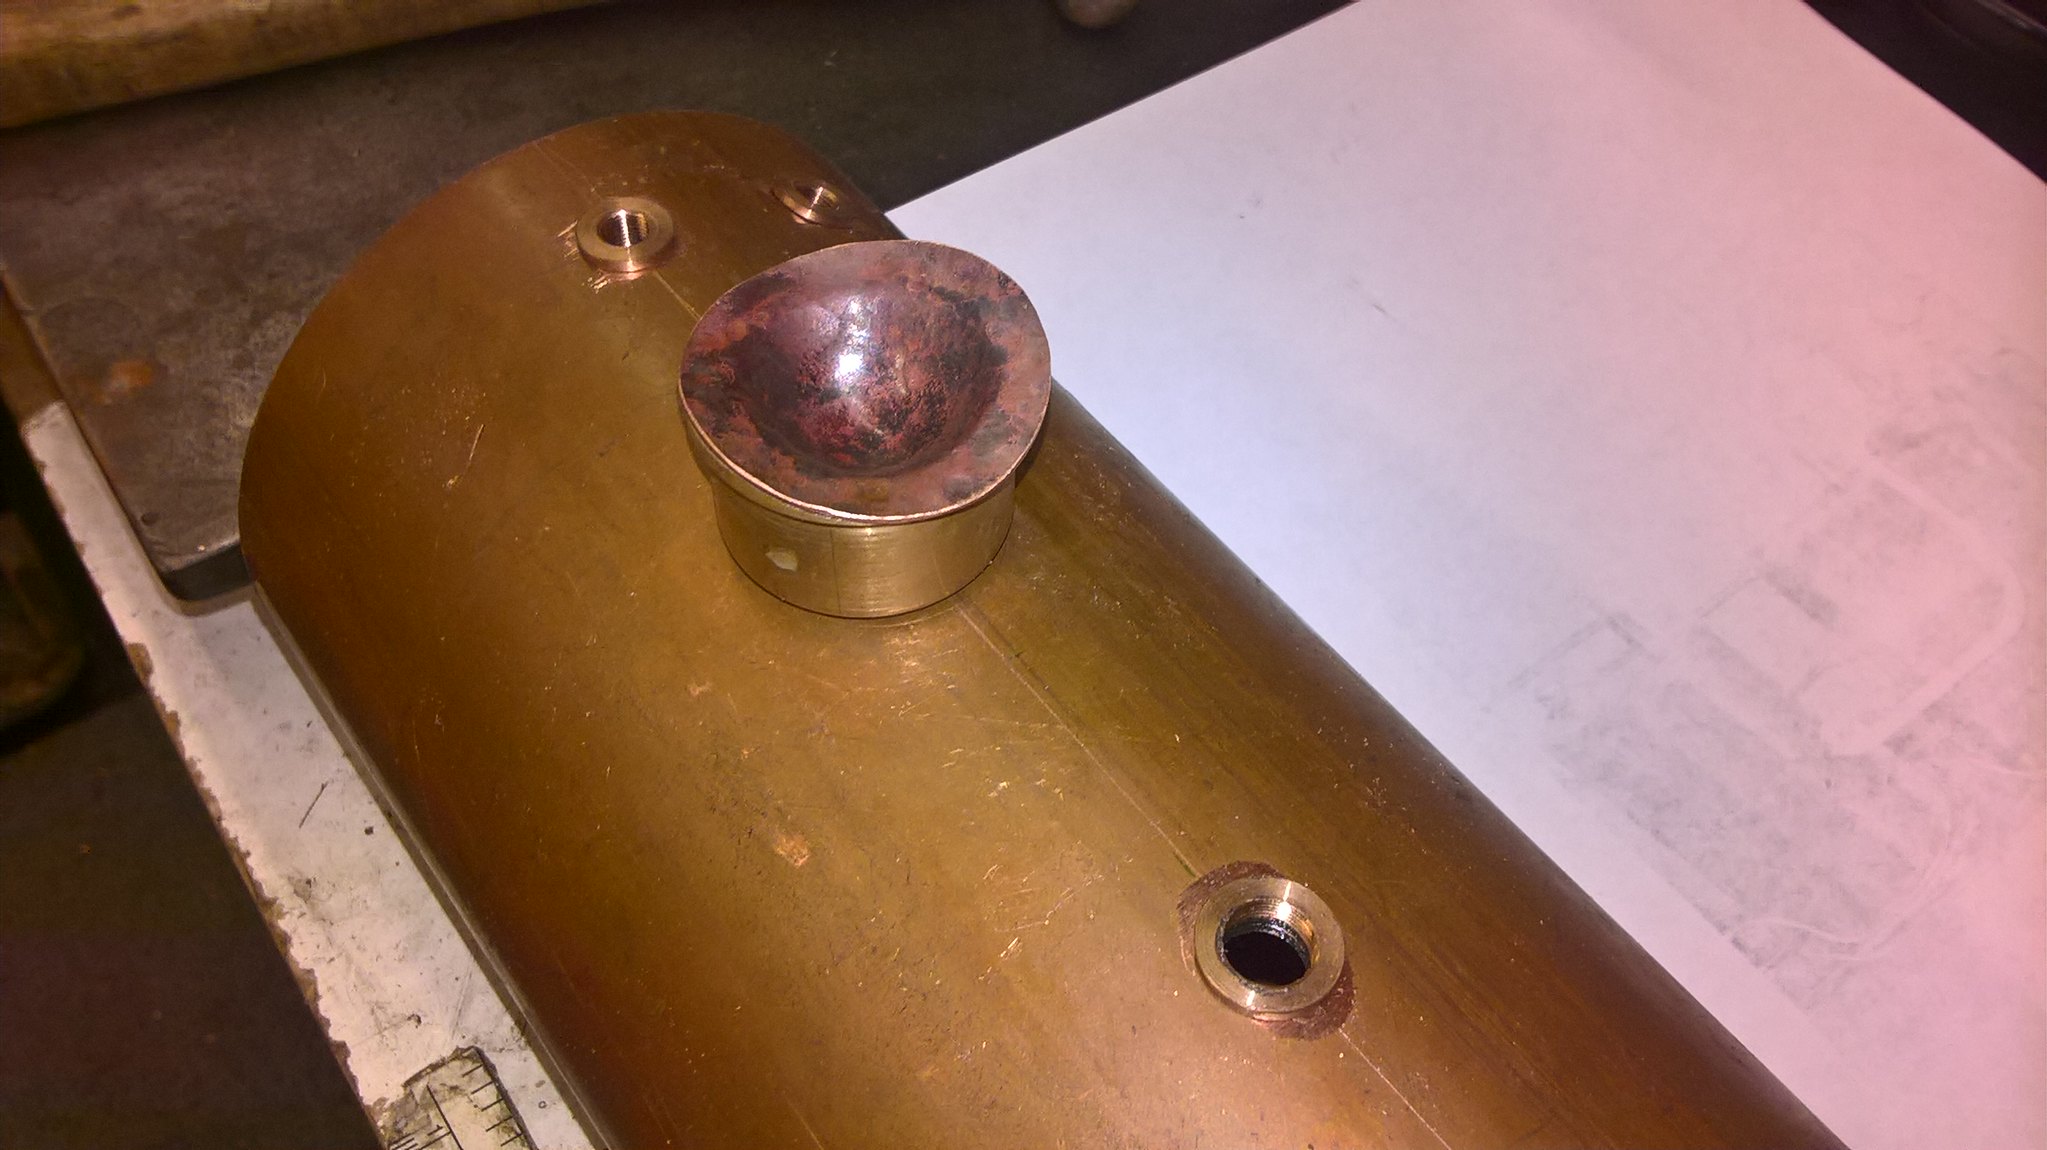 WP_20190103_21_30_51_Pro WP_20190103_21_30_51_Pro by inkaboat, on Flickr 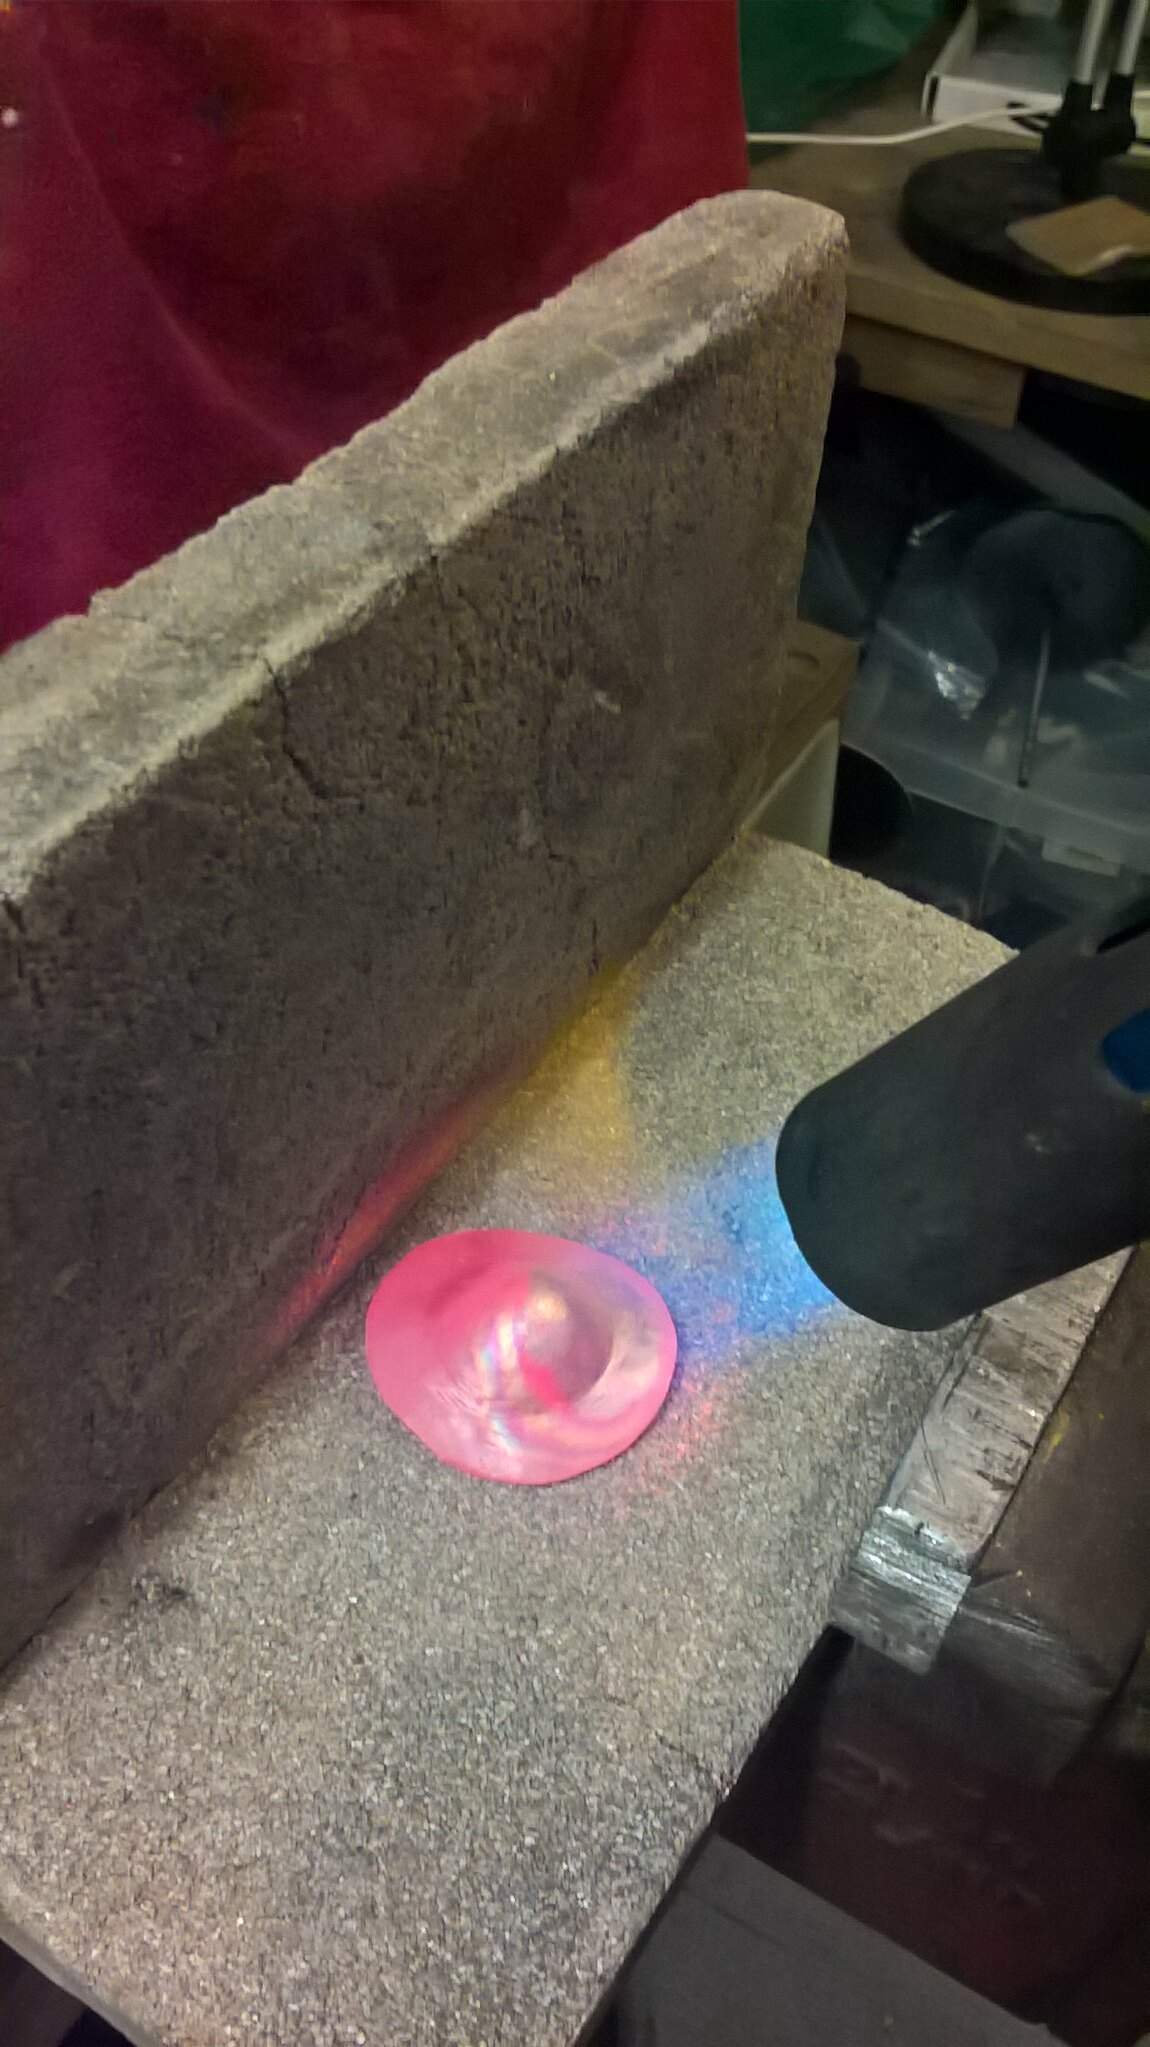 WP_20190103_20_57_13_Pro WP_20190103_20_57_13_Pro by inkaboat, on Flickr |
|
terryhowlett
Active Member
  Actually retired (almost as planned) in late 2019.
Posts: 47 
|
Post by terryhowlett on Jan 5, 2019 8:59:51 GMT
Hi John,
No surprise to see you are still creating engineering masterpieces! Just caught up on this and the Brit. Hope all is well with you and yours.
Terry
|
|