|
|
Post by delaplume on Dec 21, 2019 15:29:00 GMT
It was worse for us with the Grey Funnel cruise company----It was so bad they had to pay us to go with them !!--LoL !!
Seriously though, that's not a good state of affairs for a well known firm such as Fred Olsen...Be sure to fill in one of those questionnaires they normally thrust at you.......
|
|
|
|
Post by simplyloco on Dec 22, 2019 15:56:53 GMT
More Cab Beading After a brief period of grace I got back into the workshop for two hours today. The beading wouldn't solder as the square section holding the cab together acted as a very good heat sink! I used therefore some 1.6mm SS CSK screws, deliberately sunk below the bead profile. Add some Isopon and all will be sweetness and light! Trusty pin vice for tapping the M1.6 thread. 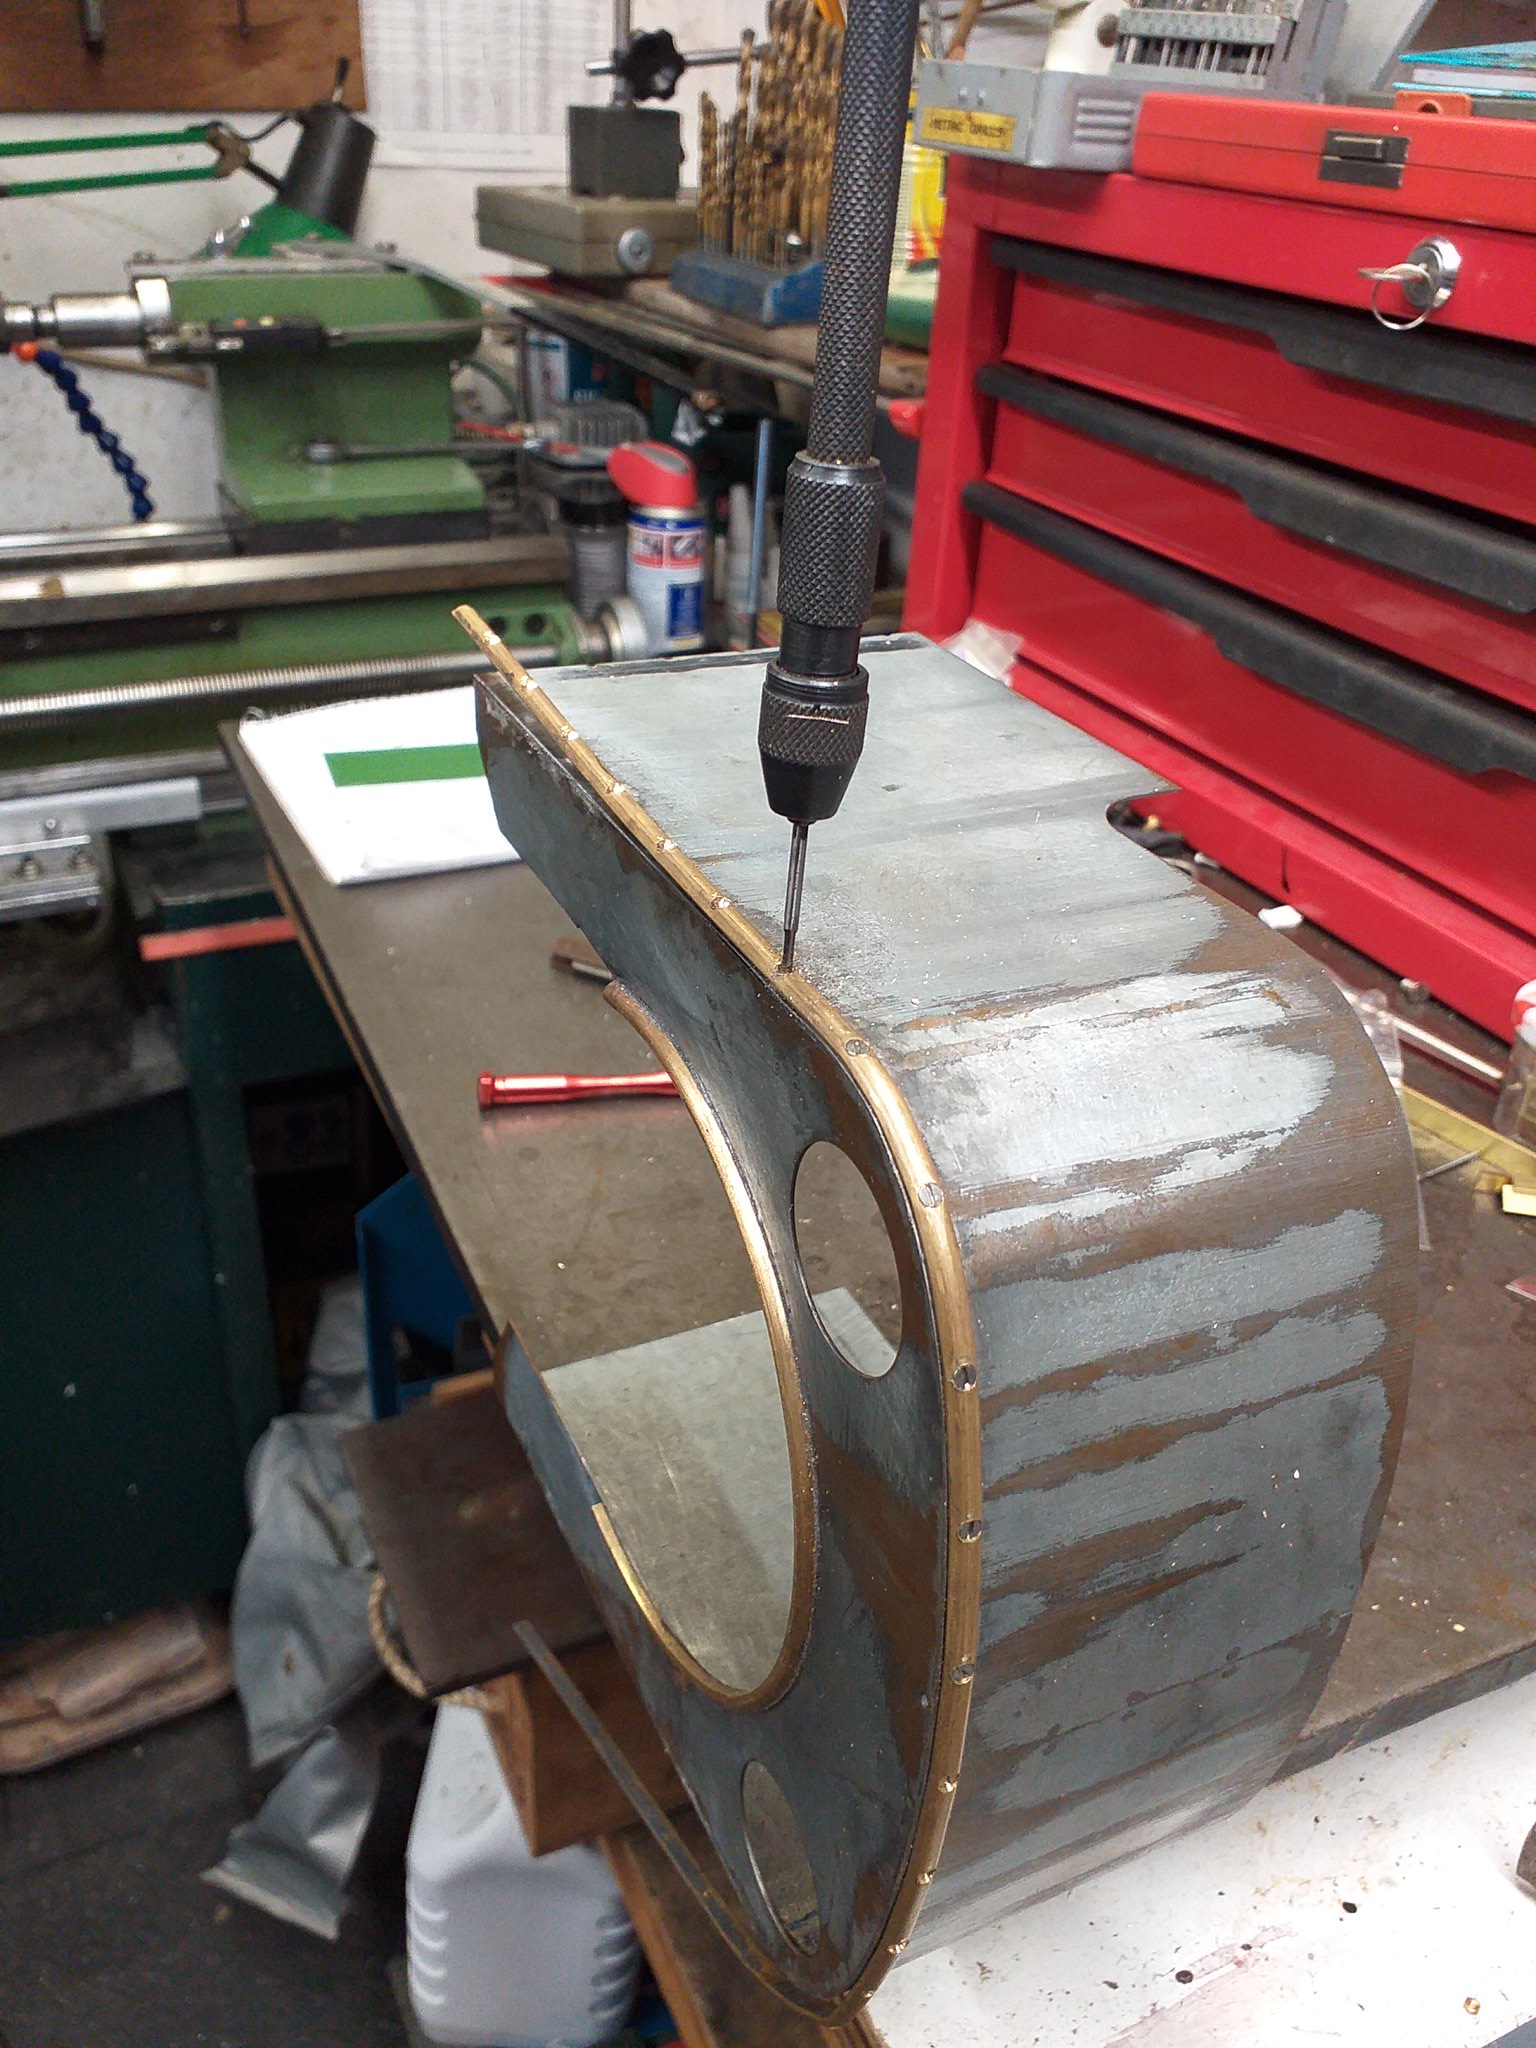 20191222_144138 20191222_144138 by inkaboat, on Flickr Front bead finished, ready and waiting for the rear beading to go on which should solder OK. The curve is not too bad either !  20191222_152738 20191222_152738 by inkaboat, on Flickr Getting there!  John  20191222_152606 20191222_152606 by inkaboat, on Flickr
|
|
|
|
Post by Jim on Dec 22, 2019 23:43:49 GMT
Fantastic work John and you're capturing the 'Stirling' look to perfection.
Hope you and yours have a great Christmas cruise.
Jim ps: Just checked and Boadicea is still safely resting in the workshop, oh and heart beat now normal.  |
|
|
|
Post by simplyloco on Dec 23, 2019 9:51:01 GMT
Fantastic work John and you're capturing the 'Stirling' look to perfection.
Hope you and yours have a great Christmas cruise.
Jim ps: Just checked and Boadicea is still safely resting in the workshop, oh and heart beat now normal. Merry Christmas Jim, and many thanks for your kind comments: always appreciated. John |
|
|
|
Post by David on Dec 23, 2019 9:54:22 GMT
You've sorted it now but perhaps tinning the back of the beading and then sweating it on with a gentle flame would have worked.
|
|
|
|
Post by simplyloco on Dec 23, 2019 10:13:04 GMT
You've sorted it now but perhaps tinning the back of the beading and then sweating it on with a gentle flame would have worked. David Tried that as you suggest, but no workee! There is nowhere to locate and hold the beading whilst working, hence the screws. John |
|
|
|
Post by David on Dec 23, 2019 11:04:34 GMT
I see. If it could have been done with the cab sides/roof off the model you may have had a chance. The curves aren't helping either. Tricky job!
|
|
|
|
Post by simplyloco on Dec 23, 2019 15:49:57 GMT
Rear Cab Beading This afternoon's effort: cab rear beading. I still have to bevel the main bead elbow and fit the small verticals. Rivetted on, as soldering with these larger sections is just too messy and unpredictable! I bent up the whole thing in one piece, starting the riveting in the middle. Unfortunately, the RH elbow is 0.25mm higher from the cab floor than the LH one, but I can live with that...  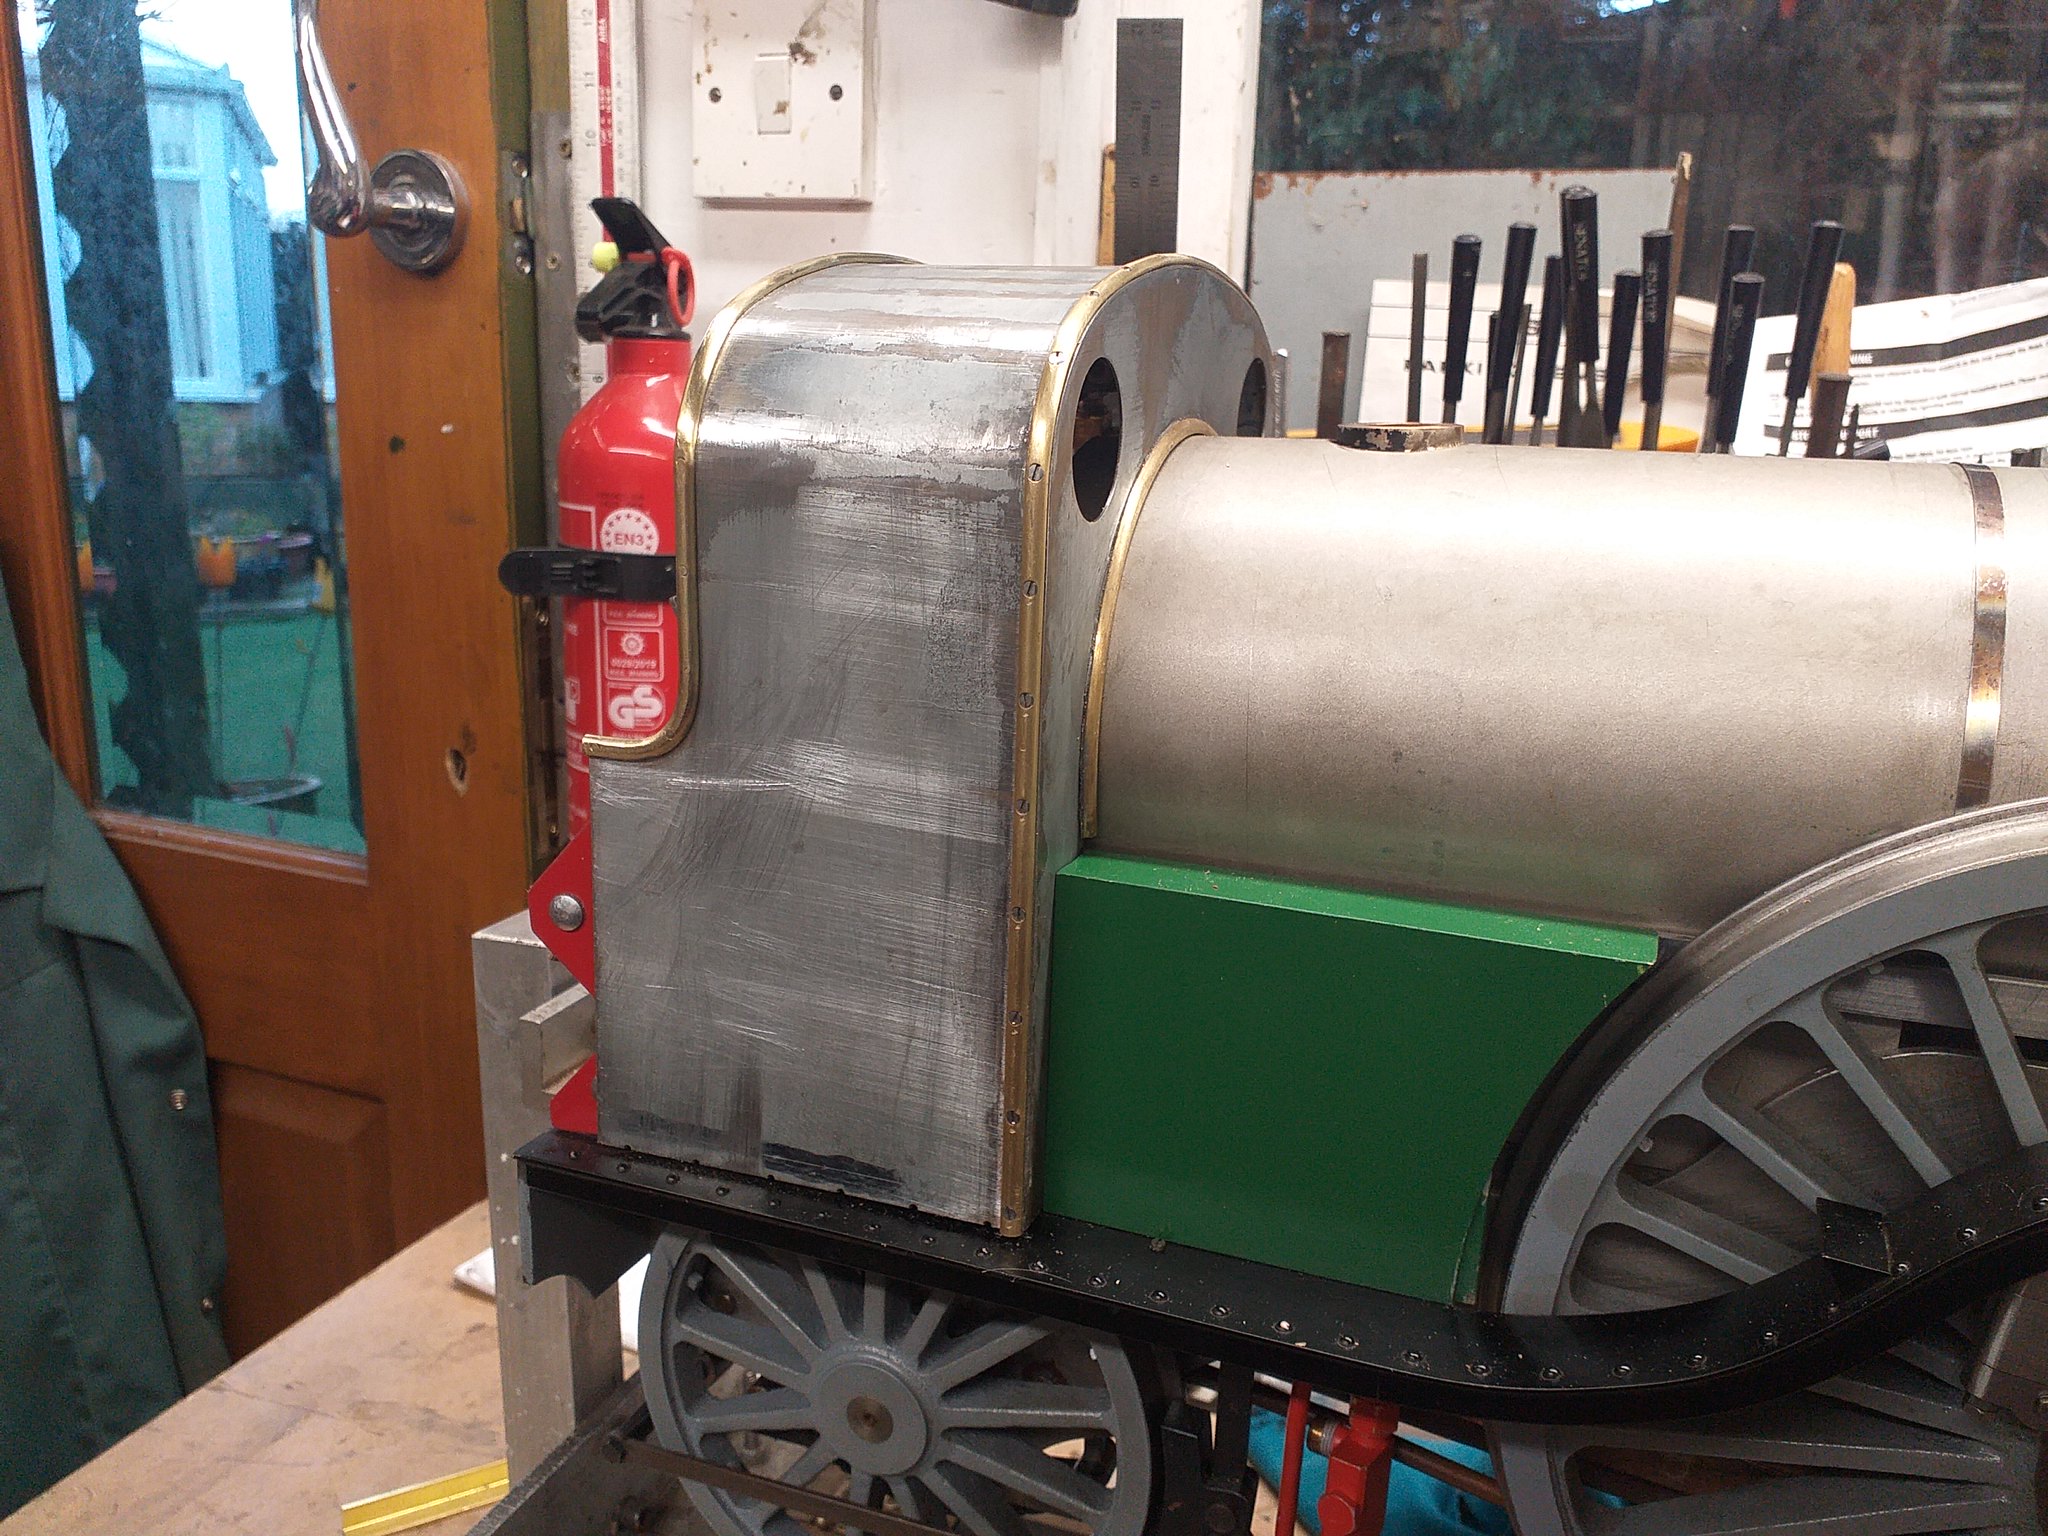 20191223_152609 20191223_152609 by inkaboat, on Flickr 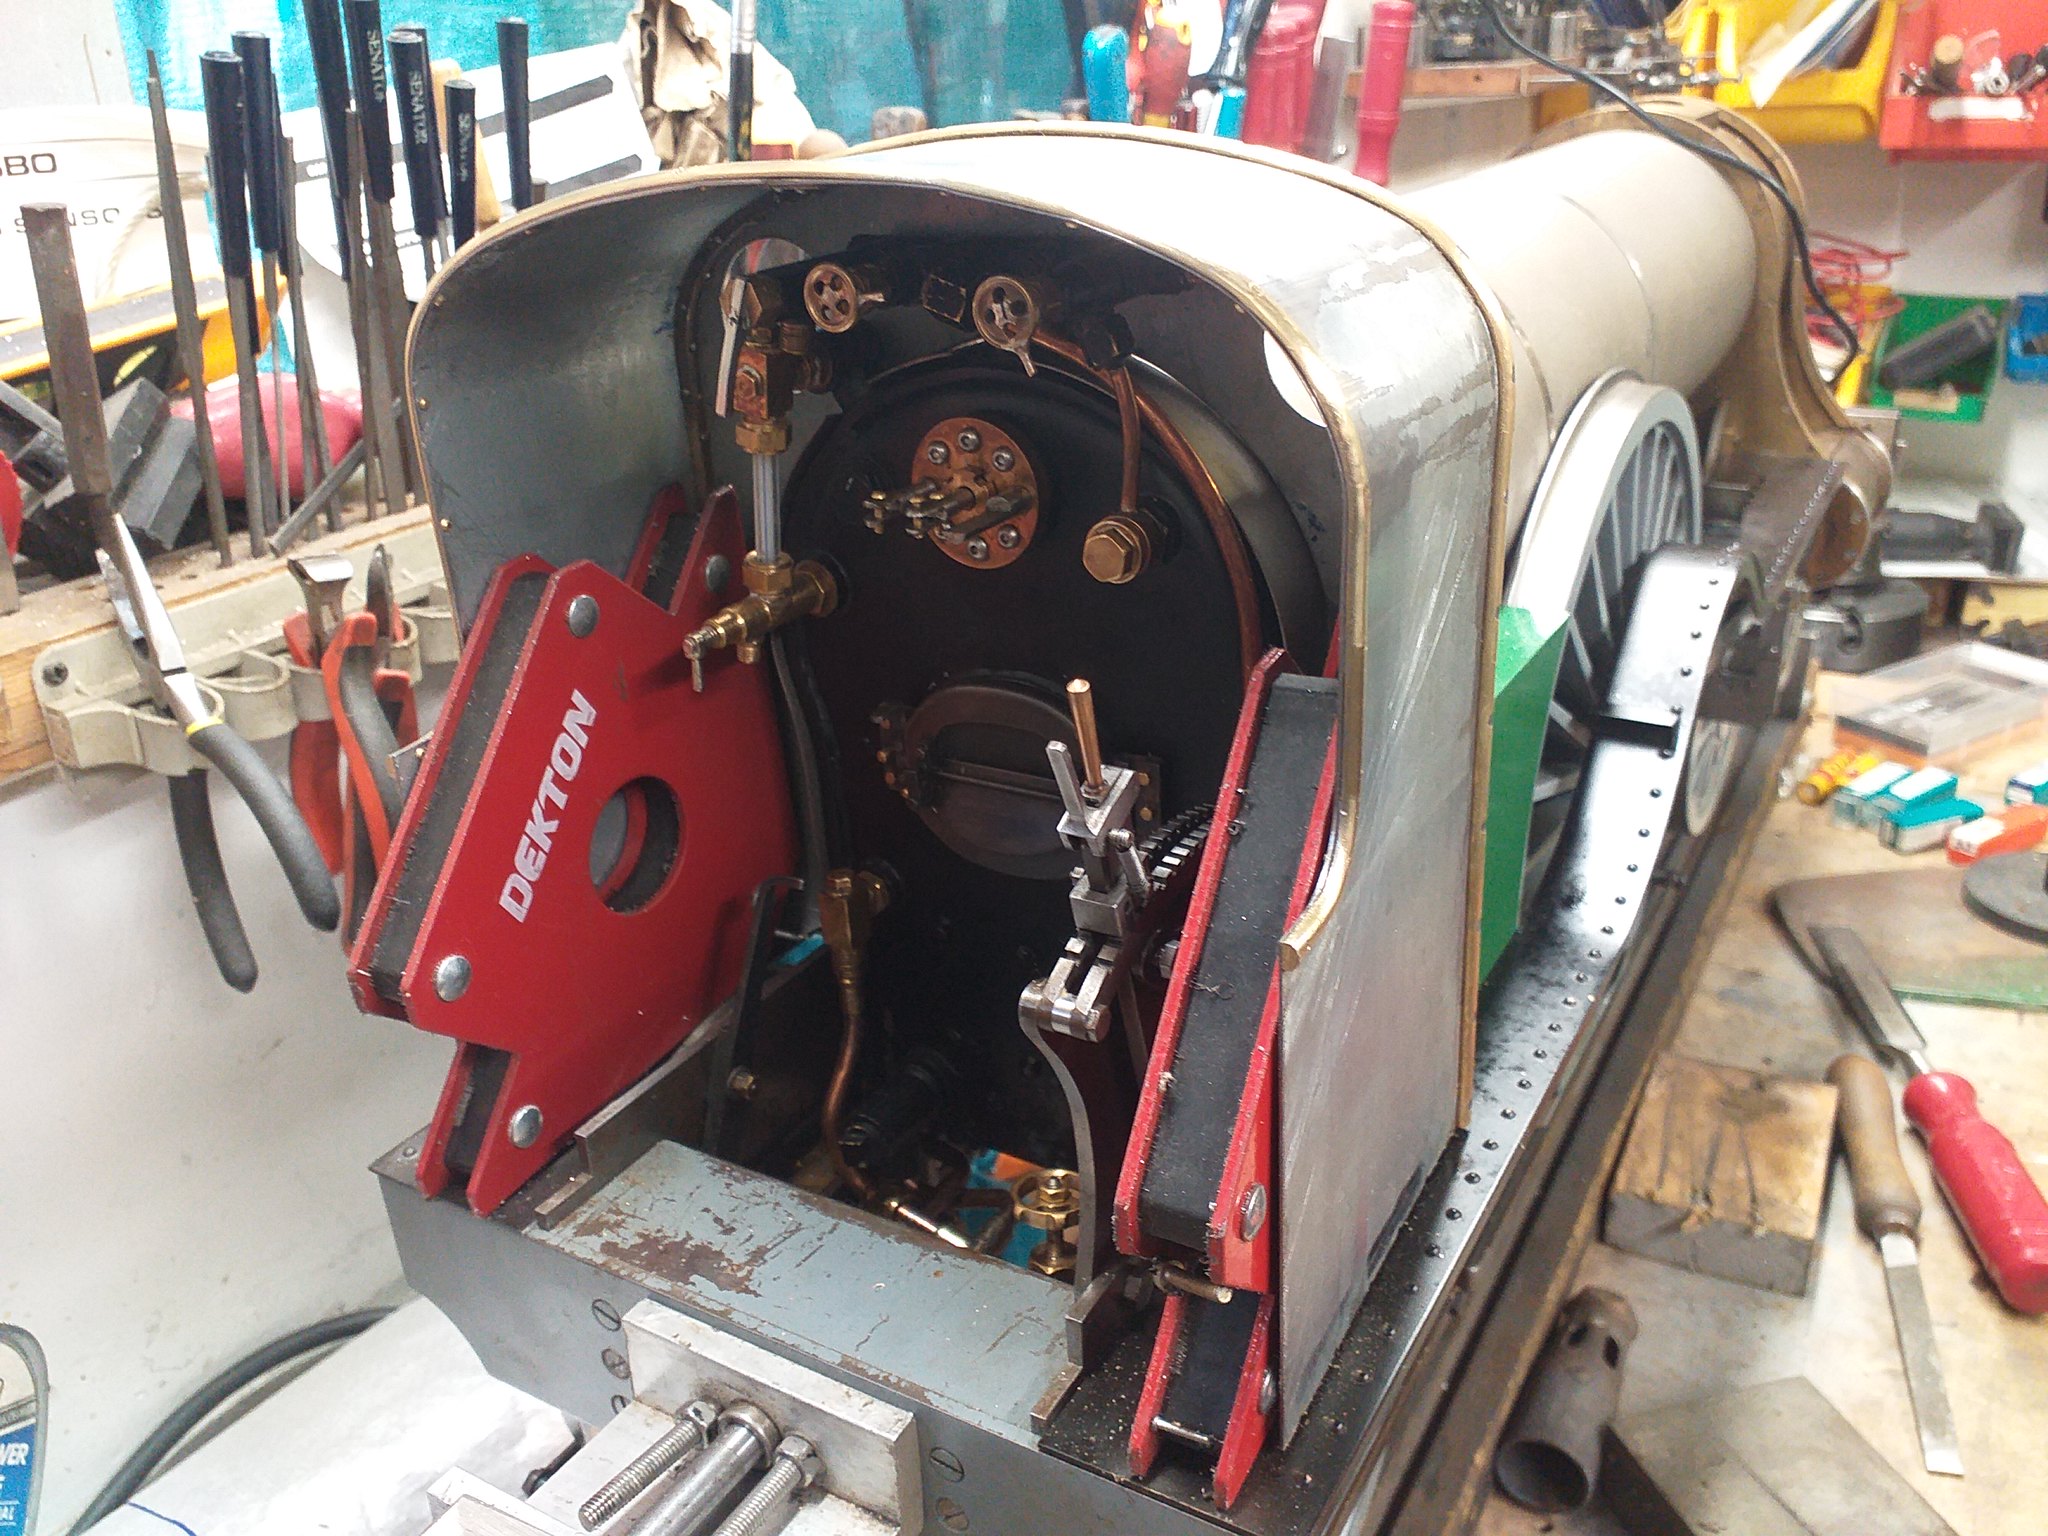 20191223_152635 20191223_152635 by inkaboat, on Flickr |
|
|
|
Post by coniston on Dec 23, 2019 23:30:18 GMT
Looking good John, those mag clamps are really useful, not just for their intended task of holding bits for welding but anywhere you need to temporarily hold steel things next to each other e.g. on a surface plate
Chris
|
|
|
|
Post by simplyloco on Dec 25, 2019 8:38:11 GMT
Looking good John, those mag clamps are really useful, not just for their intended task of holding bits for welding but anywhere you need to temporarily hold steel things next to each other e.g. on a surface plate Chris Hi Chris Agreed. I wish that I had discovered them sooner, as they are so damn useful on my big surface plate! Yet another reason why I don't use brass much... John |
|
|
|
Post by simplyloco on Dec 26, 2019 18:12:11 GMT
|
|
|
|
Post by simplyloco on Dec 27, 2019 19:50:28 GMT
Eye Eye!Two bronze portholes (I had a piece just the right size) and a dummy whistle waiting to be fitted. Progress! John  20191227_185352 20191227_185352 by inkaboat, on Flickr
|
|
|
|
Post by simplyloco on Dec 28, 2019 16:43:22 GMT
Cab Floor Boards
Making the base plate. I couldn't avoid large cutouts to get the damn thing in and out!  20191228_142947 20191228_142947 by inkaboat, on Flickr Making maple floor boards 2.3 mm thick and of consistent width. It's easy with the proper tools! 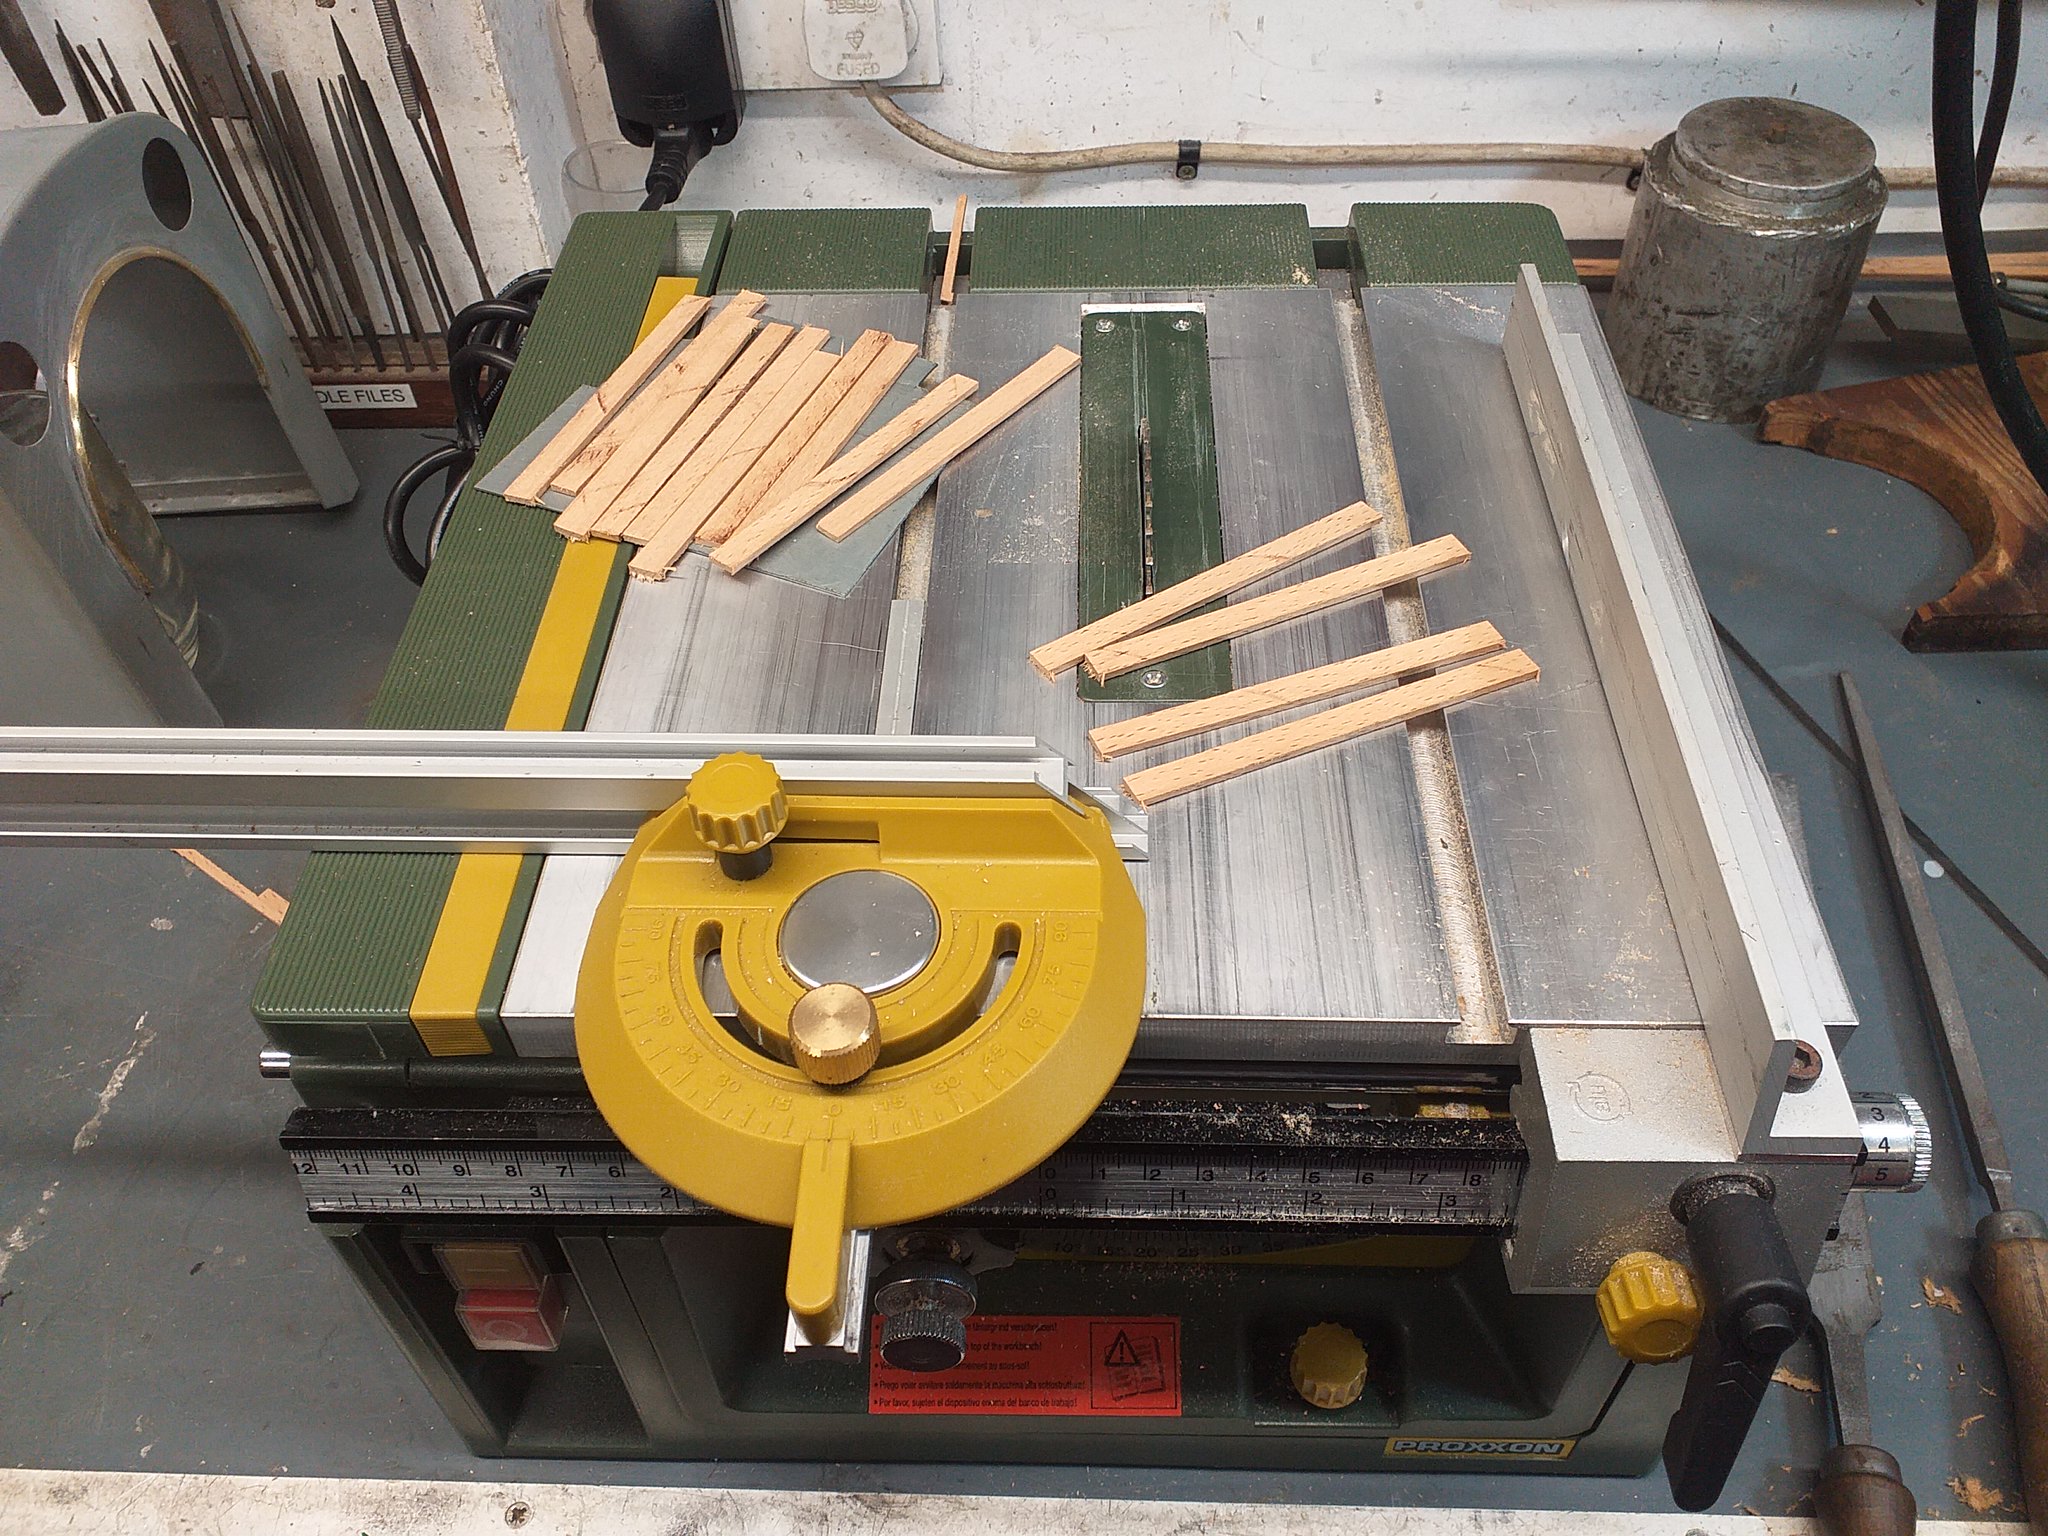 20191228_145258 20191228_145258 by inkaboat, on Flickr I had to fit some angle brackets to the drag beam using some 8BA csk screws, as the running boards were waving about a bit! Just a couple of floor splasher boxes to make, and fit the fall plate - for which I thank Bob!  20191228_161341 20191228_161341 by inkaboat, on Flickr I'm actually starting to get an idea of what it's going to look like! I made a locating sleeve for the chimney to keep things aligned while I muck about with the loco. Well chuffed so far. John  20191228_161224 20191228_161224 by inkaboat, on Flickr
|
|
|
|
Post by Jim on Dec 28, 2019 21:48:47 GMT
Lovely job there John and the floor boards finish the cab floor to perfection. As to the cut outs in the base, they are one of the unavoidable compromises that come from not having scale fitters and workers to crawl under things or reach spots our fingers can't.
At the end of the day it's the total impression our models make as they steam past keen eyed observers or sit raising steam in the steaming bays and to that end the Stirling will be a crowd stopper.
Jim
ps: anyone feeling cold can pop over here to warm up. It will be 37c today or 98.6 degrees in the old money, the down side is that you will smell of smoke.  |
|
|
|
Post by simplyloco on Dec 29, 2019 18:09:23 GMT
Protecting the floor boards from burny bits!I was advised to fit a chequer plate in the front half of the cab floor, mainly to protect, and I quote, 'my lovely floor', so here it is! It also hid the overly large cut outs! Using a router bit in the Proxxon to drop the surface by 0.8mm. 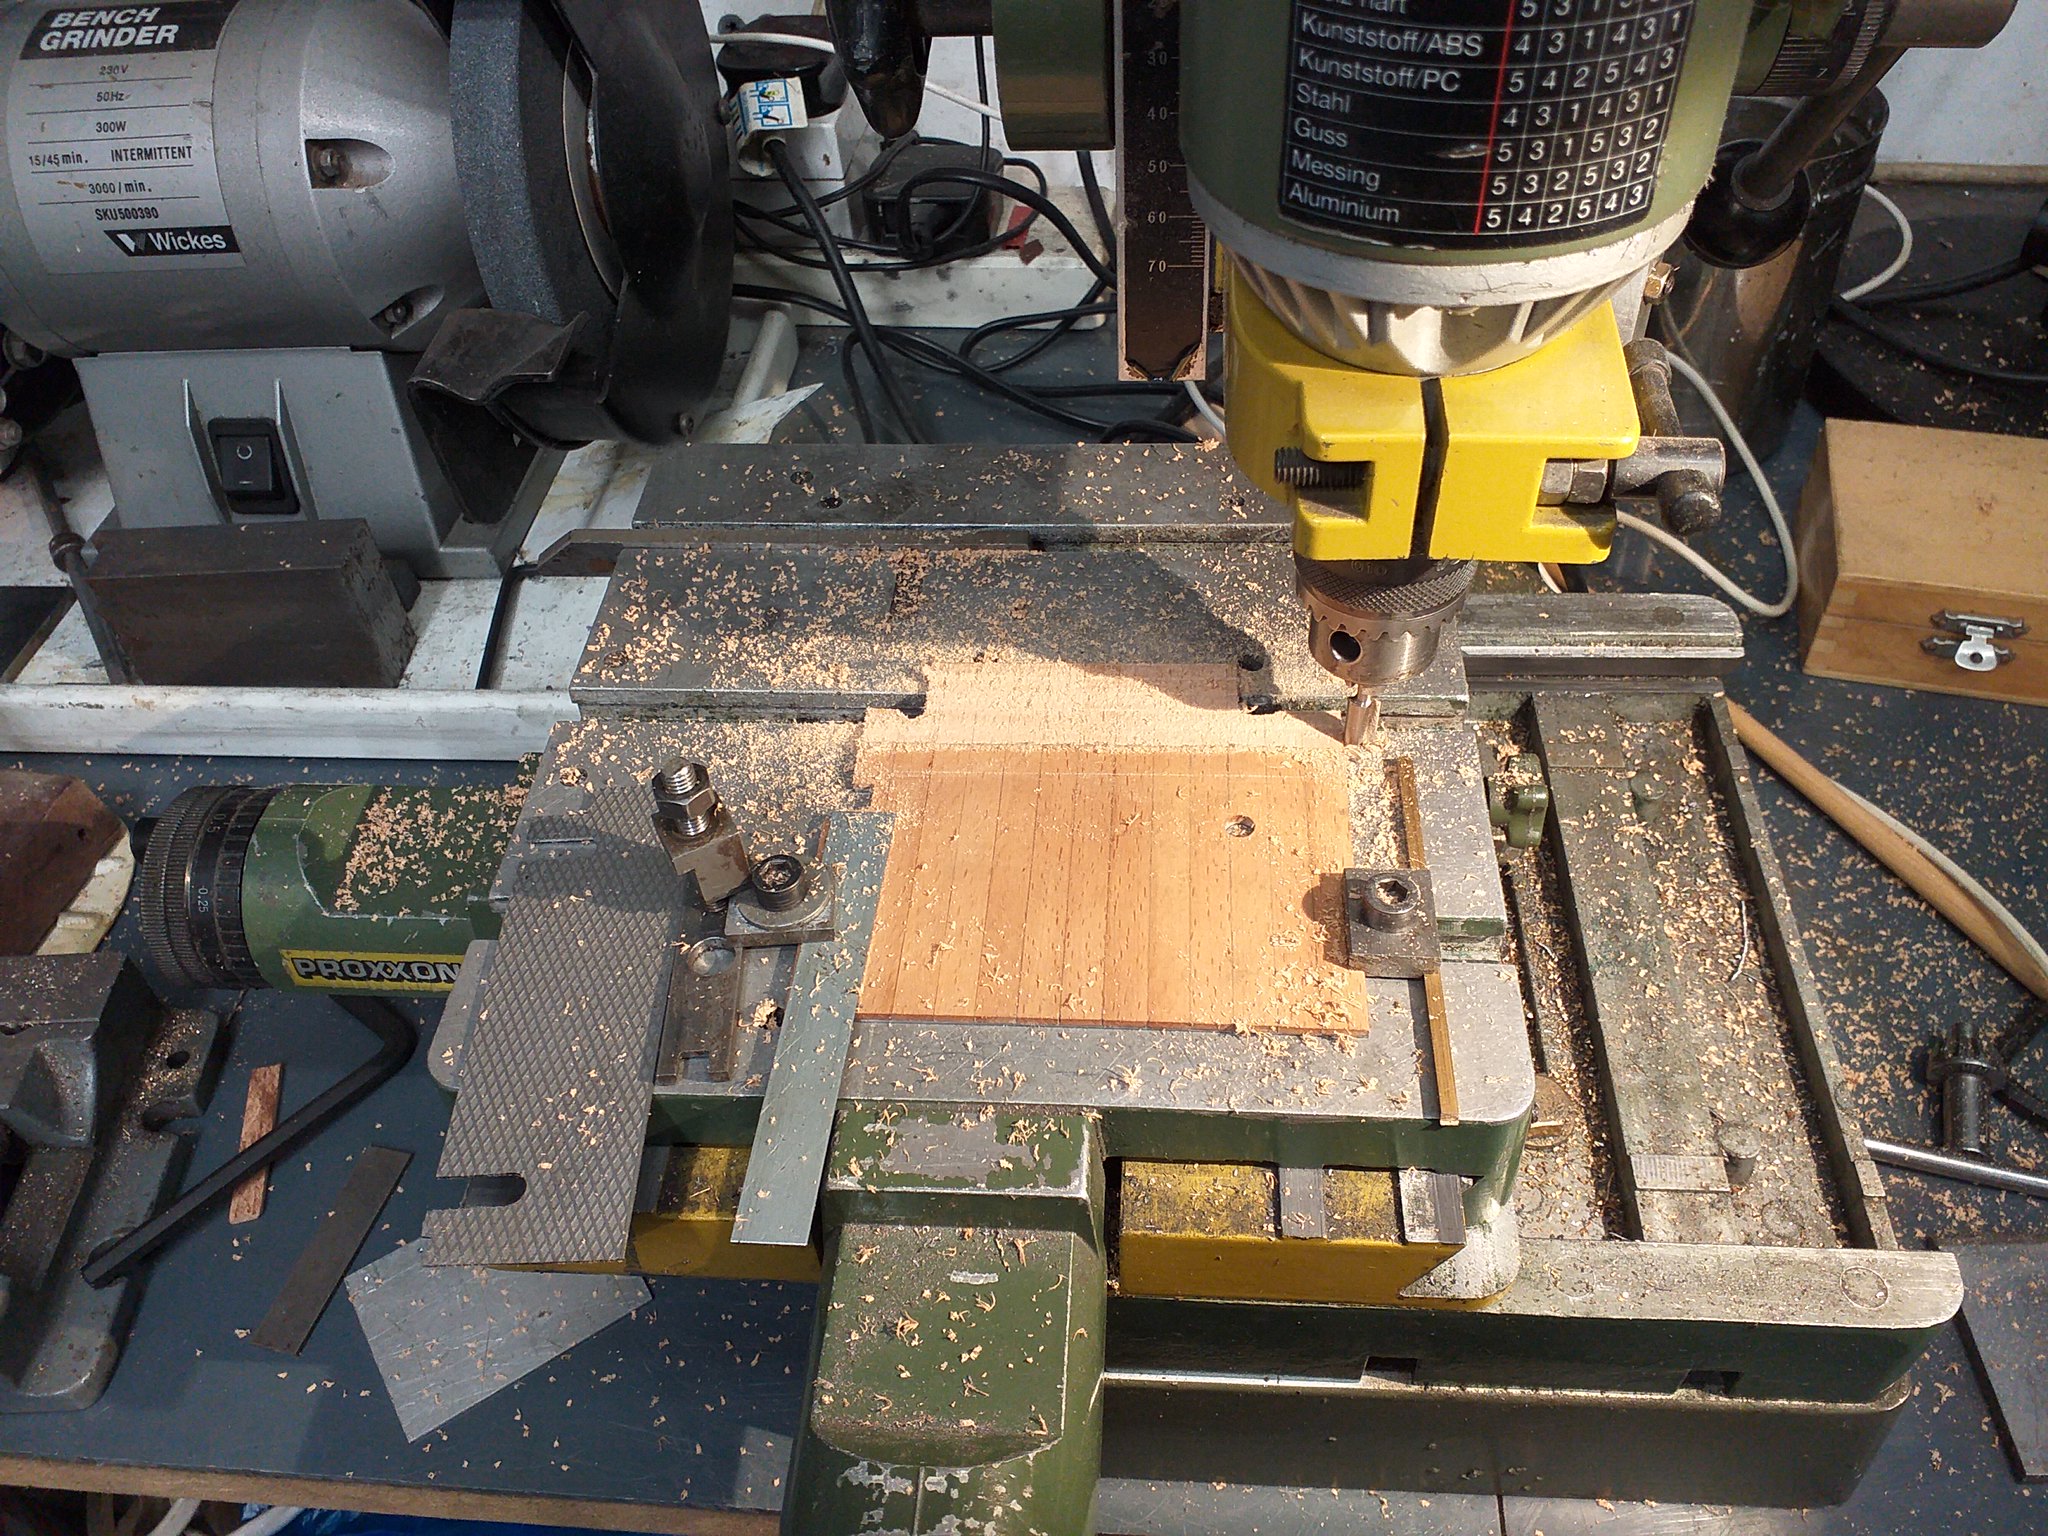 20191229_153325 20191229_153325 by inkaboat, on Flickr Plate fitted into the cab floor. It will, of course, be painted black. I've also made the LH splasher box, just a bent piece of galvo which will be held in somehow!! RH box tomorrow when I figure out how to get around the reverser! John  20191229_173658 20191229_173658 by inkaboat, on Flickr
|
|
|
|
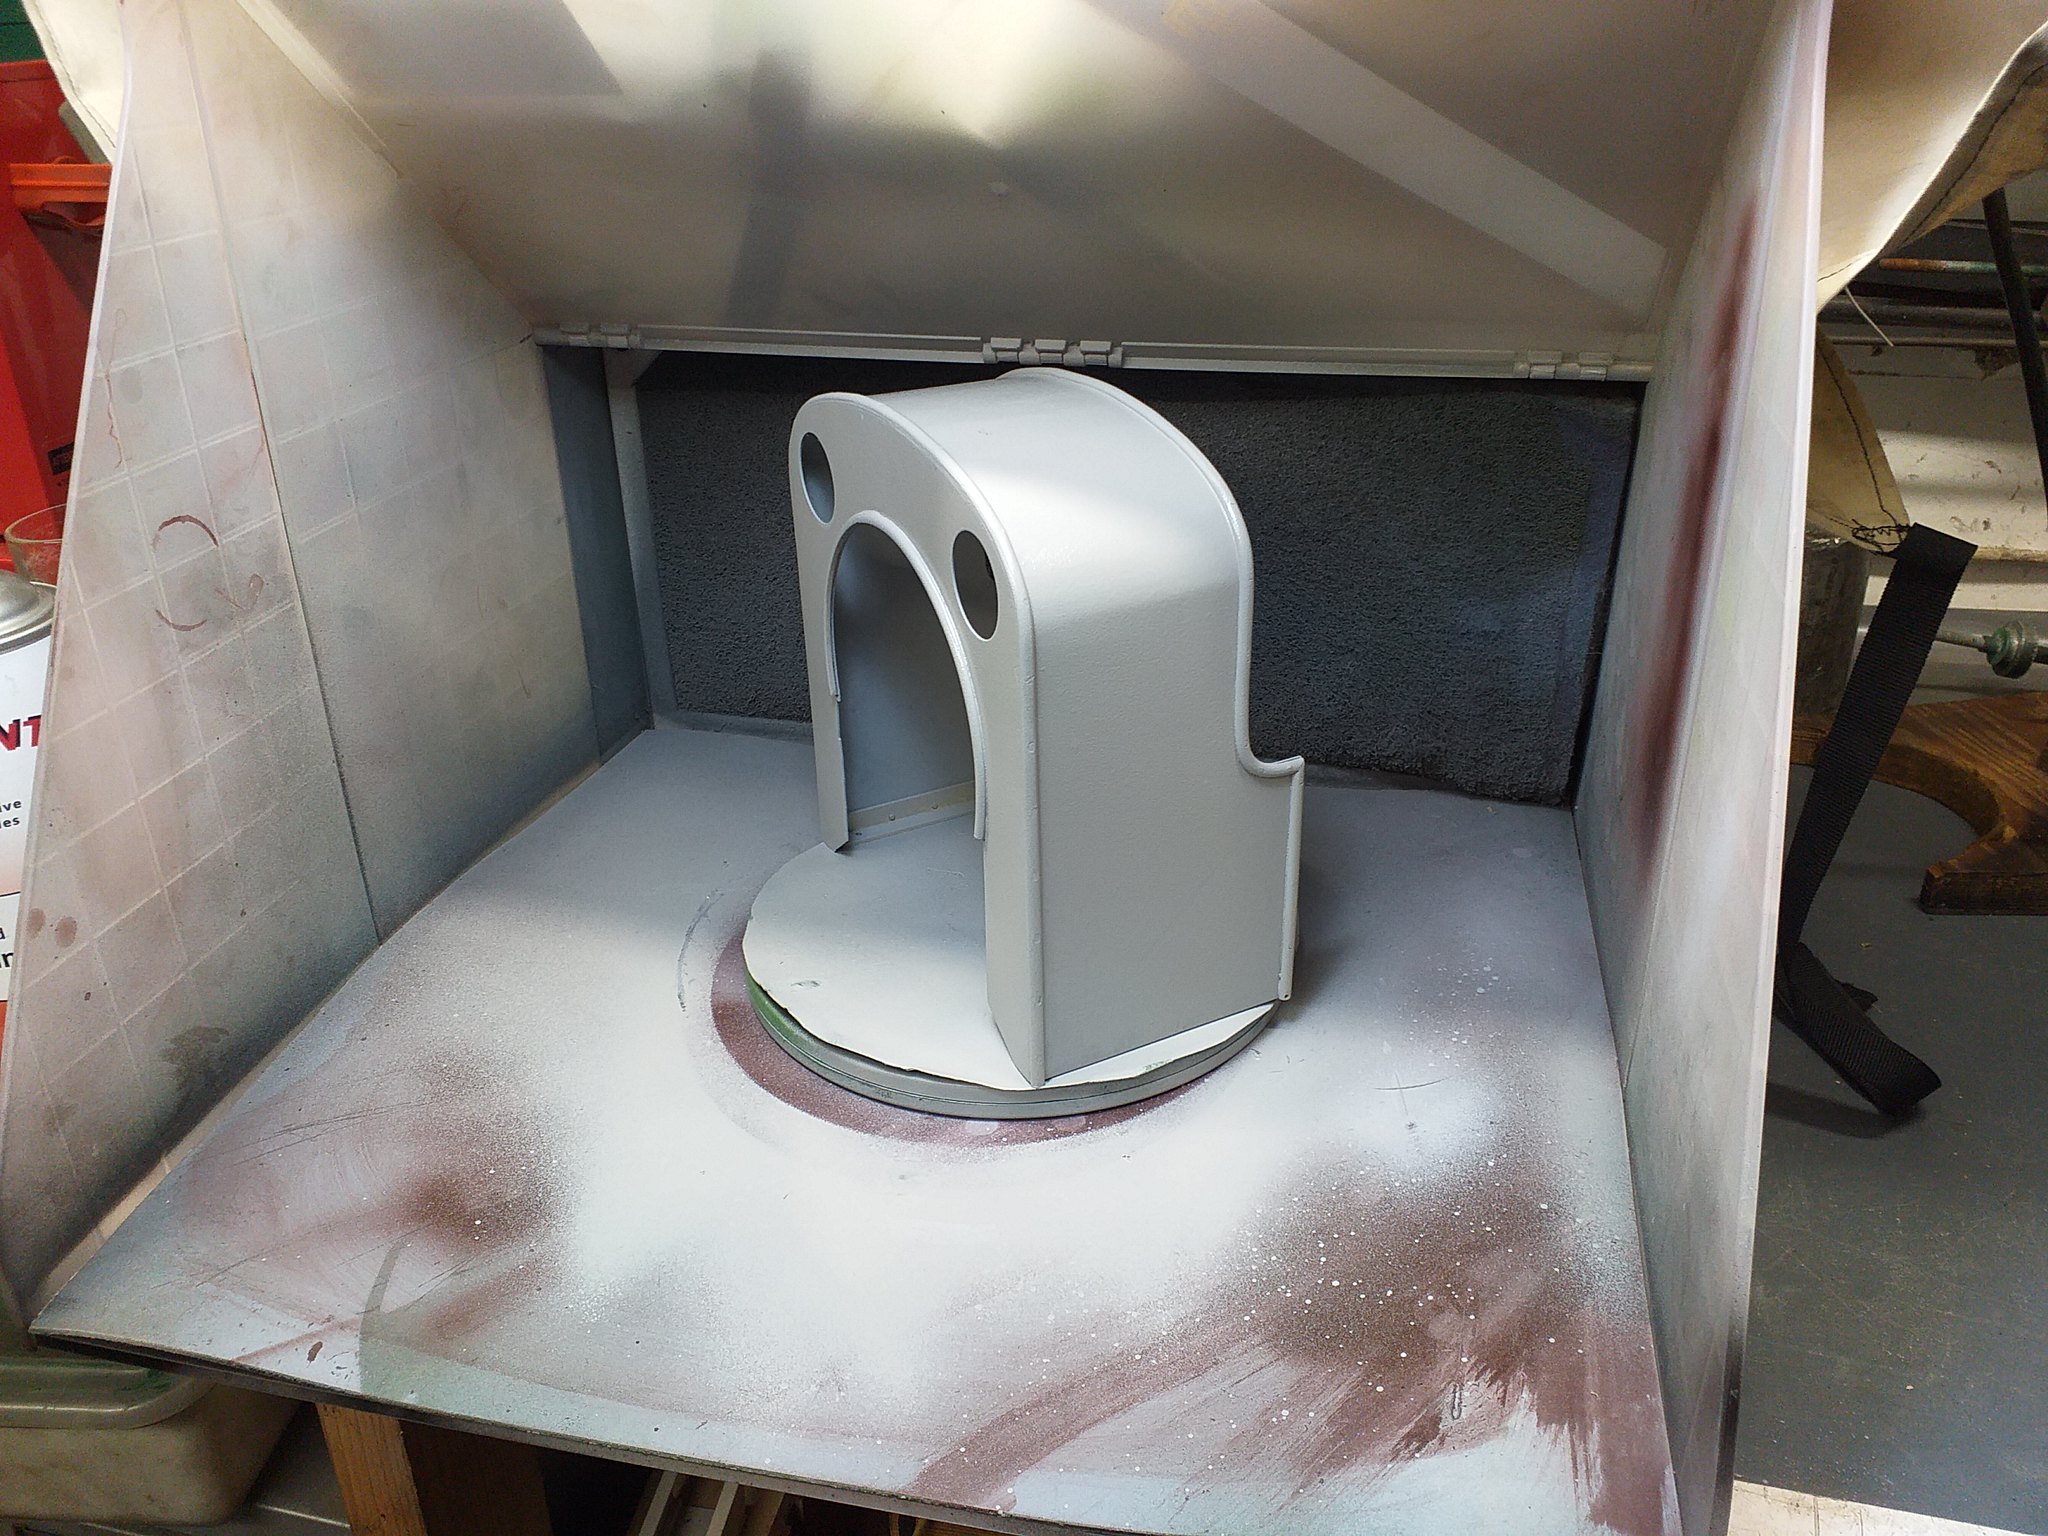
Post by simplyloco on Dec 31, 2019 12:41:59 GMT
The Grass is Always Greener...I have changed the paint scheme to 2k Grass Green (slight) Satin, RAL 6010, as working with Phoenix gloss is like dealing with unpredictable treacle! I prefer the lighter colour as well. The cab was done with the second paint mix, which was obviously a bit on the thick side, but a rub down and quick blow job will do it the world of good!  John  20191231_120407 20191231_120407 by inkaboat, on Flickr  20191231_120606 20191231_120606 by inkaboat, on Flickr 3D printed splasher mask.  20191231_160104 20191231_160104 by inkaboat, on Flickr First practice result. The insides of the aperture need to be painted black for full effect, but it is everso quick and easy using the Posca pens! This will be rubbed off so that I can do the second paint coat.
|
|
|
|
Post by simplyloco on Jan 1, 2020 20:00:24 GMT
The big strip begins!It was a good job I didn't attempt to run it, because the wheels would have fallen off! Not a single important nut and bolt was tightened... The con rod ends run in a hidden pocket, just in case the pin shears! I'll disconnect the eccentrics to remove the drivers, and just paint around the rest. John 
|
|
JonL
Elder Statesman
 WWSME (Wiltshire)
Posts: 2,912
|
Post by JonL on Jan 1, 2020 21:32:20 GMT
I cannot wait to see this in steam.
|
|
|
|
Post by simplyloco on Jan 2, 2020 20:18:16 GMT
The Old Lady gets her Makover!Stripped and bagged.  Skin Treatment performed and Foundation Cream added  Makeup Session Complete! Shame about the chocolate colour though! 
|
|
|
|
Post by simplyloco on Jan 4, 2020 11:07:26 GMT
Second chocolate coating. Still a yukky colour but most people would be happy with this finish. I know that I am! John  
|
|