|
|
Post by drew356 on Oct 22, 2023 12:10:13 GMT
Hi Guys I'm a complete novice when it comes to model locomotive engineering, so I'm going to need all the help I can get from you all. I have acquired a 5" Bulldog project, it's very well made but needs a lot of love to get it working. By the way if anyone recognises it please let me know as I would love to know who the original model engineer was. Anyway here are some pictures of the Bulldog as I found it, poorly hand painted and covered in rust and swarf. 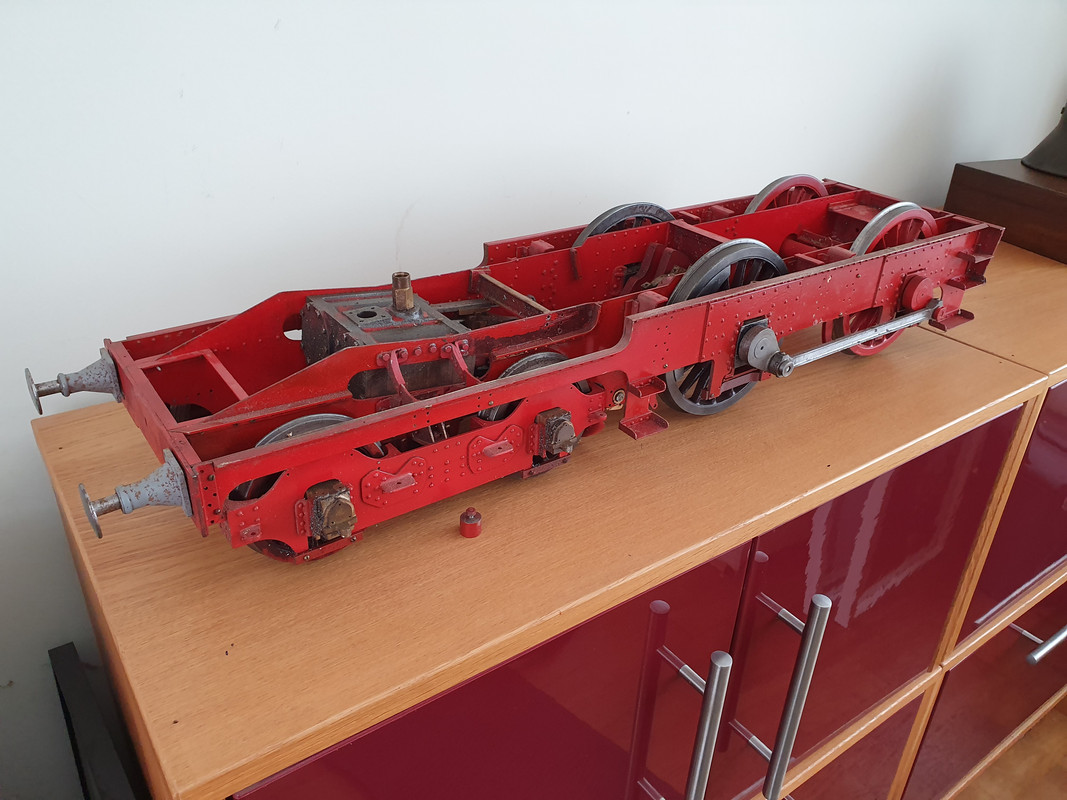 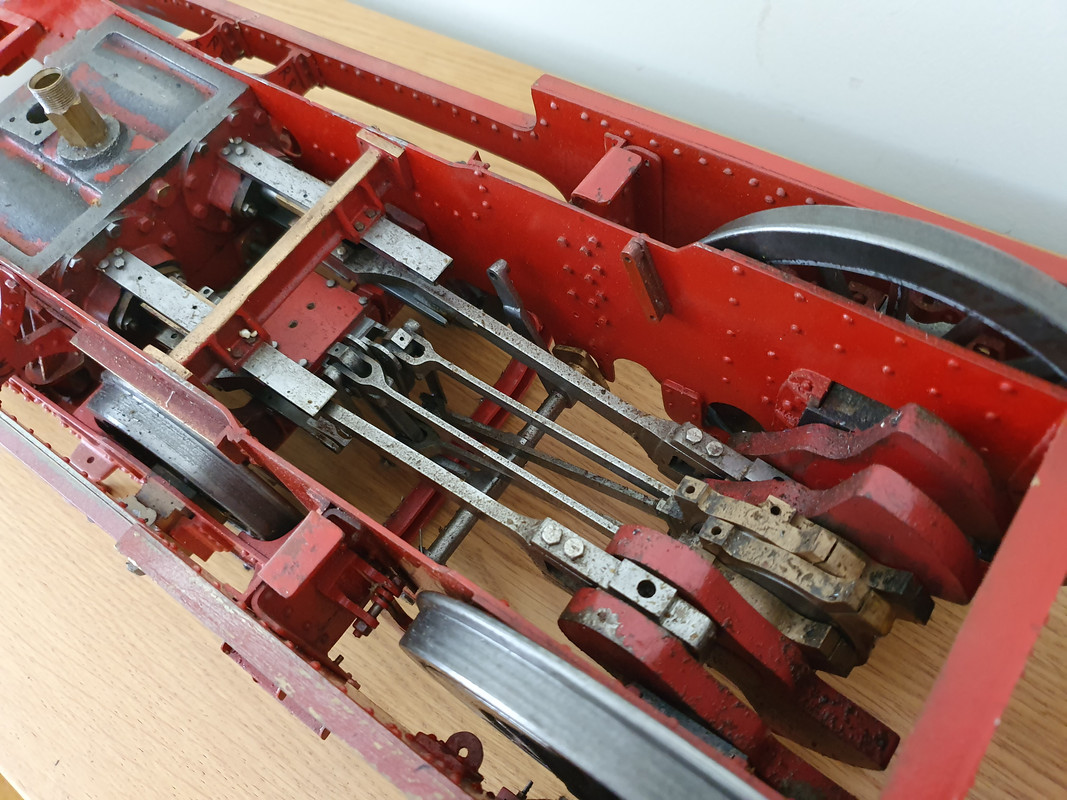 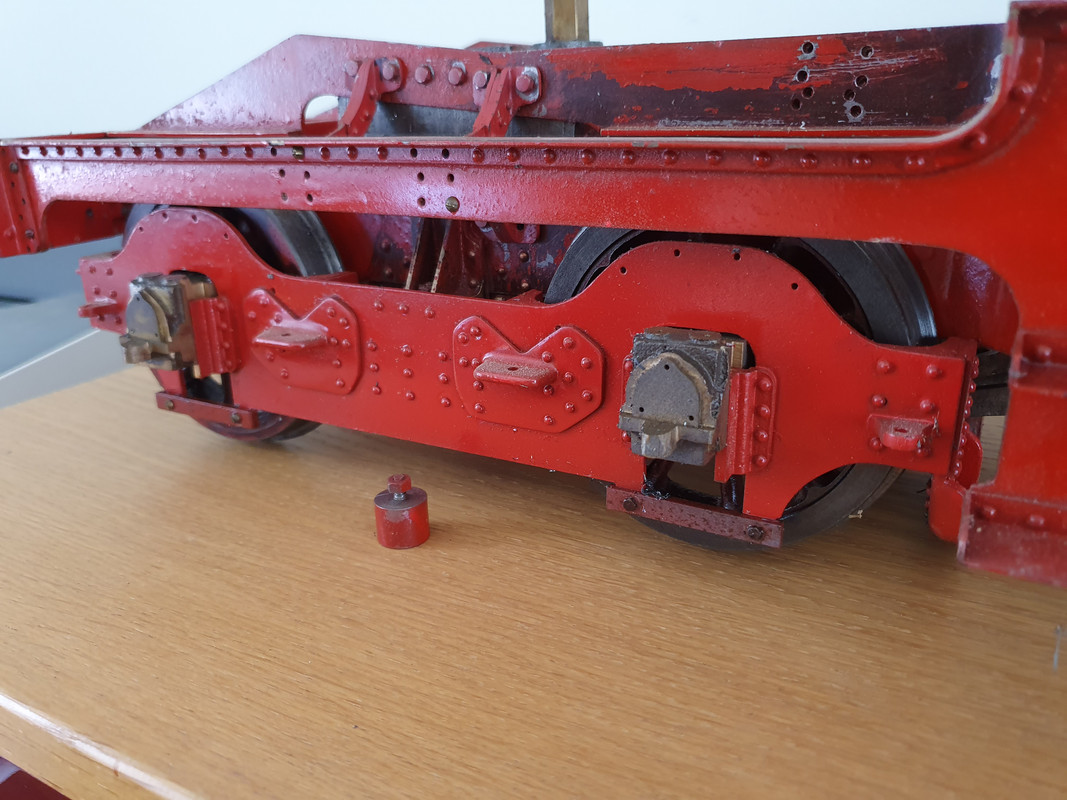 It's to the Keith Wilson design, I was lucky to get a full set of ME build articles with the loco I have also purchased a set of drawings. Unfortunately I don't have a tender or boiler, I am thinking of investing in a tender kit from Polly Engineering when they are fully back up to speed, I have booked a slot with Paul at Southern Boiler Works so hopefully will have saved enough cash to pay for it next year. Geoff has mentioned that there are a few errors in Keith’s design the main one being the valve gear so does anyone know if there is an easy way to tell if the original builder has modified the valve gear? OK so here is the progress so far… The outer frames were only held on with a few screws so I have dismantled the loco and started to clean off the old paint. 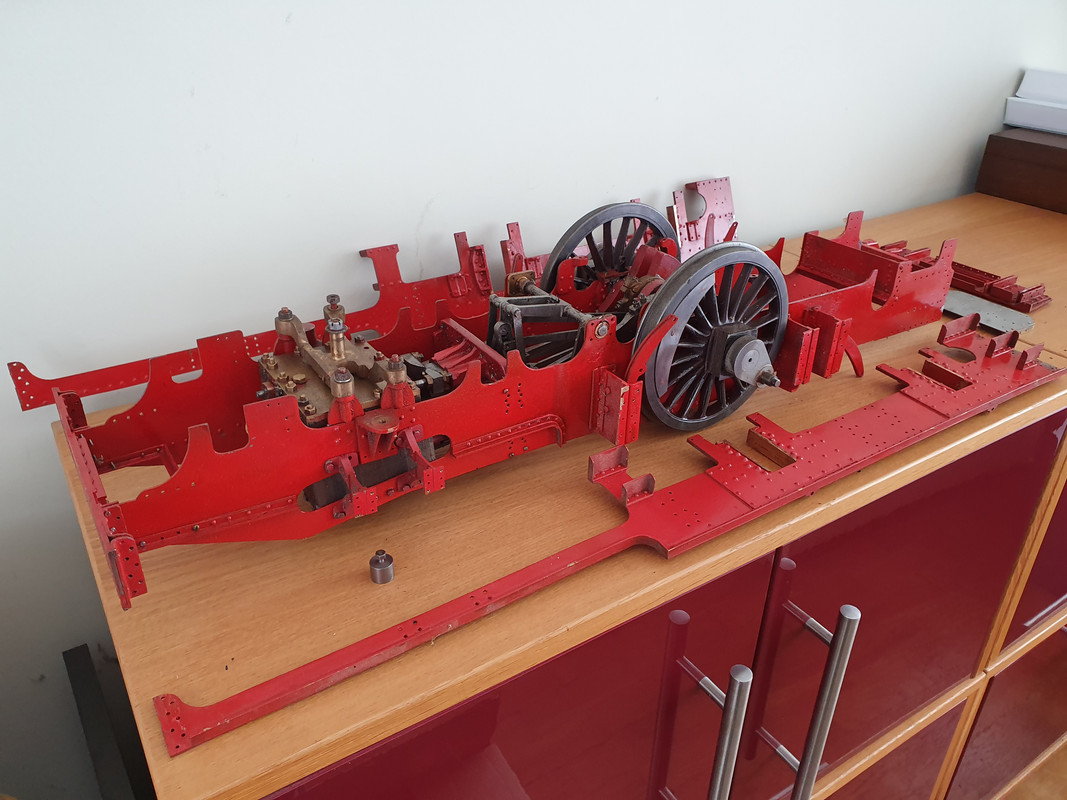 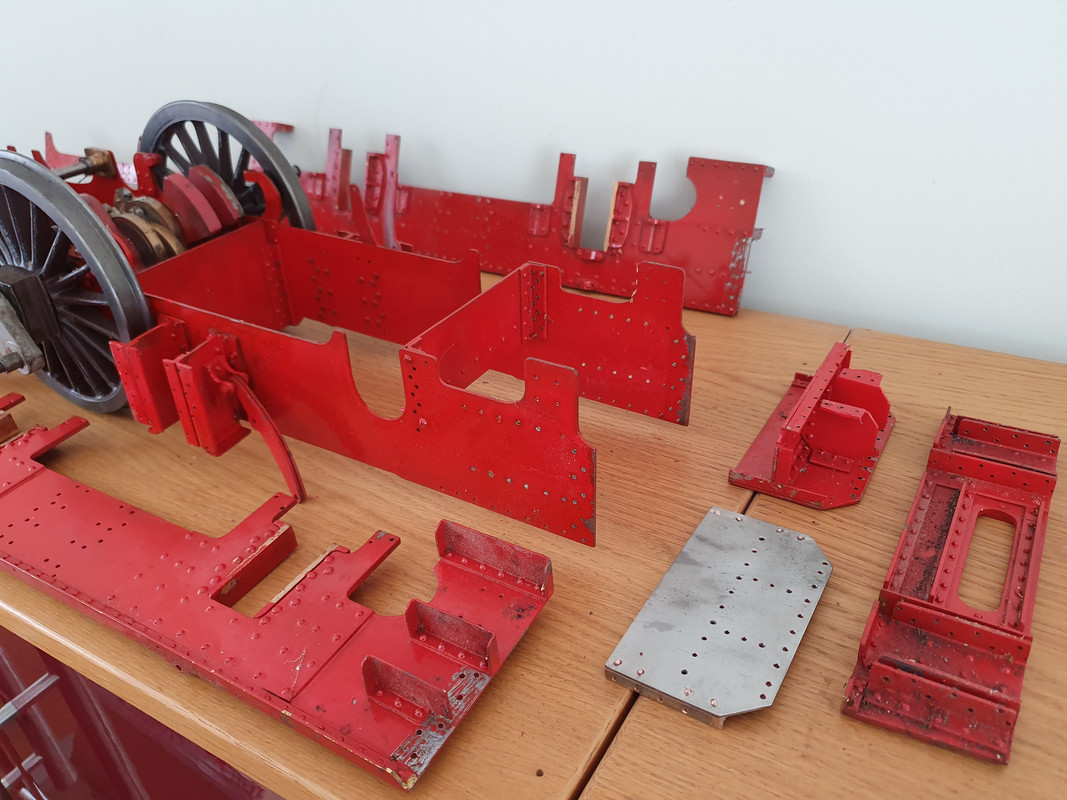 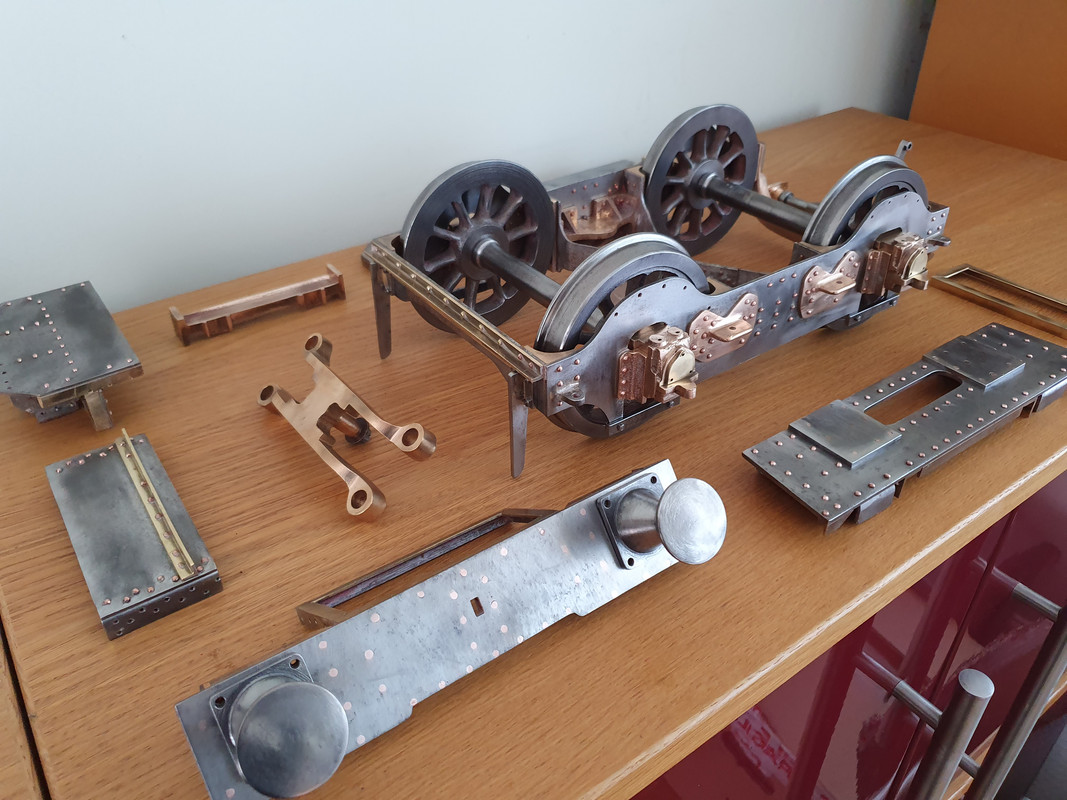 I have also built a display track and started to re-build the loco with new fasteners. 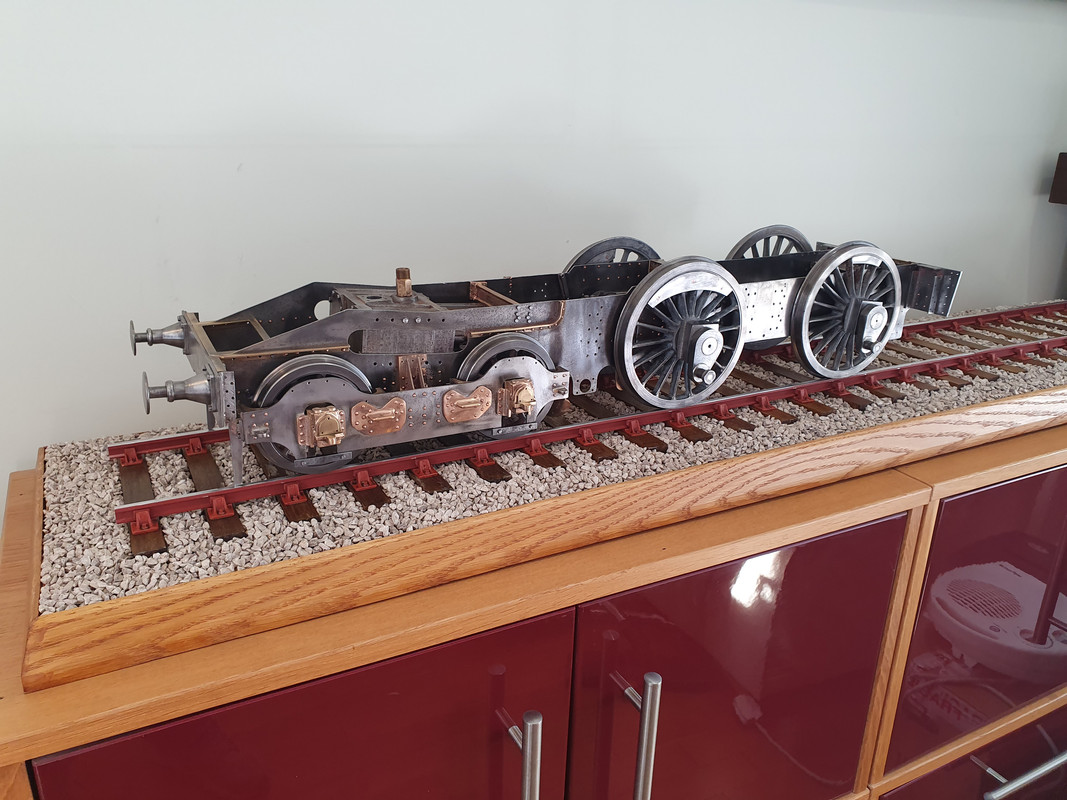 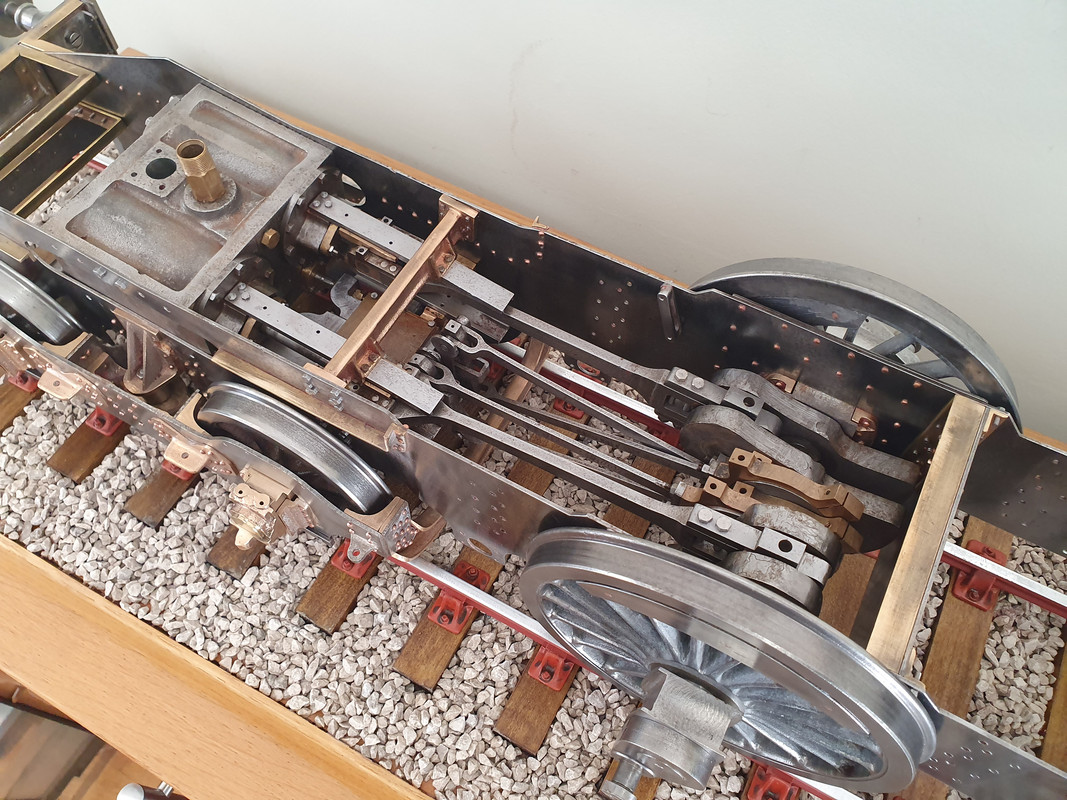 I am really looking forward to getting this loco steaming but I will have many, many questions as I progress. Cheers Drew |
|
gwrfan
Part of the e-furniture

Posts: 458
|
Post by gwrfan on Oct 22, 2023 13:17:24 GMT
Hi Drew.
I have sent you a Message on this site.
Do be careful with hole sizing. The person who built my chassis drilled all the holes the same size! Some of them have to be of a larger diameter and I have been struggling to enlarge said holes due to the inside and outside frames being rivited together. You will also find when you do the brake rods that the rear rods end up behind the rear step but Keith Wilson does not show, or say, how the ends are secured! And he doesn't describe the ashpan construction and fitting until, I think it was, June 1984, some 2 years after he completed the build articles.
Geoff
|
|
|
|
Post by ettingtonliam on Oct 23, 2023 6:35:23 GMT
Have you tried looking through the 'Errors on Drawings' section of this site? Theres about 15 pages, and on the second page there is mention of errors in Dukedog valve gear. I didn't have time to look further than the second page, maybe theres more?
|
|
dscott
Elder Statesman
  
Posts: 2,440
|
Post by dscott on Oct 28, 2023 2:36:05 GMT
YES, there are many mistakes but you have to remember that the Model Engineer was desperate for designs at the time so the pressure was on.
At the same time Keith was deeply involved in building 5 Kings and 2 Castles in 7 1/4.
Plus putting up with many teenage kids some of which learnt Boiler making, Design Engineering, Computer programming, being a superb Mother etc.
And to think we are all hitting RETIREMENT at the same time.
My two are sat under benches while I get into the 19th year of my second marriage.
TWO yes a solution to the throw of the eccentrics and changing the ports on the Bulldog cylinder when I get round to machining it. The Bulldog one goes into the Duke with its wavy frames.
Reeves did a super saving package back when I started my first relevant job at Thorn Lighting in the R and D workshop.1987.
I had to go and collect from the stand at Birmingham University Exhibition.
David and Lily.
|
|
|
|
Post by drew356 on Oct 30, 2023 12:14:00 GMT
Hi Guys Thank you for all your suggestions and advice, I fully appreciate that mistakes in drawings happen and I will have to investigate the valve gear, but that will be later down the line on this re build. I have fitted the outer frames temporarily and the plan is to bolt these on from the inside so that I can remove them in the future to fix any mistakes and for final painting. 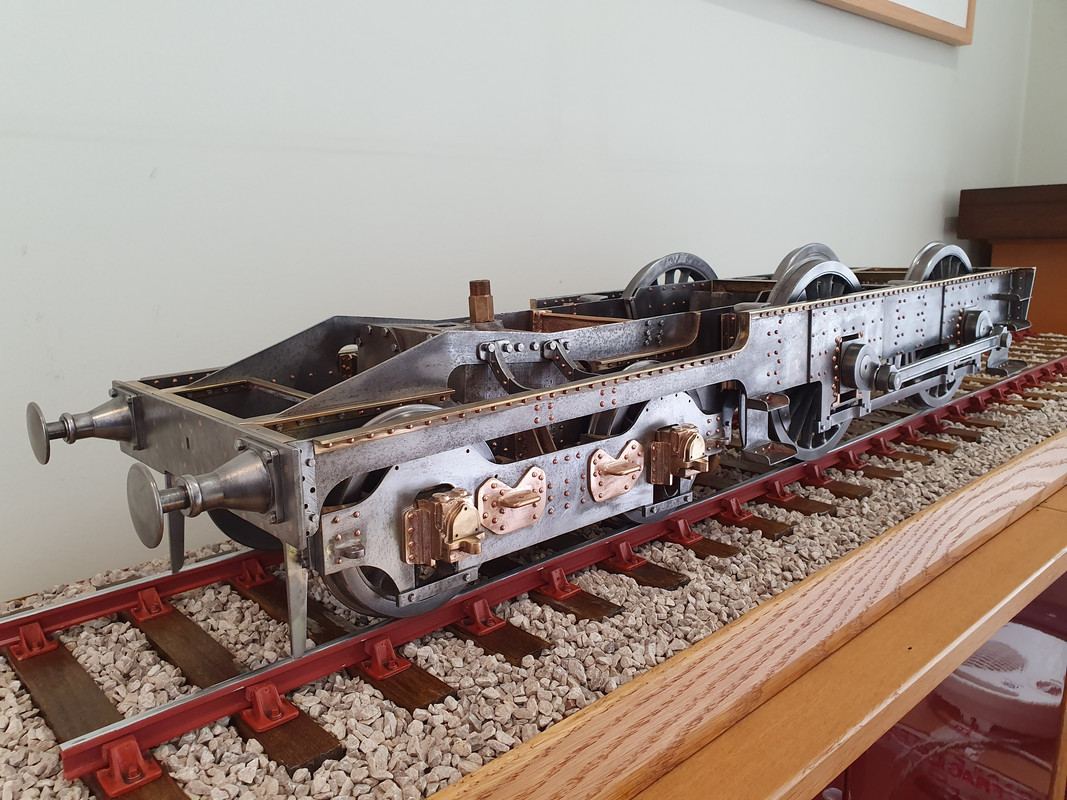 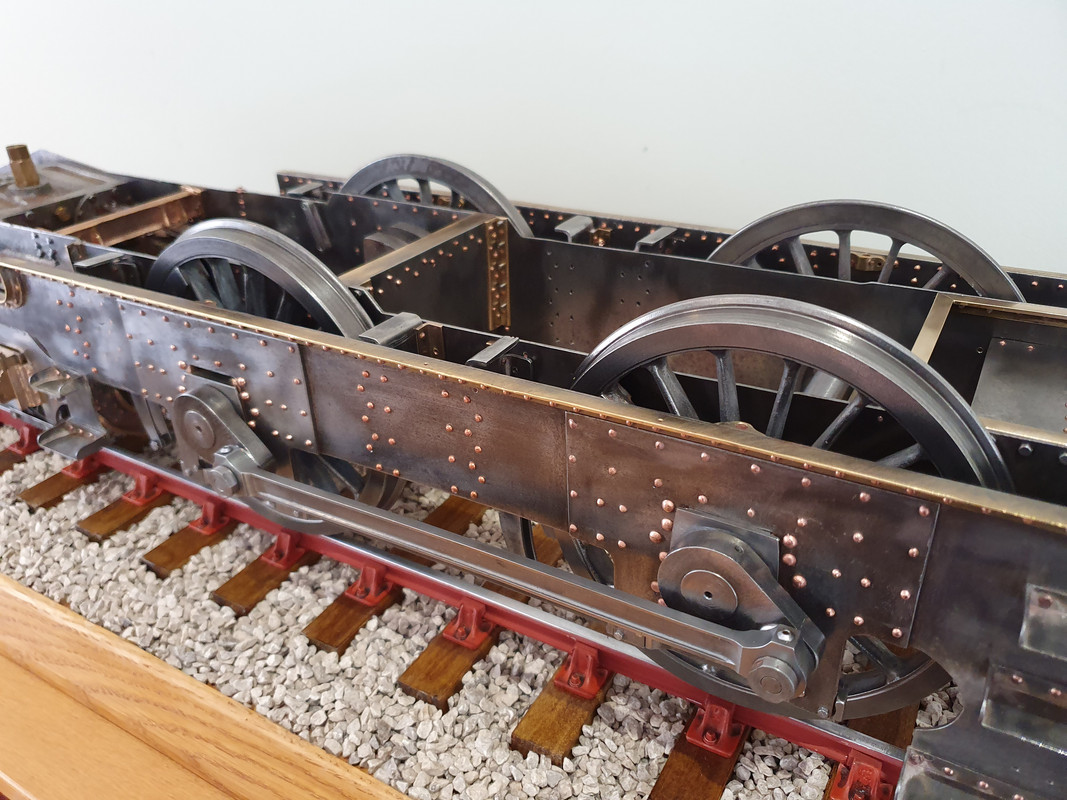 My next challenge is the springing, I am going to try and bend the Tufnol leaves to the correct contour by heating them in the oven. I have also received some spring links from Model Engineers Laser these will need some milling to get the correct profile but as there are 32 of them the laser cut blanks will save me a whole load of filling. 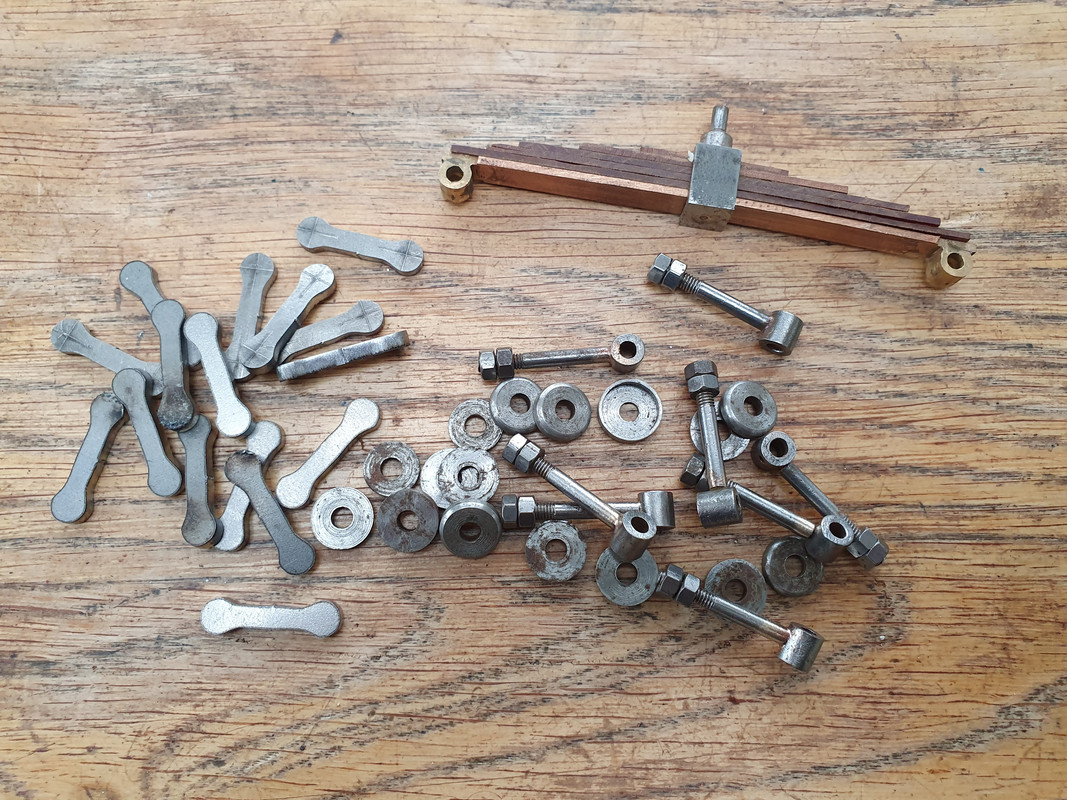 Hi David and Lily. I would love to see pictures of your Bulldog projects. Cheers Drew |
|
|
|
Post by drew356 on Nov 30, 2023 14:20:51 GMT
Merry Christmas to you all. Santa has come through with a collection of castings to get me started on the smokebox. I am going to need some help as I've never turned a gun metal casting before but my dads old ML7 should do the job. 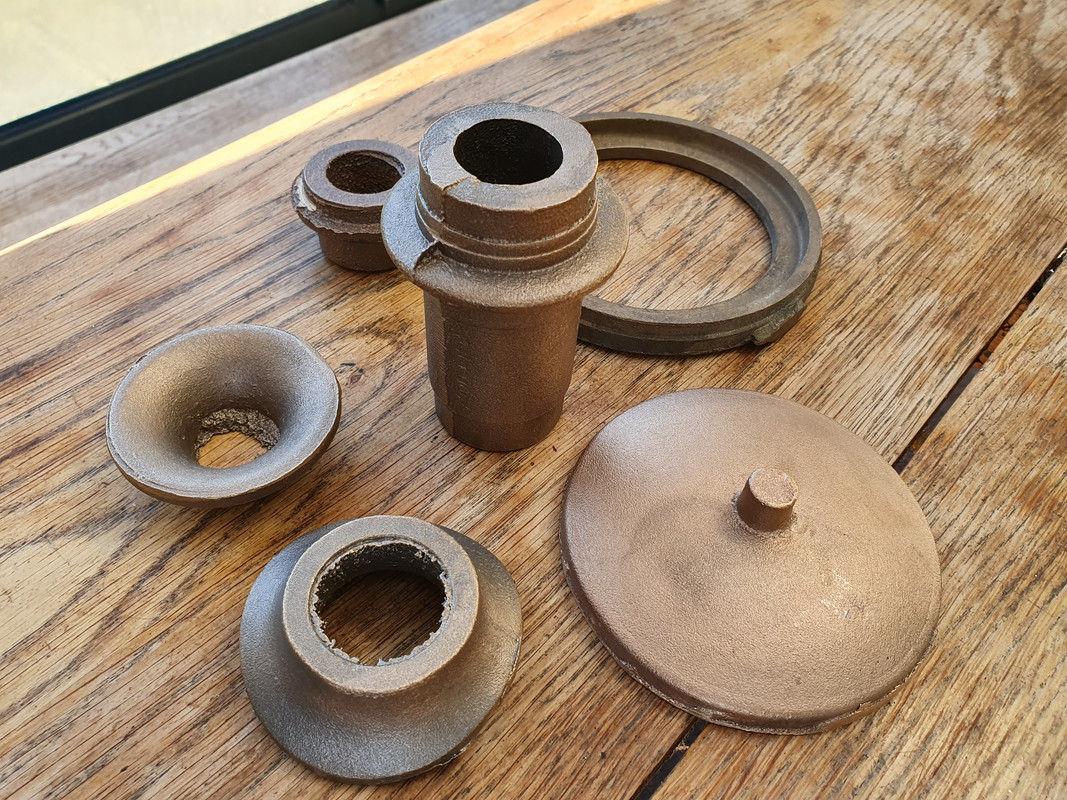 Not much going on with the Bulldog as it's just too cold in the workshop. I have managed to sort out the bogie suspension, coupling hook and the GWR screw link. 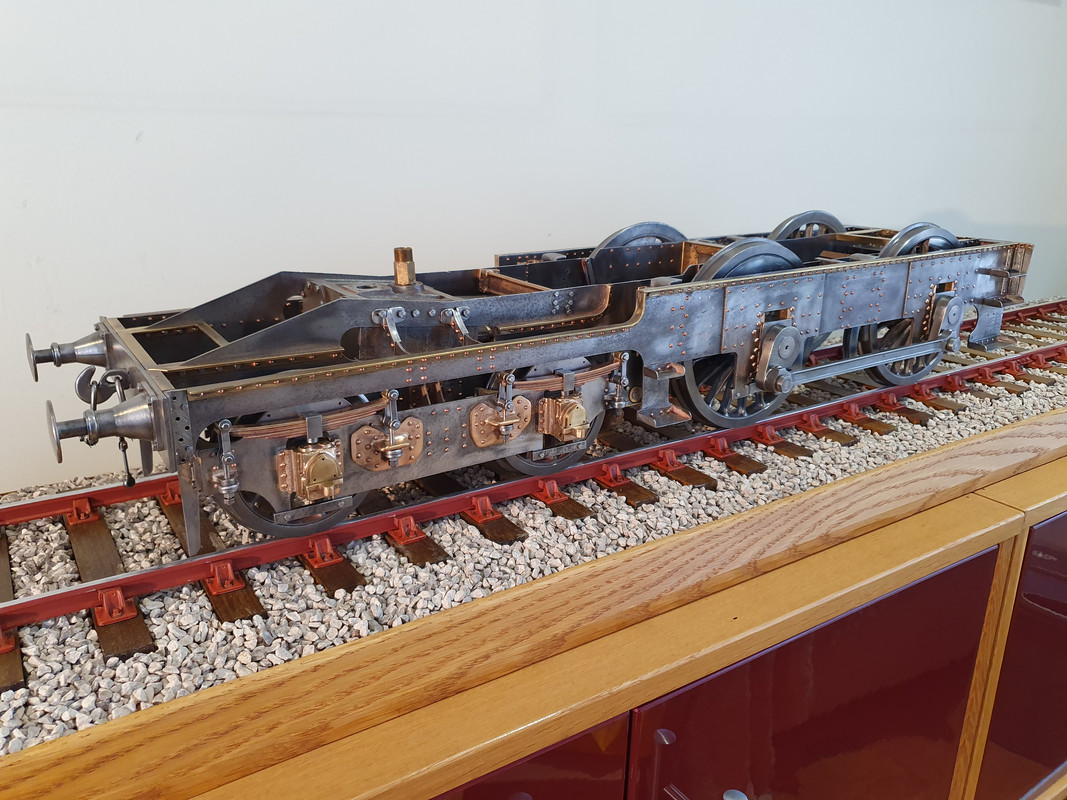 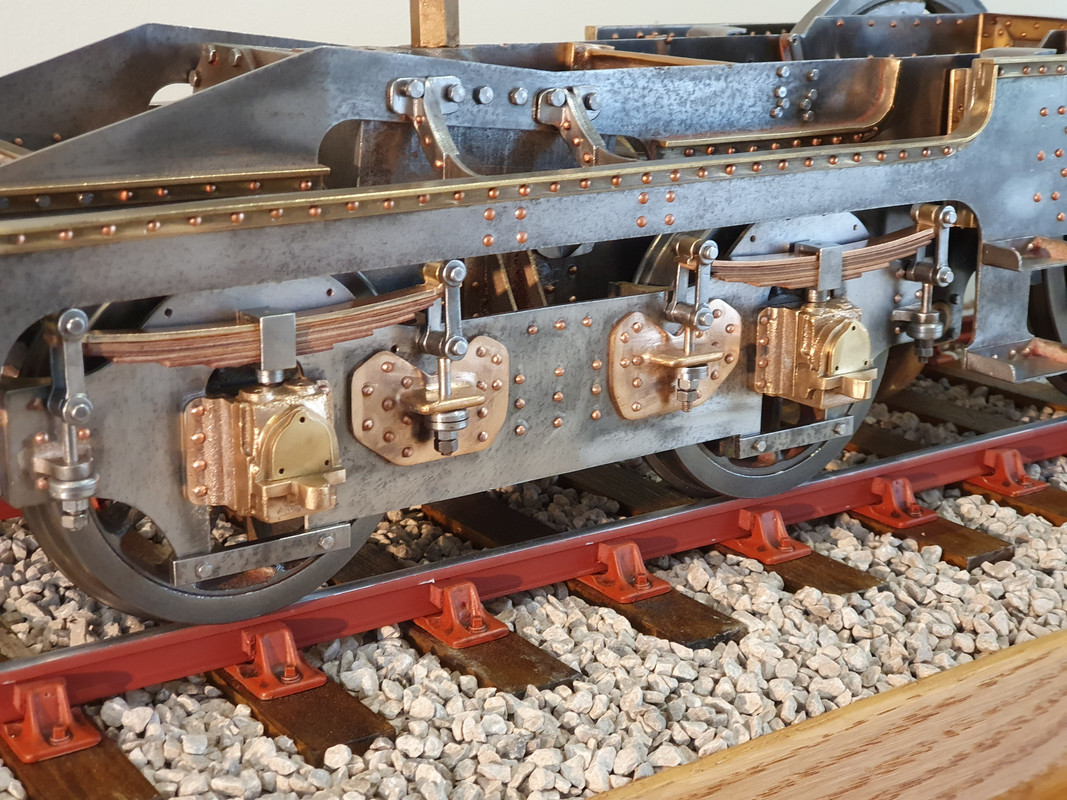 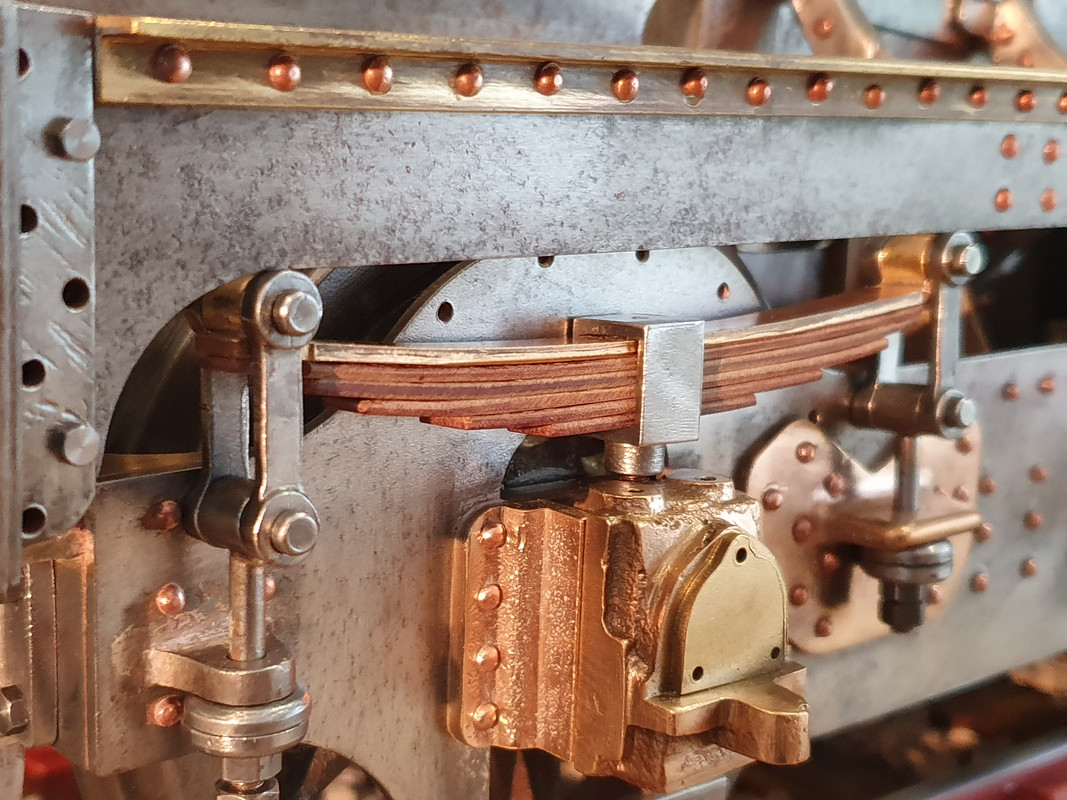 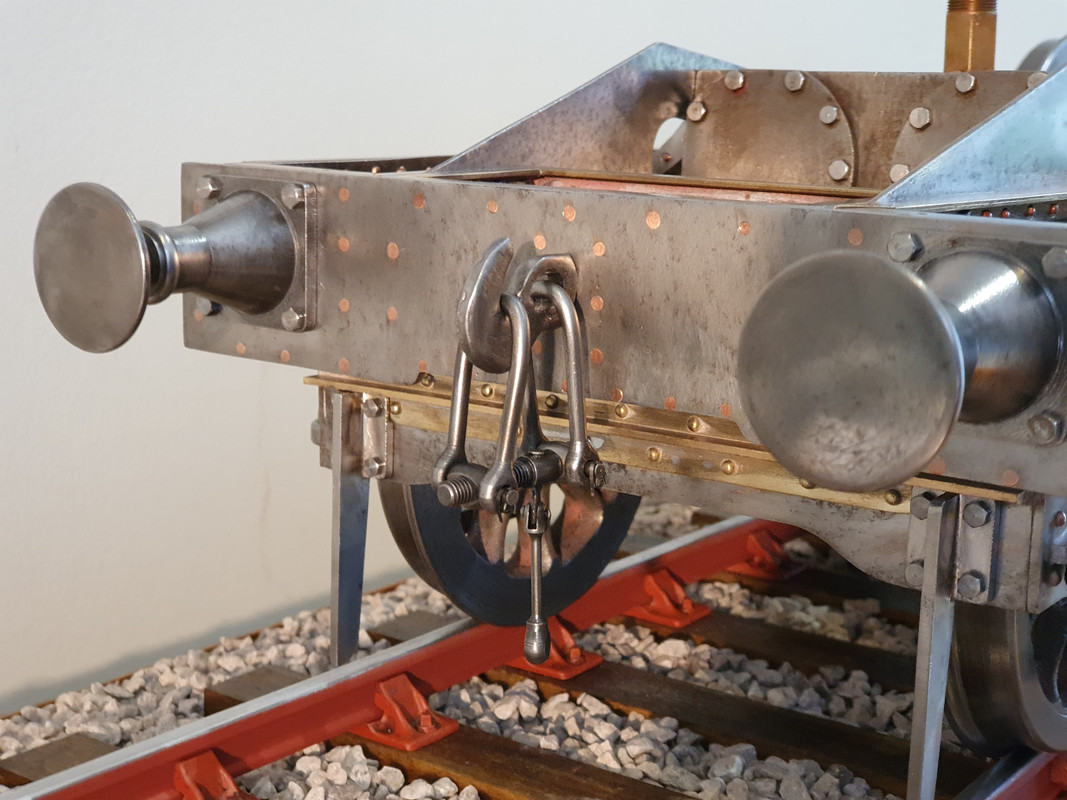 Next up will be completing the main loco suspension. See you all in 2024 Drew |
|
|
|
Post by davewoo on Nov 30, 2023 17:37:03 GMT
Looking good Drew, watching this with interest, keep up the good work.
Dave
|
|
|
|
Post by drew356 on Dec 20, 2023 14:03:21 GMT
Thanks Dave for your kind words. On with the Bulldog...next up the front valance plates and running boards, lots of dummy rivets and some small head 10BA bolts to hold them all in place. 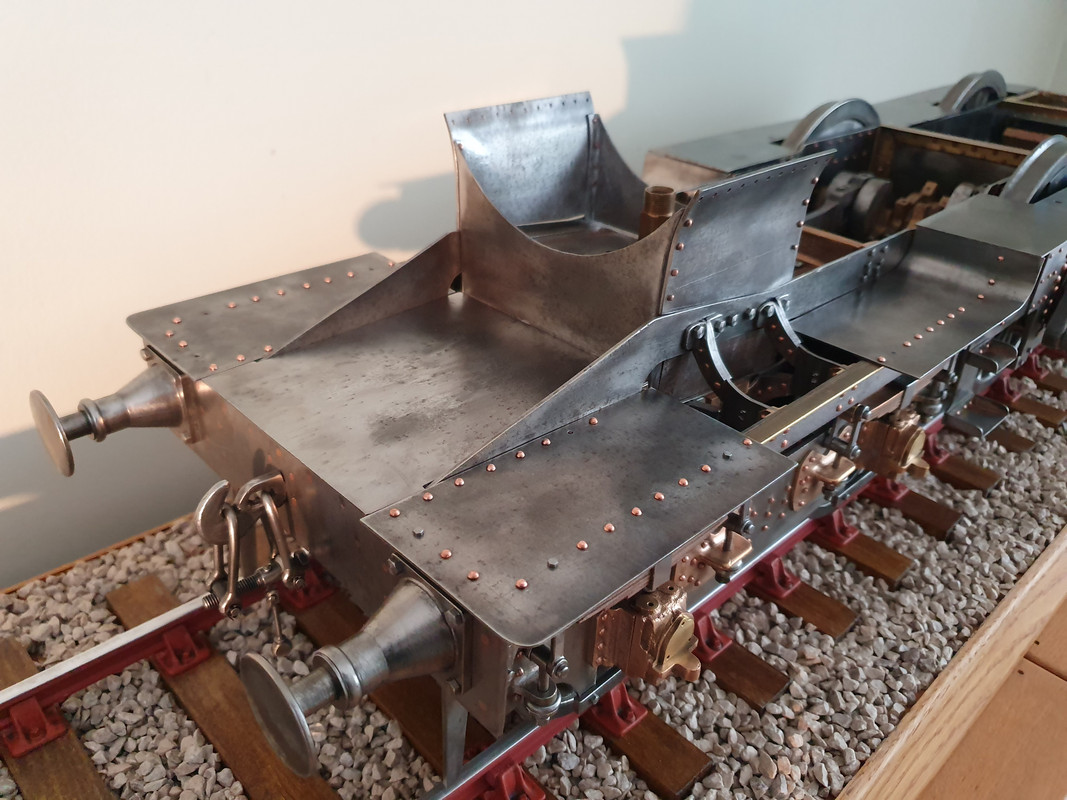 I have a slightly embarrassing question...I am moving onto fabricating the splashers and I can't find any pictures of real locos or 5" models that show if the splashers are open on the inside or enclosed. I am thinking of going with brass for these and soft soldering them together but any advice would be very welcome. Regards Drew |
|
|
|
Post by noggin on Dec 20, 2023 17:07:33 GMT
Have a look at a site called GWR modelling, you will find some pictures on there, I have some good books i shall put the titles up for you later that show some good images. As for the splashers the full size would not have the back open they would be whole, It does not matter on model form, most would leave the back of the splasher open, I would silver solder mine together but others would soft solder them, up to you. and yes brass is o k, Have a look at MODEL ENGINEERS LASER they may do them laser cut, that will save time , You may need to profile the splasher tops when you have the boiler and other parts fitted as well. Hope this helps a bit other will share their ideas as well i expect.
Garry
|
|
|
|
Post by drew356 on May 9, 2024 7:33:18 GMT
Hi Guys Thanks Gary for your help, I decided to leave the rear of the splashers open and as I’m not completely confident about silver soldering yet I decided to fit everything together using rivets and brass angle inside. Sorry it’s been so long since the last update but I have made some progress. Another job was the smoke box, I was a bit apprehensive about rolling thick steel on my rollers but after a couple of trial runs I managed to produce a pretty accurate 5” tube with a mig welded seam. Next up was my fist attempt at turning a Reeves casting, the chimney base, it’s not finished as the base needs thinning out but it’s a start. 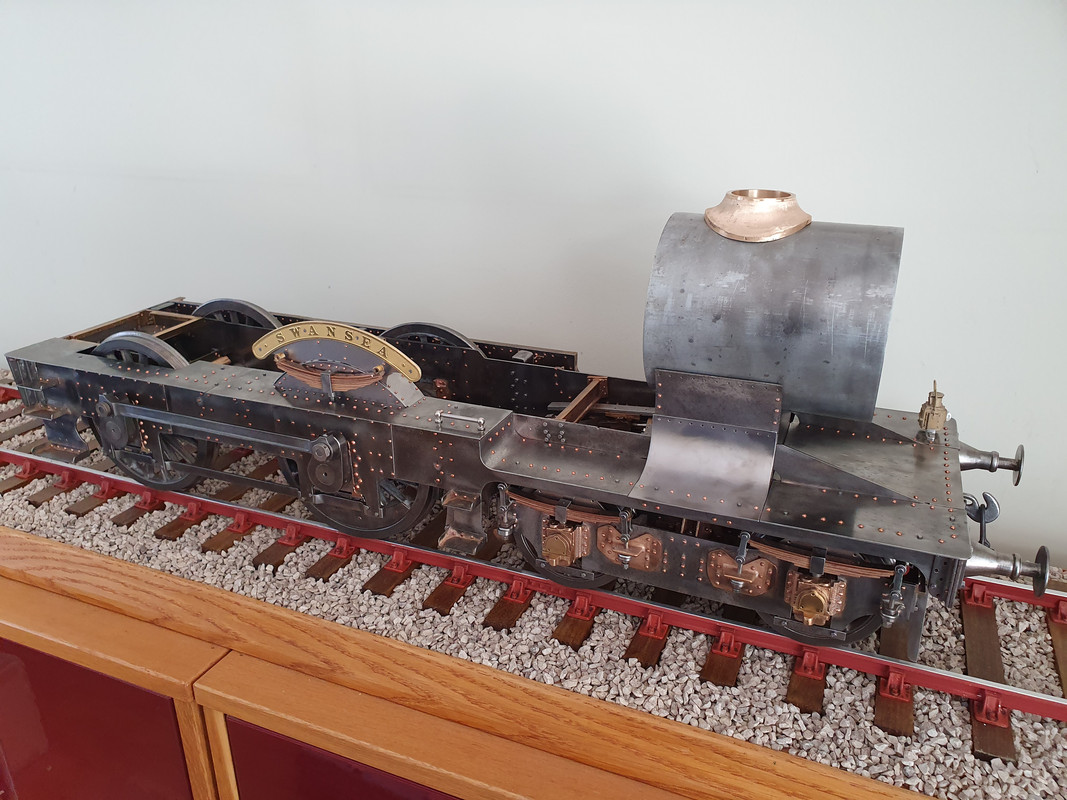 I have been thinking what original Loco to base my model on and finally landed on ‘Swansea’, as I have fond memories of visiting family there and being taken to Barry scrapyard in the 70’s. 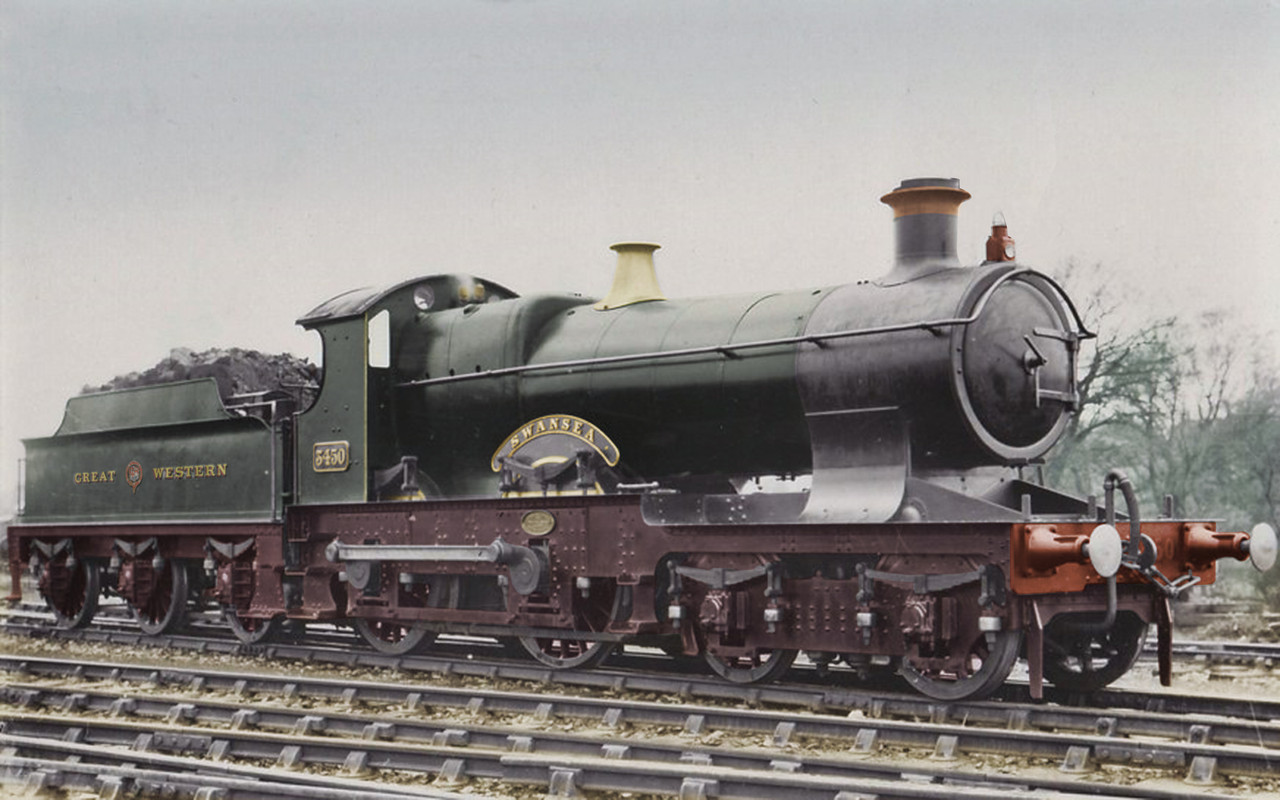 I found a decent photo of Swansea 3450 in it’s early configuration and set about retouching it with colour. I ordered some nameplates from Diane Carney which were absolutely stunning and couldn’t wait to get a splasher finished so I could attach one and see the result. 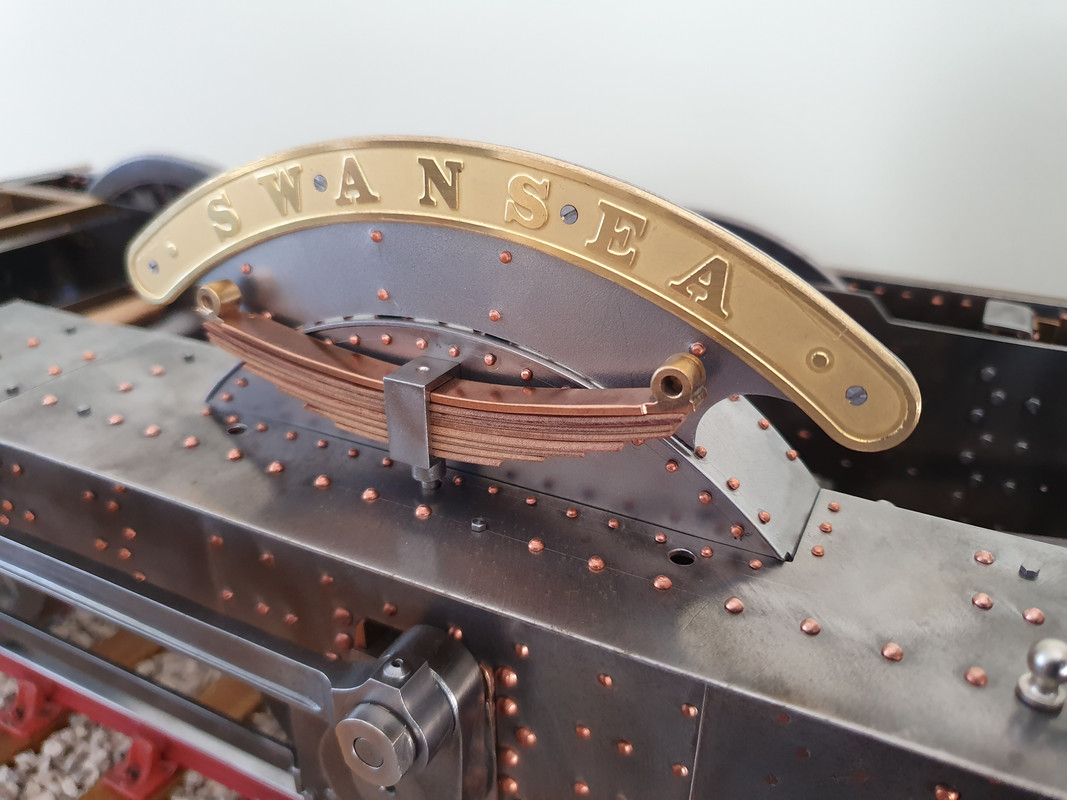 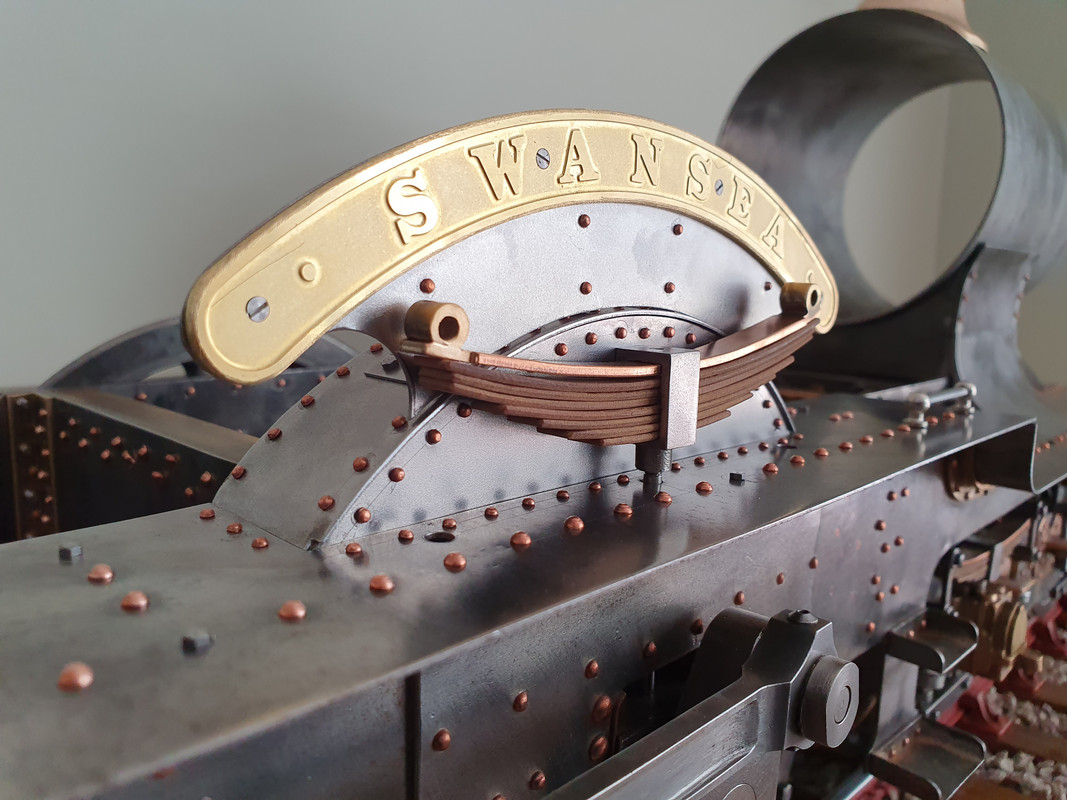 So with one side almost finished I will have do it all over again on the other side. Next up is a start on the tender chassis, I have ordered frames from Model Engineer Laser and castings from Reeves, I am a bit undecided about where to get the tender body from as Polly and M E Laser have kits, I would appreciate peoples opinions re these kits, Are they the same? Which one is the easiest to assemble? Till next time. Drew |
|
|
|
Post by Cro on May 9, 2024 16:00:07 GMT
Hi Drew, Great progress so far! I must chat to you about the springs as it’s one of the next jobs I have on the city and need to see what the tufnol and bronze is like for a spring rate, thoughts so far? I built a Polly tender tank for the city and you can see it all in my City. modeleng.proboards.com/thread/13600/city-truro-3440There are no instructions so it’s a case of bending bits up and working out how it goes together but it does make a nice kit. I would say if detail is your thing and accuracy of the replica then it could be better in places but generally very good. I added a fair bit to mine to tweak it to match CoT current tender from photos. Adam |
|
|
|
Post by chris vine on May 9, 2024 20:15:53 GMT
Hi Drew,
Great progress and lovely to see your work.
When you get to working on the chimney base and having to file (or whatever method) that complex curve, it is quite a neat tip to make up a piece of sheet brass or steel with a hole and curved roughly to the shape of the smokebox, (say 1/16" thick if that is how thick you want that little rim to be), and set it round the base of the chimney while working on it. It will guide you to get the thickness even all the way round and also it will stop the file from taking off the corners and making all a bit rounded and blobby!
Enjoy,
Chris.
|
|
|
|
Post by drew356 on May 11, 2024 8:44:51 GMT
Thanks Chris for your kind words and your tip re the chimney base, I will have a go at making a steel guide to help me get the right thickness.
Hi Adam, I have been following your City tender write up with much interest and I am about to order the body kit from Polly but before I do I have a couple of questions.
Firstly the chassis I’m about to build is the Kieth Wilson Bulldog design using laser cut parts from ME Laser, you mention in your article that you had to modify your chassis to accept the sump, do you have pictures of that modification?
Can the Polly kit be built without the sump?
I would also be very interested in any detail parts/castings/spinnings that you may have left over from your build, happy to pay the going rate for anything you have.
You mentioned that you were thinking of casting up some ‘curly fire iron’ supports did you ever get around to them?
As for the springing I am undecided about Kieth’s design as it seems to be a little weak and I think spring steel would be preferable to the ‘Tufnol’ and copper set up.
Please keep the updates coming as your City was the inspiration for my Bulldog.
Regards
Drew
|
|
|
|
Post by Cro on May 11, 2024 21:03:37 GMT
Hi Drew,
I will get a photo with the modifications, I essentially cut the cross members out to take the sump but I think Polly offer the kit with or without the sump.
Yes I did do castings for the fire iron support and do have one spun dome left if your tender is the same style as mine. Think mine was 3000 gallon but can’t remember for sure.
I have done a lot of CAD work on city lately whilst stuck under a child and recently drawn up the springs. I have planned to go spring steel with tufnol mixed in.
Adam
|
|
|
|
Post by drew356 on May 13, 2024 8:42:30 GMT
Hi Adam
Thanks for the info on the sump modifications, I think I'll keep it simple and ask for a kit without the sump.
I am going to order a GWR 3000 Gallon Dean late type, which I think is the same one you're building, so anything you have spare please let me know.
Good to hear you're on the case with some City CAD work, bear me in mind if you start producing castings that would be appropriate for my Bulldog.
Cheers
Drew
|
|