stephen1234
Active Member
  sic transit gloria mundi
Posts: 22
|
Post by stephen1234 on Oct 25, 2009 19:42:56 GMT
Hi, i am new to this steam tran making game and have just started building a simplex. I have planned to bild something like this for quite a while and have slowly built up a reasonably good workshop consitsting of 1) a Clark pillar drill 2) a Myford super 7 lathe 3) A metal cutting band saw 4) a recently purchased Centec milling machine. Why start a simplex? Well the plans where free on the model engineer website and i started reading articles on this website. The final killer was Doctor John website that has been a lot of guidance in how to proceed. This weekend has consisted of 1) marking out 2) centre drilling the marked spots 3) finding that I don't have all thhe drills I need to drill the holes I have also made one mistake. The 7/8" radius at the front of the mainframes is now a 7/16" radius. Not sure if this is going to be aproblem in the future. but it will be a bit different to everybody elses. One of the reasons i am writtign on here is that I know that i will need help. So look out for dumb questions. Attachments:
|
|
|
|
Post by Deleted on Oct 25, 2009 19:46:42 GMT
So look out for dumb questions. Don't worry about dumb questions Stephen, everybody has to learn some time. It's the dumb answers you need to watch out for....... JB |
|
redmog
Part of the e-furniture
 Not Morgan weather
Posts: 461 
|
Post by redmog on Oct 25, 2009 20:50:23 GMT
Looks OK. Hi Stephen. Looks OK to me. The curve at the front bottom which is 7/8" rad. is only cosmetic. All Simplex's are different anyway. It's a loco that you can put your own touches to, as long as the mechanical dimensions are kept to the drawings. A Simplex is a good build and a good loco. I built one years ago and it's my regular steamer. Chris  
|
|
|
|
Post by drumkilbo on Oct 25, 2009 21:33:06 GMT
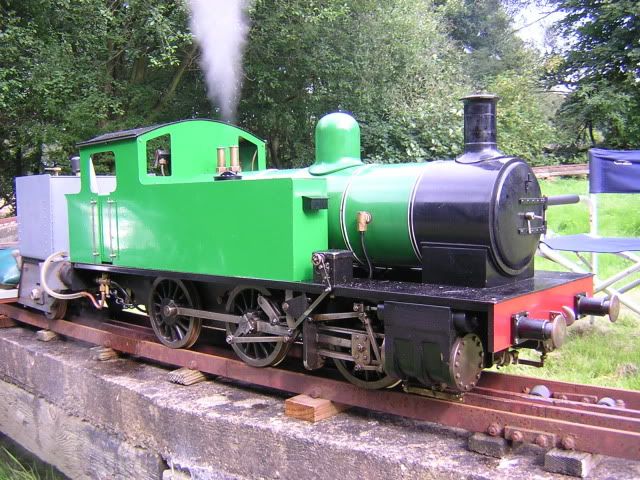
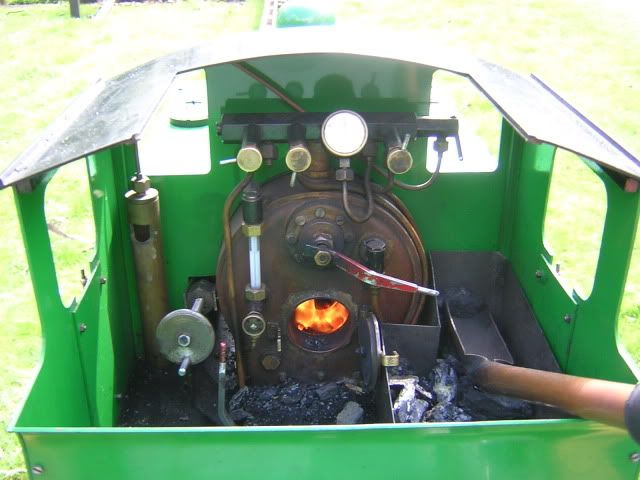
Wow Chris, that's a novel place to put the whistle !
Stephen, just remember that nobody starts off knowing it all, enjoy the experience of learning new skills and ask away on this forum. I've had plenty of help as I'm sure many others have.
Enjoy,
Ian.
|
|
|
|
Post by baggo on Oct 26, 2009 0:38:33 GMT
Hi Stephen,
Welcome and good luck with the build. You can't go far wrong with the Simplex. There's been plenty built and running. I've gone for a stretched version to try out a few ideas but then again I'm an inherent tinkerer and can't leave well alone ;D
As has been mentioned, the radius is purely cosmetic and won't affect anything. If anyone says anything about it just pretend you meant to do it ;D
DJ's site is a good write up of the build and should help you on your way. Keep posting photos etc. of your progress.
John
|
|
Prowe
Involved Member
  
Posts: 89
|
Post by Prowe on Oct 26, 2009 7:50:16 GMT
Chris,
Slightly OT - does your whistle not suffer from condensation filling up the tube?
I ask only because I think it may solve one of my future whistle problems.
Regards,
Phil
|
|
redmog
Part of the e-furniture
 Not Morgan weather
Posts: 461 
|
Post by redmog on Oct 26, 2009 8:03:56 GMT
Small Hole.
Phil.
I think it has a small hole in the bottom.
I'll have a look.
Either way I have no problem with it.
I didn't want to put it under the running boards.
Drilling holes under the tanks, in the way of injectors etc.
Seems to work fine.
Chris
|
|
stephen1234
Active Member
  sic transit gloria mundi
Posts: 22
|
Post by stephen1234 on Oct 27, 2009 6:31:41 GMT
Thanks for all the support. Last night i drilled and reamed the 1/2" hole and 11/16" hole. I also cut the last radius using a hole saw ( the offending item is the second radius from the right). Unfortunatley I got the position slightly wrong and have run over the mark line. ( approx 1mm) Looking at it i think i have three choices 1) start again (not an option i want to take but i have spare blanks) 2) apply some weld to the offending area and grind back 3) leave it alone Attachments:
|
|
redmog
Part of the e-furniture
 Not Morgan weather
Posts: 461 
|
Post by redmog on Oct 27, 2009 7:55:39 GMT
Small Mistakes.
Stephen.
If it's the 1 1/8" or the 3/4" rad curve on the right of the frames
again they are cosmetic.
It looks like you are doing a good job, keep up the good work.
As I said before the important dimensions are the mechanical ones.
eg. distances between axle centres.
We are all making mistakes - just don't make them Big Ones.
Chris
|
|
|
|
Post by baggo on Oct 27, 2009 9:37:28 GMT
Hi Stephen,
just leave it as it is and trim the edge of the frames to suit. The only thing is the bottom of the rear stretcher comes flush with the edge of the frames so you will either have to trim a bit off the bottom of the stretcher or simply move it up 1mm. I don't think the top edge of the stretcher will foul anything if you do put it 1mm higher. You mark off the fixing holes for the stretcher from the frames anyway so they won't be a problem.
John
|
|
stephen1234
Active Member
  sic transit gloria mundi
Posts: 22
|
Post by stephen1234 on Oct 27, 2009 12:11:20 GMT
John/Chris
Thanks i never thought of moving the stretcher. Another problem resolved.
I regards to the horns i was think of keeping to the original plan of steel plates but i would like to add spring. Any advice/drawings on this would be appreciatted.
|
|
russell
Statesman
  Chain driven
Posts: 762
|
Post by russell on Oct 27, 2009 20:05:43 GMT
The original horn design using steel flats riveted in place works fine. The cast horns look more authentic but they are hardly visible, cost more, and are more work.
I don't understand your comment of wanting to add spring. The axles are sprung with coil springs.
PS. Don't worry about mistakes - I've made loads. I just refer to them as modifications!
Russell.
|
|
|
|
Post by drjohn on Oct 27, 2009 22:43:34 GMT
Hi Stephen Glad my site inspired you, but I'm no engineer as you probably saw. John (Baggo)'s site is much more professional engineering. And if you want to get really serious for wheel turning etc, have a look at the amazing Hiroyuki Watanabe's site - mokei-jouki.hp.infoseek.co.jp/e-Wiltop.htm As to the horns - my first Simplex I rivetted them, but ended up with a lot of filing from misplaced "dings" etc. I also don't feel that cold rivetting is particularly strong especially with long rivets like those, so this latest Simplex, I used countersunk screws with loctite and driven in with a torque controlled power screwdriver - socket headed countersinks would have been even better but I didn't find a source of those in Malaysia till much later. You're doing well - keep it up. DJ. |
|
stephen1234
Active Member
  sic transit gloria mundi
Posts: 22
|
Post by stephen1234 on Oct 28, 2009 7:08:36 GMT
Russel,
your right, I went back to dr john site, I thought i saw springs on top of the plate. But it was wrong.
Started cutting excess steel off last night, progressing nicely.
Stephen
|
|
stephen1234
Active Member
  sic transit gloria mundi
Posts: 22
|
Post by stephen1234 on Nov 1, 2009 14:57:16 GMT
I have now 99% completed the mainframes, I have just one 3/16" reamed hole to be 100% complete. The reamer is in the post. Just about to start cutting and marking the spreaders and the buffer beams. I have started looking for wheel castings, god they are expensive. is it possible to do the wheel some other way? Regards Stephen Attachments:
|
|
|
|
Post by drjohn on Nov 1, 2009 23:01:47 GMT
Hi Steven That 3/16" hole. It's important to have the frames joined accurately when you bore that one as it is the alignment hole for the expansion links. I see you have 4 spare holes at the rear  Not to worry, lots of simplexes have those for "ventilation" purposes! The ones I'm talking about are the ones above the rear stretcher - they're for the reverser stand. Doing well - keep it up. Yes wheels are ridiculously expensive for a bit of cast iron. Maybe someone on the forum has wooden patterns if you can still get foundries to cast little runs of sand-casting in the nanny-state UK. |
|
stephen1234
Active Member
  sic transit gloria mundi
Posts: 22
|
Post by stephen1234 on Nov 2, 2009 6:15:49 GMT
I now i can get castings done at blist hill museum at iron bridge. In fact anyone can get castings done there. I am not sure what the charge is, but you do have to supply your own patterns.
|
|
|
|
Post by drjohn on Nov 2, 2009 7:27:37 GMT
Maybe some generous spark will offer you the use of his patterns Stephen. Sorry, I left mine in the UK 20 over years ago when I saw the light and moved to sunnier climes.
DJ
|
|
stephen1234
Active Member
  sic transit gloria mundi
Posts: 22
|
Post by stephen1234 on Nov 2, 2009 10:18:09 GMT
Dr John,
It took me three hours to realise what the four additional holes were. ( just waking up I think).
I think i will fill these up with a bit of welding. But will leave it to nearer the end before deciding.
Regards
Stephen
|
|
sapper
Involved Member
  
Posts: 73
|
Post by sapper on Nov 2, 2009 16:07:55 GMT
Not a good idea to put heat near the frames. Lightly countersink each side and put a rivit in. Finish by filing flush, a coat of paint and no one will know.
Happy building
Sapper
|
|