|
|
Post by GWR 101 on Mar 8, 2015 16:16:50 GMT
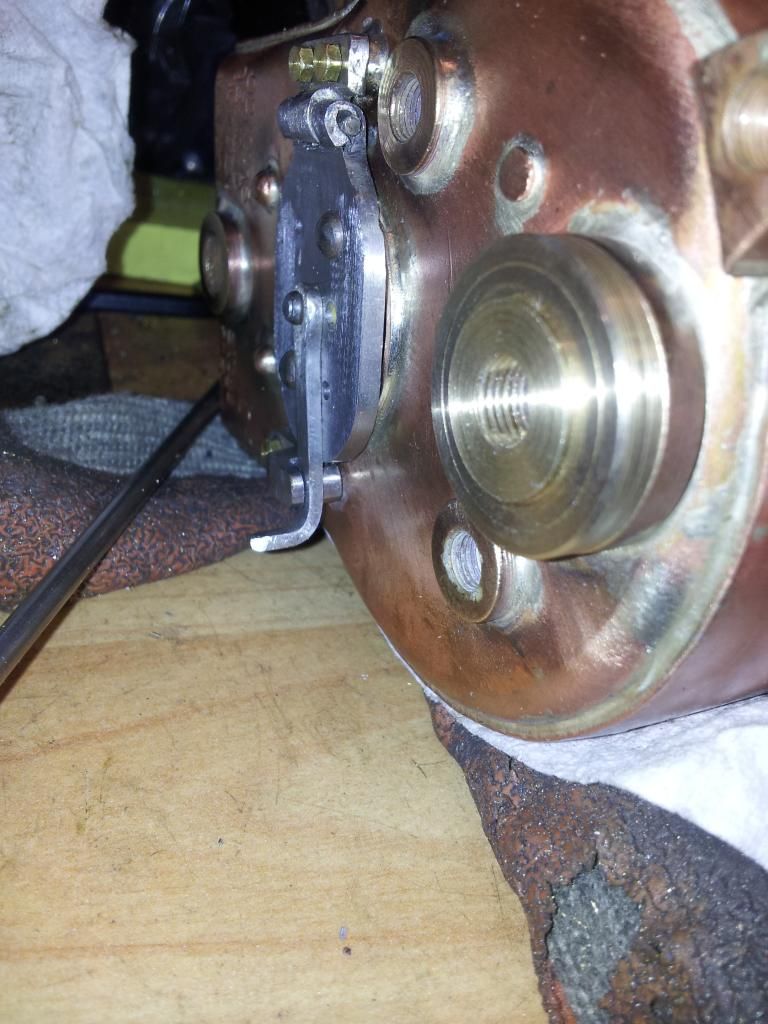
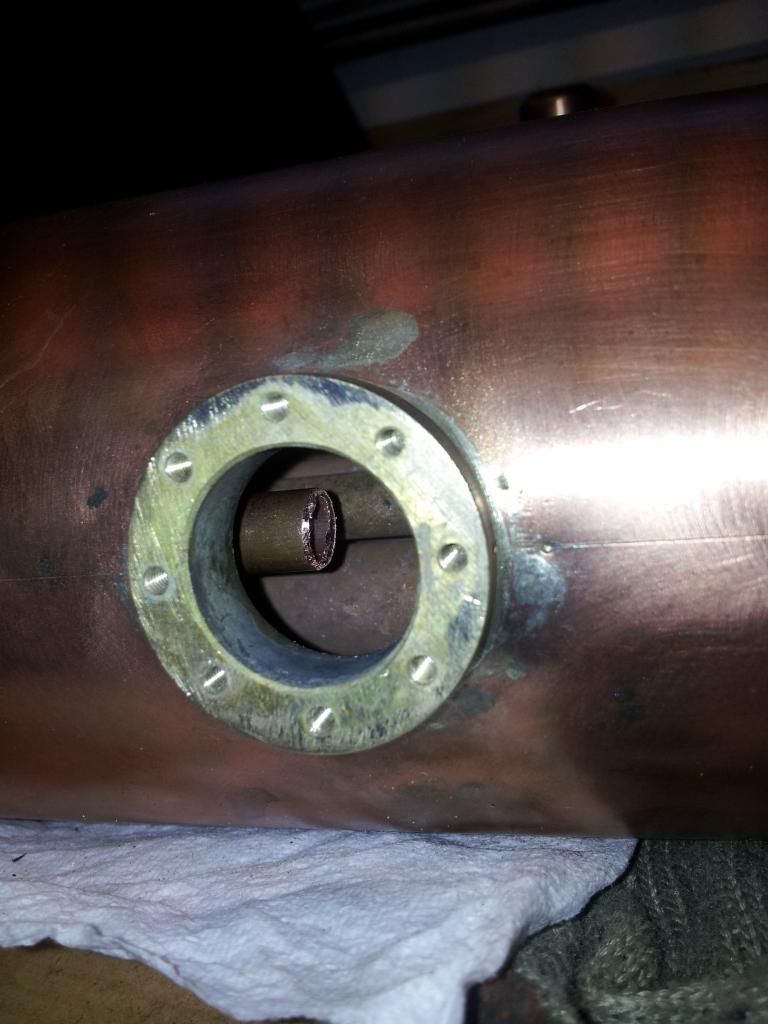
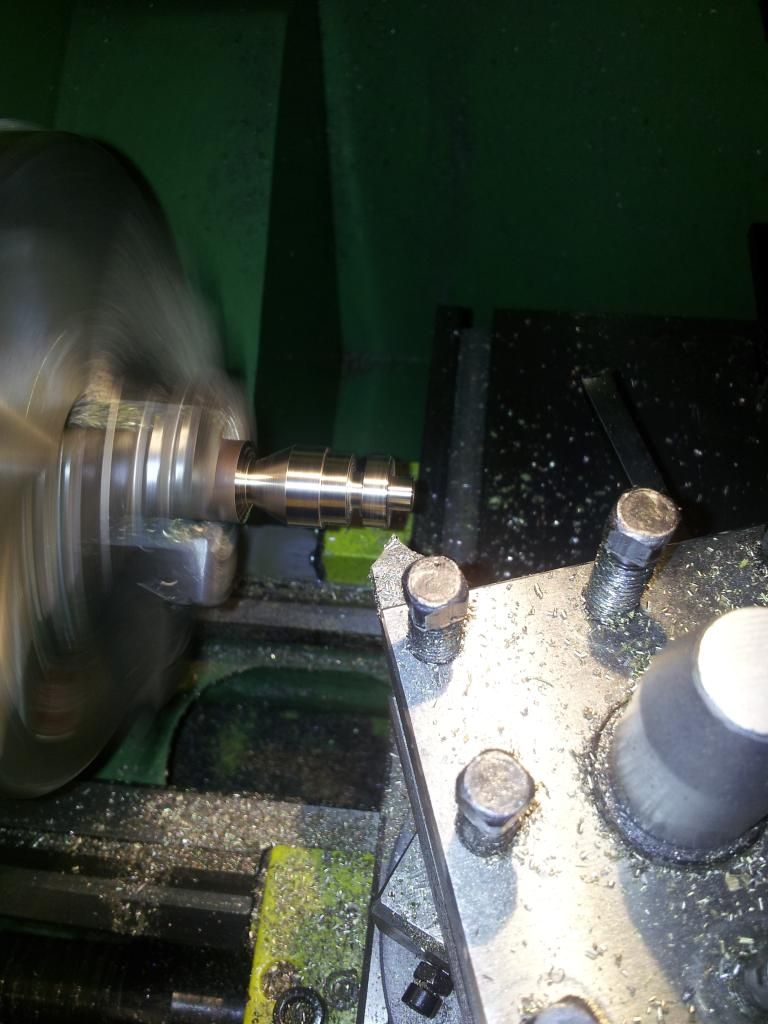
Thanks Ed for that, just came in for a warm and one other silly question " which is the normal direction for the regulator handle to rotate from closed to fully open"? non of the info I can find states this. Some photo's of progress, Regards Paul

Backhead boss

View through dome

This is the machining of the two parts of the valve, I decided to leave them as one piece until I have drilled the steam holes so that they line up. |
|
uuu
Elder Statesman
   your message here...
Posts: 2,858
|
Post by uuu on Mar 8, 2015 16:58:54 GMT
They can go either way, take your pick. I find anti-clockwise to open, clockwise to close more natural. The same way a needle valve would go.
Wilf
|
|
|
|
Post by GWR 101 on Mar 8, 2015 19:13:13 GMT
Thanks Wilf, I agree it does seem the more logical. I can now proceed in drilling the smaller holes to achieve the pear drop effect. Regards Paul
|
|
uuu
Elder Statesman
   your message here...
Posts: 2,858
|
Post by uuu on Mar 8, 2015 19:46:18 GMT
We're just re-boilering a loco at the Pump House. We've just faced the same question, and consensus arrived at this preference.
Wilf
|
|
|
|
Post by Jim on Mar 9, 2015 3:53:46 GMT
That's a really nice job you're doing Paul and I'm sure the regulator will work just as it should.
Do keep us posted on progress.
Jim
|
|
|
|
Post by ejparrott on Mar 9, 2015 9:40:23 GMT
They can go either way, but convention dictates that closed is towards the reversing lever, and you push it away from same to open, for your type of regulator.
|
|
|
|
Post by GWR 101 on Mar 9, 2015 10:31:10 GMT
Thanks Wilf, I have decided to go that way.
Jim thanks for your encouragement, I will be glad when there is some steam going through it. So many things on the go it's worse than work, that's the problem with setting targets.
Ed many thanks, the reversing lever is on the right side (looking forward) so that would settle it clockwise to close with the lever working between 12 o'clock and 2, assuming it misses the blower valve. Why is nothing simple, there is certainly not a lot of room on the back head.
Off to the workshop to make some swarf, hopefully from the right places. Regards Paul
|
|
|
|
Post by ejparrott on Mar 9, 2015 11:03:21 GMT
Other conventions for interest are:
push to shut pull to open on BR standards where the regulator is mounted down the LH side of the firebox
Push to shut pull to open on LNER A4's (and maybe others) where the regulator handle is vertical and operates across the backhead
Pull up clockwise to open towards LH side on LMS engines which are LH drive (Duchess) where the regulator is typical ME practice rotary through the backhead
Pull up ANTI-clockwise to RH side on an NGG16 Garret which is RH drive - opposite to a Duchess
Push both regulators away for open on a Double Fairlie, which has separate regulators for each engine which is what makes them better in that respect than a Garret.
Anyway, all off topic but I thought you'd find it amusing!
|
|
|
|
Post by GWR 101 on Mar 9, 2015 18:25:32 GMT
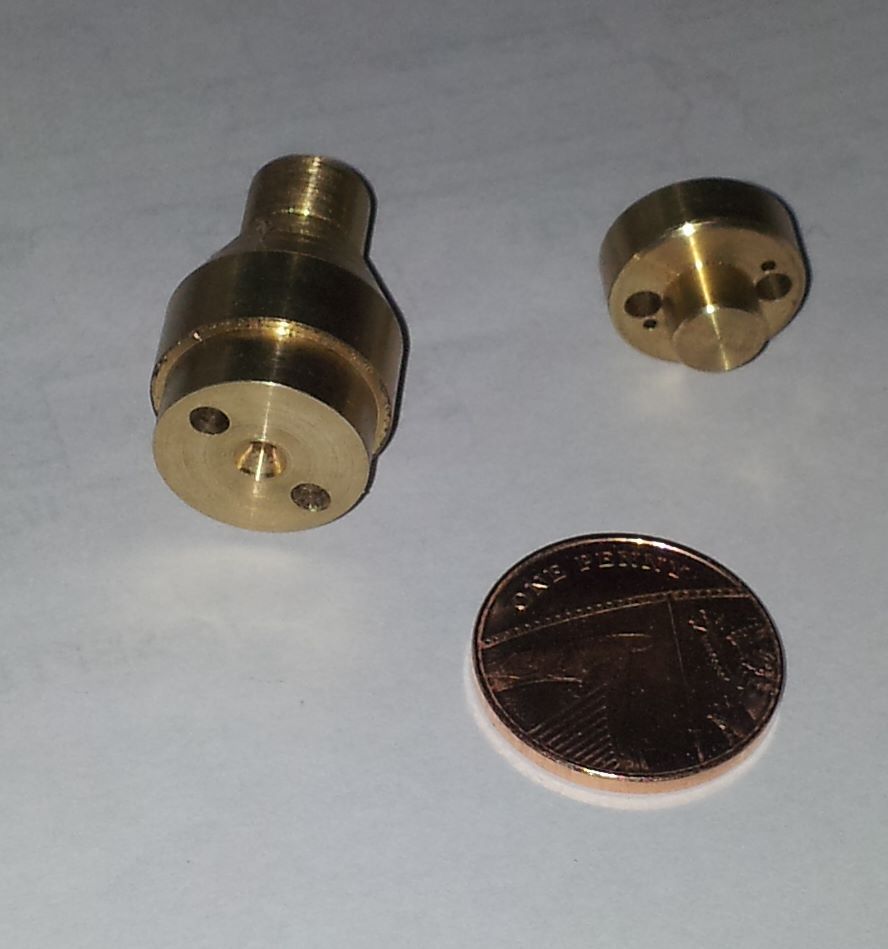
Hi thanks for that Ed, always interesting to hear how varied some things are. Thinking about the lever position on my build I will probably have to revise the movement scope to be from about 11 o'clock to 1 o'clock, if not I will not get the best access. Below is todays effort undertaking some more work drilling the holes, on the smaller part I need to join the small and larger hole to make the pear drop shape as recommended. This miniature work really is hard going, still a day off tomorrow possibly working on a 7 1/4" build. Regards Paul  |
|
|
|
Post by Jim on Mar 9, 2015 22:21:17 GMT
That really looks the good Paul.  Jim |
|
|
|
Post by GWR 101 on Mar 9, 2015 23:19:40 GMT
Thanks Jim, still trying to work out how to join the large and small holes into a pear drop (keyhole) shape, the small one is a number 59 drill. What isn't visible is that on the larger part the hidden end is taped 1/4" 40 TPI. and the two holes from this end converge into it. I even surprised myself that it worked out first time, wonders will never cease. I shall bask briefly in the success  before things return to normal and disaster strikes.  Regards Paul |
|
|
|
Post by Jim on Mar 10, 2015 0:23:42 GMT
You'll succeed Paul, I assume the 'pear shaped' opening doesn't have to go the full depth of the fitting but just recessed enough to create a reducing orifice to gradually regulate the flow of steam as the regulator is operated. Could you mill it out using a very small mill from say a Dremel set to complete the final stage at the small end?. As for things going wrong I was pondering how to make good the big end of a rod I'd taken a big bite out of when I turned the rotary table the wrong way. A mate watching it all said, 'You know, the great thing about this hobby is finding a solution to the stuff ups you make.' He was last seen making a hurried retreat under a barrage of spanners, hammers and anything else throwable I could find.  Jim |
|
peteh
Statesman
  Still making mistakes!
Posts: 760
|
Post by peteh on Mar 10, 2015 3:59:54 GMT
Also reckon looking good work there Paul. i would guess needle files to join the holes, if there is room to use them.
|
|
|
|
Post by Jim on Mar 10, 2015 5:52:52 GMT
Another thought is to remove the waste with a jeweler's saw and then clean up with needle files as Peteh suggested.
Jim
|
|
|
|
Post by GWR 101 on Mar 10, 2015 8:36:29 GMT
As always thank you Jim and Pete for the sound advice. Jim I had assumed that the "pear shape went all the way through the moving part, now I am not sure. What initially concerned me was getting enough volume of steam through the regulator, I even worked out the cross sectional area of the exit pipe work and went for the largest valve holes I could, to attempt not to restrict the flow. Of course the pear shape does not really affect this, as it is the holes in the static part that is the restriction when fully open. I am turning greyer by the second, ah well lovely sunny day today so off to the club to ponder over some one else's construction tasks. Regards Paul
|
|
|
|
Post by ejparrott on Mar 10, 2015 9:58:35 GMT
It doesn't need to extend the full thickness of the valve
|
|
|
|
Post by GWR 101 on Mar 10, 2015 19:10:32 GMT
Sorry Jim and Ed perhaps I am having a senior moment but I am not sure when you say it doesn't need to be the full thickness of the valve do you mean it doesn't need to be the full thickness of the moving disc ?.
I thought the idea of the pear drop was that at initial valve opening the smaller end was over the port in the stationary part and as it rotated (counter clockwise) more of the larger aperture aligned with the static part and hence produced maximum flow conditions. I am sorry to come back at this as I want to continue working on this tomorrow, as a change today I have been machining some 1.75" bores in some CI. axle boxes on a 7 1/4" build, quite different to number 59 drill holes. Regards Paul
|
|
|
|
Post by ejparrott on Mar 10, 2015 19:41:36 GMT
It doesn't need to be the full thickness of the moving part. Steam will fill the full diameter holes all the time the boiler is in steam, all the way up to the valve face. In order to get a wisp of steam in to the main seam pipe for starting, all that is required is just to nick the sealing face side of said holes on the leading edges. Putting the pear drop shape right the way through would be a very professional and quality job, but it isn't required for the effect you are after.
|
|
|
|
Post by GWR 101 on Mar 10, 2015 23:11:34 GMT
Hi Ed, yes I think I now understand, I think I have not gone about this correctly but I thought I was doing the right thing, just goes to prove that a little knowledge is a dangerous thing. The problem now is that I have drilled the small holes all the way through so I believe I have two options :-
1 Make a new valve disc and nick the sealing face.
2 Attempt to cut the pear shape with some needle files.
As the holes go all the way through on the present disc I don't think nicking the face on this will have the correct effect. I will attempt tomorrow to file the pear shape as the disc is no use in its present state and I might as well try and use it. Failing that I will make a new disc, thanks for your help and patience. Regards Paul
|
|
|
|
Post by ejparrott on Mar 10, 2015 23:36:50 GMT
True, I had forgotten you had drilled the hole. If you draw it out, and then drill the biggest hole you can between the large and small holes, you'll make life a lot easier on the way to making them proper pear drop shape. Jewelers saw will be your friend.
|
|