|
|
Post by Oily Rag on May 25, 2017 21:41:17 GMT
Driving wheels are completed, happy as Larry with the results. I am leaving the trailing wheel set to later after I confirm the ash pan and attachments. 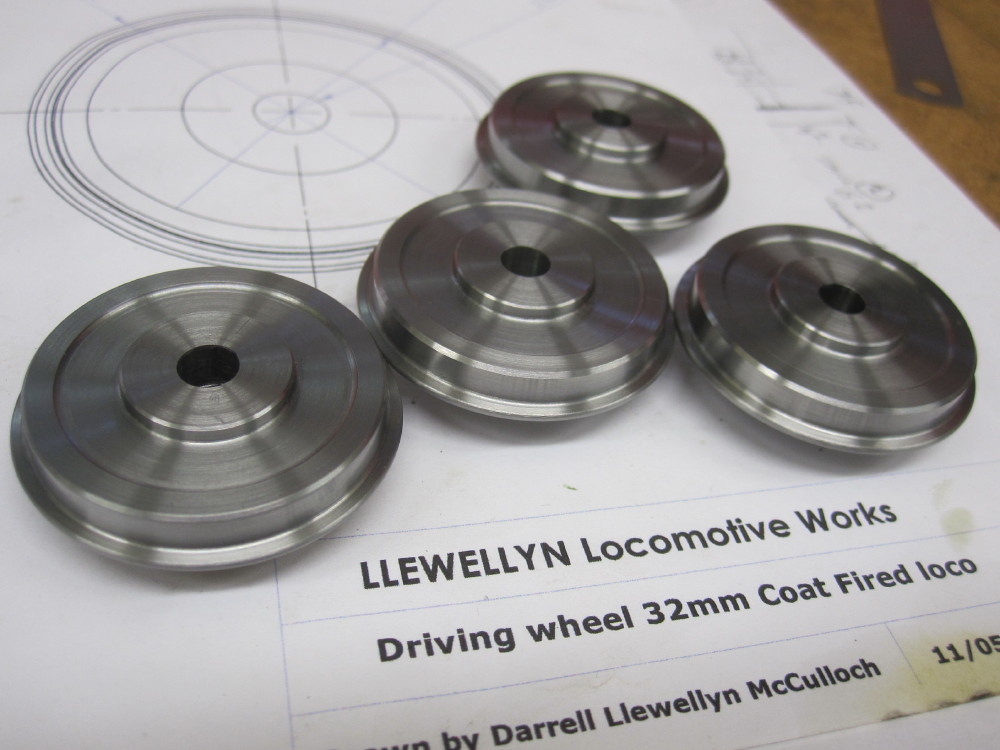
|
|
|
|
Post by Oily Rag on May 25, 2017 22:12:57 GMT
There are four cranks in there.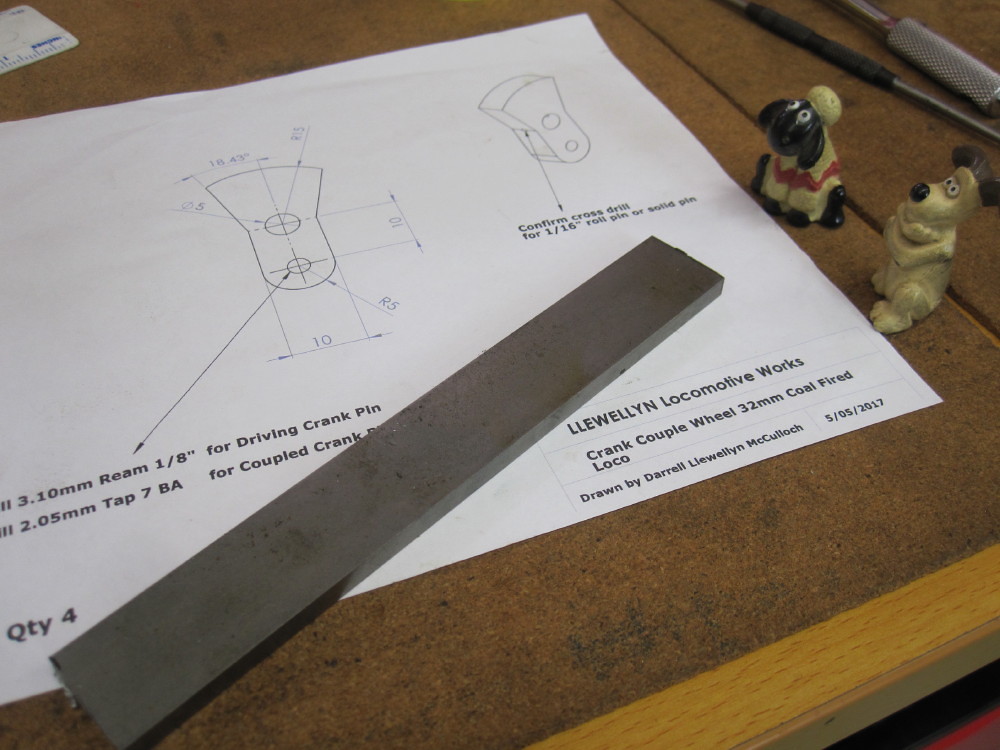 It was bright material so I cooked it up with the oxy/lpg on the fire brick heath It was bright material so I cooked it up with the oxy/lpg on the fire brick heath
then set about facing it down, 0.20mm over thickness to allow for the final finish work. I insist on bright motion work. (it is a freelance loco)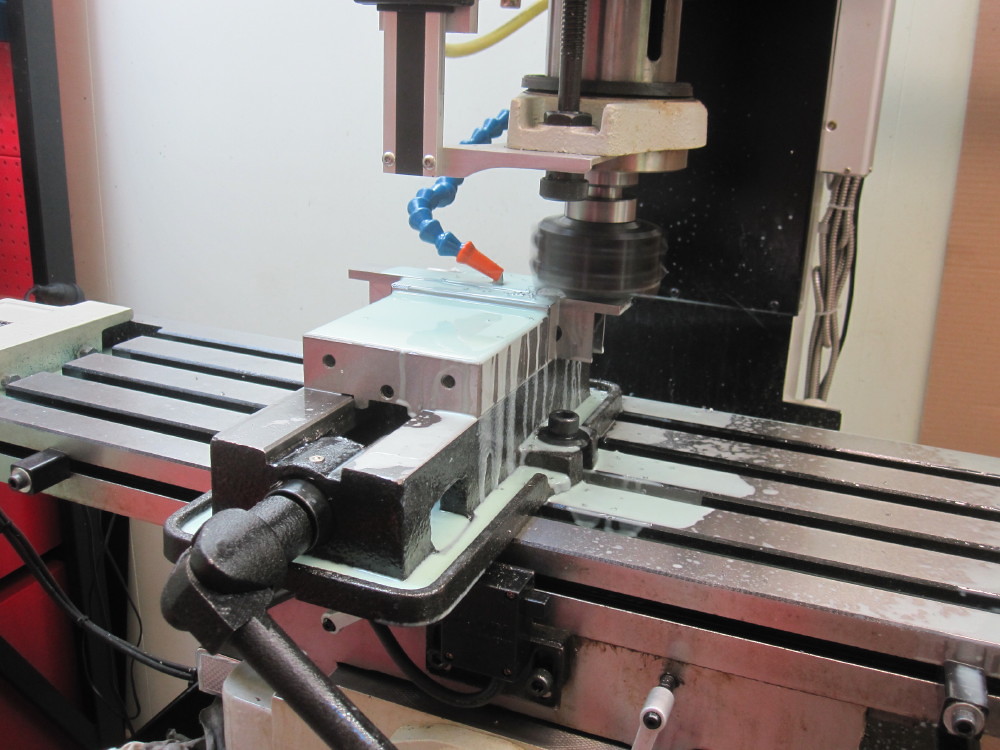
I drill, tap and ream and in a strip using the DRO. (have I mentioned lately how much I like DRO on the Mill drill?)
However I have a small boring head on it's way from the UK, so for the rest of my life I can go down to 3mm when desired with the boring head. I am tooling up before I become a pensioner. 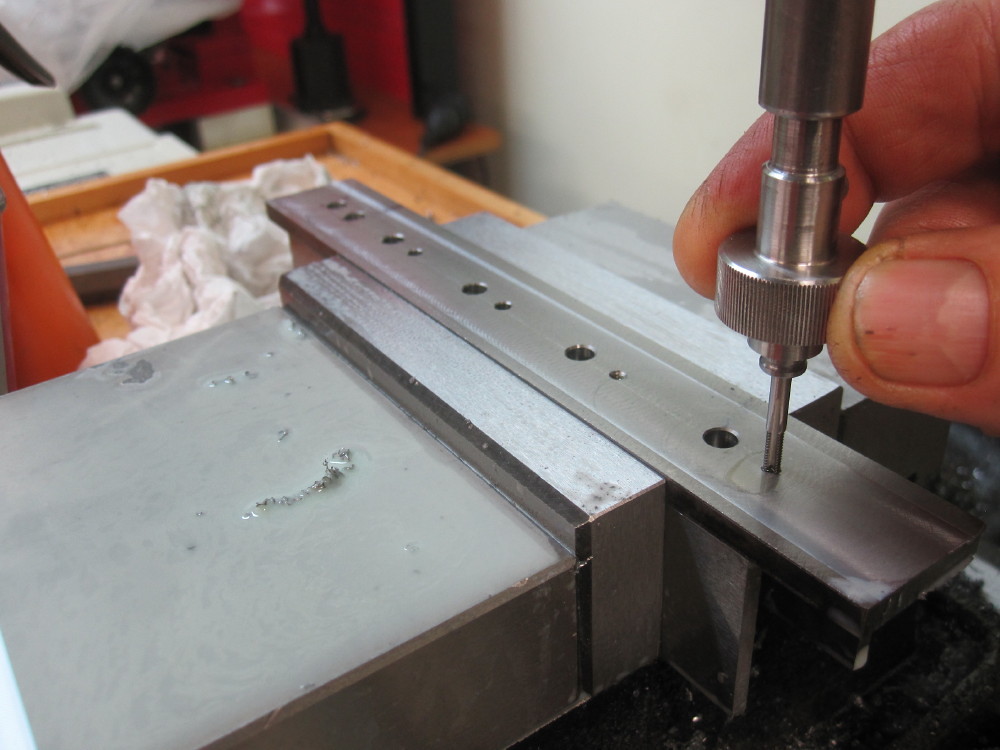 I roughly marked out the cranks and hacked out the cranks, The scribed lines are just a guide, I am not going to rely on them. I roughly marked out the cranks and hacked out the cranks, The scribed lines are just a guide, I am not going to rely on them. 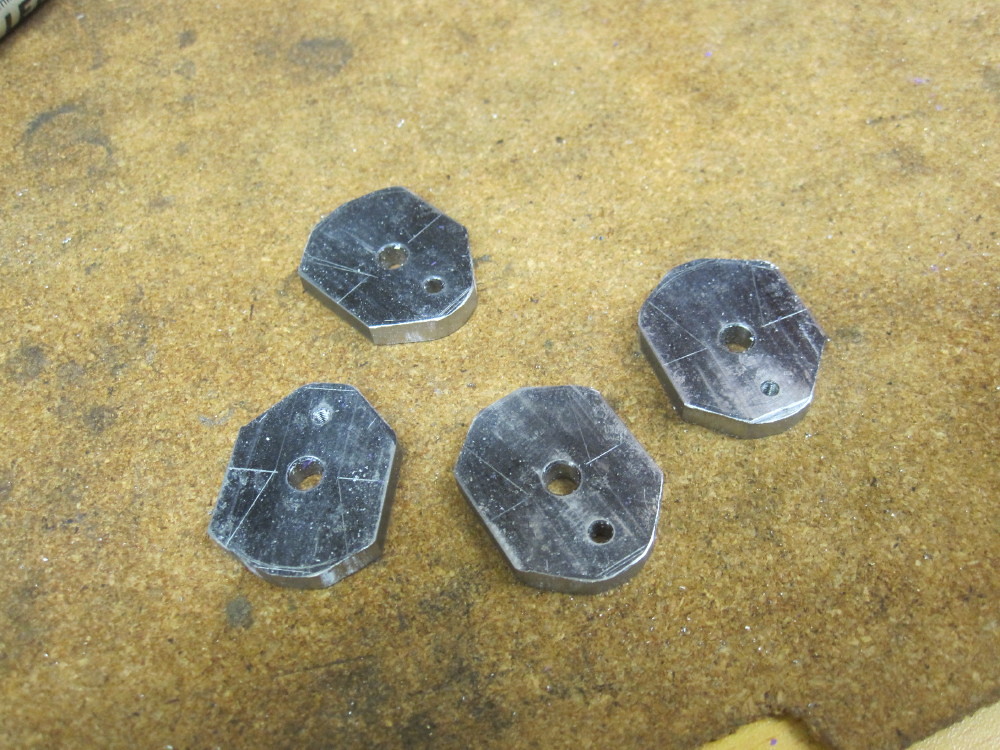 Turned a spigot and mounted the blank, bringing the outside down to 30mm. Mill is next and I have already made up some 10mmOD filing buttons to be used for the radius on the small end. I have a growiing collection of silver steel stock and the tools made are stored and labeled. I think dragging out the rotary table and milling with a finish climb cut too much bother for the small end of the cranks. I did this on my 5" gauge loco many moons ago. But on the four cranks on the garden steamer, Nah! "Nah" = is an Oily Rag technical term for , "too much bother". Turned a spigot and mounted the blank, bringing the outside down to 30mm. Mill is next and I have already made up some 10mmOD filing buttons to be used for the radius on the small end. I have a growiing collection of silver steel stock and the tools made are stored and labeled. I think dragging out the rotary table and milling with a finish climb cut too much bother for the small end of the cranks. I did this on my 5" gauge loco many moons ago. But on the four cranks on the garden steamer, Nah! "Nah" = is an Oily Rag technical term for , "too much bother".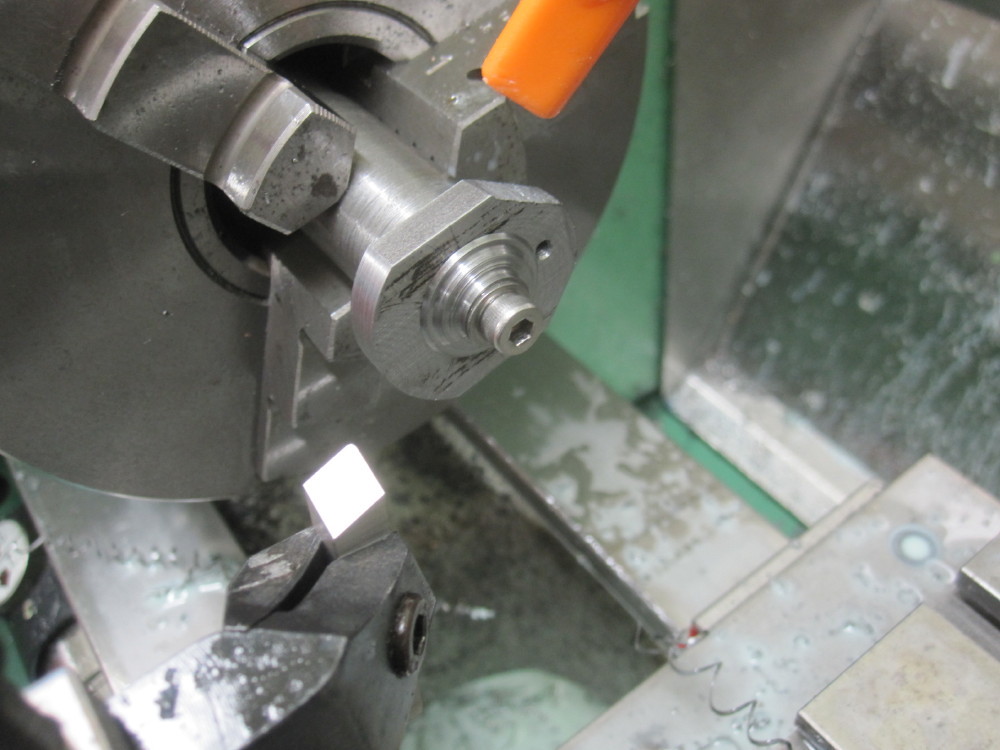 10.30pm, I went to bed. 10.30pm, I went to bed.
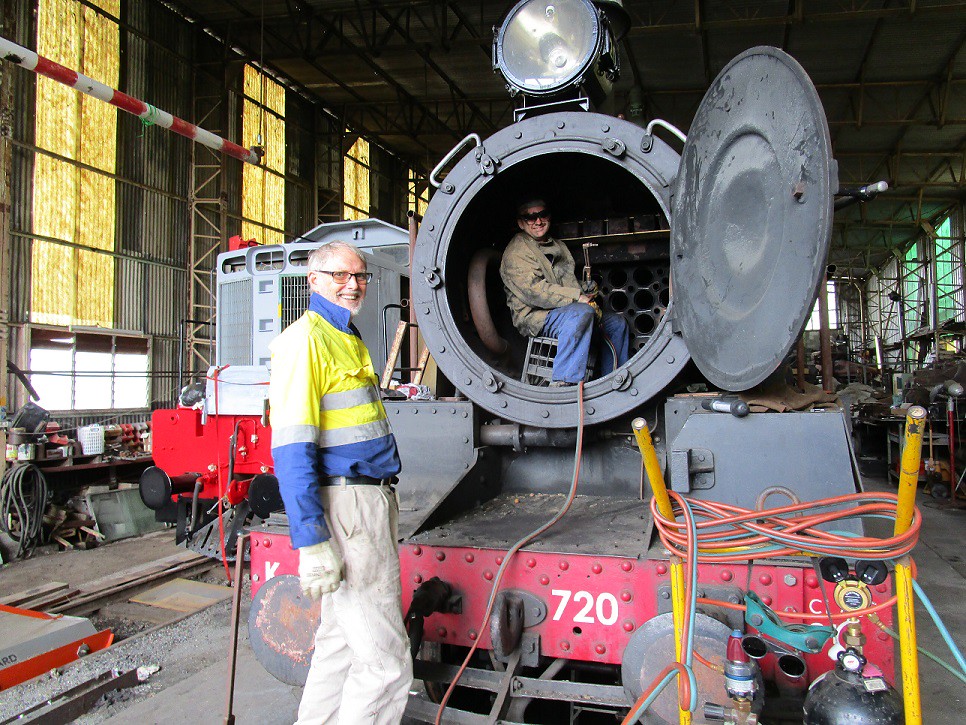
Last Sunday was fun time in the smoke box of #720, the 12" to the foot scale choo choo I am involved with at the Rosewood Railway.
|
|
|
|
Post by builder01 on May 25, 2017 22:59:01 GMT
Brilliant work! You will have to talk to Gromit about not catching the spelling error in the first photo. "Driving wheel 32mm Coat fired loco"?
David
|
|
|
|
Post by Oily Rag on May 26, 2017 2:34:08 GMT
Brilliant work! You will have to talk to Gromit about not catching the spelling error in the first photo. "Driving wheel 32mm Coat fired loco"? David
That is typical, I will have words with him and his mates again
It is a little known fact that along with crackers and cheese is that the crew supplement their rations with red wine. They think I don't know or notice, but the effects does reveal it's self on occasions. |
|
|
|
Post by Oily Rag on May 28, 2017 22:26:52 GMT
|
|
jem
Elder Statesman
  
Posts: 1,075
|
Post by jem on May 29, 2017 15:58:15 GMT
It is a great shame that taps don't have triangular heads instead of the square ones, then we could hold them in a chuck, would be so much better don't you think!
best wishes
Jem
|
|
|
|
Post by Oily Rag on May 29, 2017 20:52:28 GMT
It is a great shame that taps don't have triangular heads instead of the square ones, then we could hold them in a chuck, would be so much better don't you think! best wishes Jem
but
that does make them a bit difficult for normal tap handles |
|
|
|
Post by Oily Rag on Jun 1, 2017 22:56:40 GMT
|
|
|
|
Post by Oily Rag on Jun 11, 2017 20:27:36 GMT
The Red Room workshop crew make a bit of swarf on the way to the Mark 1 32mm gauge quartering jig. 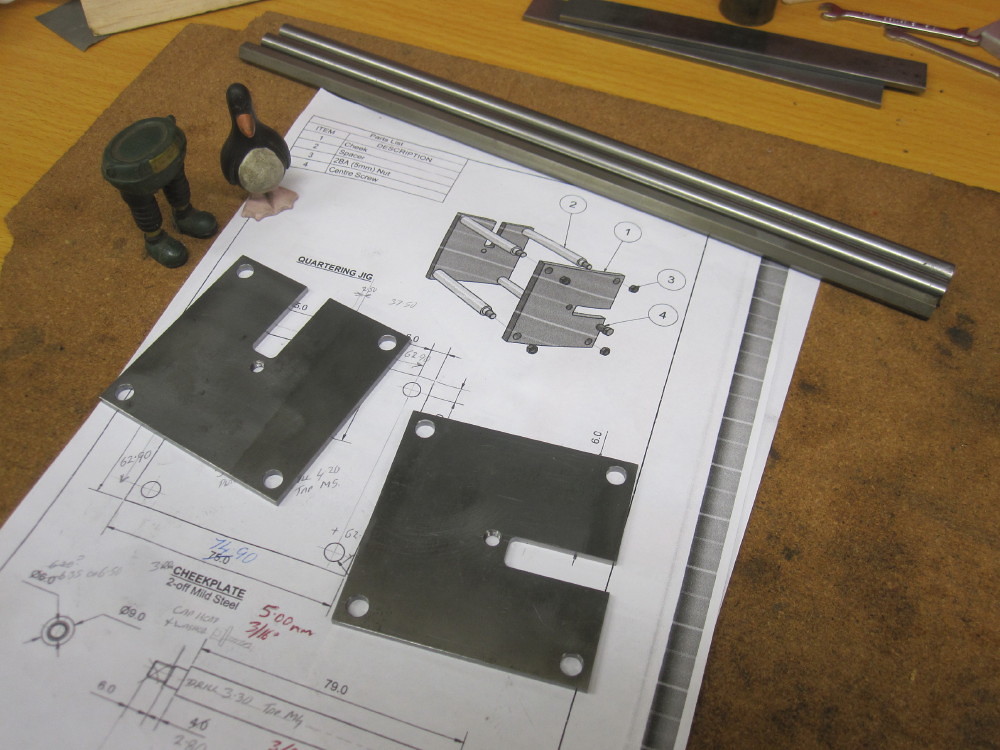 A few dimension changes, so it will actually fit over the axles and thus work as intended. After a 5.00am start, 90 min drive, 8 hours at the Rosewood Railway where we took more cladding off and clacks and ash ejector and blower cock from #720's boiler, it was a 90 min drive home listening to Nick Cave and the Bad Seeds to knock off the screws for the 1/4 jig before a splendid dinner and a glass of red. Ok, it was two glasses. A few dimension changes, so it will actually fit over the axles and thus work as intended. After a 5.00am start, 90 min drive, 8 hours at the Rosewood Railway where we took more cladding off and clacks and ash ejector and blower cock from #720's boiler, it was a 90 min drive home listening to Nick Cave and the Bad Seeds to knock off the screws for the 1/4 jig before a splendid dinner and a glass of red. Ok, it was two glasses.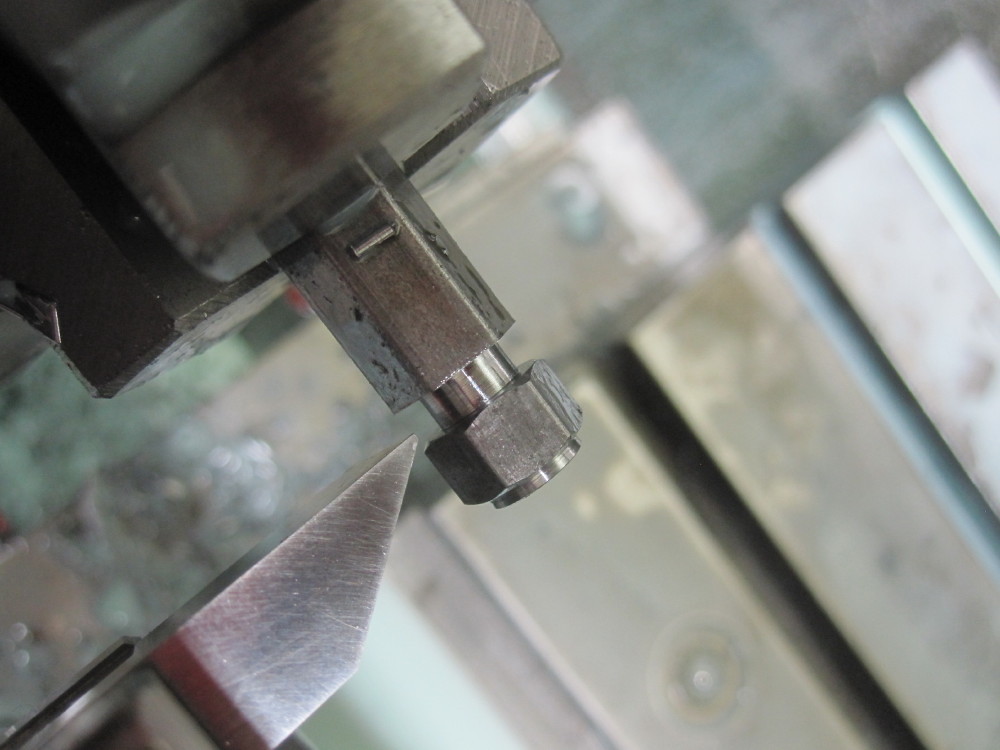 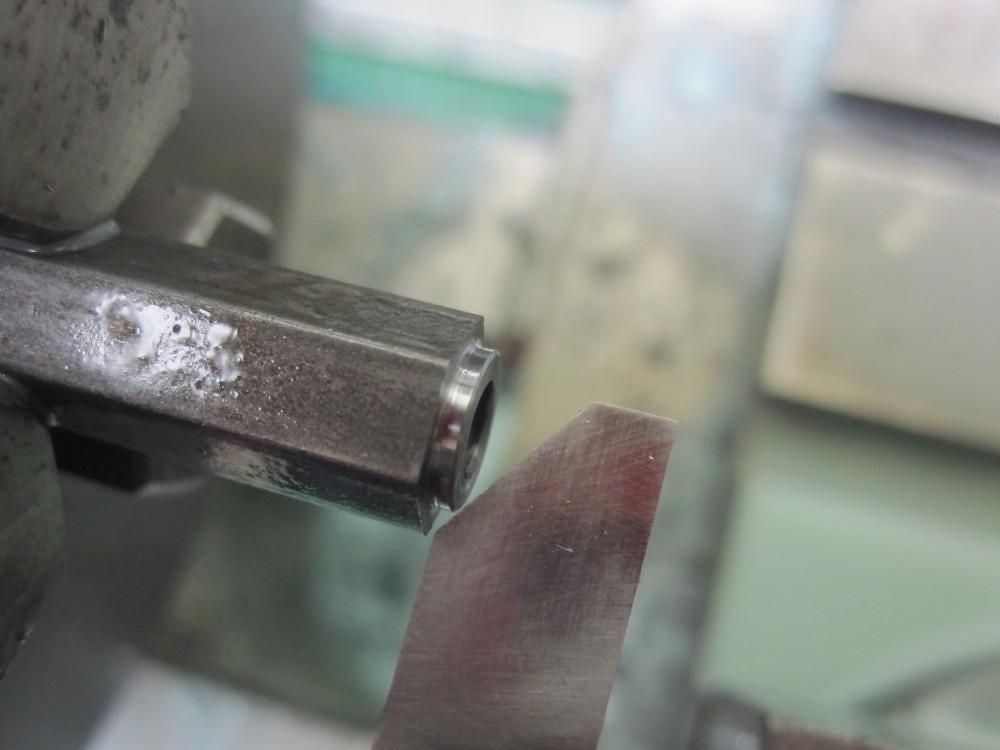 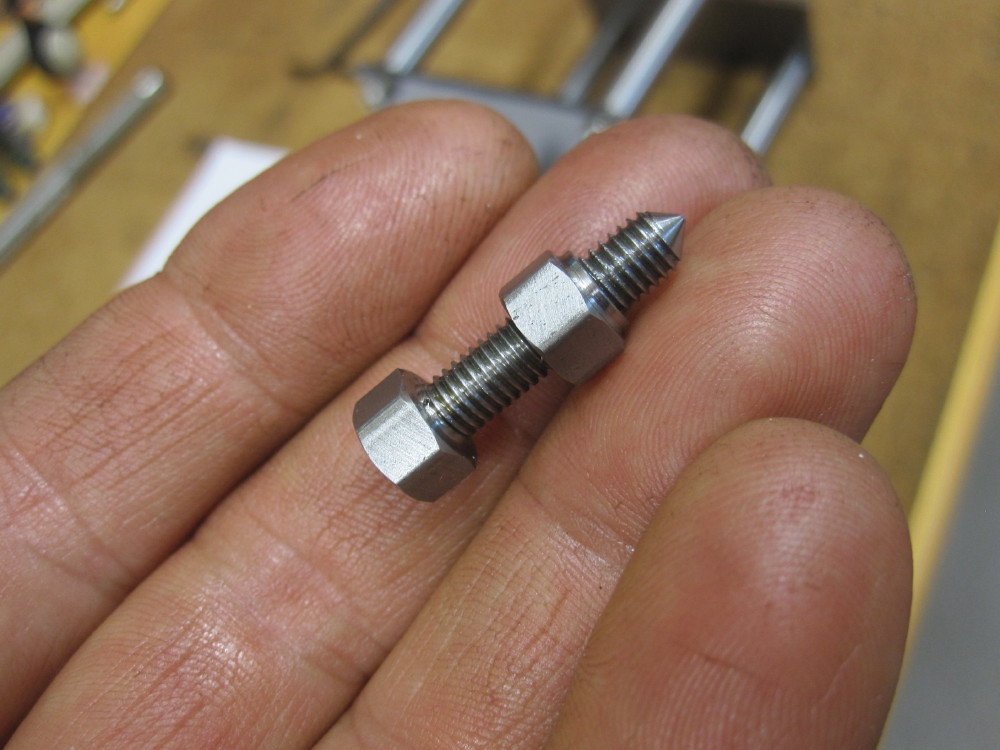 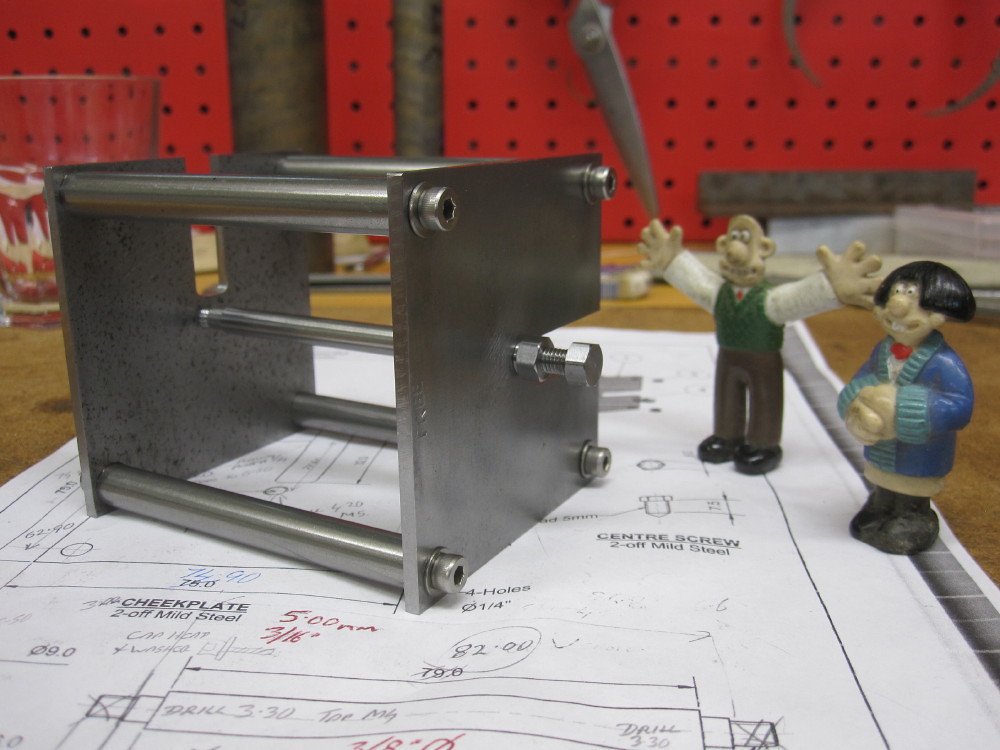
As I spin the 254S, MAM is down the hall in her art room dabbling in the oils.  Sunday was rain, I like rainy days and time in the Red Room. Leading coupled crank pins and also the temporary pins for quartering. I case hardened them with Cherry Red. They took on a hard skin so................. Sunday was rain, I like rainy days and time in the Red Room. Leading coupled crank pins and also the temporary pins for quartering. I case hardened them with Cherry Red. They took on a hard skin so.................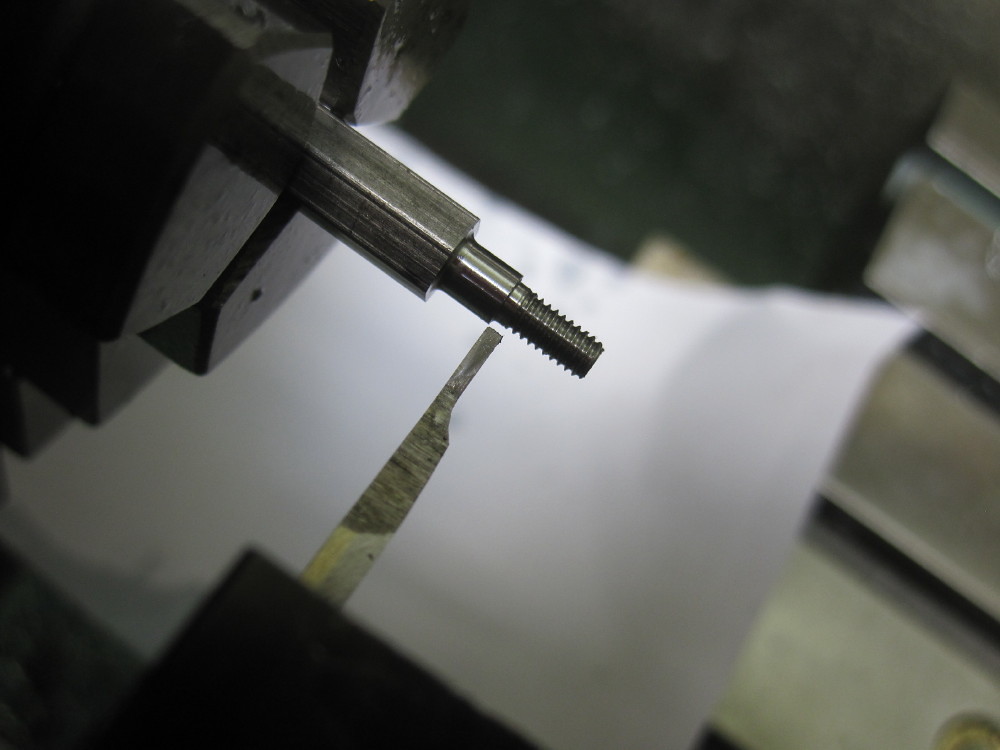 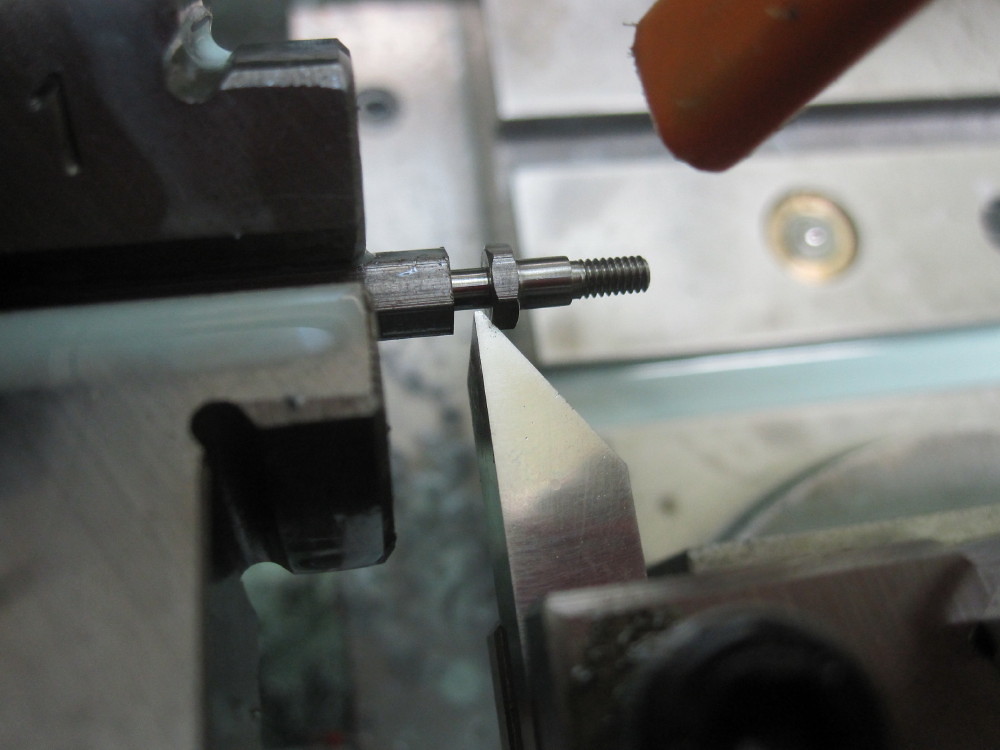 1500 grit polish, 3.17mm so the 3.175 reamed bush should have a running oil clearance. 1500 grit polish, 3.17mm so the 3.175 reamed bush should have a running oil clearance.
The drawings have metric defaulted to one decimal point with imperial mixed in, so you get accumulative errors and also 3.2mm pins in a reamed 1/8" hole (3.175mm). 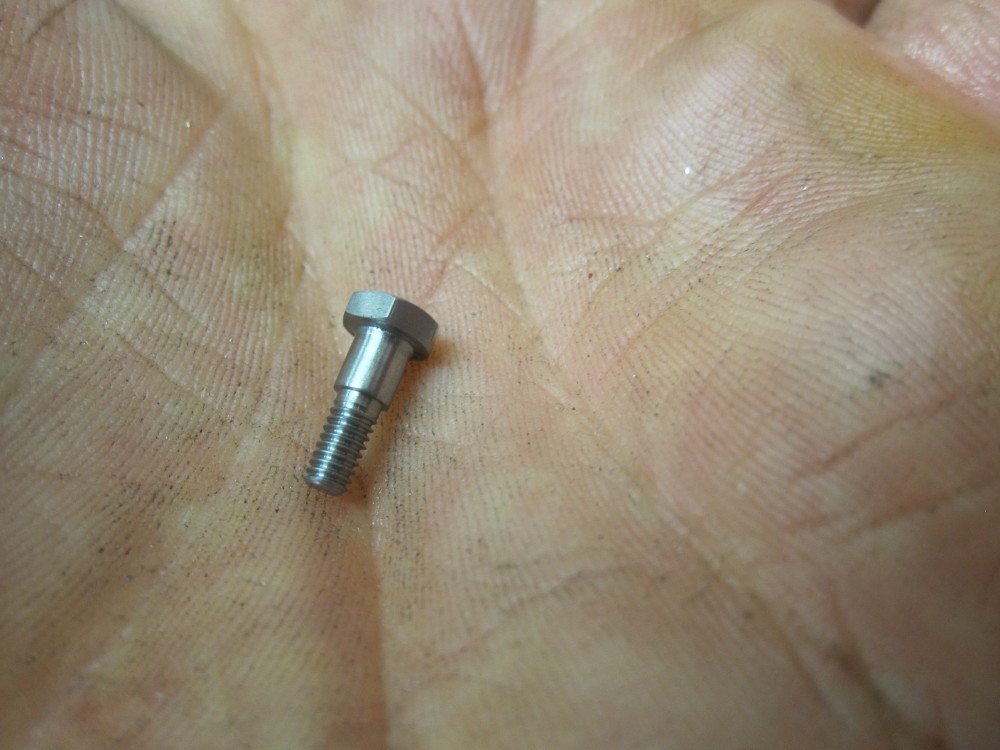 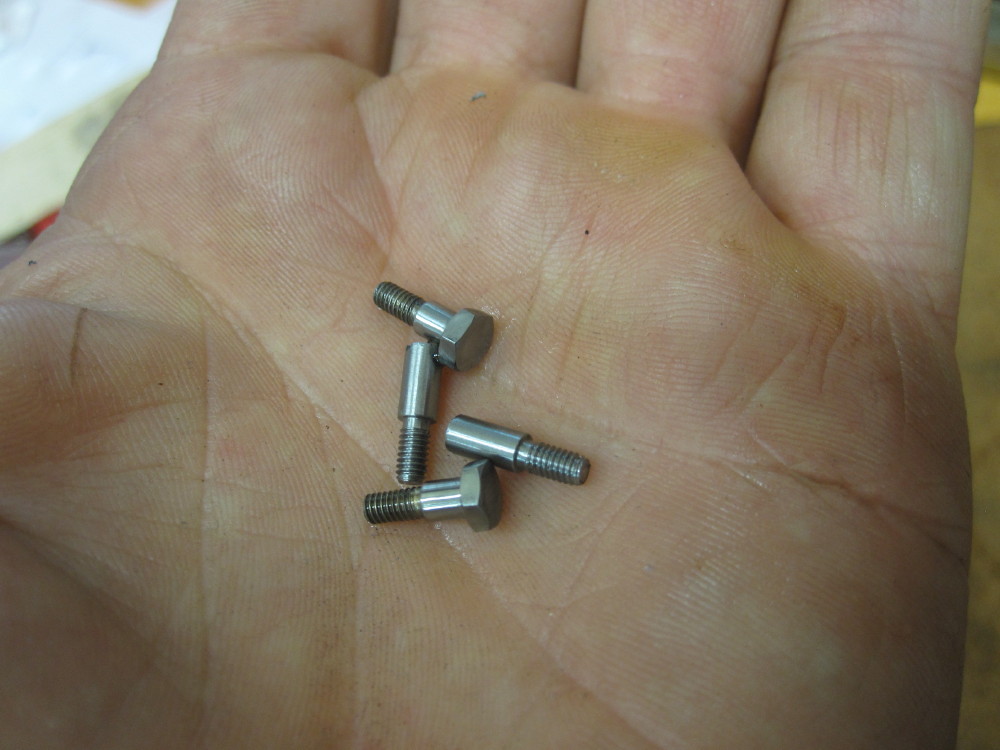 I am Reading, studying the remarkable work of Cherry Hill book, did she ever sleep? I am Reading, studying the remarkable work of Cherry Hill book, did she ever sleep?
|
|
|
|
Post by Oily Rag on Jun 14, 2017 23:44:48 GMT
Last night, I pressed the pins in and one side of cranks on the axles. Smeared Loctite 638 but the fits were too tight for it to be of any use, no harm done for putting a drop on. I will cross drill 1.25 and insert 1.25/1.26mm silver steel pins for security. The drawings call for 1.6mm Roll pins but that seems too big to my mind and I am not keen on the appearance of Roll pins. I did a test run of this on some of the material the cranks were cut from and all was sweet. Light press fit for the test pin. 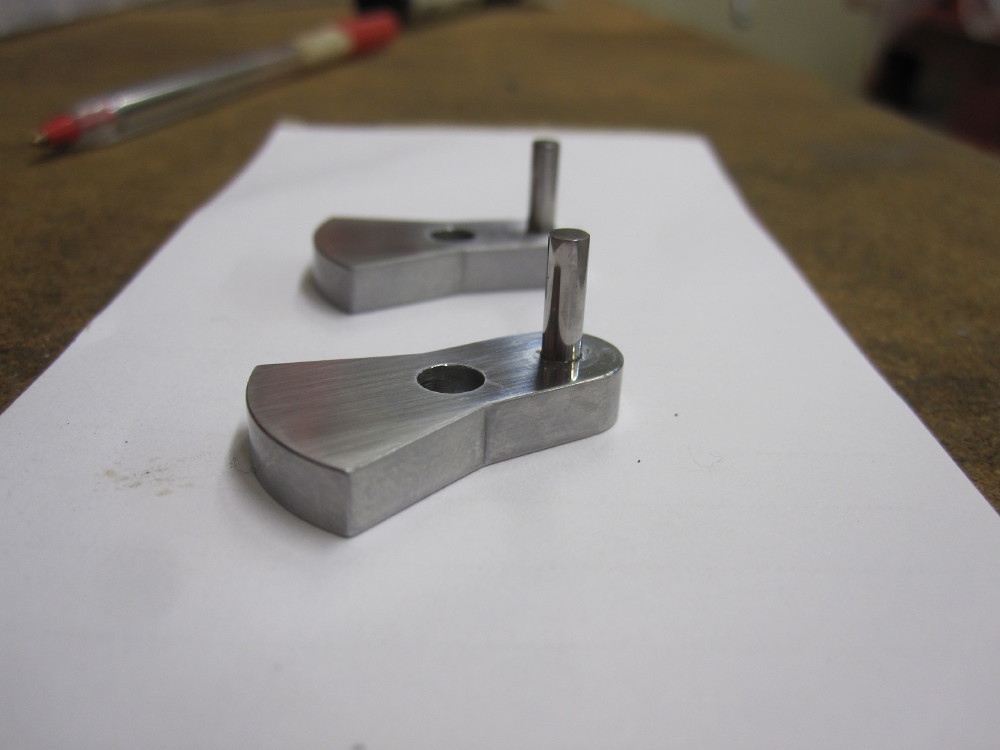 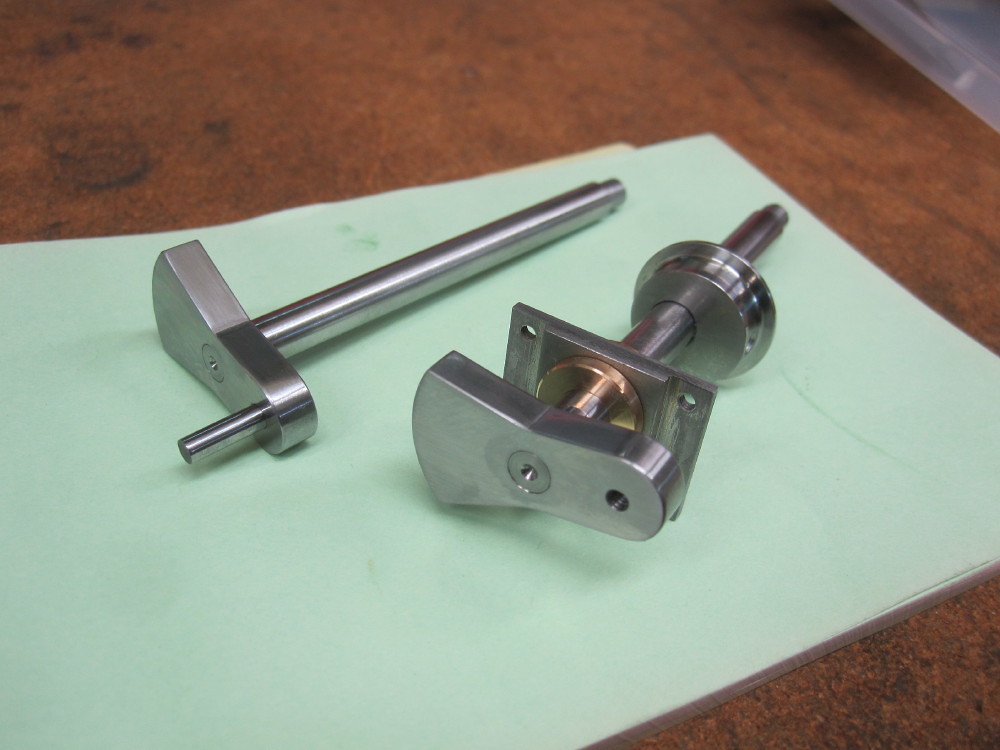
|
|
|
|
Post by steamer5 on Jun 15, 2017 3:19:26 GMT
Hi Dazza,
Following along, great looking parts.
A suggestion on the filing buttons...I use to have all sorts of issues holding the part the rollers & keeping the rollers tight enuff against the part. Then one day the light went on! Use a spring to keep the tension on the rollers! At the time the part being made had a 3 mm hole so a ball point pen spring was used but any convenient size would work. Tried it out & it worked great.......until the nut came loose! Don't remember ever finding that one. So mark 2 version use a lock nut! I screw cut a piece of rod both ends, lock nut on both as I didn't have a bolt long enuff at the time. Hope this is of some help
Cheers Kerrin
|
|
|
|
Post by Deleted on Jun 15, 2017 8:33:15 GMT
Hi Dazza
I've been enjoying your build, great work sir, I noted your comment re using Loctite on a pressed fit application. I comment as I have heard others say that you need a gap to allow the retainer to cure, this is not the case although such applications should use retainers designed for this, fast curing and requiring close fits. I've used such a retainer myself on my crank for 4472, afraid that I can't remember the actual Loctite retainer used (should be in my build thread somewhere). The trick is to have a small chamfer around the leading edge to help guide the small quantity of retainer evenly around the shaft. Having said this I'm sure that 638 will do the job on a crank of this size.
Keep up the good work sir...
Pete
|
|
|
|
Post by Oily Rag on Jun 15, 2017 22:03:53 GMT
Hi Dazza, Following along, great looking parts. A suggestion on the filing buttons...I use to have all sorts of issues holding the part the rollers & keeping the rollers tight enuff against the part. Then one day the light went on! Use a spring to keep the tension on the rollers! At the time the part being made had a 3 mm hole so a ball point pen spring was used but any convenient size would work. Tried it out & it worked great.......until the nut came loose! Don't remember ever finding that one. So mark 2 version use a lock nut! I screw cut a piece of rod both ends, lock nut on both as I didn't have a bolt long enuff at the time. Hope this is of some help Cheers Kerrin
With the 7BA cranks I made some 7BA bolts to hold them as I did not have some 7BA bolts to hand. Thanks for your reply, I appreciate it. |
|
|
|
Post by Oily Rag on Jun 15, 2017 22:11:46 GMT
Hi Dazza I've been enjoying your build, great work sir, I noted your comment re using Loctite on a pressed fit application. I comment as I have heard others say that you need a gap to allow the retainer to cure, this is not the case although such applications should use retainers designed for this, fast curing and requiring close fits. I've used such a retainer myself on my crank for 4472, afraid that I can't remember the actual Loctite retainer used (should be in my build thread somewhere). The trick is to have a small chamfer around the leading edge to help guide the small quantity of retainer evenly around the shaft. Having said this I'm sure that 638 will do the job on a crank of this size. Keep up the good work sir... Pete |
|
|
|
Post by Oily Rag on Jun 15, 2017 22:20:03 GMT
The drawings suggest 1/16" roll pins for cross pinning the cranks to the axles. These seem too big and I am thinking a smaller pin would be sweeter. I did some test drills with a 1.25mm drill in the little mill drill which is sweet for such jobs. The 1.25mm silver steel I had was a fit with clearance 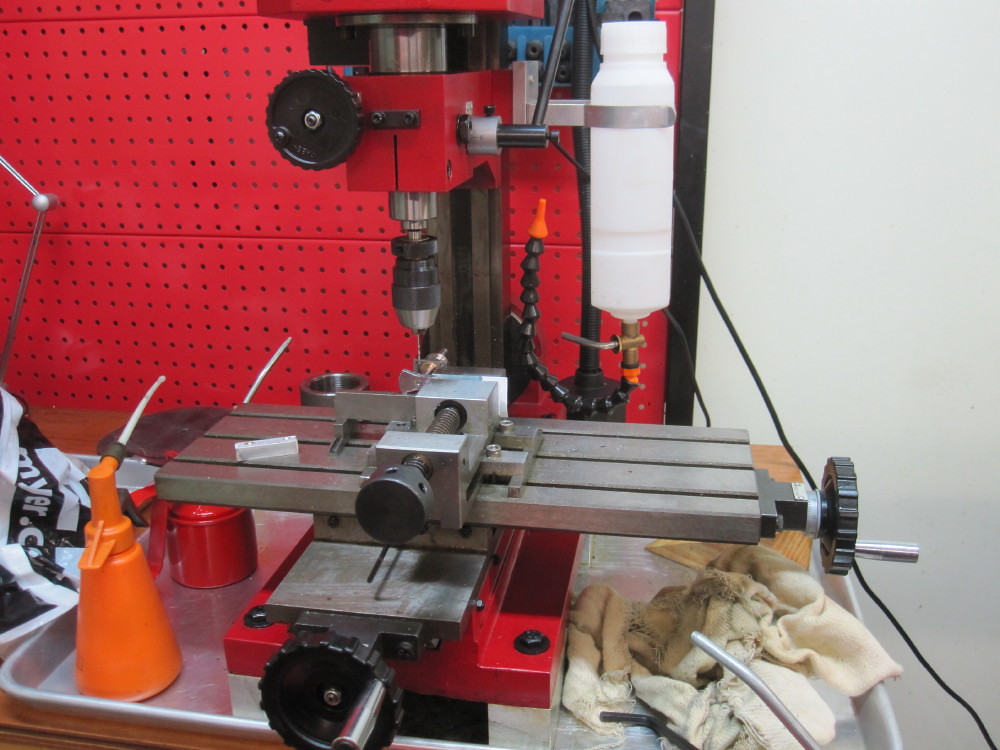 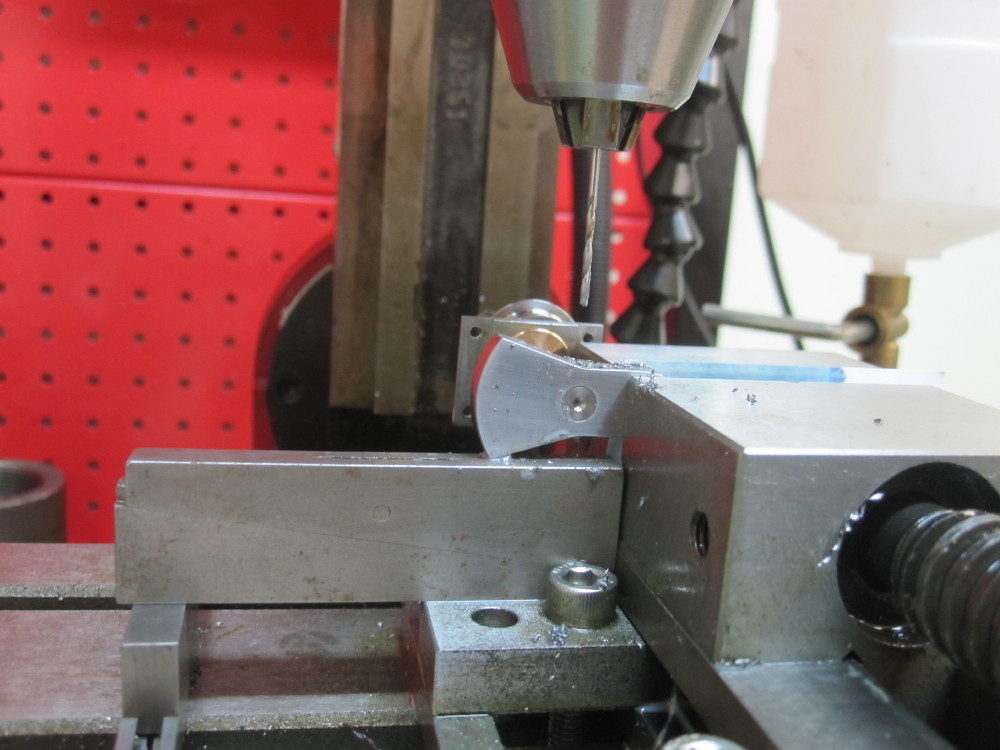 The pin has clearance so I got the old mill file and a tap tap with a hammer to mark up the pin with lines and then clean and in it went with Loctite. The markings made it a very light press fit and with clearance for the Loctite. Well I hope so :-) The pin has clearance so I got the old mill file and a tap tap with a hammer to mark up the pin with lines and then clean and in it went with Loctite. The markings made it a very light press fit and with clearance for the Loctite. Well I hope so :-) 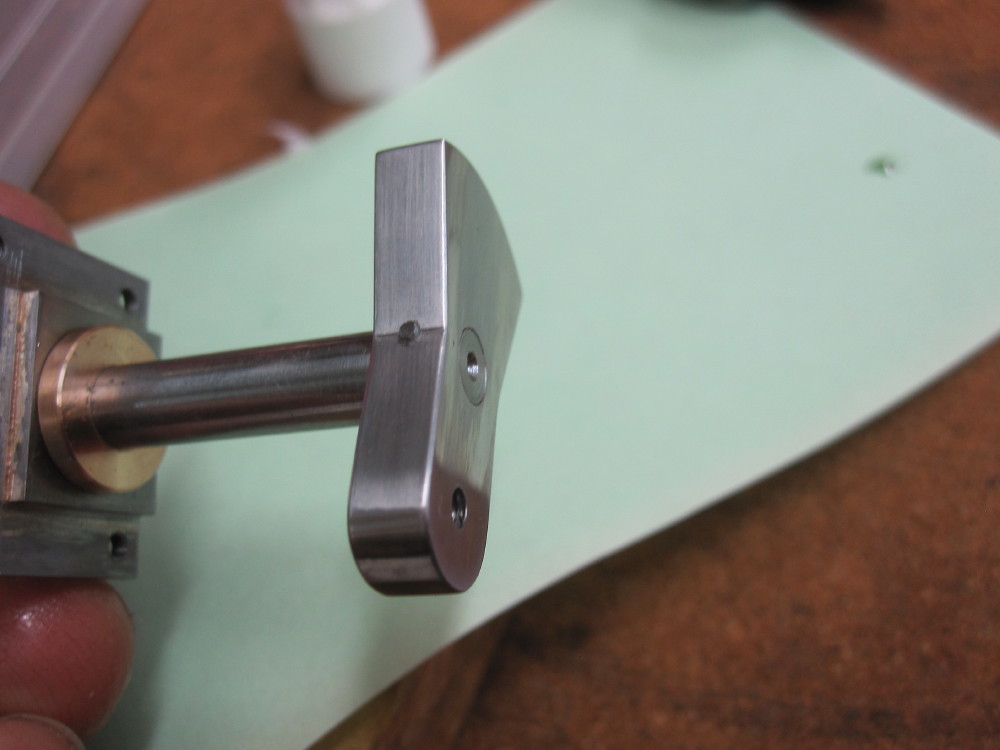 I will give it all 48 hours and then will files/sand off the protruding ends of the pins. Then onto the 1/4 jig etc I will give it all 48 hours and then will files/sand off the protruding ends of the pins. Then onto the 1/4 jig etc |
|
|
|
Post by racinjason on Jun 15, 2017 22:25:00 GMT
Loctite should be a push fit with a course surface finish this keeps the part's aligned and the course finish leaves the gap required for the loctite.
Cheers Jason
|
|
|
|
Post by simplyloco on Jun 16, 2017 8:26:50 GMT
Loctite should be a push fit with a course surface finish this keeps the part's aligned and the course finish leaves the gap required for the loctite. Cheers Jason I agree. However, there are people on here who will tell you that loctite will work with a press fit, i.e. an interference fit, which in my book leaves no gap for the loctite to occupy...  John |
|
|
|
Post by Deleted on Jun 16, 2017 9:02:41 GMT
Loctite should be a push fit with a course surface finish this keeps the part's aligned and the course finish leaves the gap required for the loctite. Cheers Jason I agree. However, there are people on here who will tell you that loctite will work with a press fit, i.e. an interference fit, which in my book leaves no gap for the loctite to occupy...  John I'm sorry John but I will have to disagree with you here....Loctite can not only be used on a press fit application but shrink fit too....you just need to use the correct type. www.loctite.co.uk/retaining-how-to-apply-instructions-9640.htmPete |
|
|
|
Post by racinjason on Jun 16, 2017 9:14:06 GMT
It will work with a press fit the video loctite showed us at a trainings seminar they were pressing on the wheels with loctite on U.K. trains. They also said if it's red stop and think about it because red is the strongest. I'm sure there would be videos on YouTube from loctite.
Cheers Jason
|
|
nonort
Part of the e-furniture
 If all the worlds a Stage someone's nicked the Horses
Posts: 279 
|
Post by nonort on Jun 16, 2017 9:53:04 GMT
As an aside I was taught it was bad practice to put a pin through the center of a shaft as it weakened the shaft. We were taught to put the pin to one side much like a cotter on a bicycle crank.
|
|