|
|
Post by Oily Rag on Sept 4, 2017 23:04:25 GMT
I bought my ER32 collet chuck and a separate Camlock mounting plate from Warco. Rodger, I had just checked Warco and it is a convoluted process to ship to OZ, so I got the D1-3 back plate from the USA. All the other parts I have this morning ordered locally. Crikey I spent a small fortune. I have ordered Er25 collets etc because they go down to .5mm (The Er32 went to 3.00mm) Er25 is that a bad thing ?I am new to working with collets..................... |
|
|
|
Post by Oily Rag on Sept 4, 2017 23:22:57 GMT
Shear tool in use to bring the piston down to 12.71mm. I have no idea why more do not use this type of tool for fine finish work. The piston fit was sweet and smooth.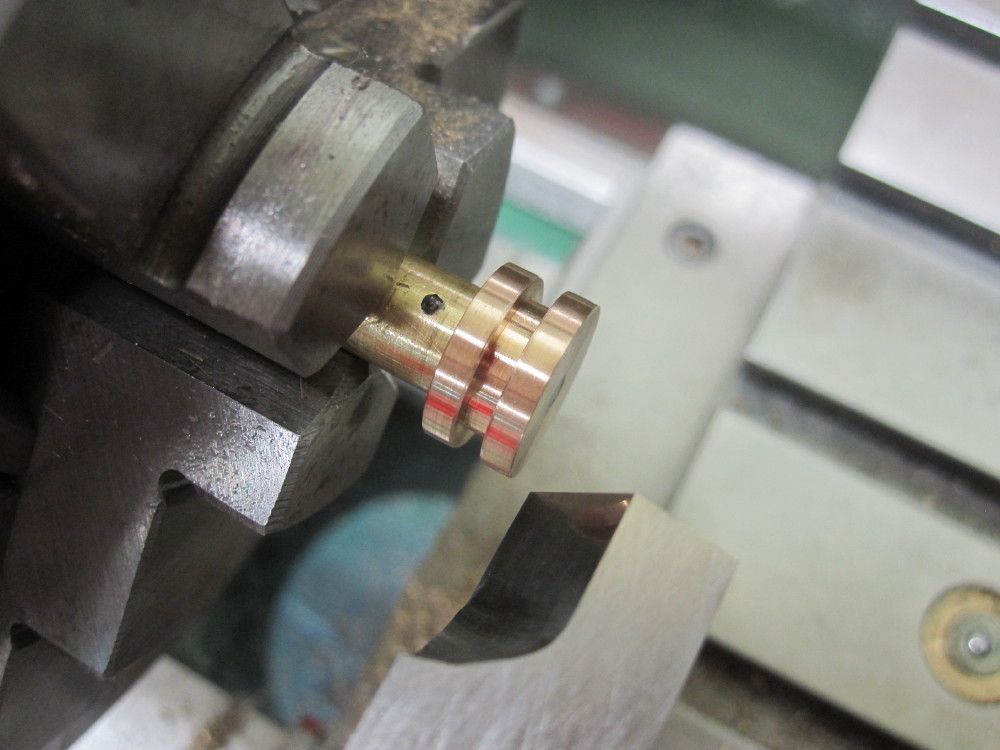 I cut the groove for the Quad ring as per the data sheets. I cut the groove for the Quad ring as per the data sheets.
The fit of piston and ring was far too tight in the cylinder for my liking. I twice increased the groove depth so the internal diameter is now 9.30mm for the 012 ring
I based this on fitting a quad ring on its own into the cylinder and pushing it along and then fitting a 9.30mm drill shank into the ring and finding light resistance. I reckon I might be able to go down to 9.20mm ?
I increased the groove width from 2.00 to 2.03mm which is the wide tolerance in the data sheets.
These is a lot of improvement, but still a wee bit tighter than I like. I will ponder again tonight.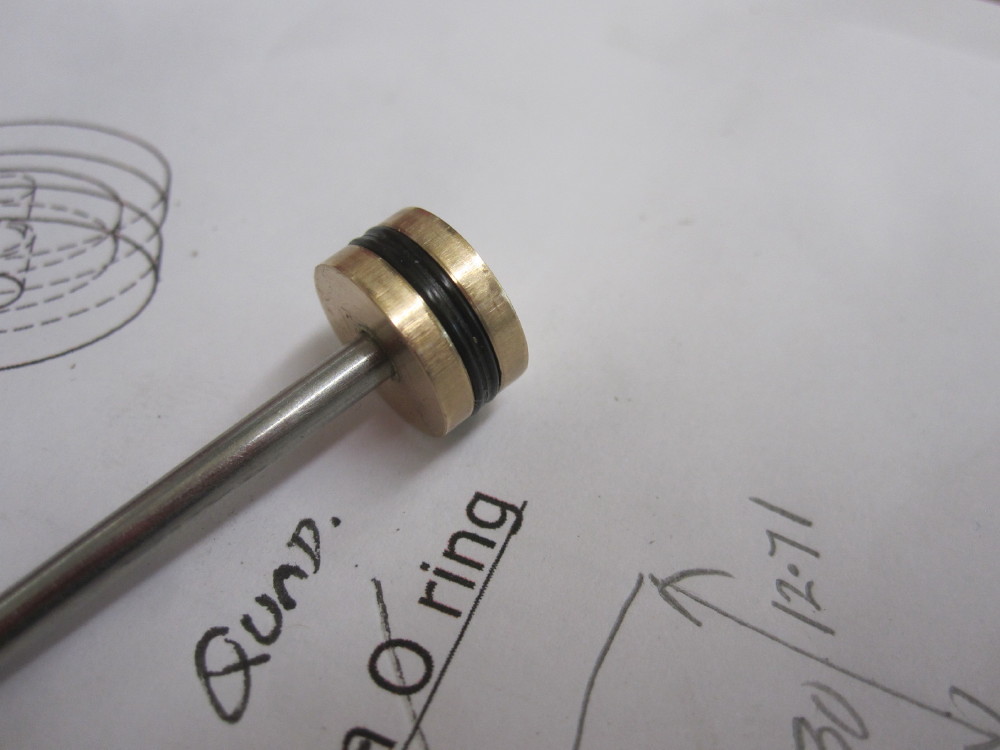
|
|
|
|
Post by Roger on Sept 5, 2017 7:52:29 GMT
I bought my ER32 collet chuck and a separate Camlock mounting plate from Warco. Rodger, I had just checked Warco and it is a convoluted process to ship to OZ, so I got the D1-3 back plate from the USA. All the other parts I have this morning ordered locally. Crikey I spent a small fortune. I have ordered Er25 collets etc because they go down to .5mm (The Er32 went to 3.00mm) Er25 is that a bad thing ?I am new to working with collets..................... I've got smaller than 3mm ER32 collets. They don't appear in the usual sets, but if you search eBay, you'll find them. I'm away from home at the moment, so I can't tell you what ones I've got at the moment. I also bought a 1/8"one since I use so many PCB cutters with that shank size. I also have a 1/4" which is nicely spaced between 6 and 7mm. I have two complete sets of collets plus many extras OK, I've just checked, and I've got a 2.5mm collet and a 2mm-1mm collet. ER25 is not a bad thing at all, it just restricts the largest size you can hold to 16mm instead of 20mm. On a lathe that's more of an issue than with a mill, you rarely need 20mm shank cutters on the size of machines we usually have. I notice that eBay do ER32 collet sets from 2-20mm but usually they stop at 3mm. I rarely use a large collet in the lathe, it's usually to hold small diameter rod. |
|
|
|
Post by Oily Rag on Sept 5, 2017 22:55:35 GMT
Thanks Rodger. Er25 is cool, YAY!
|
|
|
|
Post by Oily Rag on Sept 12, 2017 21:51:18 GMT
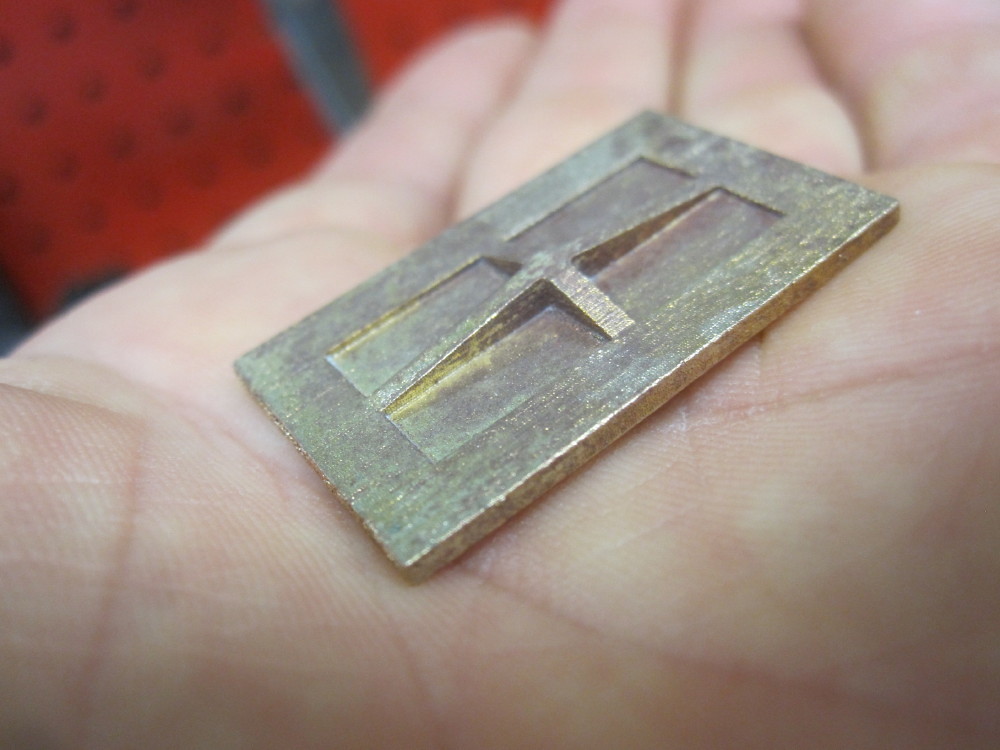
A little package arrived from New Zealand yesterday from stanier-engineering.com/ YAY!The investment cast steam chest covers are sweet. I sent my simple 3D drawings to Mike and he took care of the rest. This is the kick off for many more projects on my ME journey with Mike at Stanier Engineering..
Thanks Mike.
|
|
|
|
Post by Oily Rag on Sept 14, 2017 2:57:53 GMT
Due to a 10 BA die raising the 1.60mm diameter stainless valve rod to 1.68mm which will not pass into the 1.60mm holes in the gland nut and steam chest I rethought it and made a LG2 pinch nut for driving the valve. Works a treat, and adjustment is better as the previous set up would only allow 90 degree turns of the valve rod which is .175mm and then add the lost motion on the thread. Nah, this is better ACTMCO. The stainless cheese heads are still to arrive from the UK. They must be hitch -hiking to get here. I had some Royal Air Mail recently take 5 weeks to my door and on the same day they arrived a package from the same supplier arrived that was sent 3 weeks before also arrived in the post. Good grief!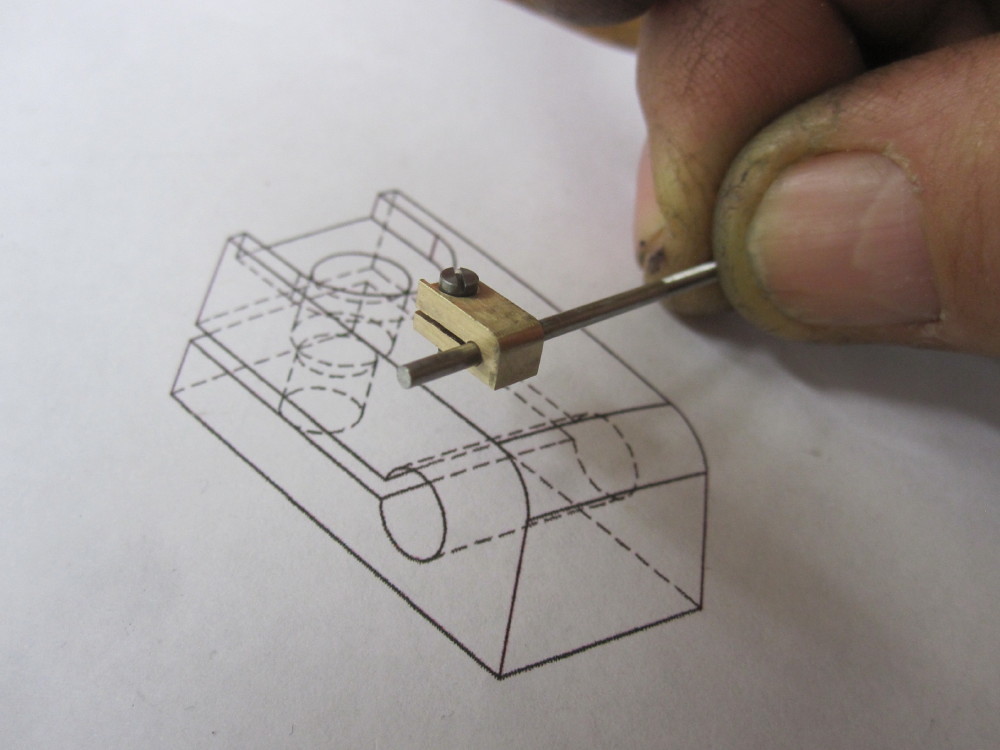
Then it was onto the valves. While the mills was whirling I just did a spare just in case of a stuff up later. Final pass was 0.03mm climb mill.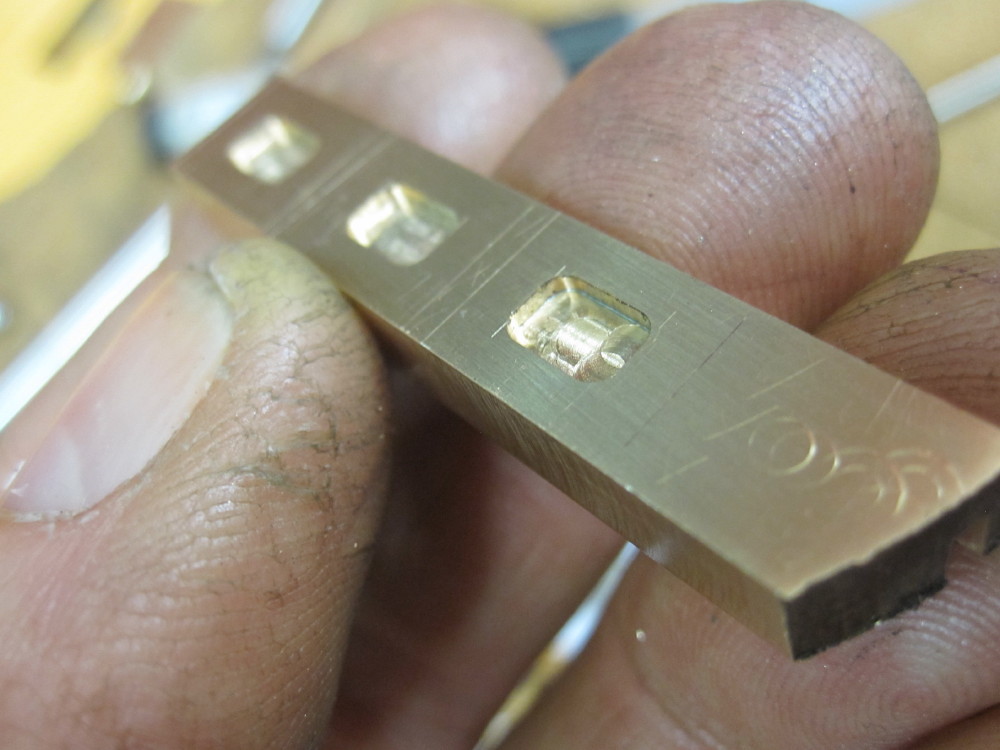 Slitting saw, the arbors are just rubbish, I have two and they belong in the scrap bin. I have some MT blanks which are going to be made into slitting saw arbors in the next few weeks. Slitting saw, the arbors are just rubbish, I have two and they belong in the scrap bin. I have some MT blanks which are going to be made into slitting saw arbors in the next few weeks. 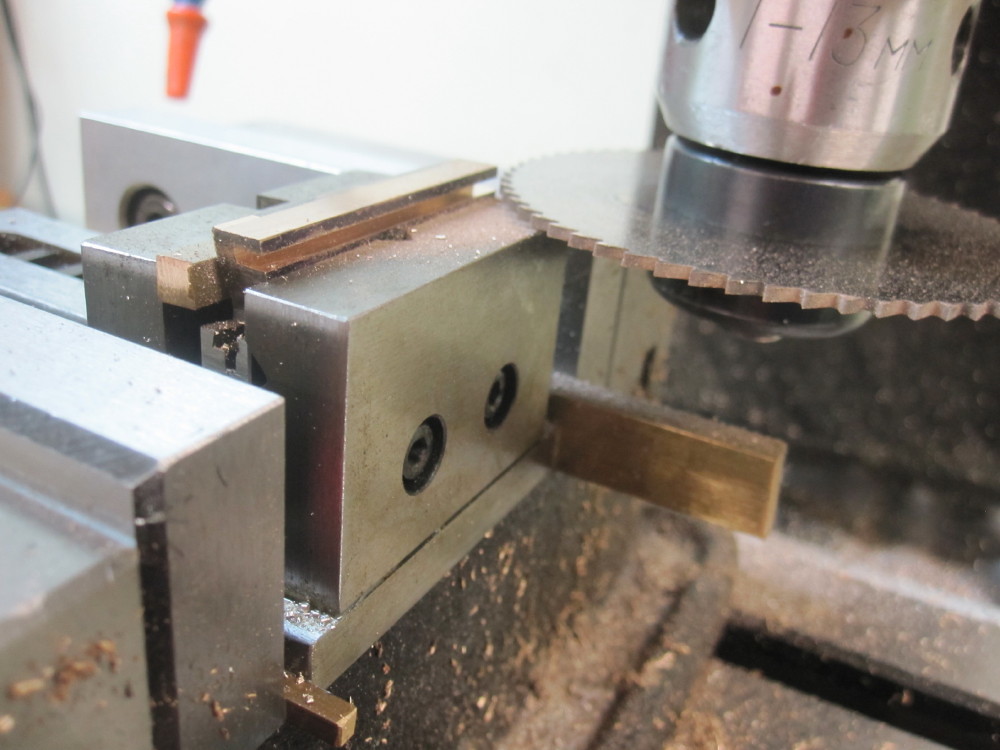 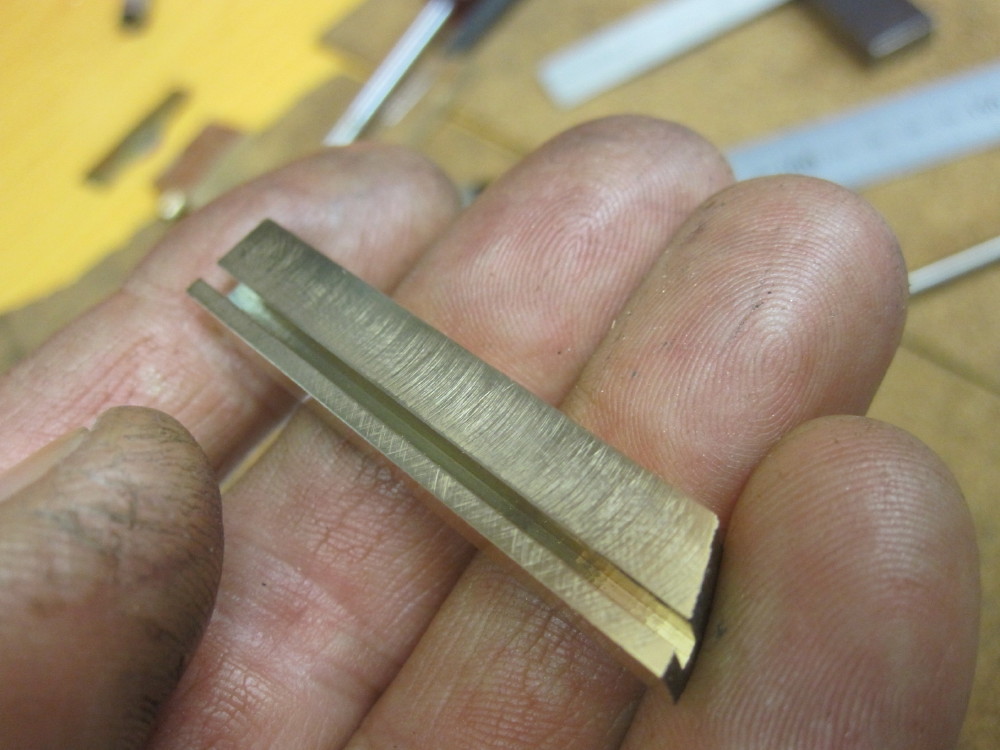 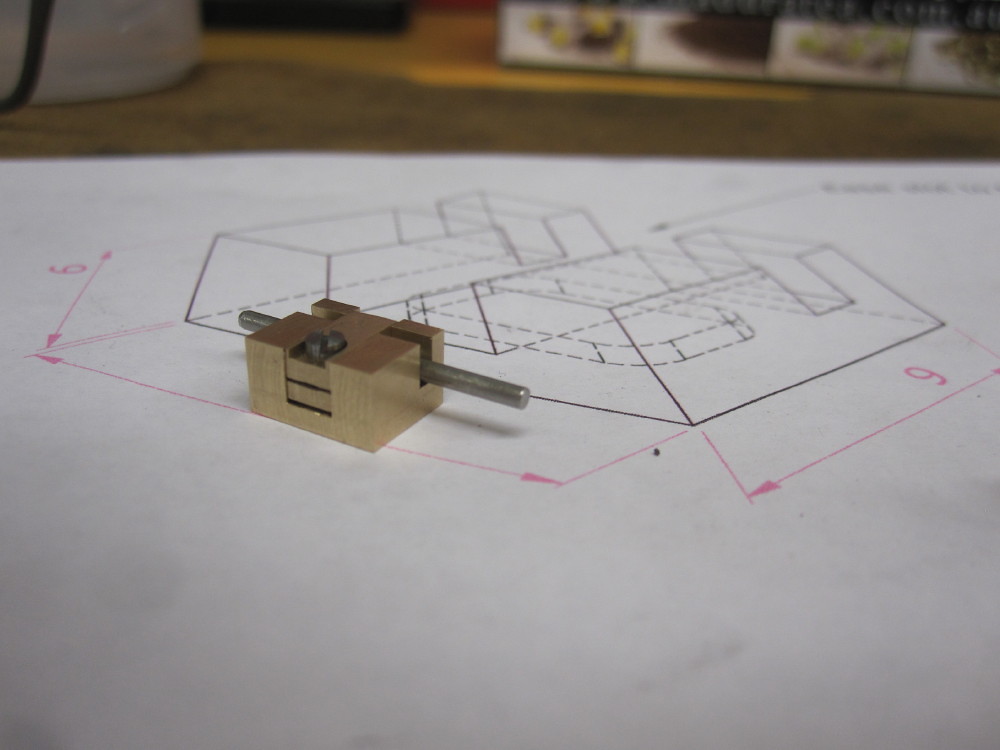
The fit is eased to be snug but sliding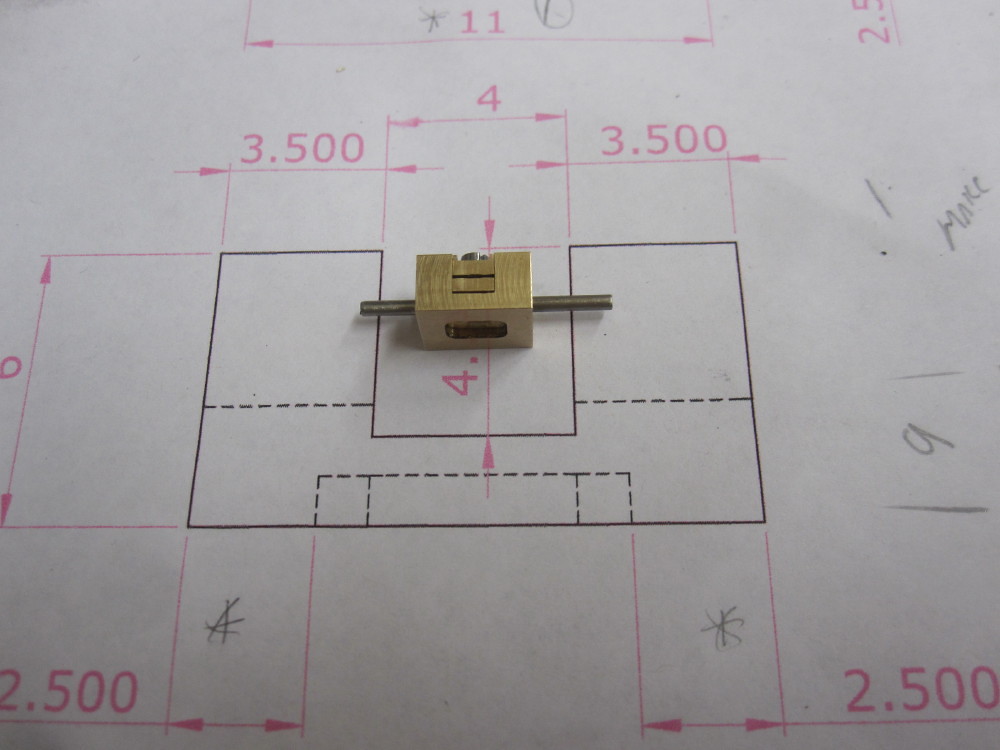
The new Chinese made 3mm letter stamps get used for the first time.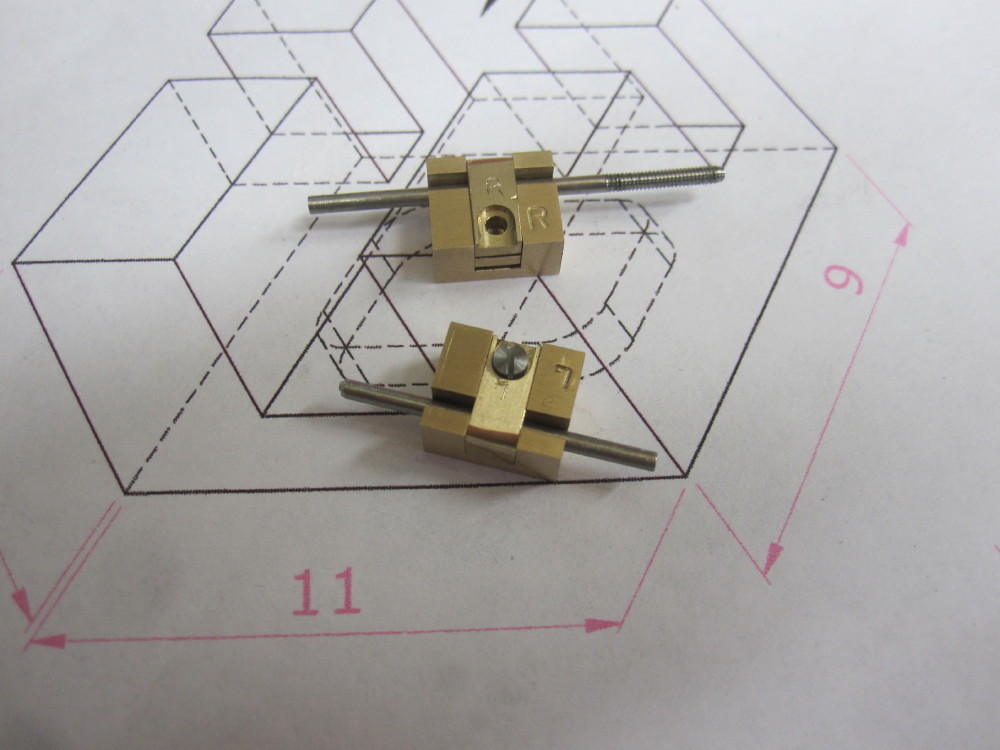 The parts bin is growing. The parts bin is growing. 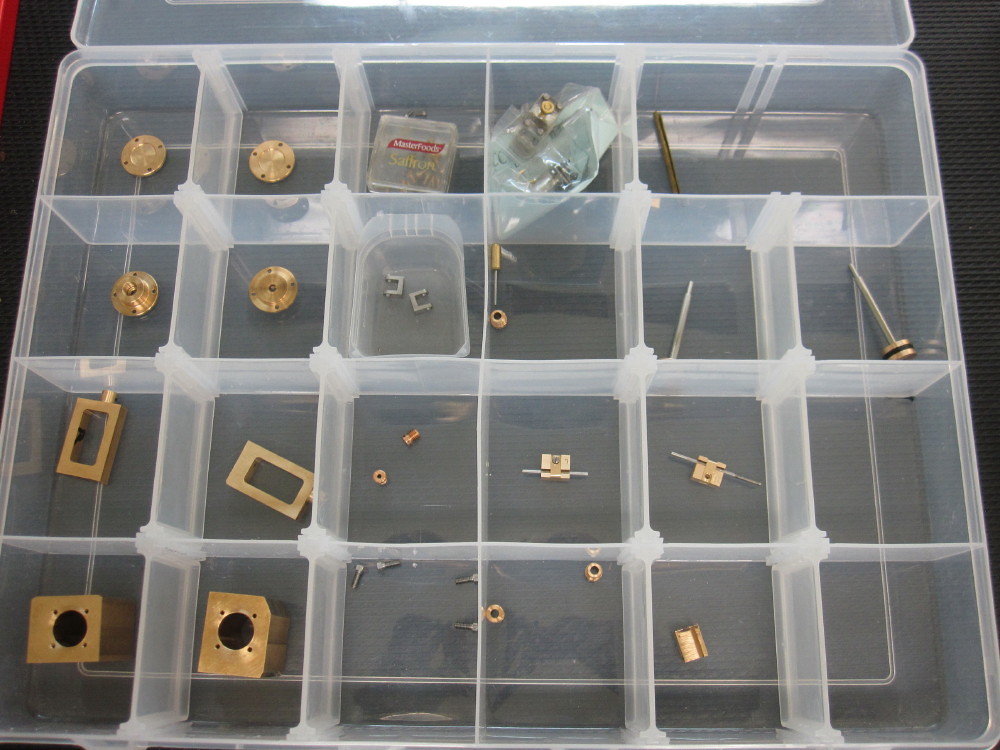 Next is the motion bracket as I am still waiting for 10BA screws to make steam chest studs. Next is the motion bracket as I am still waiting for 10BA screws to make steam chest studs.
Again this had to be altered as parts clash into each other. Sigh.
|
|
|
|
Post by Oily Rag on Sept 14, 2017 3:21:19 GMT
The workshop crew have a closer gander at the new investment cast Silicon Bronze steam chest covers that arrived the other day.
It seems from the chit chat on the workshop floor, they all agree,"Sweet"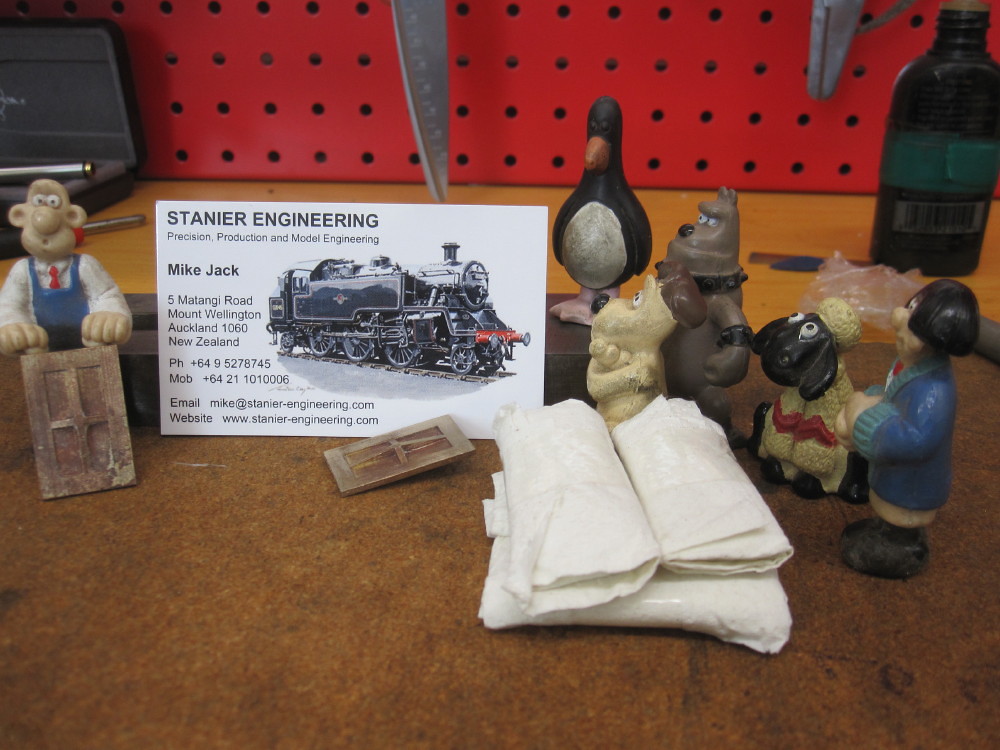
|
|
|
|
Post by steamer5 on Sept 14, 2017 10:11:24 GMT
Hi Dazza,
Nice fix for the valve nut & nice to see the "A" Team approves of the covers!
Cheers Kerrin
|
|
|
|
Post by Oily Rag on Sept 20, 2017 21:00:17 GMT
The Workshop crew have been absent from the Red Room. I heard noises outside, I strode out to investigate and "there they are!"
They have switched roles, they are a track gang this week. Anyhow I was just in time to catch the turning of the first sod ceremony of the "Potters Orchid Railway" (POR). Then they all quickly shot through to the beer tent to makes toasts and pontificate on all subjects concerning heritage railways in Queensland, meanwhile I was left with a banjo to do the toil. Typical! 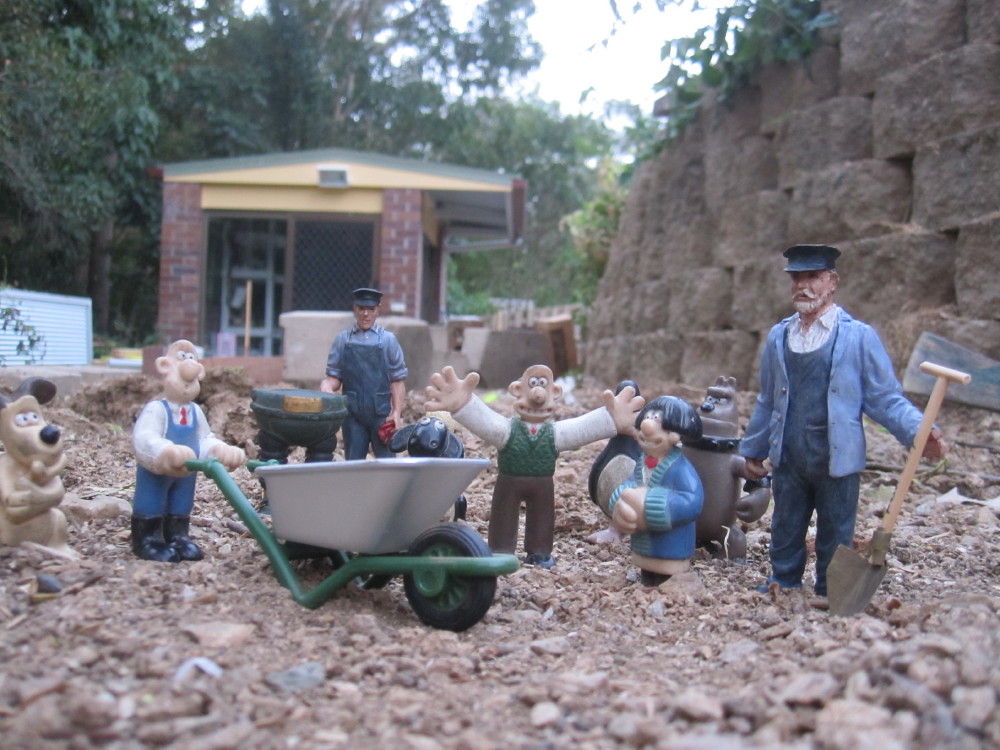 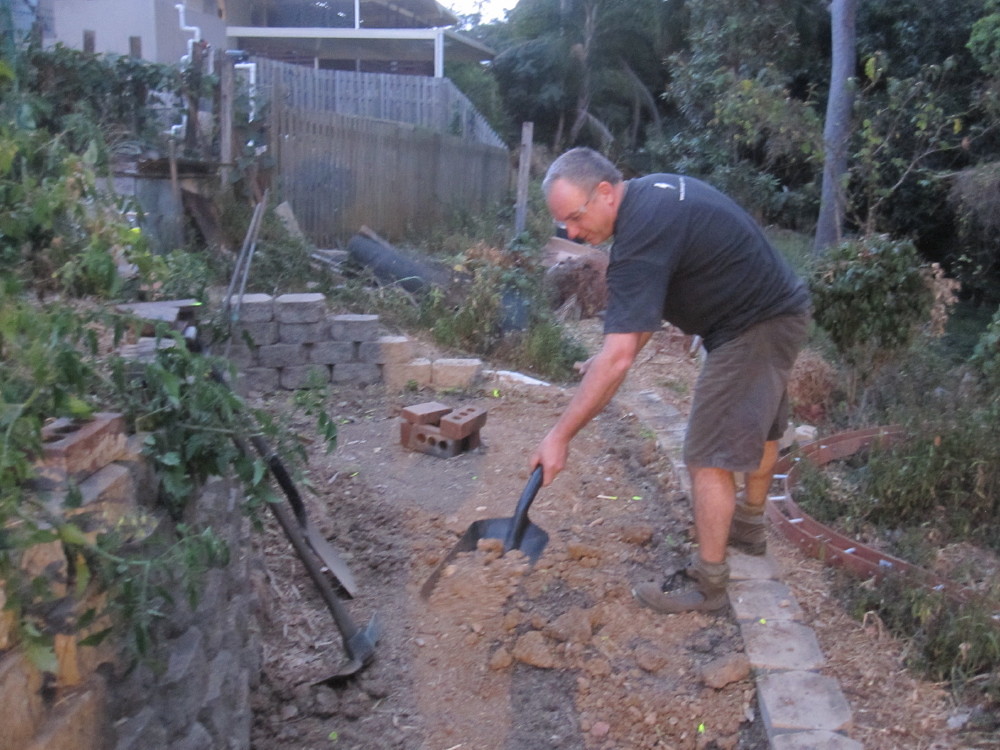 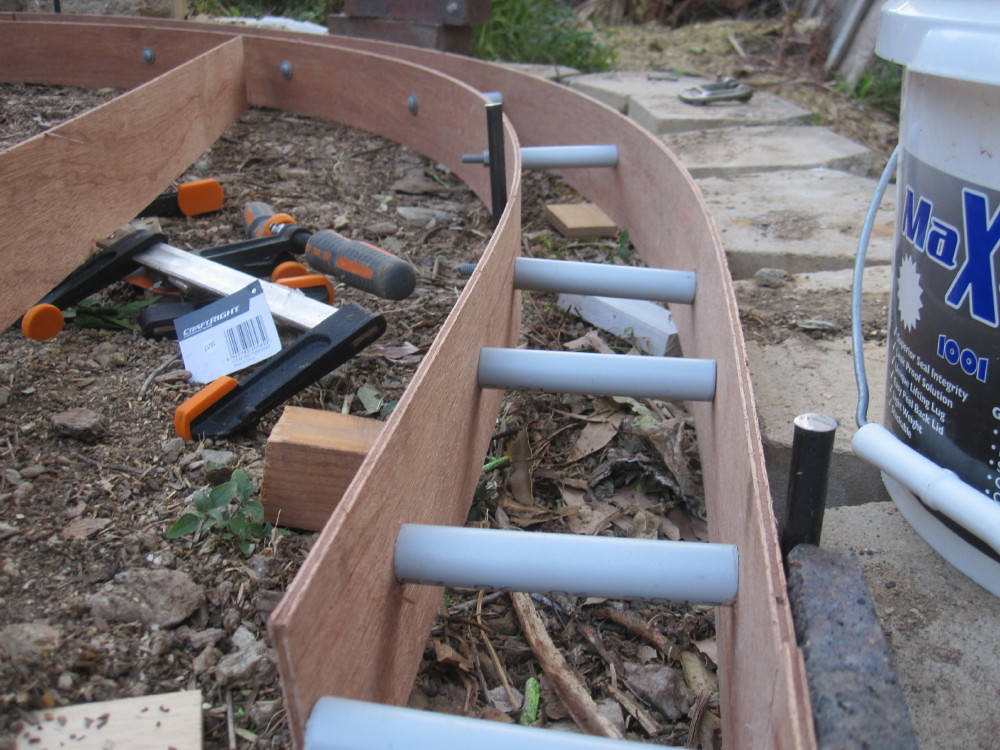 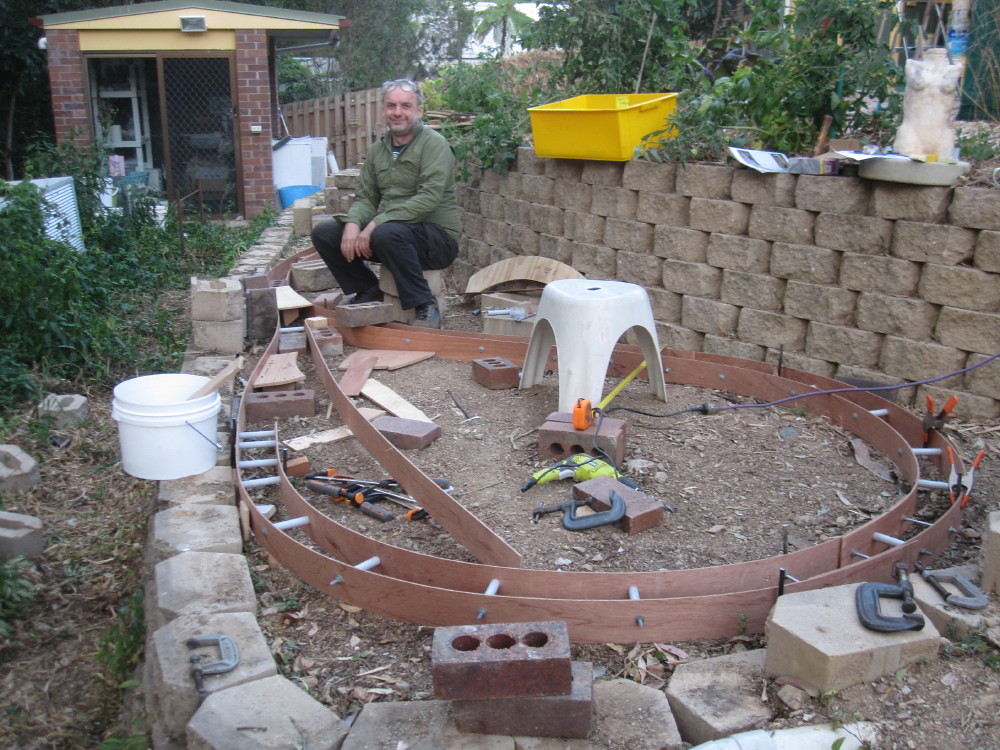 The first sections top and line to be sorted with a LASER then the pour. The first sections top and line to be sorted with a LASER then the pour.
Progress in the Red Room will be slow as I am seconded to the track gang and next weekend I start my shunt training at the Mary Valley Rattler as it is to restart soon. YY!
www.maryvalleyrattler.com.au/
|
|
|
|
Post by Deleted on Sept 20, 2017 21:03:51 GMT
Love the opening 'verse'....looking good sir...  Pete |
|
jools
E-xcellent poster
  
Posts: 200
|
Post by jools on Sept 21, 2017 1:20:19 GMT
Great work, that looks like a station building in waiting behind you......
|
|
|
|
Post by Oily Rag on Sept 21, 2017 2:16:31 GMT
Great work, that looks like a station building in waiting behind you......
Once the concrete is place and the new fences are in, then the final push on the gardening and clean up will begin. |
|
jools
E-xcellent poster
  
Posts: 200
|
Post by jools on Sept 21, 2017 7:45:34 GMT
There is a station name in amongst your description - Potters Bar...........LOL
|
|
|
|
Post by Oily Rag on Oct 14, 2017 22:05:24 GMT
|
|
|
|
Post by Oily Rag on Oct 19, 2017 21:28:12 GMT
Due to constant rain interrupting the civil engineering contractors at the POR the energies were turned to the Red Room and to knock over a project that has been on the bench for a while. ER25 Collet chuck mated with a machined register on a D3 backing plate for the Myford. First time I have ever done some thing like this, the result was as good as hoped. The needle on the dial test, barely could detect movement. Next will be a better slitting saw for the mill/drill, I have two commercial ones but they are rubbish and wobble all over the place. I have a blank 3MT arbor and a 3 to 4 MT sleeve so it will machined in the Myford. Keen to get back to completing the cylinders soon. If all goes well MAM and I mix and pour the small loop tonight. 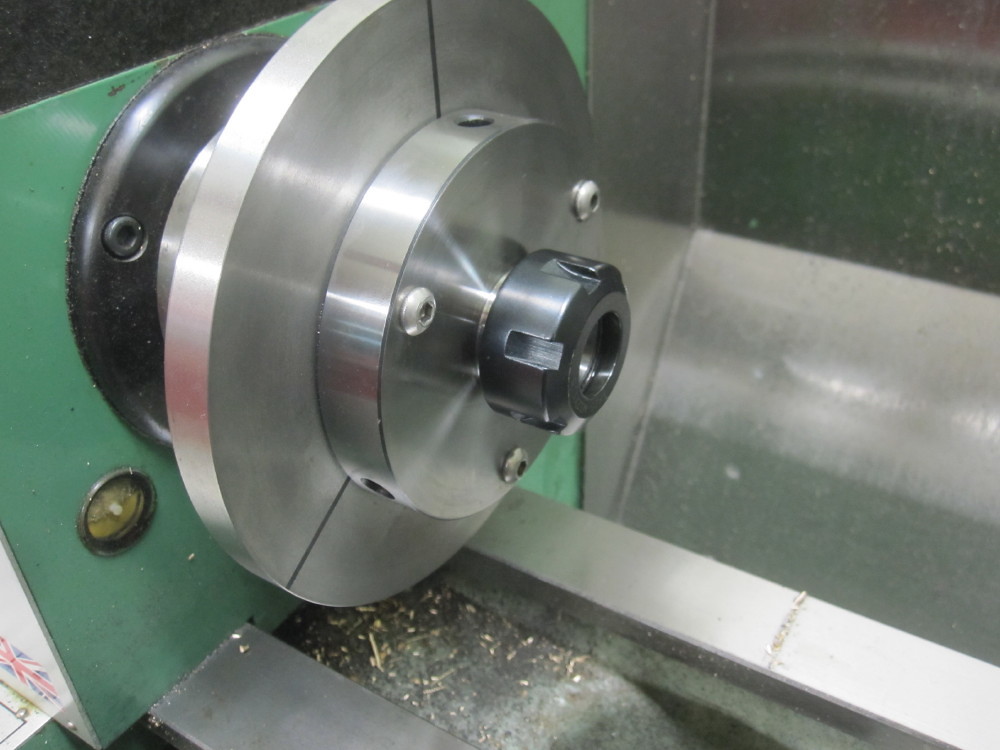 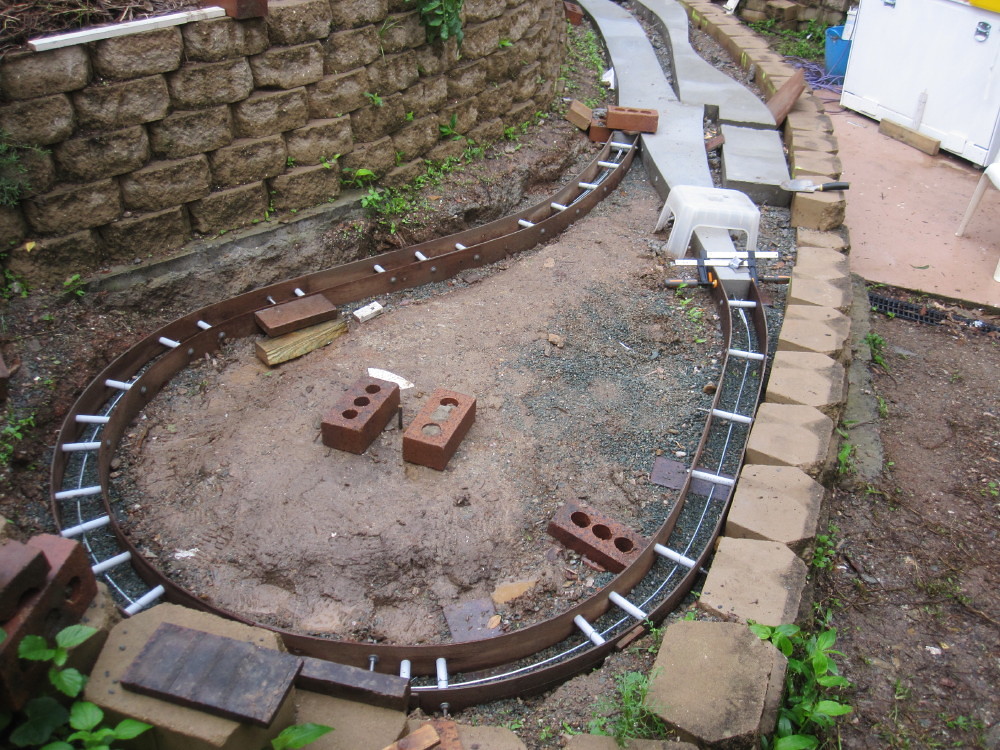
|
|
uuu
Elder Statesman
   your message here...
Posts: 2,858
|
Post by uuu on Oct 20, 2017 6:44:33 GMT
You've lots of room on that backing plate for some rings of holes, for dividing.
Wilf
|
|
|
|
Post by Oily Rag on Oct 21, 2017 20:26:42 GMT
Rain all day Saturday so the civil engineering gang stayed in doors on the "POR". The Red Room saw action for most of the day. Work on the cylinders progresses. Mike Jack sent me these covers he cast in Silicon Bronze, they were off my drawings and these are the start of the education and processes of using many more castings from my drawings in the future. I gave them a wee bit of attention with some 600 grit 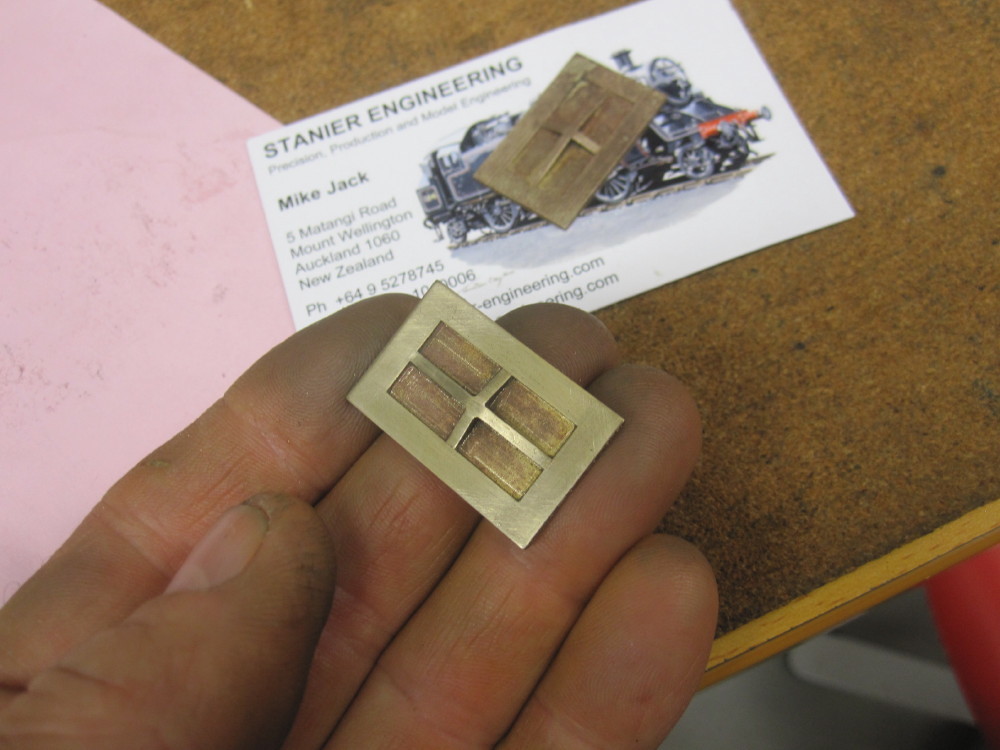 Then a wee careful mill to get a clean face. 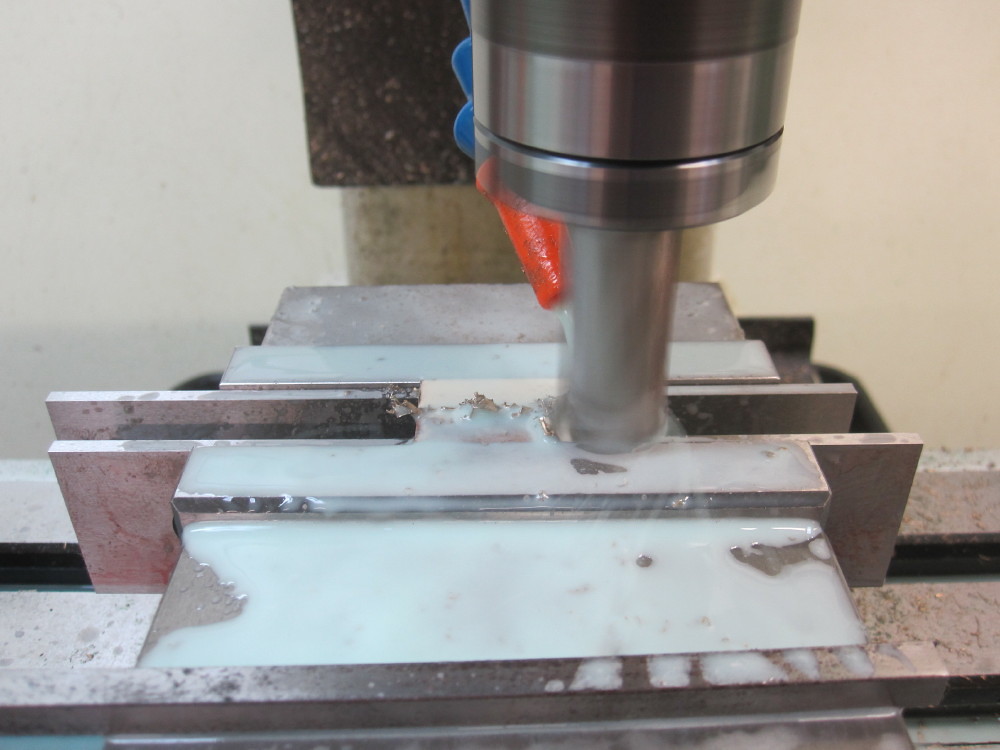 The lads, they look a bit rough and untrustworthy, but they have redeemed them selves from their past and they do good work. The air is bit blue with their language when things do not go quiet right but they figured out a little jiggy for the cover and chest drilling. (jiggy is a Dazza technical term) 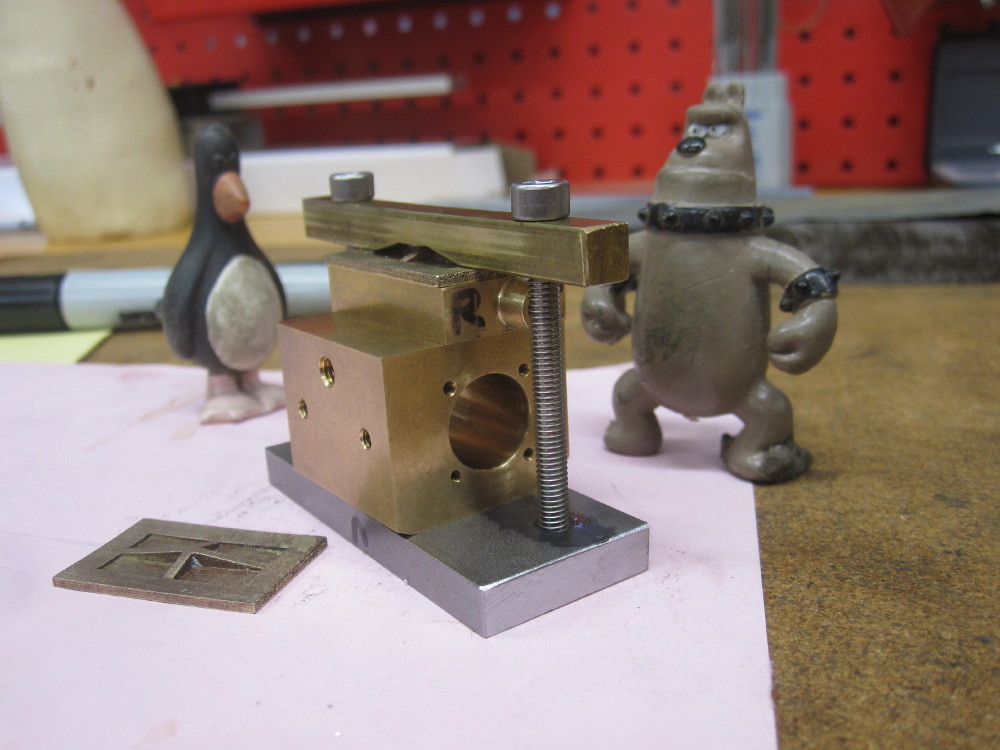 The 7.20mm drill is align the steam chest to the cylinder and the frame mounting face. (I like using a datum) Even though I have DRO I carefully marked out the sanity lines, just be to be sure (I am glad I did) 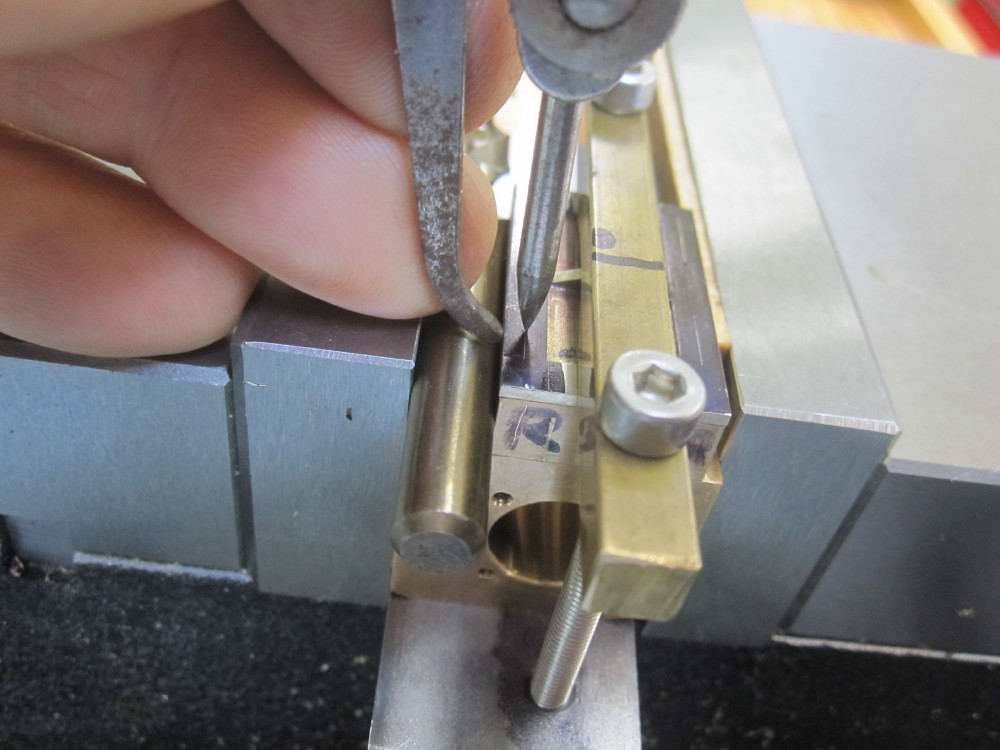 The clamp on the jig is removed and the chest and cover removed but the clever bit is that the cylinder stays held in the vice and the location for the X= 0 and Y=0 stays undisturbed. Done and happy. You may see that one hole for the 10BA studd to pass through is in a different location, that is give clearance for the inlet to the chest. A detail that is visible on close inspection not noted or dimensioned in the Steam Trains In Your Garden Book's drawings or text. 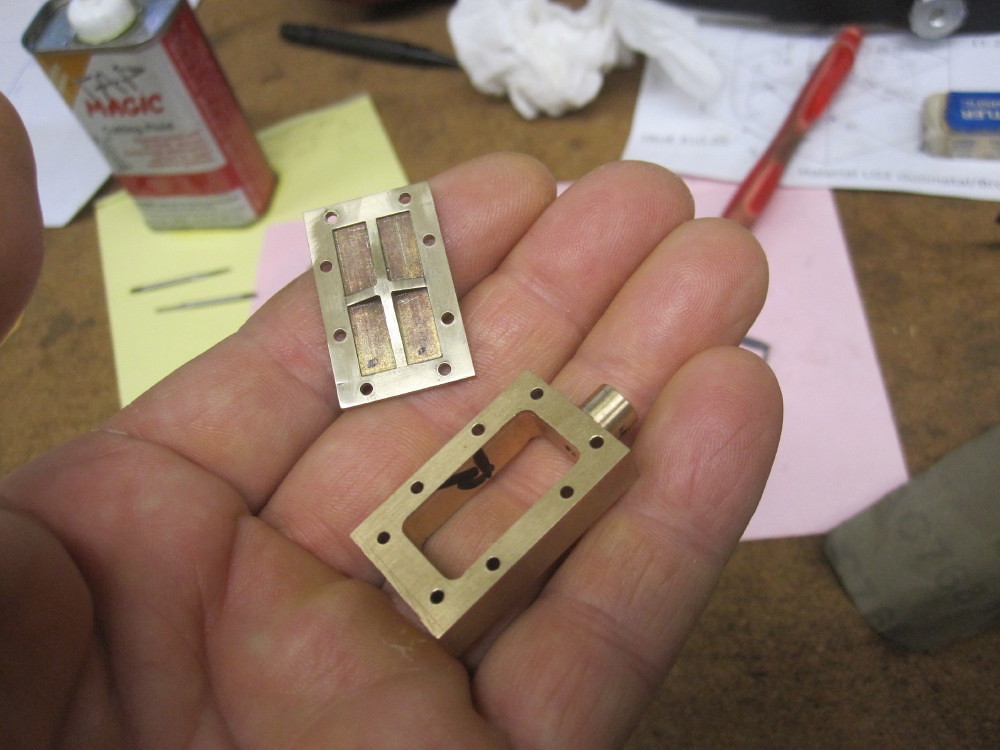 When the next adventure in the Red Room kicks off I will use the DRO to pick up the holes to be drilled 3.50mm deep and taped 10BA for the studs. Have I said recently how much I like DRO on the mill/drill ? 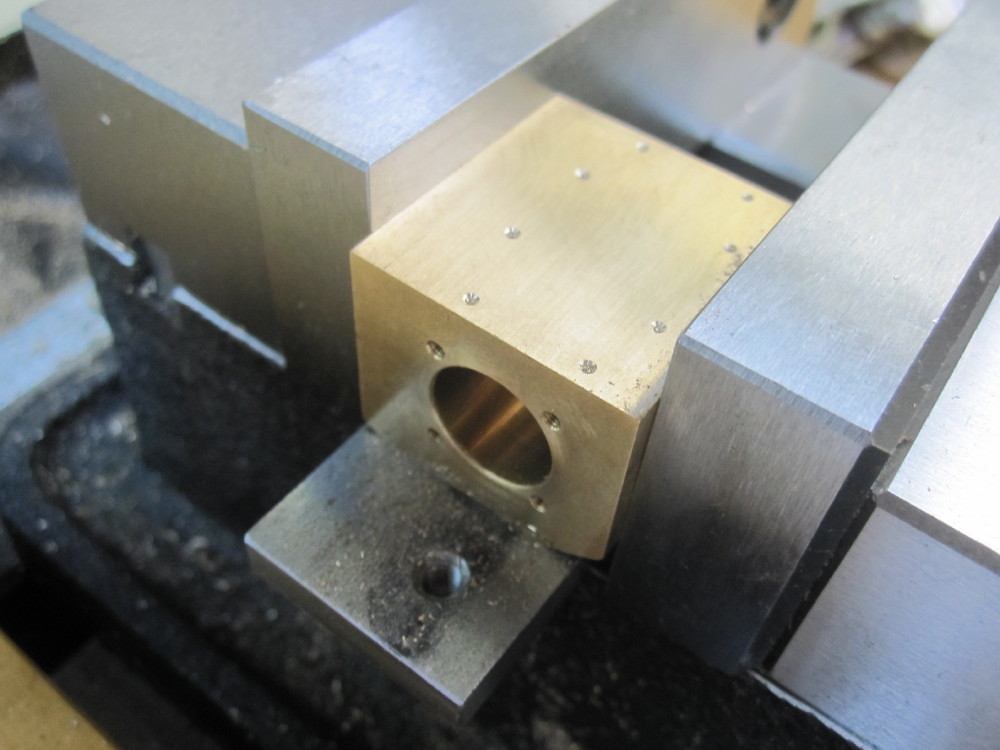 |
|
|
|
Post by Roger on Oct 21, 2017 21:00:20 GMT
Rain all day Saturday so the civil engineering gang stayed in doors on the "POR". The Red Room saw action for most of the day. Work on the cylinders progresses. Mike Jack sent me these covers he cast in Silicon Bronze, they were off my drawings and these are the start of the education and processes of using many more castings from my drawings in the future. I gave them a wee bit of attention with some 600 grit  Then a wee careful mill to get a clean face.  The lads, they look a bit rough and untrustworthy, but they have redeemed them selves from their past and they do good work. The air is bit blue with their language when things do not go quiet right but they figured out a little jiggy for the cover and chest drilling. (jiggy is a Dazza technical term)  The 7.20mm drill is align the steam chest to the cylinder and the frame mounting face. (I like using a datum) Even though I have DRO I carefully marked out the sanity lines, just be to be sure (I am glad I did)  The clamp on the jig is removed and the chest and cover removed but the clever bit is that the cylinder stays held in the vice and the location for the X= 0 and Y=0 stays undisturbed. Done and happy. You may see that one hole for the 10BA studd to pass through is in a different location, that is give clearance for the inlet to the chest. A detail that is visible on close inspection not noted or dimensioned in the Steam Trains In Your Garden Book's drawings or text.  When the next adventure in the Red Room kicks off I will use the DRO to pick up the holes to be drilled 3.50mm deep and taped 10BA for the studs. Have I said recently how much I like DRO on the mill/drill ?  Great work as always. We'll have to slowly wean you off the 'spotting through' mentality though now you've got your DRO. I can't remember the last time I did it that way, you ought to be able to just trust the measuring system and put the holes in by coordinates. No need for those dodgy characters having to work out a jiggy, you can use a good edge finder and put them straight in where they need to go. |
|
|
|
Post by Oily Rag on Oct 22, 2017 22:38:48 GMT
Hi Rodger, I would have drilled the 1.4mm taping holes for the 10 BA with the chest and cover on but the tap is not long enough, so I drilled all the holes with the 1.70mm clearance drill all in one pass, rather than repeated set ups. So with the cover and chest removed with the cylinder undisturbed I will revisit the hole locations using the DRO. By carefulling measuring the depth of the holes I got a starter point on the cylinder for the 1.40mm drill, saves using the spotter drill that I always use before drilling. The DRO will find my holes again for the 1.40 tap size and I will drill them all and then change to the tap thingy and then do all the 10 BA threads going back with the DRO. Then while in there I might do the ports as well.
|
|
|
|
Post by Oily Rag on Oct 30, 2017 20:14:10 GMT
Standard fair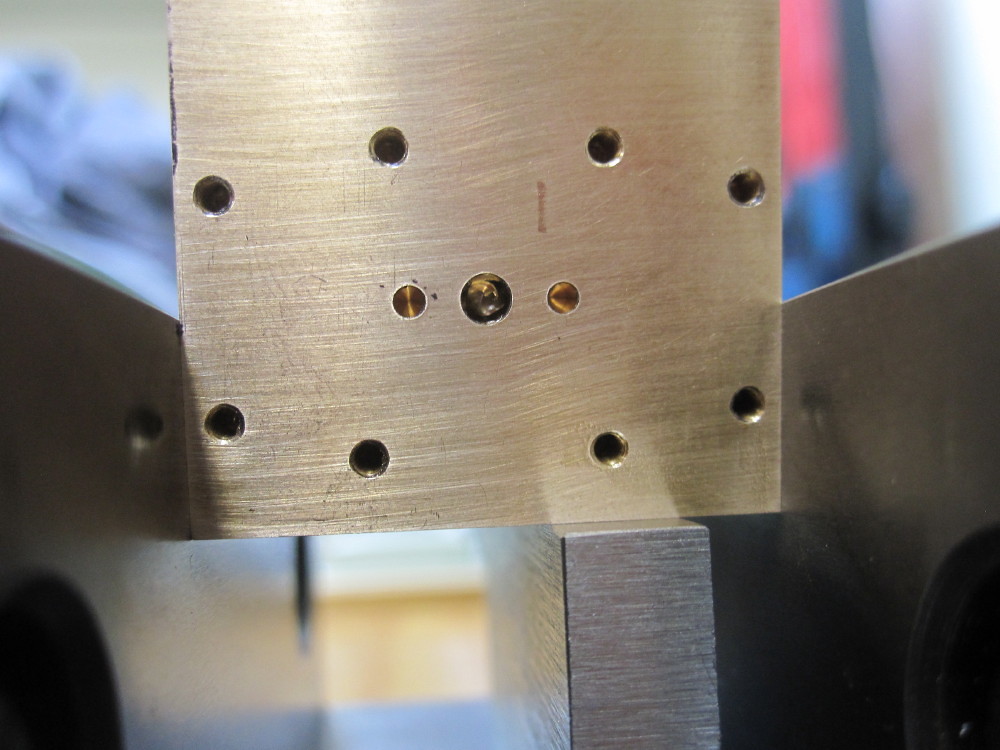 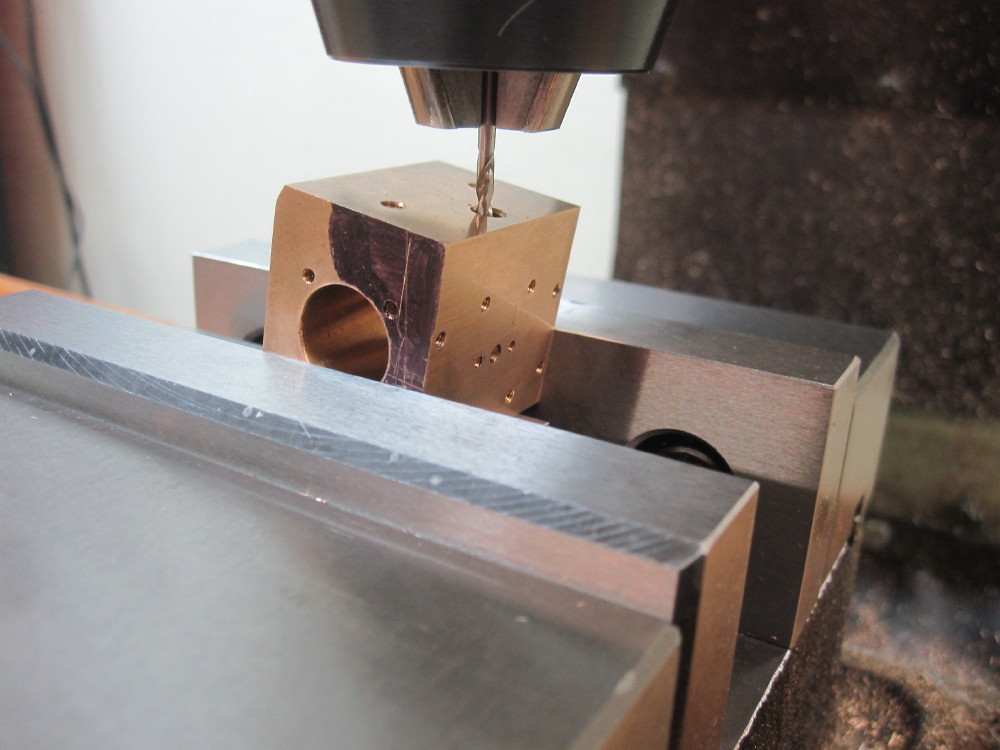
Tis a happy chappy as it all went as well as aimed for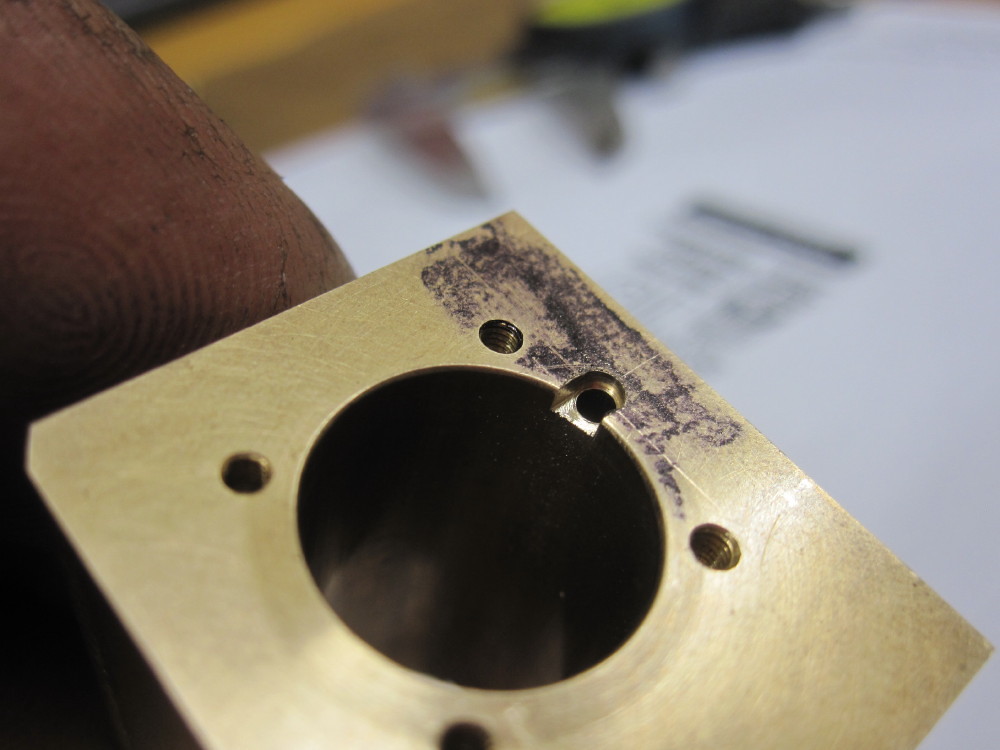
I have been researching the RC gear for this little steamer and I heading towards thiswww.rcs-rc.com/pages/tx-4sRegulator, reverser, whistle and cylinder drains. 4 servos. Never been down this path before.
Did a whole day at Gympie last Sunday at the "Safeworking" course, staff/ticket working etc.
More training at Gympie this Saturday in preparation for the delivery of #974, then not long after another three days of steam and guard training. Lots on, then there is there my involvement with the Rosewood Railway. 1.5 hours one direction and Gympie 2 hours in the other direction by road. It is going to be a busy Summer.
|
|