|
|
Post by Oily Rag on Nov 2, 2017 21:27:25 GMT
There has been a death in the family.
For 30 years this was my go to good vernier caliper. It was cared for and loved and used for many projects. Made by NSK in Japan.
Yesterday its mechanism went belly up.
It lived a good and useful life. It gave me great value.
Rest in peace. ![]() 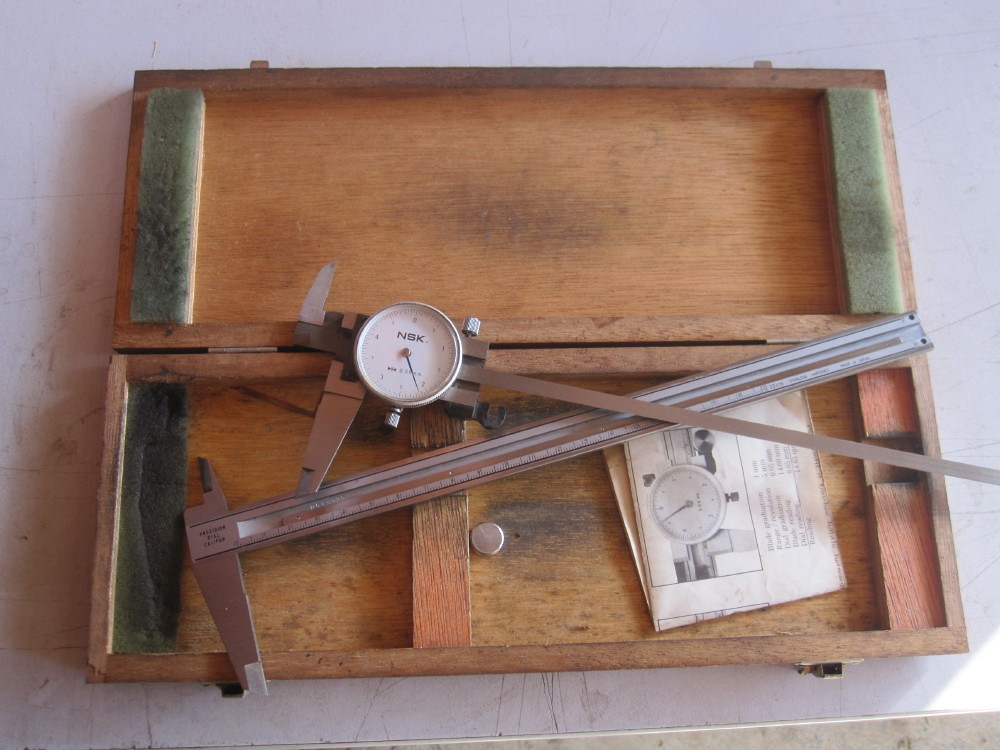 Ebay, New Mitutoyo Dial 200mm for $75 inc inc postage. Beats $230 from the local supplier. Think of all the beer that $155 will buy Ebay, New Mitutoyo Dial 200mm for $75 inc inc postage. Beats $230 from the local supplier. Think of all the beer that $155 will buy 
|
|
|
|
Post by Oily Rag on Nov 2, 2017 22:16:54 GMT
New toy, took a bit to get all spinning true and dialed. Assemble and disassemble a few times but all clocked to .02 over 150mm spinning etc. At least till the high spots wear off in the chuck. Still not bad for under $500.
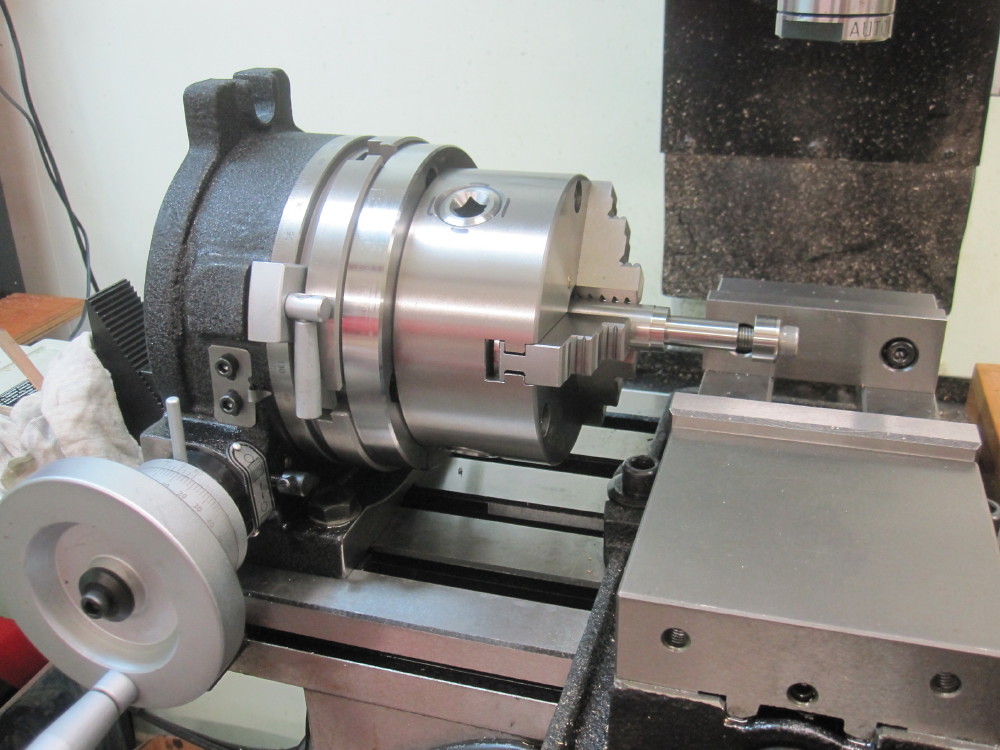 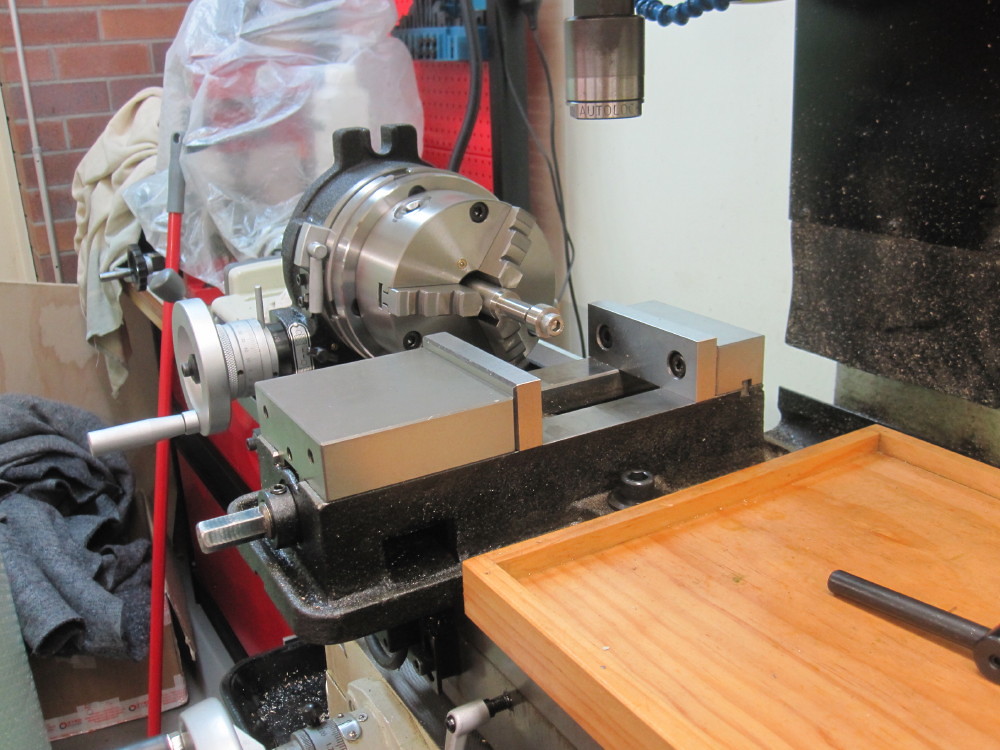 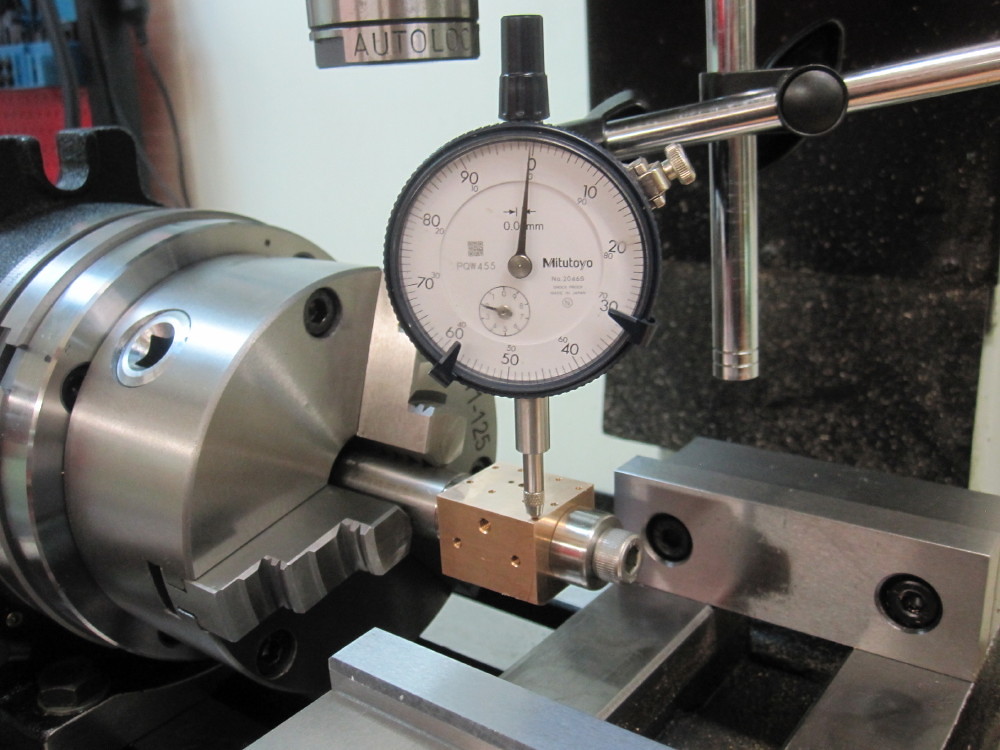 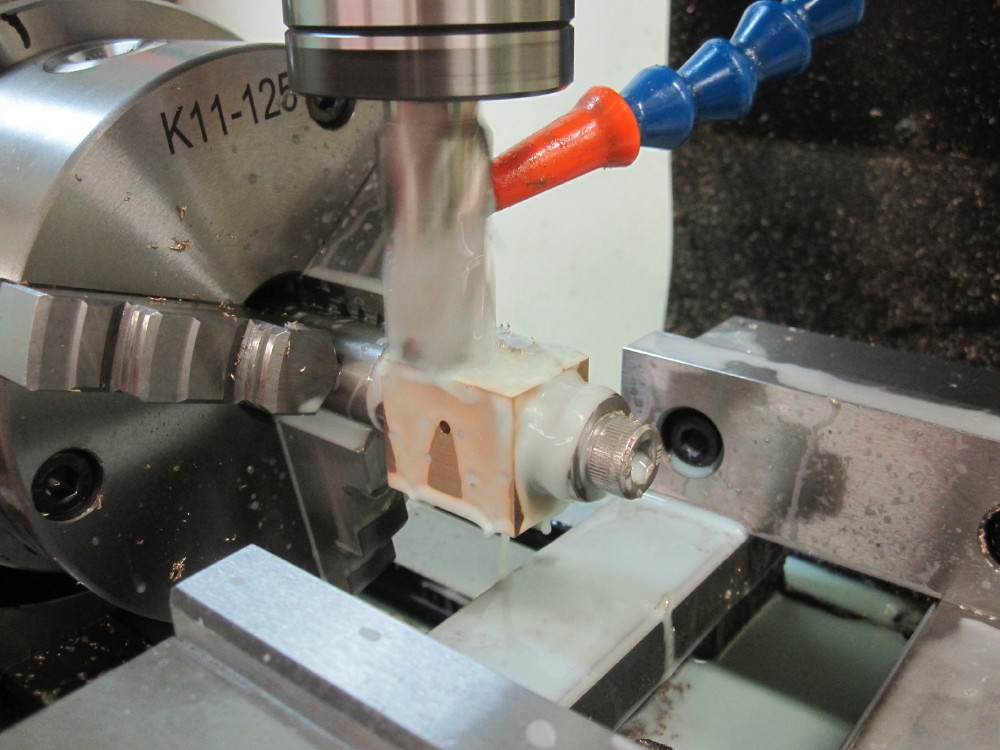 Mill the last two sides and the profile. Aimed for 26mm Mill the last two sides and the profile. Aimed for 26mm 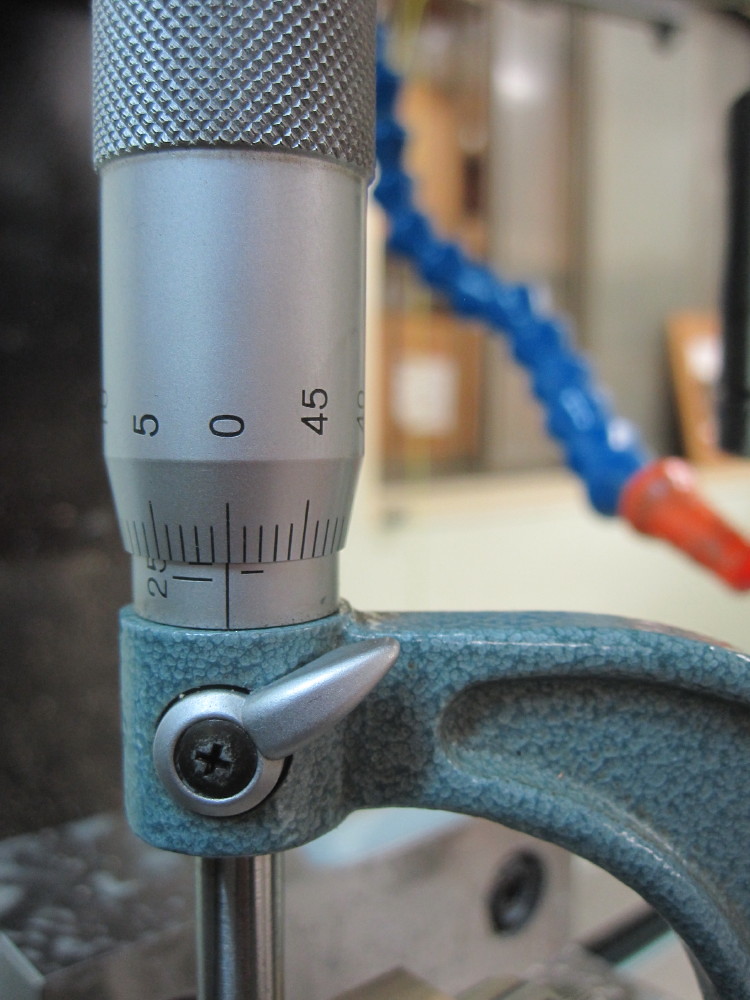 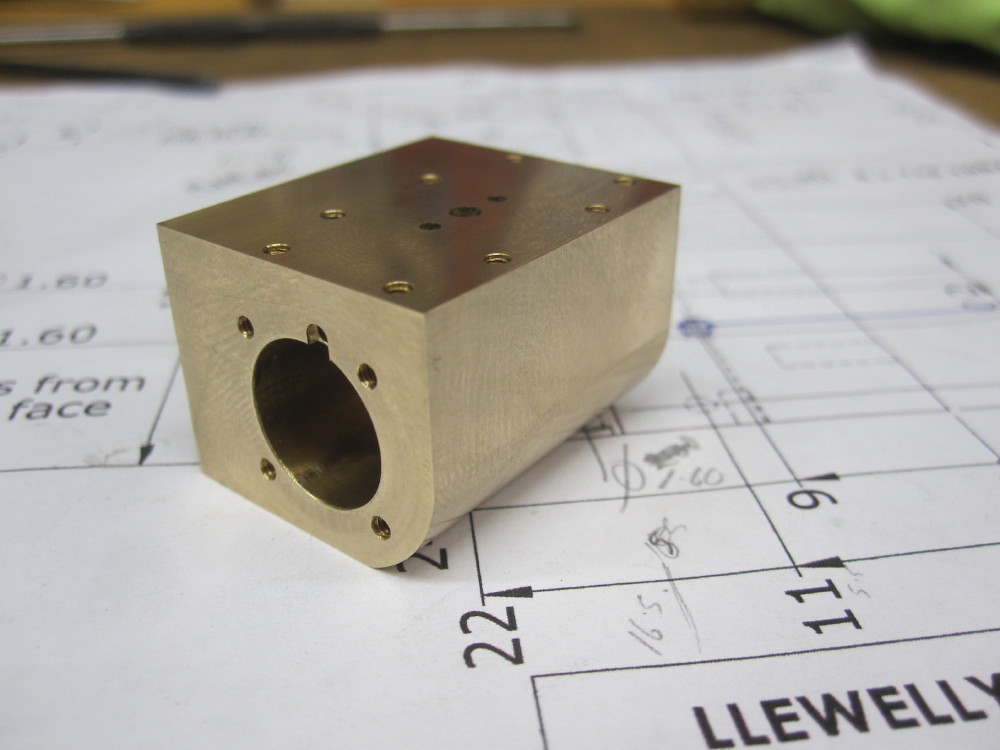
|
|
|
|
Post by Oily Rag on Dec 5, 2017 21:02:53 GMT
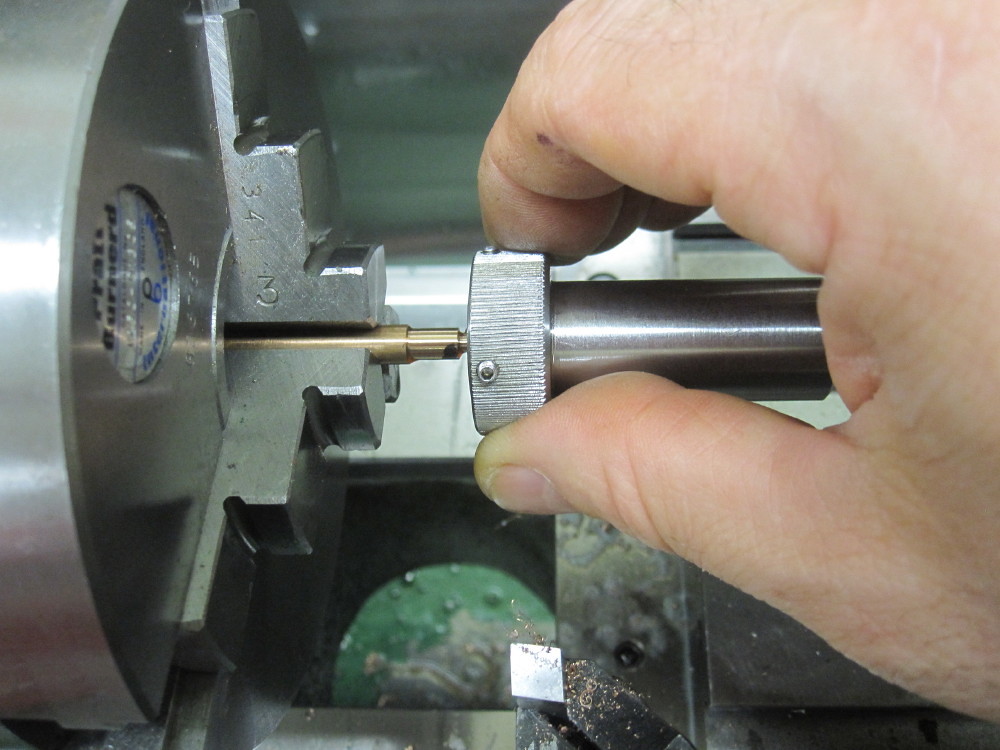
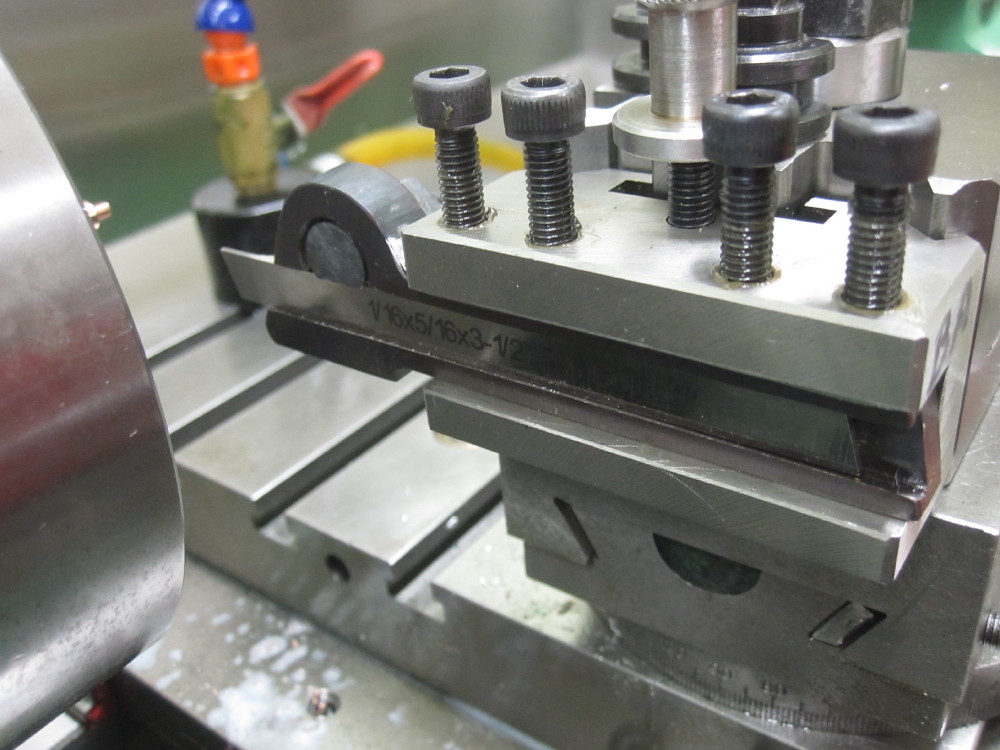
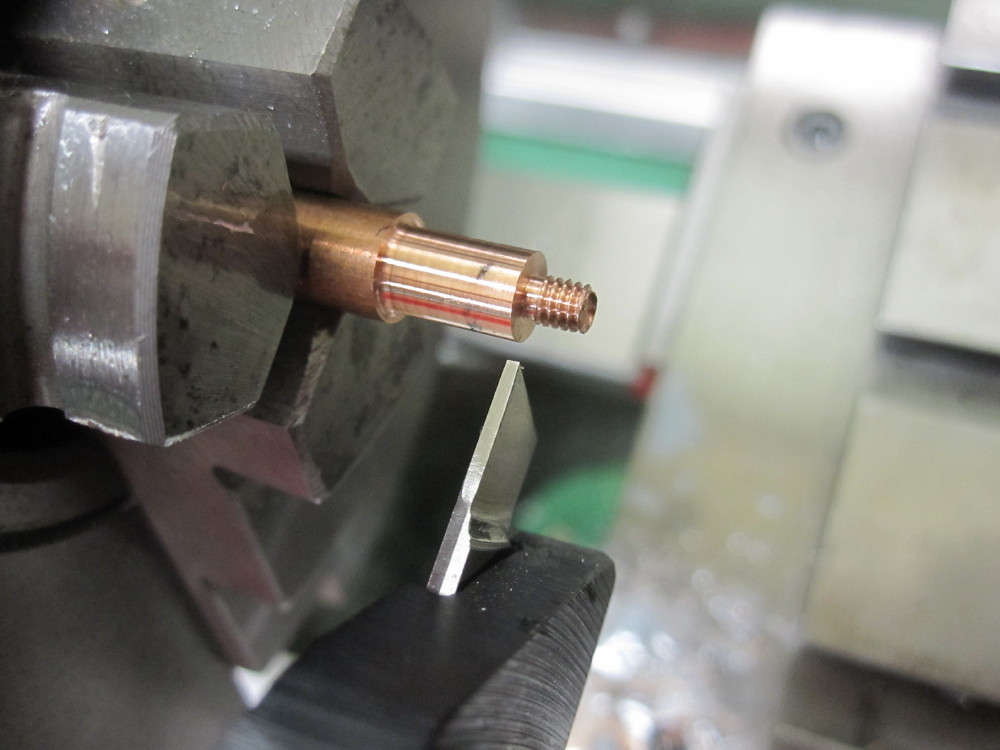
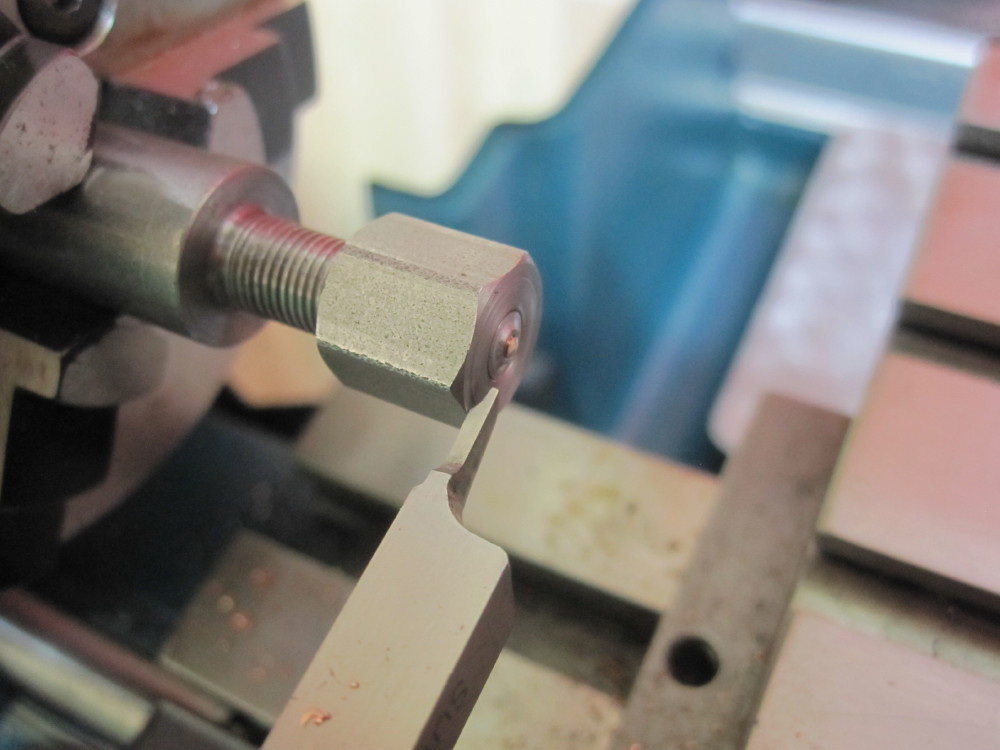
Not a lot of action in the Red Room due to track laying at the Potters Orchid Railway, however rain is about, the weeds are zooming with growth, but this week with a day night second Test I will enjoy some evenings making some parts. I made a start on the cylinder drains, but first I needed a thinner blade to clean off the thread runout on BA threads to a shoulder, so I got 1/16 parting blade, a bit of grinding, rub over and I had it down to .85mm. PB and 6BA and all went well. I am modifying the drain design, I am not keen on the drains blowing directly downwards and blasting grot all over the undersides of the loco and motion  , so I added 1.00mm to the body and cross drilling 1.20mm so they exhaust to the side. , so I added 1.00mm to the body and cross drilling 1.20mm so they exhaust to the side.
|
|
|
|
Post by Oily Rag on Dec 5, 2017 21:06:21 GMT
Making cylinder drains as per Brain Wilson's words and music but for the sideways exhaust.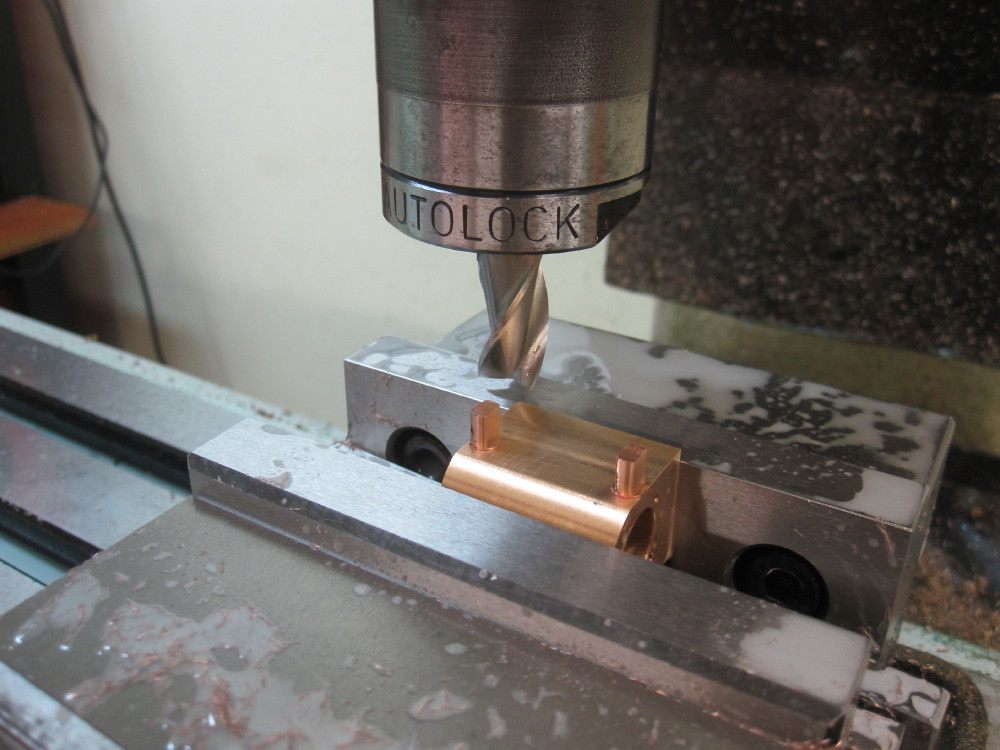 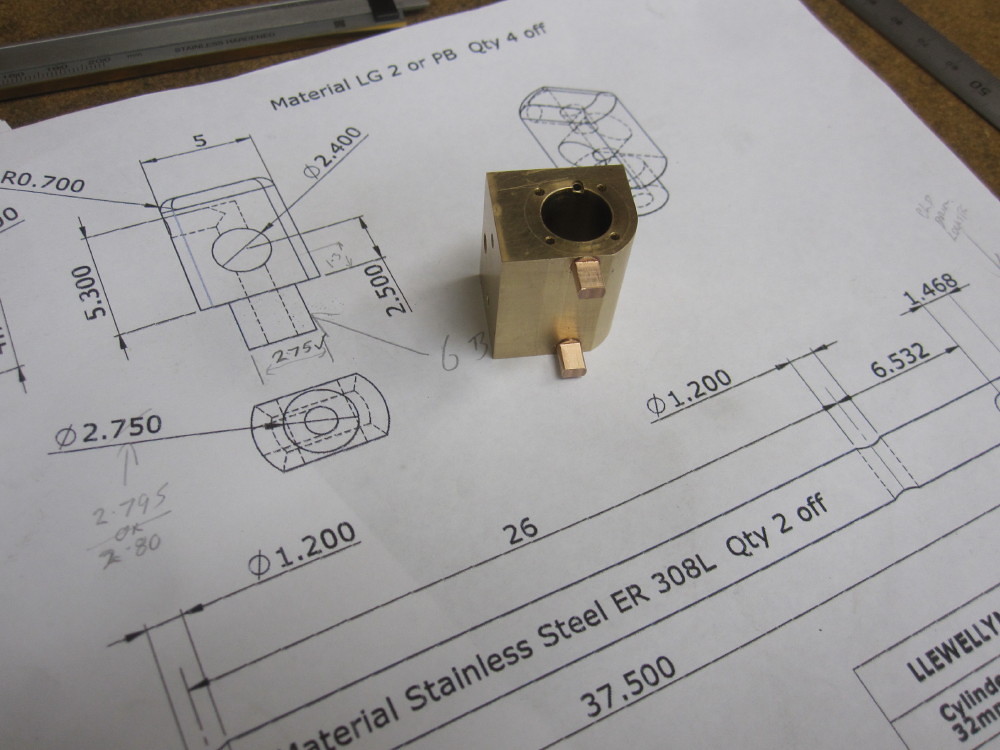
|
|
|
|
Post by Oily Rag on Dec 5, 2017 21:10:00 GMT
Whaoooo, the Aussie batting wobbled under lights with the new ball in Anderson's hand.
Calm, we will get the remaining wickets to today for the win. We have the Lyon!
All this was happening as I drilled the 1.20mm cross passages using the collet chuck for the first time. This was to hold the small drills with no measurable run out and with that I am very pleased. Of course, there are no drawings of the linkages to the cab so that I have to sort out soon. To fit the servos in etc.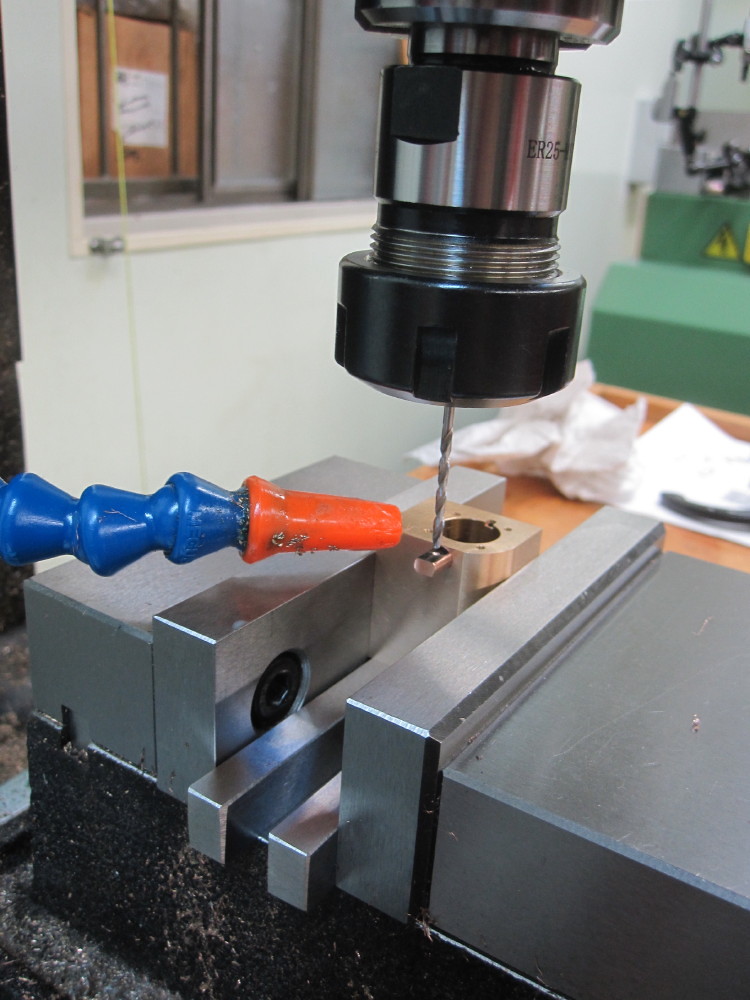 I am pleased with the out come, I will give them a touch up with the files off to break the edges. The drains will now exhaust to the side so this will be handy to scare off grass hoppers and spiders etc. I am pleased with the out come, I will give them a touch up with the files off to break the edges. The drains will now exhaust to the side so this will be handy to scare off grass hoppers and spiders etc.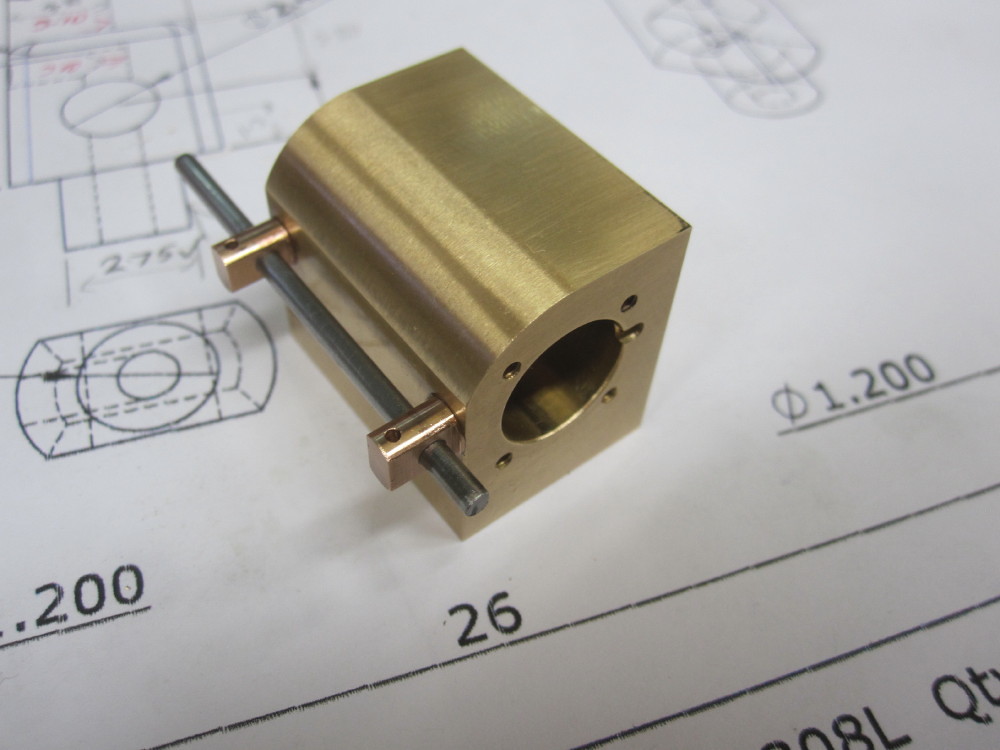 As I was doing this, test cricket is on the radio and MAM was priming her Lady Ann frames. As I was doing this, test cricket is on the radio and MAM was priming her Lady Ann frames.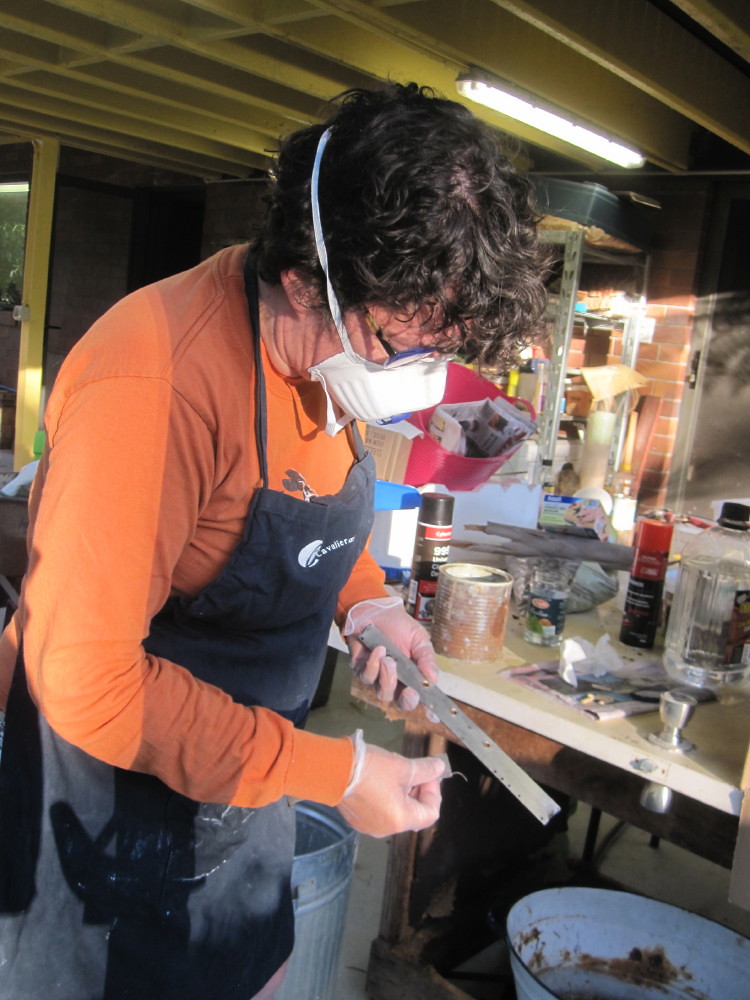 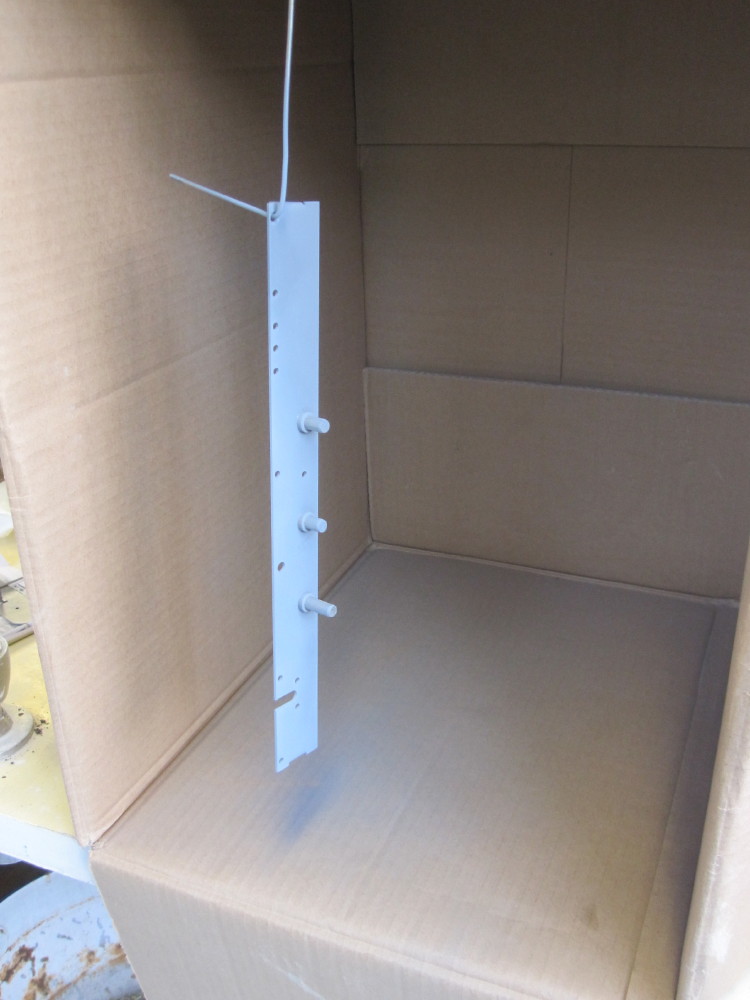
|
|
|
|
Post by Oily Rag on Dec 6, 2017 21:39:43 GMT
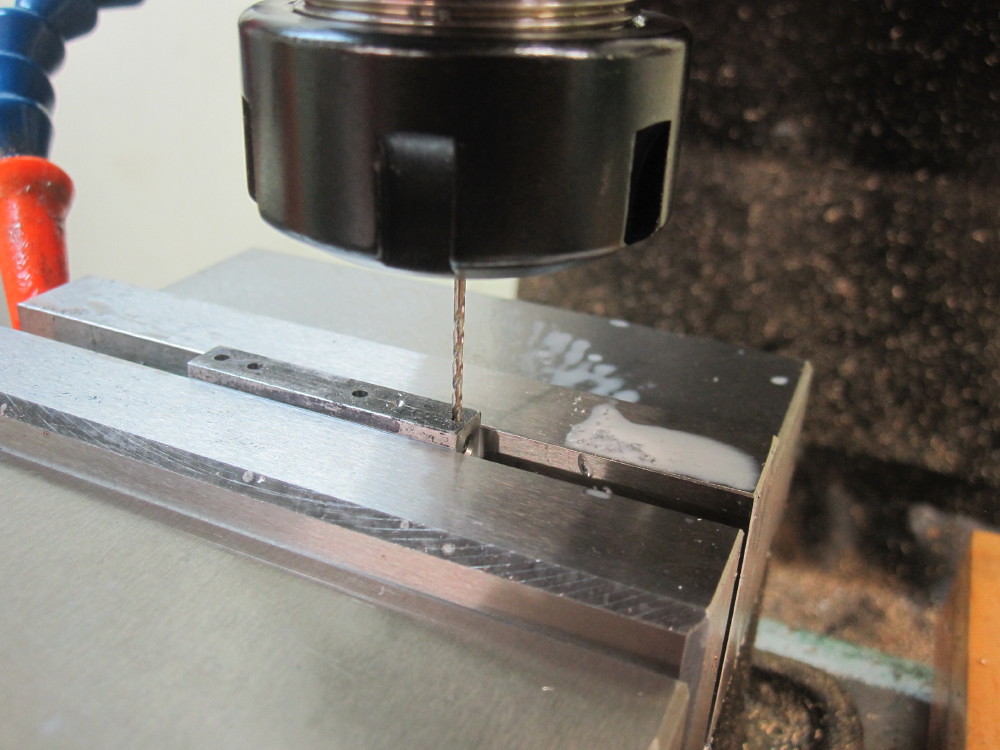
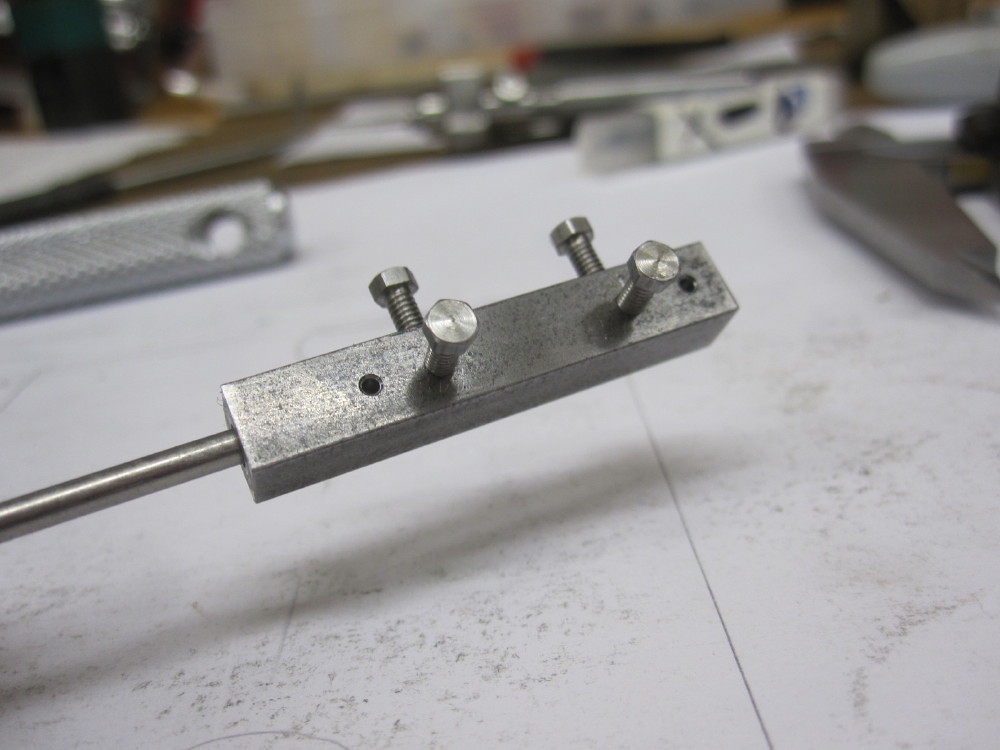
Gave the collets a run with the small drills. Very pleased with collets and small drills. All of this is my learning curve for the master piece to come one day if I live long enough.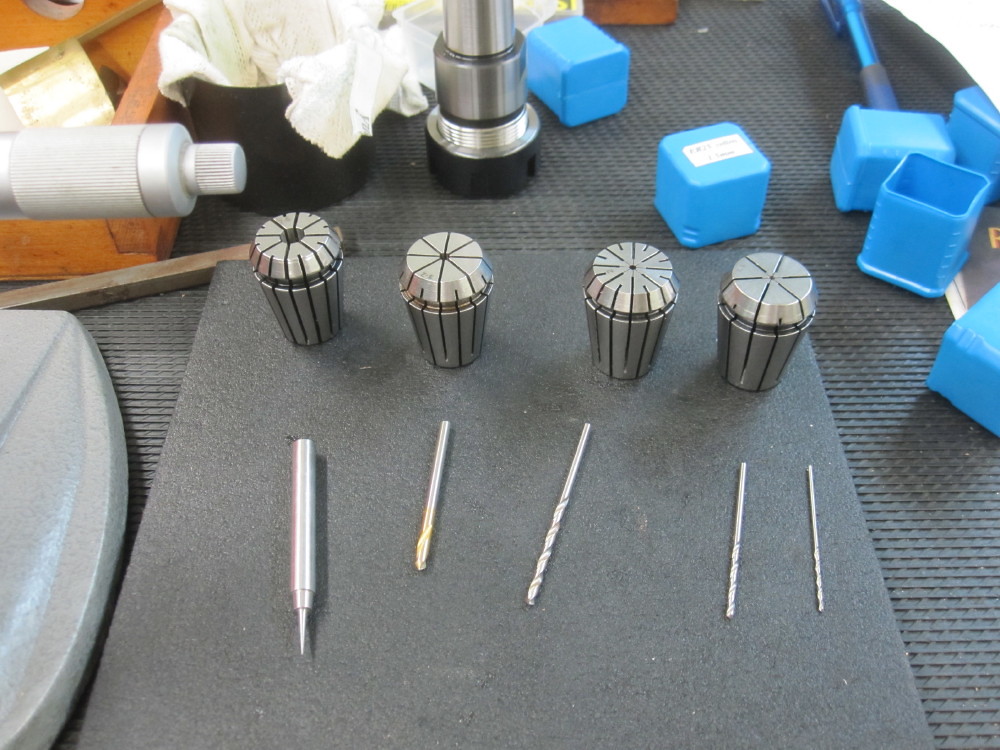 Making a cross drilling jig for putting 1.20mm holes into 2.40mm stainless rod and also at 90 degrees to each other. Making a cross drilling jig for putting 1.20mm holes into 2.40mm stainless rod and also at 90 degrees to each other.
I will see if I have success at achieving this tonight.
I am trying to skill up, tool up now for my entry into retirement in ten years time.
I want to hit retirement running with the regulator wide open, notched up and flying :-)
I will not mention the cricket.....................:-).
|
|
|
|
Post by Roger on Dec 6, 2017 21:47:46 GMT
That's a neat little drill jig, but if you use Carbide PCB drills, you can do them without a drill jig at all because they are so much more rigid and sharper too. If you've got a lot of them to do, then fair enough, use a drill jig, but for one offs, give Carbide a try, you won't be disappointed.
You just have to take that initial touch slowly to let it centre and bite, then drill gently through.
|
|
|
|
Post by Oily Rag on Dec 7, 2017 21:10:39 GMT
That's a neat little drill jig, but if you use Carbide PCB drills, you can do them without a drill jig at all because they are so much more rigid and sharper too. If you've got a lot of them to do, then fair enough, use a drill jig, but for one offs, give Carbide a try, you won't be disappointed. You just have to take that initial touch slowly to let it centre and bite, then drill gently through.
One thing that was cool was locating the centre, I touched off the vice jaw and located the centre of the 6.35mm square jiggy (which was drilled 2.40mm in the lathe in the 3 jaw using a split bush to hold. )
I have mentioned lately that I am in love with DRO ?
I then drilled the jig, then with out upsetting the "Y" I then drilled the rod which was lightly clamped with 8BA screws. Now the trick was I had a hole for the operating pin that was to be 90 degrees to the drain holes, so I remove the jig, put in two more clamp screws removed the previous two screws and then refitted to the vice flipped 90 degrees. This way the rod stayed fixed to the jig, the clamp screws are upper most and I get 90 degrees via the square section. Maybe over kill but I wanted to chase the accuracy and keep the holes dead centre. It all has to move smoothly with RC servos and I have never used RC or servos and that will be a new chapter to learn a bit about. Over the years I have seem many items of ME projects with off set cross drilled holes and it some what spoils the other good work of the builder. The whole project is a learning. But I am keen on the carbide drills. Do they go sweetly on PB and LG2 ? |
|
|
|
Post by Oily Rag on Dec 7, 2017 21:19:49 GMT
|
|
|
|
Post by Oily Rag on Dec 7, 2017 21:26:28 GMT
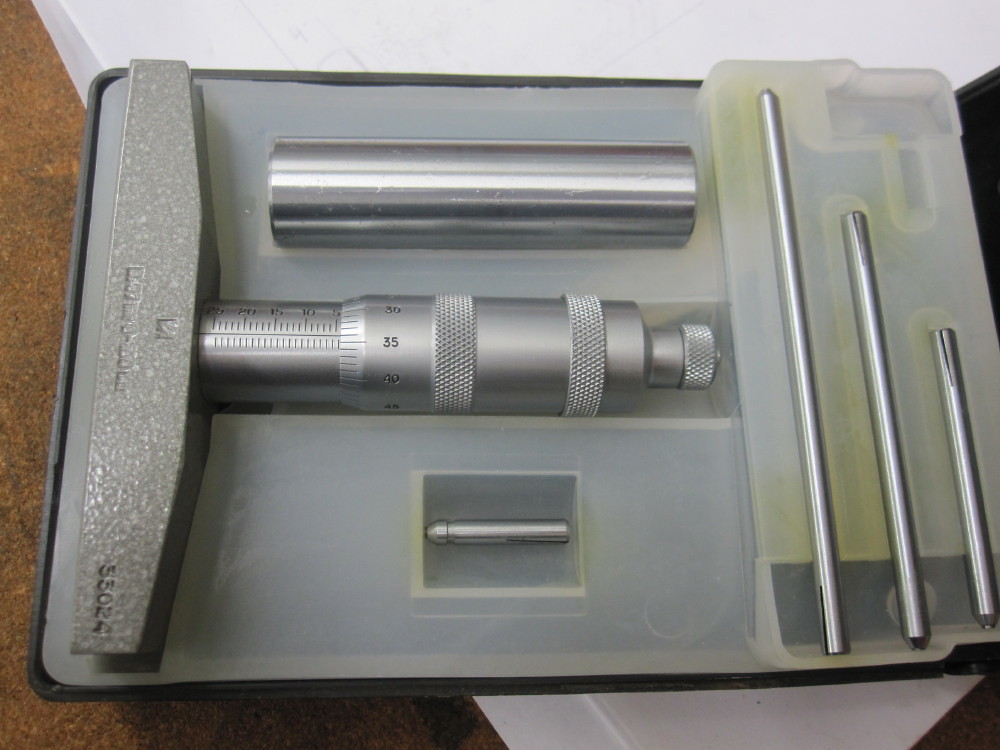
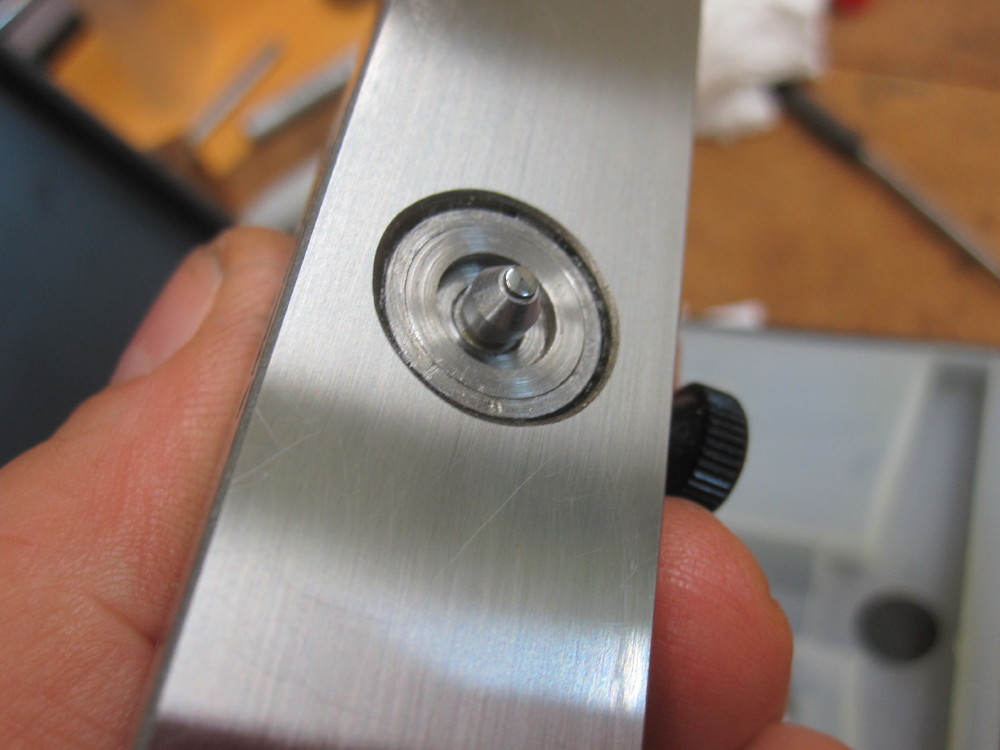
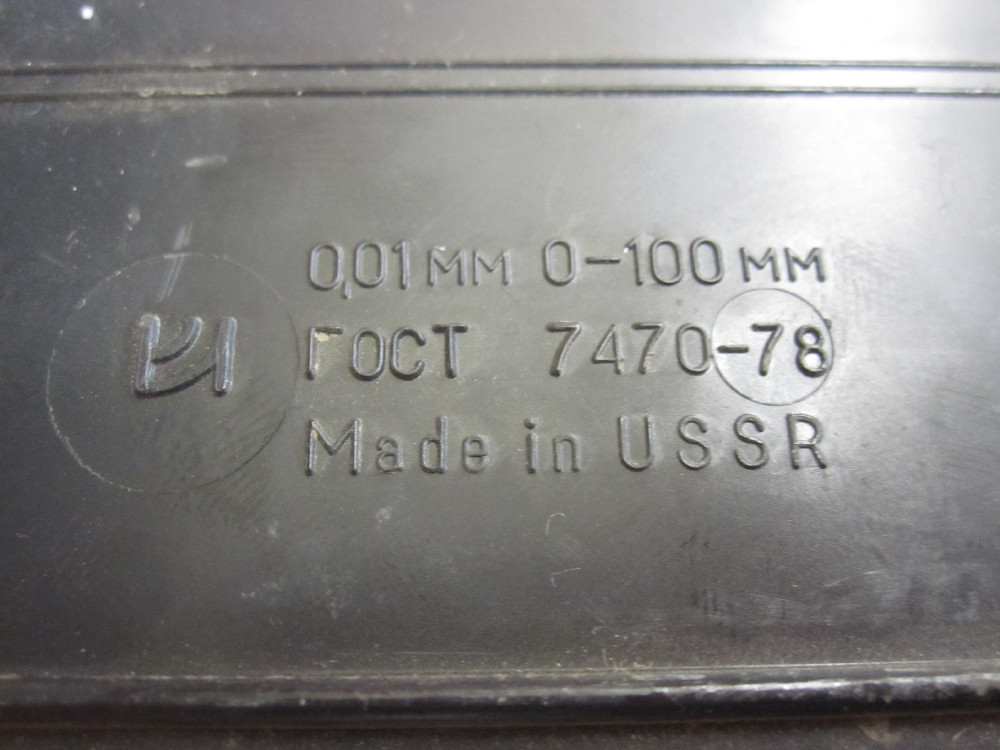
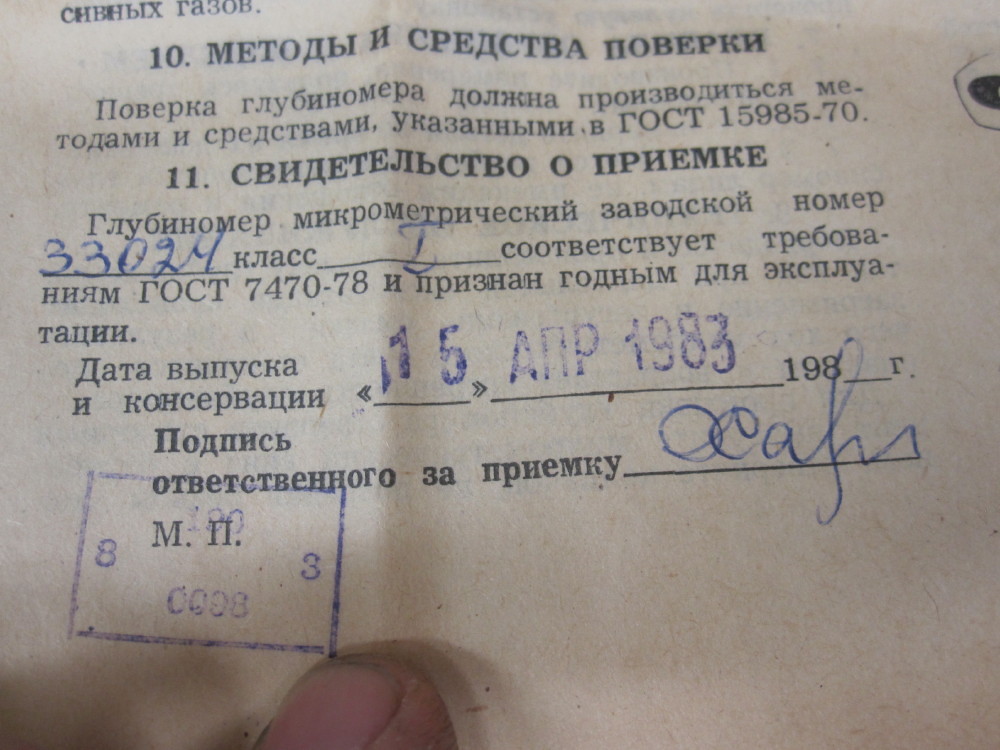
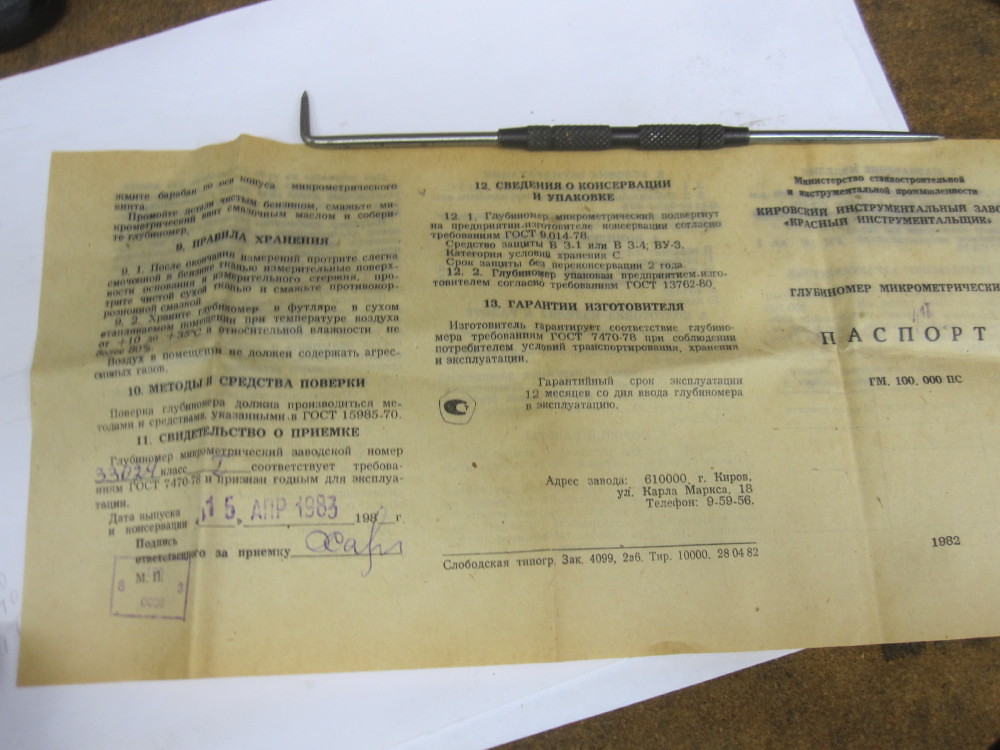
My Russian fetish continues.
Ebay, sent from Ukraine $75 aud (42 GBP) never used 1983 made in the USSR depth mic, beautifully made., I have a few Russian tools that I have got over the years and I am impressed with the quality ! This one has Carbide tips on the rods! A lovely bit of kit ! One can find good things on ebay.
|
|
|
|
Post by Roger on Dec 7, 2017 22:04:33 GMT
That's a neat little drill jig, but if you use Carbide PCB drills, you can do them without a drill jig at all because they are so much more rigid and sharper too. If you've got a lot of them to do, then fair enough, use a drill jig, but for one offs, give Carbide a try, you won't be disappointed. You just have to take that initial touch slowly to let it centre and bite, then drill gently through.
One thing that was cool was locating the centre, I touched off the vice jaw and located the centre of the 6.35mm square jiggy (which was drilled 2.40mm in the lathe in the 3 jaw using a split bush to hold. )
I have mentioned lately that I am in love with DRO ?
I then drilled the jig, then with out upsetting the "Y" I then drilled the rod which was lightly clamped with 8BA screws. Now the trick was I had a hole for the operating pin that was to be 90 degrees to the drain holes, so I remove the jig, put in two more clamp screws removed the previous two screws and then refitted to the vice flipped 90 degrees. This way the rod stayed fixed to the jig, the clamp screws are upper most and I get 90 degrees via the square section. Maybe over kill but I wanted to chase the accuracy and keep the holes dead centre. It all has to move smoothly with RC servos and I have never used RC or servos and that will be a new chapter to learn a bit about. Over the years I have seem many items of ME projects with off set cross drilled holes and it some what spoils the other good work of the builder. The whole project is a learning. But I am keen on the carbide drills. Do they go sweetly on PB and LG2 ?Indeed I am, PCB drills are stupidly cheap because they are used in their millions. You can use them for anything, you can even drill hardened ball bearings if you want. Just don't try to drill Silicon Nitride ones though. I used them to drill through the hardened bushes in the connecting rods where I'd forgotten to add the oil hole. The trick with PCB drills is to not run them too fast and be very gently with the infeed. You don't need lubricant, in fact I find that it tends to hinder the removal of swarf. HSS drills need to be kept cutting really, else the edge gets rubbed off and then they don't want to cut. Carbide on the other hand is so hard that you can feed it slowly and it can turn the material to dust. I'm not saying that you can't create curly swarf, but being a bit too heavy handed can break the drill. If you're going slowly and it breaks, you can usually just pull the broken bit out with your fingers because it's not wound in tightly to the chip that caused it to break. Maybe I'm too cautious, but usually the drills are pretty small so there's always a risk they'll break. I don't think I've ever broken one and not been able to get the bit out. Any method that gets the holes central gets my vote, it's a perennial problem and so annoying when it doesn't go right. I'm a fan of drill jigs for that, but sometimes it's not practical to use one or simply not necessary. I don't know the relative stiffness of Carbide compared to HSS, but they are a completely different animal. You're making a cracking job of this, I must say. |
|
|
|
Post by Oily Rag on Dec 8, 2017 2:30:46 GMT
Rodger, I used the .50mm Carbide drill for my oil holes on the rods as per your instructions and it worked a treat. I bought some more sets of different sizes and yes, they are so cheap, it is hard to believe it is possible, including postage! Ebay inspired by your posts. Cheers Dazza
|
|
|
|
Post by Cro on Dec 8, 2017 8:46:24 GMT
Rodger, I used the .50mm Carbide drill for my oil holes on the rods as per your instructions and it worked a treat. I bought some more sets of different sizes and yes, they are so cheap, it is hard to believe it is possible, including postage! Ebay inspired by your posts. Cheers Dazza Likewise I have been using them myself and they are wonderful! I now have a range from 0.3mm up to 1mm in 0.1 steps and a variety between 1-1.5mm. Now I just need to make up a little laser cut frame to hold all the cases in. Great work Dazza, lovely little engine you are making. Adam |
|
|
|
Post by Oily Rag on Dec 9, 2017 20:32:14 GMT
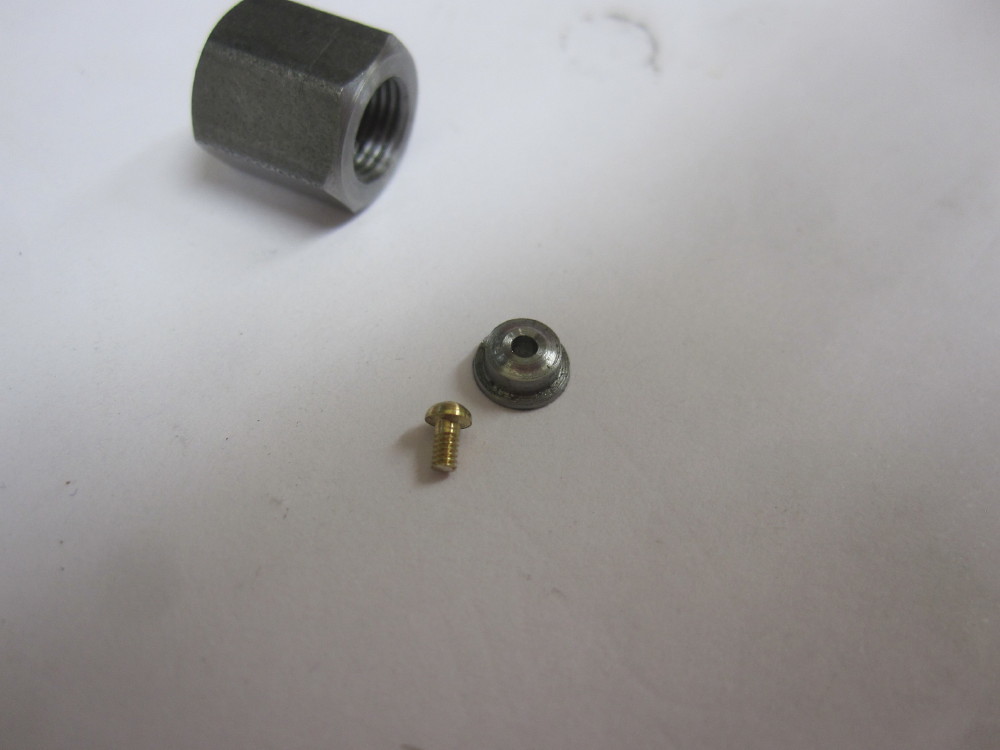
Test run for the cylinder cladding. No mention of it the text but it appears in some drawings and some pictures. So I made a cladding punch with a 1.30mm HSS drill shank, shoved into a hole in a small piece of steel that was drilled 1.30mm and rubbed it over 600 grit to get a nice flat square end.
0.20mm brass sheet, bingo, that works.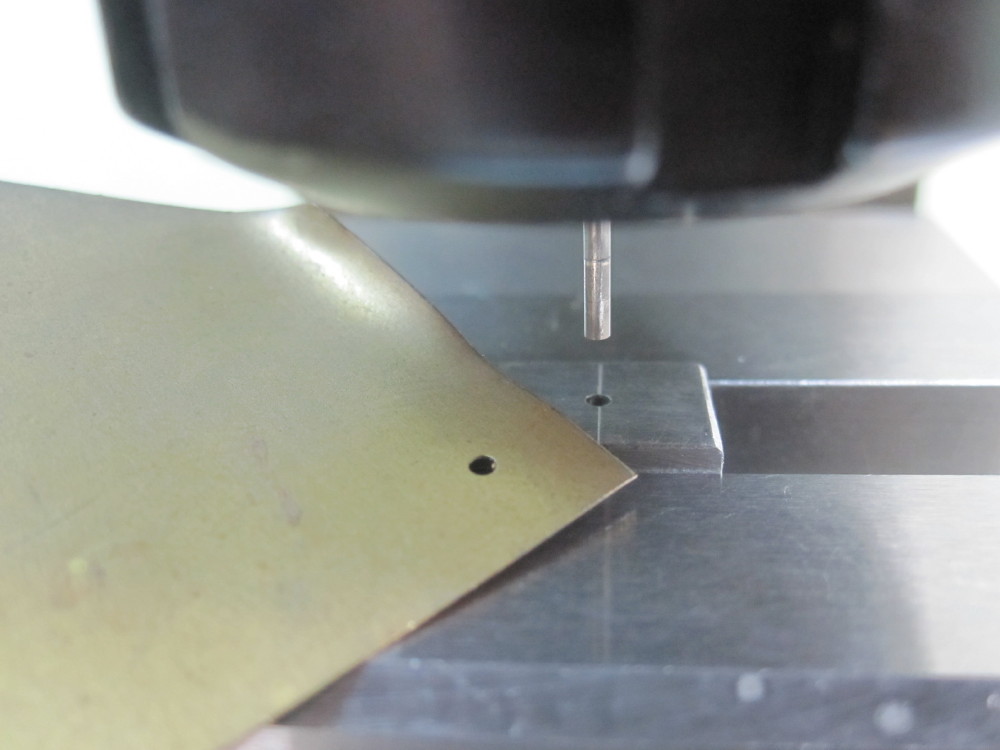 next next
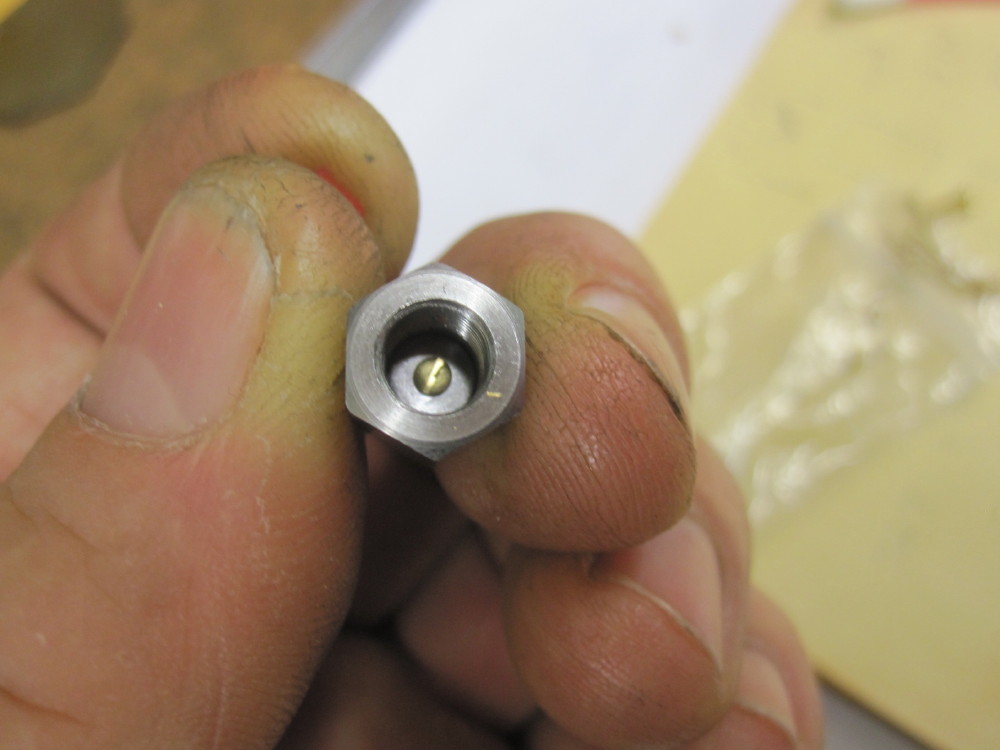
The 12BA brass cladding screws needed to be shortened.
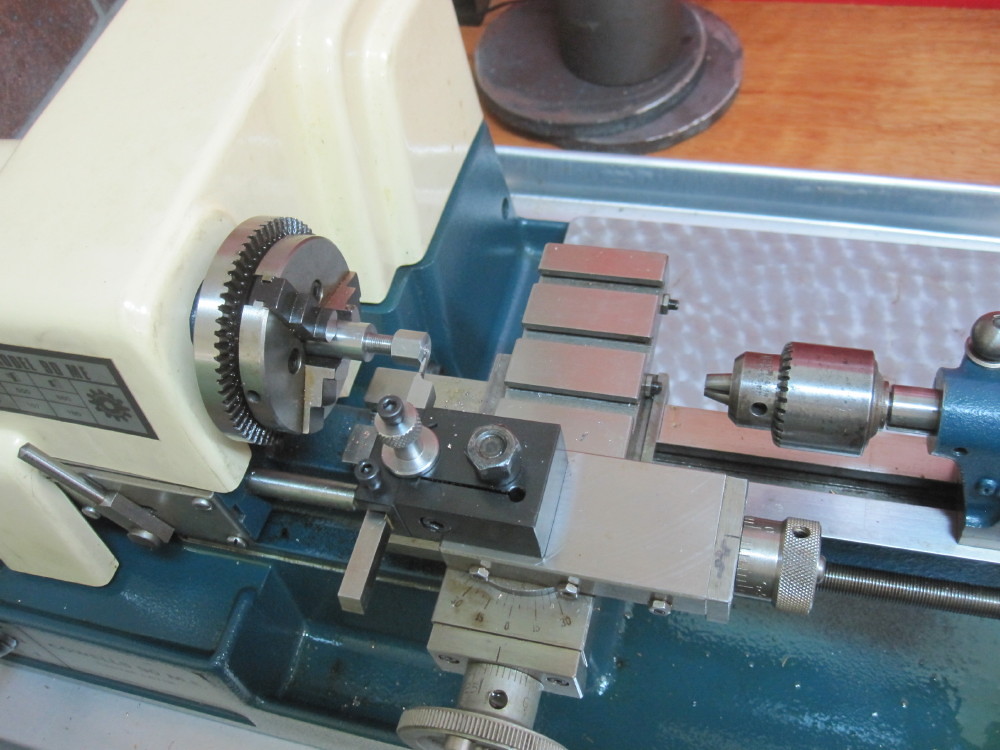
Made a 12BA holding bush for the "SST" (screw shortening thingymajiggy)
As I screw the nut on firmly for the first time I am thinking, that has surely flattened the little round head of the brass screw.
YEP! Squished.
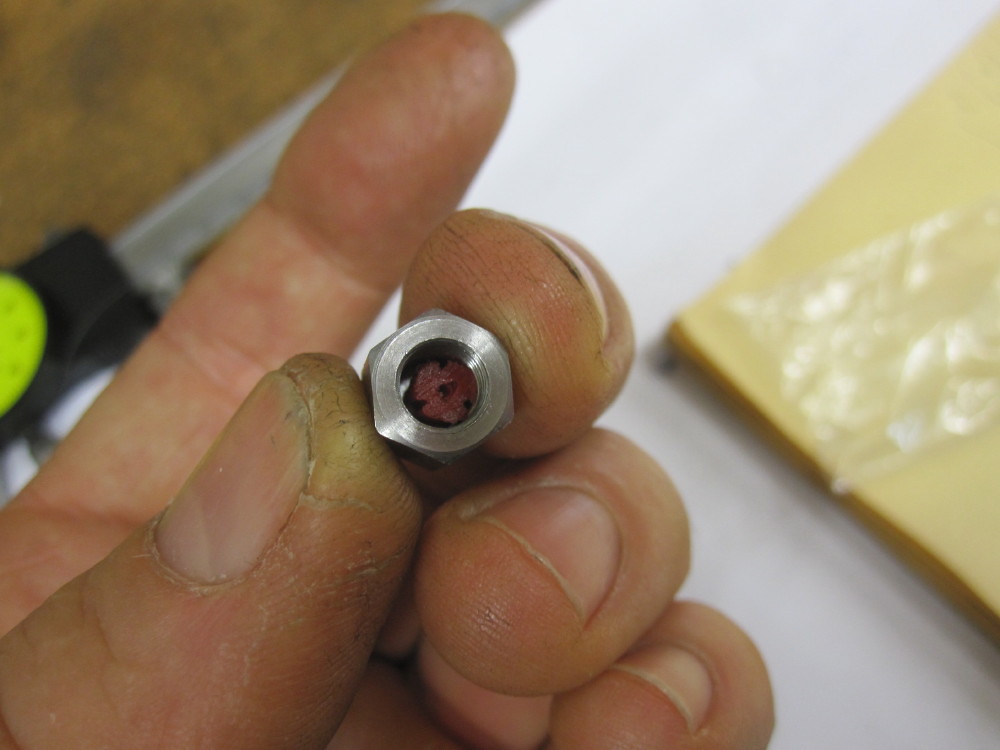
SO I cut an old masonary plug up and used the plastic to cushion the head.
That worked. Yesterday was another day of a Westinghouse brake Course I am doing, single car testing procedures at a heritage railway.
Today is drill the cylinder assembly and cut cladding.
|
|
|
|
Post by steamer5 on Dec 9, 2017 22:00:25 GMT
Hi Dazza,
Nice progress! Nice thinking outside the box on the punch, did something simallar when I was making the hand rail bases for Toby, I made mine duel purpose, hole to punch for the rail itself to go thru & a couple of small ball bearings with coreponding dimples to press the bolt heads into the sheet at the same time. Great tip on shortening the screws, wouldn’t of thought it would squeeze the head.
Oh on another note one of my 6” Digital Verne’s has caught your disease! It lost the little plate at the outer end, so far the gnomes haven’t found anything else to give it back!
Cheers Kerrin
|
|
|
|
Post by Oily Rag on Dec 10, 2017 21:27:32 GMT
Dazza's tip for today.
Do not drop 12 BA taps. Finding it on the floor was not a problem, well I found half of it :-(
So only one of the eight cladding screw holes was completed. This for me is the first 12 BA taped hole and the smallest I have ever done. 14 BA must be nail biting. 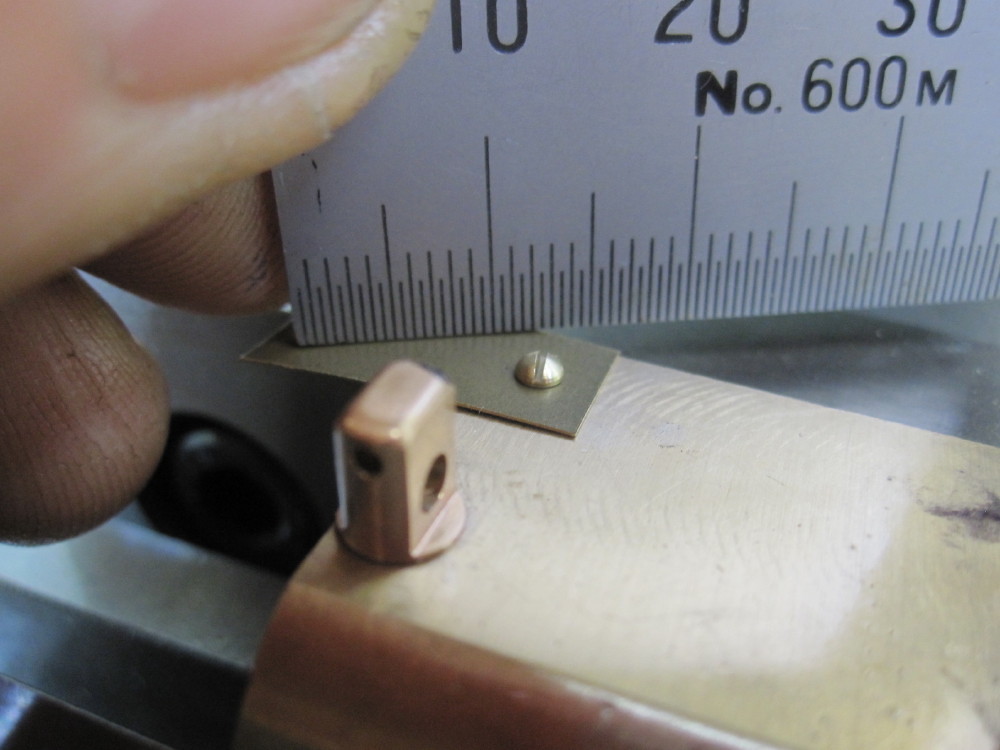 So it was onto the motion bracket. I redesigned the valve gear and the motion bracket was much altered. So it was onto the motion bracket. I redesigned the valve gear and the motion bracket was much altered.
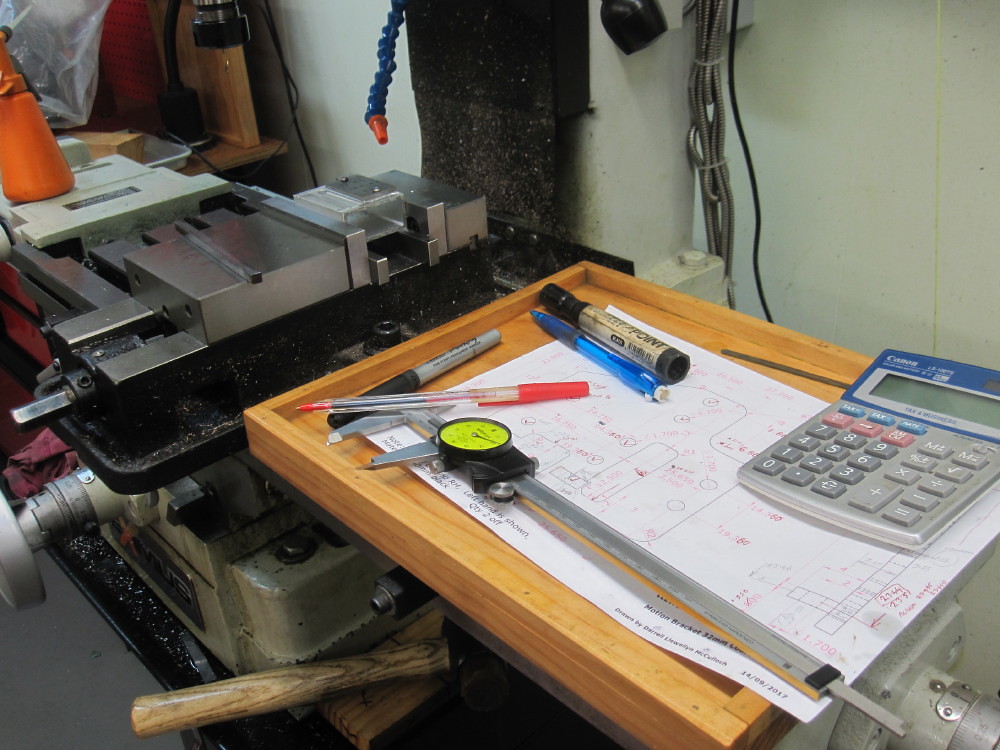
Bolted two 1.55 mm plates onto a alloy holding piece, milled the edges to give me a register and had started the drilling.
Have I mentioned lately how much I love my DRO ?
However I still carefully mark out, just for my own sanity checks . One can make very accurate mistakes with DRO.
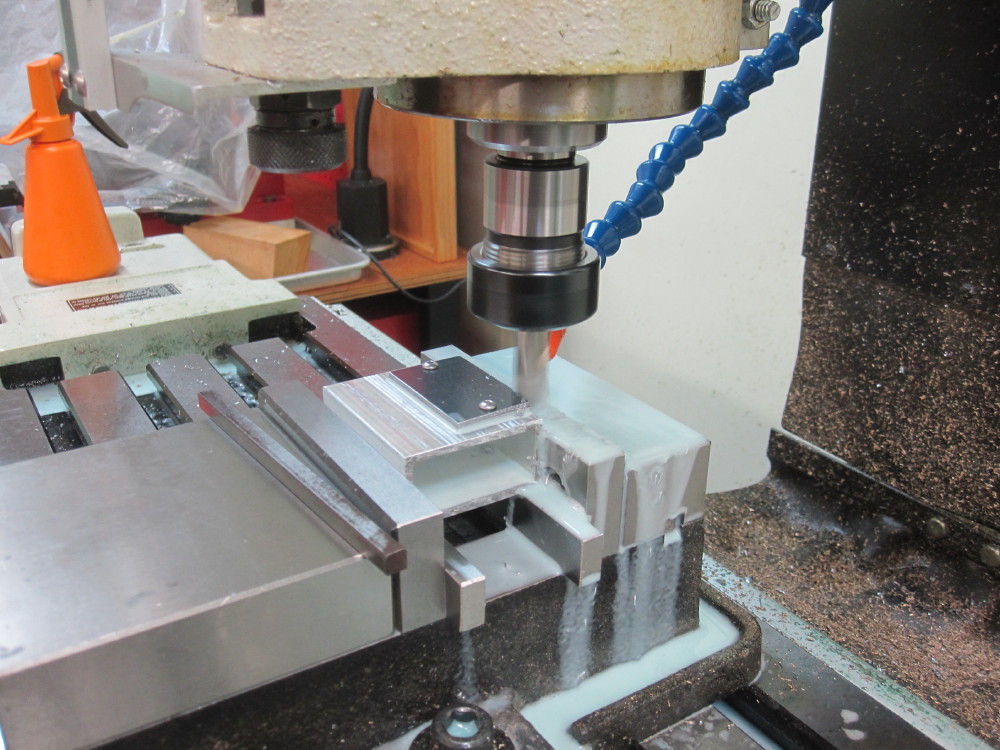
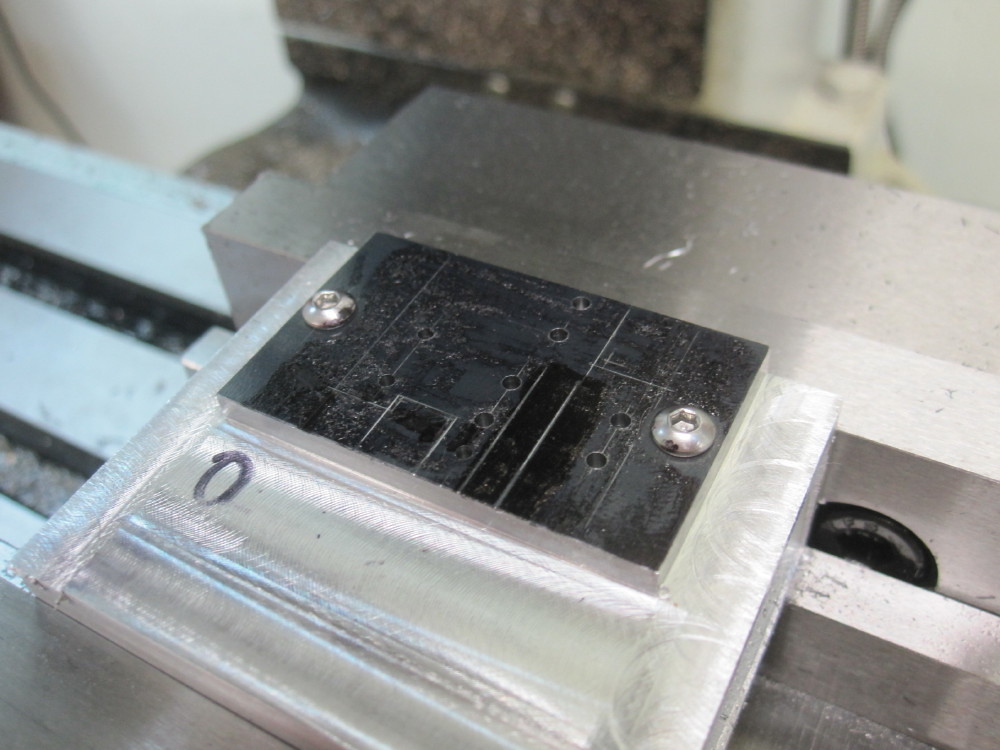
|
|
|
|
Post by simplyloco on Dec 10, 2017 21:43:17 GMT
12 BA? That's on the large side of small when you are attempting a semi scale 1/16th Brit. My running board cladding is held on with 1.2mm bolts. If I drop one on the 1cm thick rubber floor i say good bye to it and hope that I can find it in the vacuum cleaner bag!
Nice work and Merry Christmas!
John
|
|
|
|
Post by Oily Rag on Dec 11, 2017 1:09:11 GMT
12 BA? That's on the large side of small when you are attempting a semi scale 1/16th Brit. My running board cladding is held on with 1.2mm bolts. If I drop one on the 1cm thick rubber floor i say good bye to it and hope that I can find it in the vacuum cleaner bag! Nice work and Merry Christmas! John
and if you drop and lose one of those, it costs more than its weight in gold.
I have replacement HSS 12 BA taps on their way and I found some bargains via the ebay inspiration from Rodger. |
|
|
|
Post by Oily Rag on Dec 13, 2017 0:49:30 GMT
My 0.10mm and 0.05mm increment drills is growing, the ones modified for bronze and brass and then the ones for steel and also spare ones, the stands are full and new stands are on order via ebay. 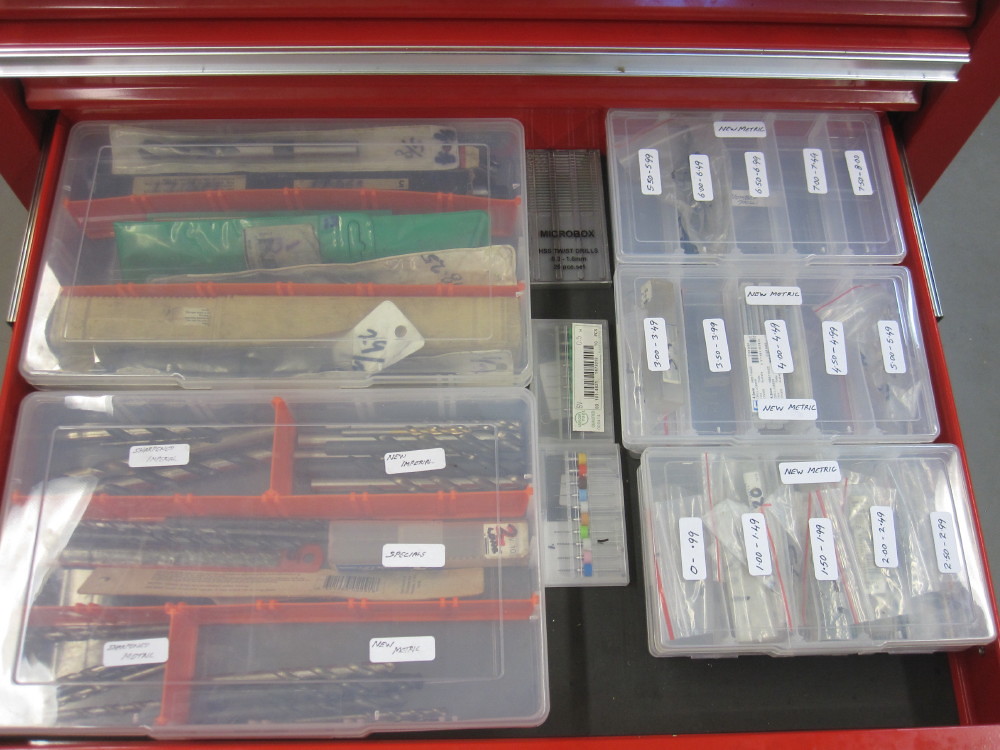 Also reorganised my stash of milling cutters aS I got some bargain ones as small as 1.00mm (30 year old UK made ones) from local industrial supplier. "Brisbane Industrial Agencies" family owned business with knowledge and they have marvelous stuff squirreled away in corners. Also reorganised my stash of milling cutters aS I got some bargain ones as small as 1.00mm (30 year old UK made ones) from local industrial supplier. "Brisbane Industrial Agencies" family owned business with knowledge and they have marvelous stuff squirreled away in corners.
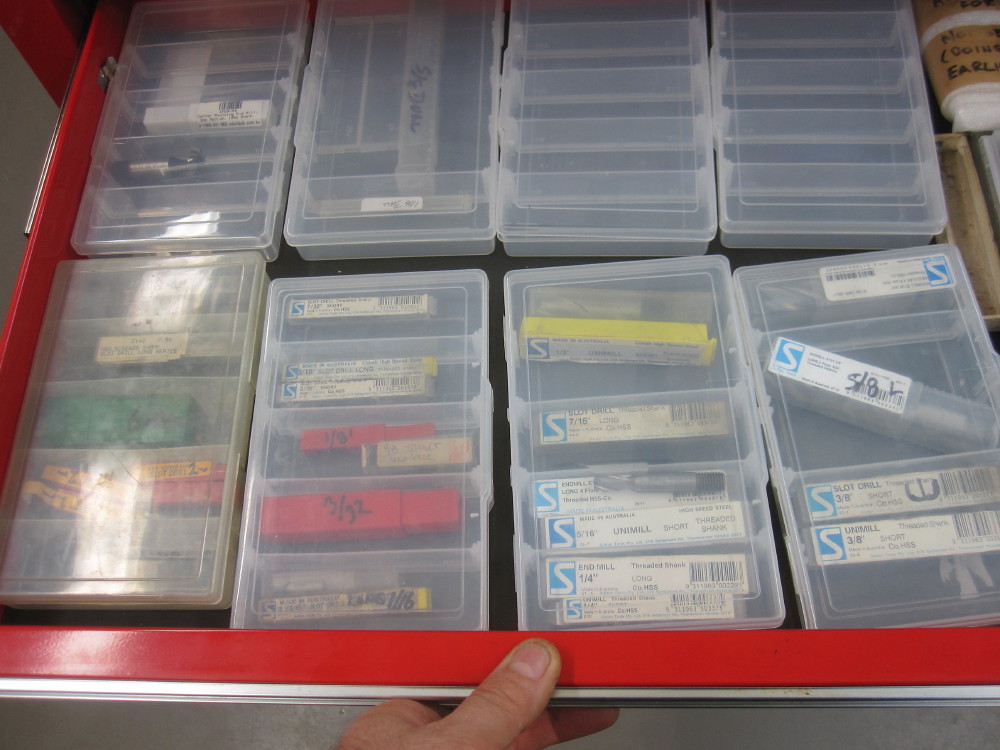 Last night was the 2.00 and the 1/16" slot drills in action, going around via the X Y co-ordinates using the DRO, The last past was .0.10mm reverse with a climb mill pass to give a sweet finish and to avoid corner pockets. Last night was the 2.00 and the 1/16" slot drills in action, going around via the X Y co-ordinates using the DRO, The last past was .0.10mm reverse with a climb mill pass to give a sweet finish and to avoid corner pockets.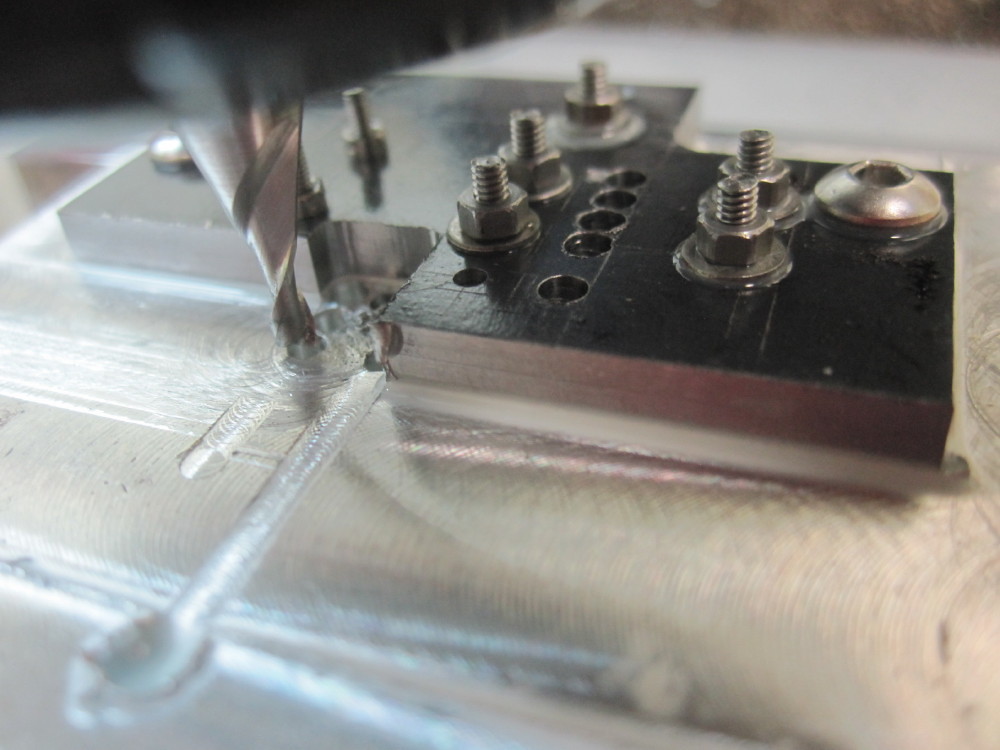 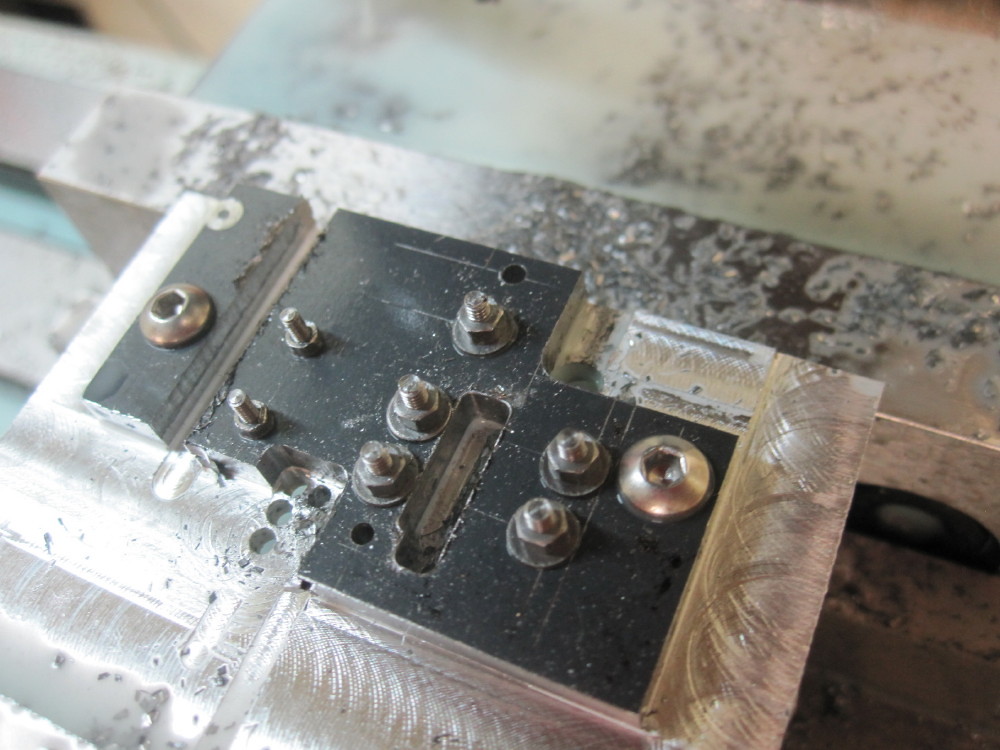 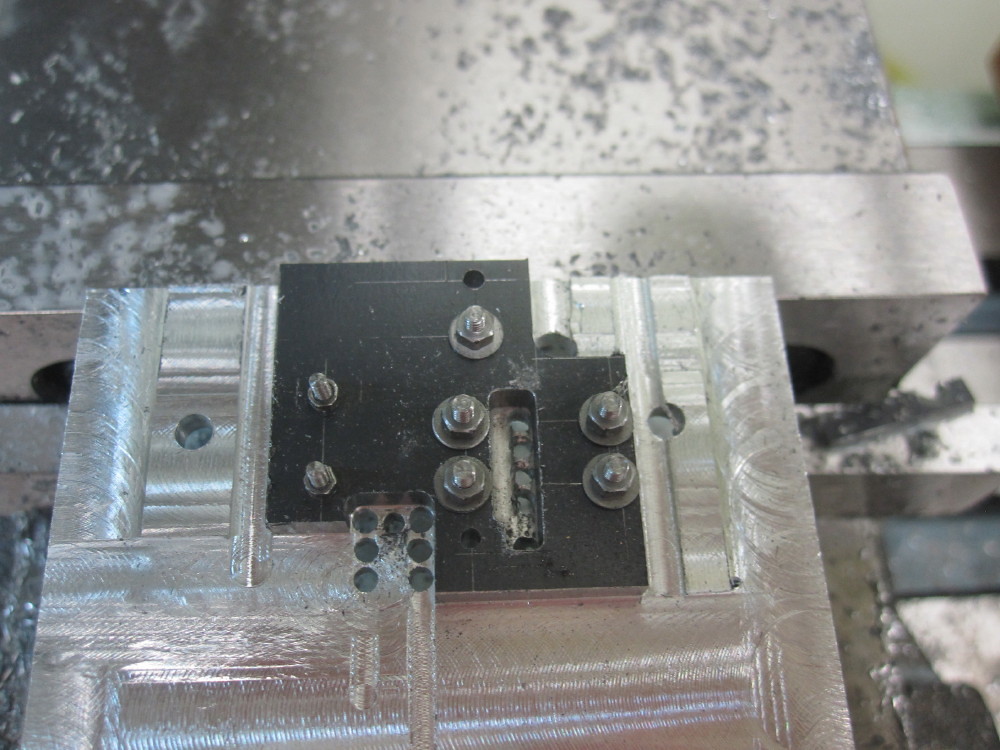 Cut the ends off, just a wee bit of filing to round corners, deburr and mill a 27 degree bit off the top. Yeah, one can mark out spot through etc etc, drill and file, but it was fun to mill and after 32 years I have some nice little collection of tools to enjoy. Cut the ends off, just a wee bit of filing to round corners, deburr and mill a 27 degree bit off the top. Yeah, one can mark out spot through etc etc, drill and file, but it was fun to mill and after 32 years I have some nice little collection of tools to enjoy.
Some will notice this all very different than B. Wilson's design, I did a fair bit redesign and corrections, we will see if I have a winner or ............
|
|
|
|
Post by Oily Rag on Dec 14, 2017 20:55:48 GMT
While the English struggled with the new ball and survived at the Wakka I made the slide bar support. I have deviated from B.Wilson's drawings with my redesign as I have added a separate slide bar rather than a bent up piece of the motion bracket. The only reason I am doing this is just for my aesthetic tastes. I intend to braze the support to the motion bracket then trim and mill and drill. I have some gauge plate to cut and polish for the slide bar. 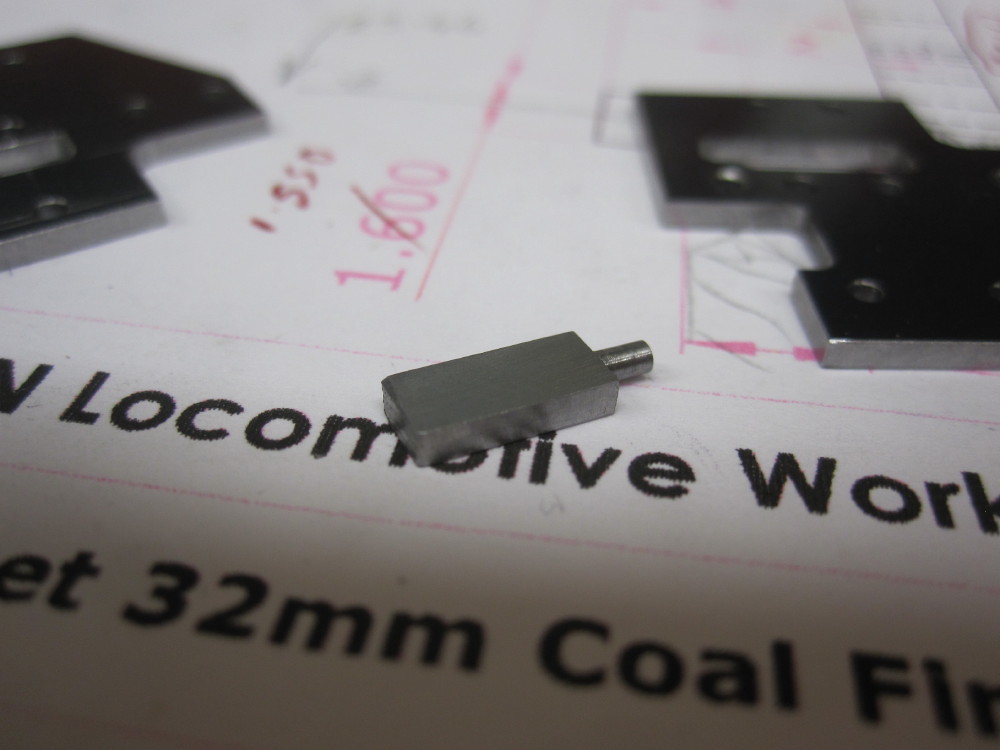
It started as 1/4" round and I turned the 1.50mm pip and then to the mill. It will be trimmed to length after brazing.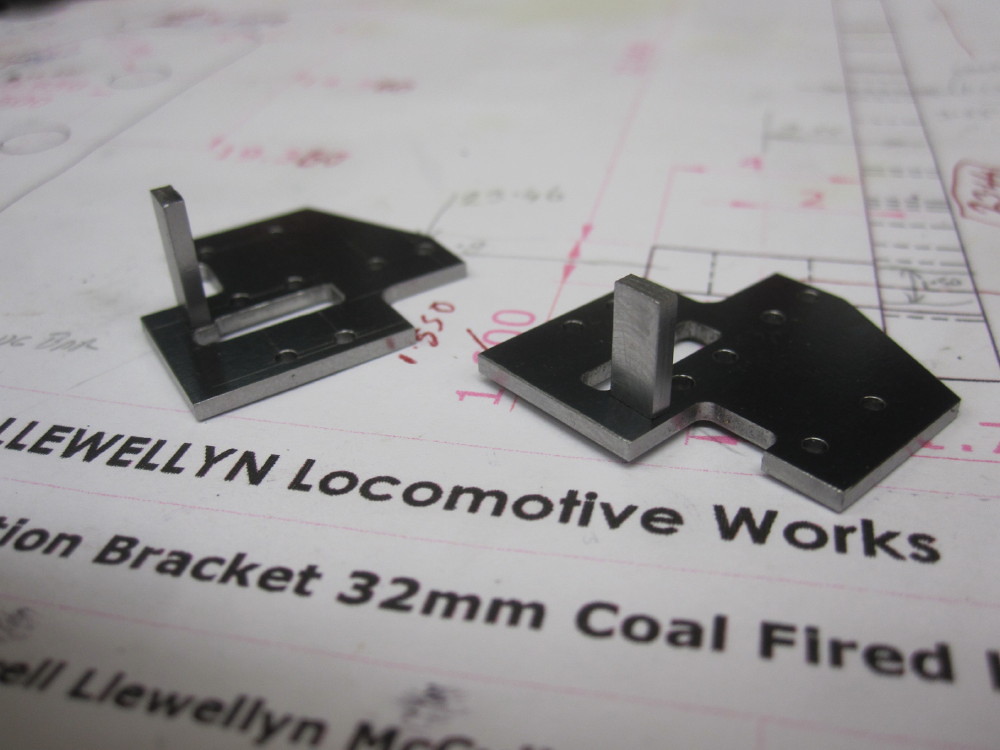
|
|