jools
E-xcellent poster
  
Posts: 200
|
Post by jools on Dec 15, 2017 23:33:26 GMT
Hi Dazza
going back to your rotary table set up, what adaptor and chuck did you use to fit it ?
cheers
Jools
|
|
|
|
Post by Oily Rag on Dec 16, 2017 1:27:21 GMT
Hi Dazza going back to your rotary table set up, what adaptor and chuck did you use to fit it ? cheers Jools I got this from the Hairy Forbes supermarket www.machineryhouse.com.au/R0065I fiddled to get all to run true, well close enough. A few hours with dials etc and fiddle fiddle. |
|
|
|
Post by steamer5 on Dec 16, 2017 2:47:22 GMT
Hi Daz,
That’s a pretty good price! Funny how the price to get stuff over the ditch in the same company goes up just a large bit!
I’ve got the same table & chuck, didn’t bother with the dividing plates I just couldn’t get to grips turns plus x holes......probably just need to put in the time. Instead I built the Ward electronic rotary controller, any division at the push of a button.
Loving the build!
Cheers Kerrin
|
|
jools
E-xcellent poster
  
Posts: 200
|
Post by jools on Dec 16, 2017 4:06:10 GMT
Kerrin
its supposedly the most expensive bit of water to ship anything across.....my removal costs from Hawera to Sydney were near on the same as from UK to New Zealand !
|
|
jools
E-xcellent poster
  
Posts: 200
|
Post by jools on Dec 16, 2017 4:07:01 GMT
Hi Dazza going back to your rotary table set up, what adaptor and chuck did you use to fit it ? cheers Jools I got this from the Hairy Forbes supermarket www.machineryhouse.com.au/R0065I fiddled to get all to run true, well close enough. A few hours with dials etc and fiddle fiddle. Cheers Dazza, must go for a browse.......... |
|
|
|
Post by steamer5 on Dec 16, 2017 4:46:07 GMT
Hi Jools,
Yep anybody would think it was a million miles not 1500! The castings for my Garratt were going to be cheep compared to the shipping! In the end I got free shipping on one of the tankers that were chartered for the company I used to work for, BUT they went via Singapore so took an extra couple of weeks! They are still aging under the bench......getting closer to the top of the pile of jobs!
Cheers Kerrin
|
|
|
|
Post by Oily Rag on Dec 16, 2017 20:31:15 GMT
The motion bracket as I drew it.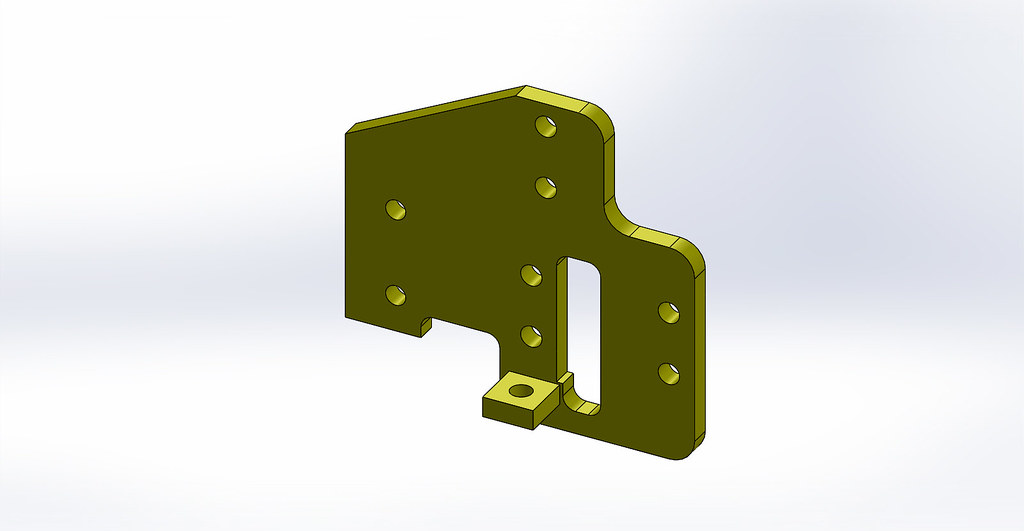 The slide bar support is brazed on with Harris 56T. Then the file with eh slip of thin paper trick us bike frame builders know ;-) and 600 grit. The slide bar support is brazed on with Harris 56T. Then the file with eh slip of thin paper trick us bike frame builders know ;-) and 600 grit.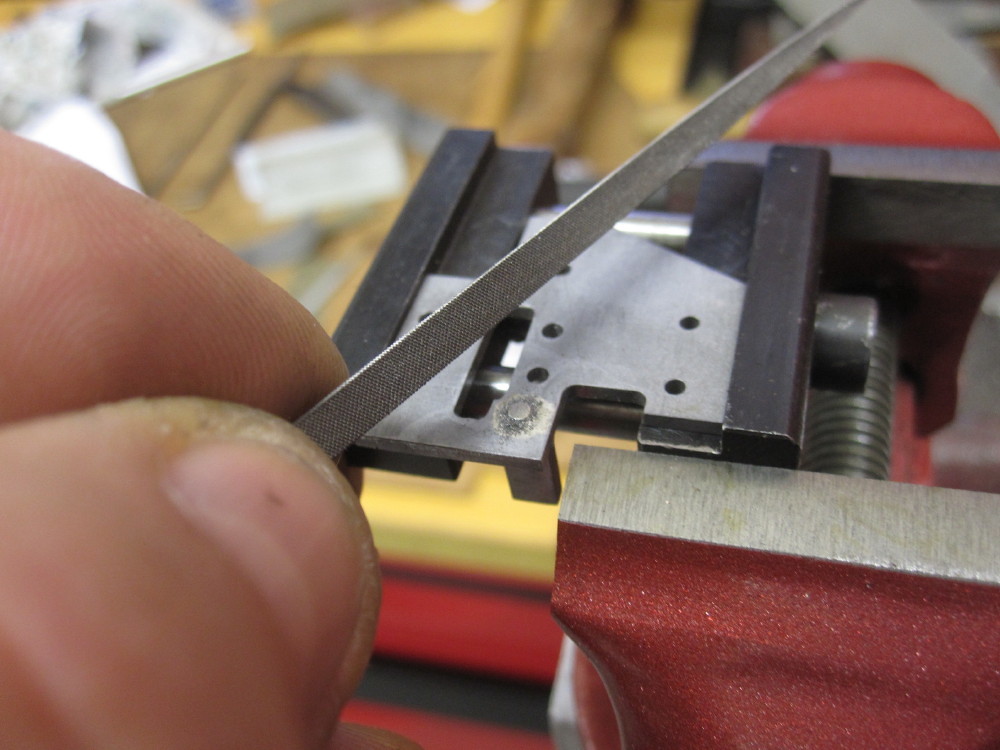
I also grazed the surface of the support post brazing with the MB set up in the mill is ensure the slide bar sits true.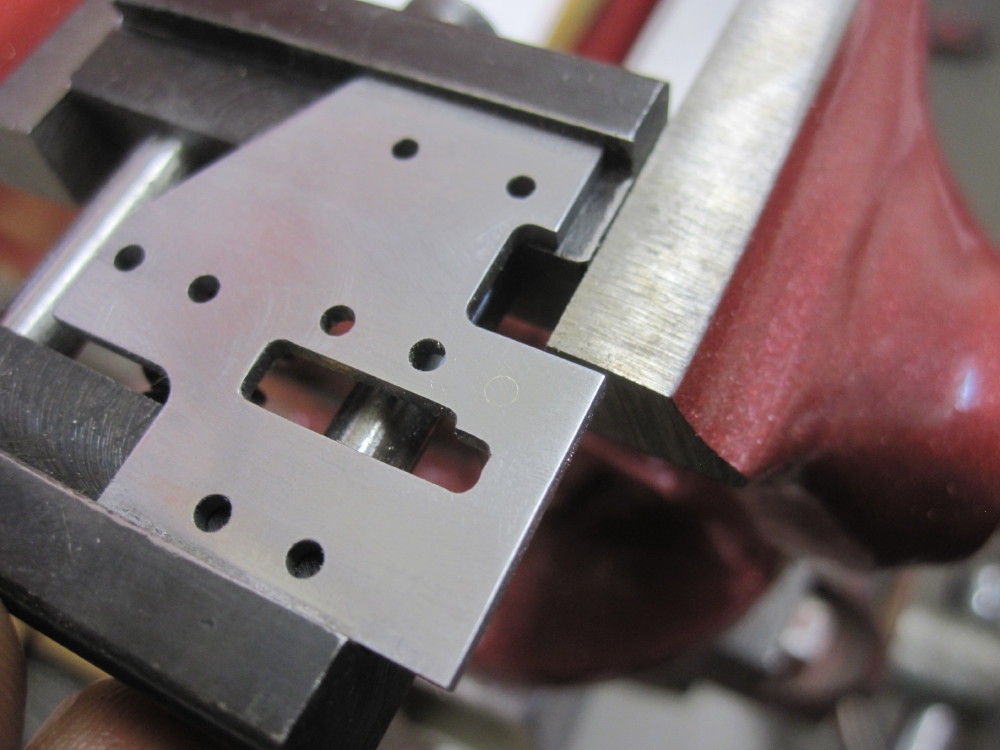
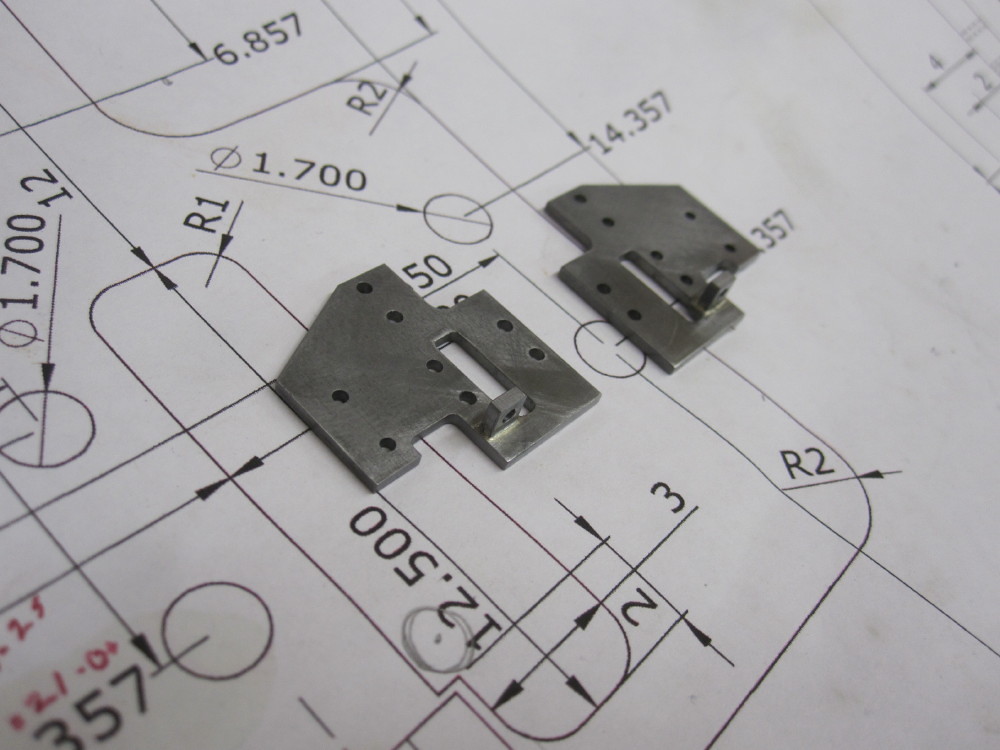
Just have to round off three corners and they are done.
 While listening to Smithy and Marsh bat forever I got the cladding screw holes taped 12 BA. Did not drop and break one this time. While listening to Smithy and Marsh bat forever I got the cladding screw holes taped 12 BA. Did not drop and break one this time.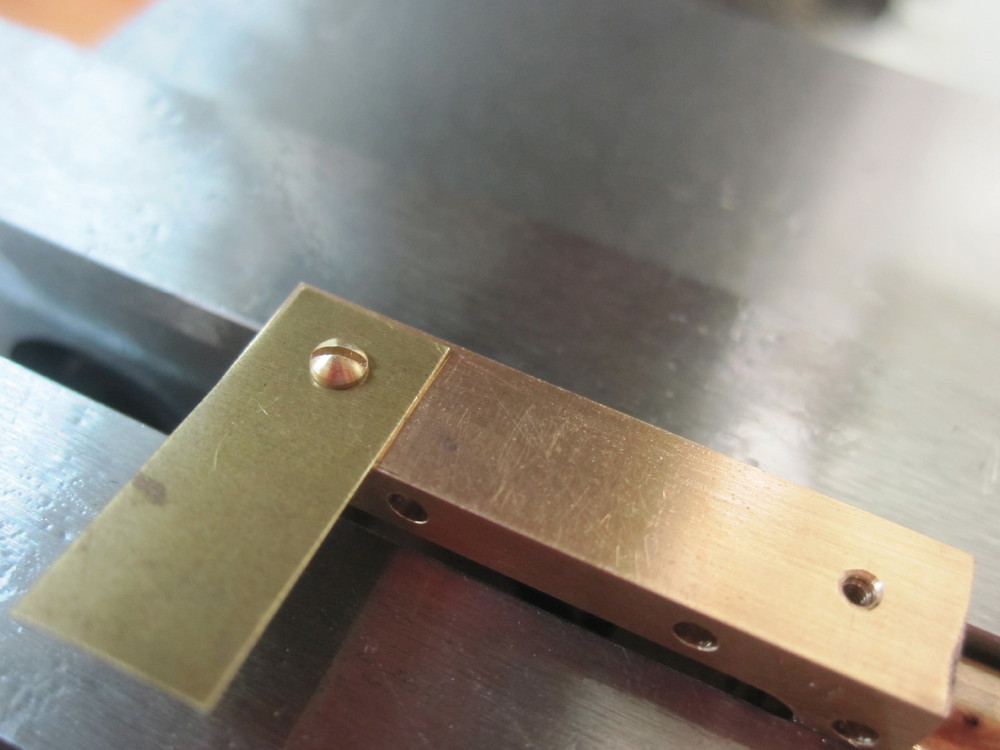
|
|
|
|
Post by Roger on Dec 16, 2017 21:39:24 GMT
Super neat as always, a very nice job.
|
|
|
|
Post by Oily Rag on Dec 19, 2017 19:15:44 GMT
Another problem with the drawings concerns the motion bracket mounting angle, 8 BA screw heads ( mount to frame) fouling with the the rivets, unless the rivets are countersunk, which is what I am going to do. There is no mention of this in the text and the drawings show a straight through hole with no countersink. I missed this on my redraw, there is plenty of room to sort this but alas too late for me. Rather annoyed at myself for missing this. The CAD drawings show what seems to be just the rivet shank with no head on one end. I suspect more and more the CAD drawings were done by hired help rather than by the designer.
Valve Rod and cross head brazed and cleaned up. 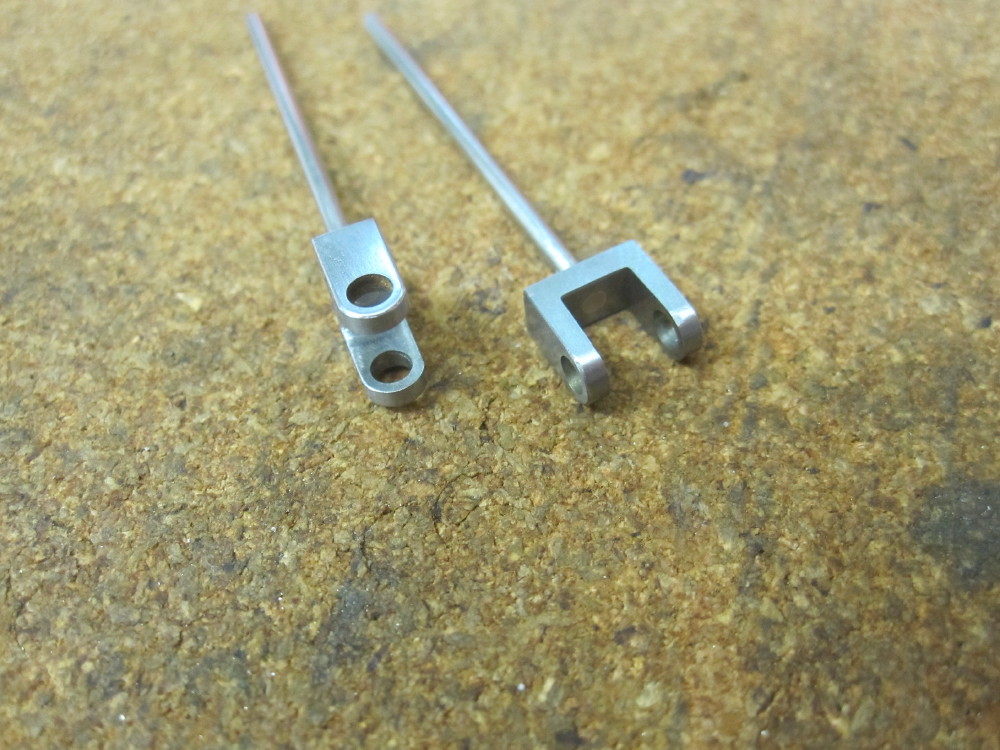
|
|
|
|
Post by Oily Rag on Dec 20, 2017 11:36:37 GMT
Brazing Gunmetal and pickling. I have brazed stainless steel and steel butted tubing for 40 years in my chosen path of professional expression. The pic is an M5 water bottle boss on a bike frame with the flux washed off. 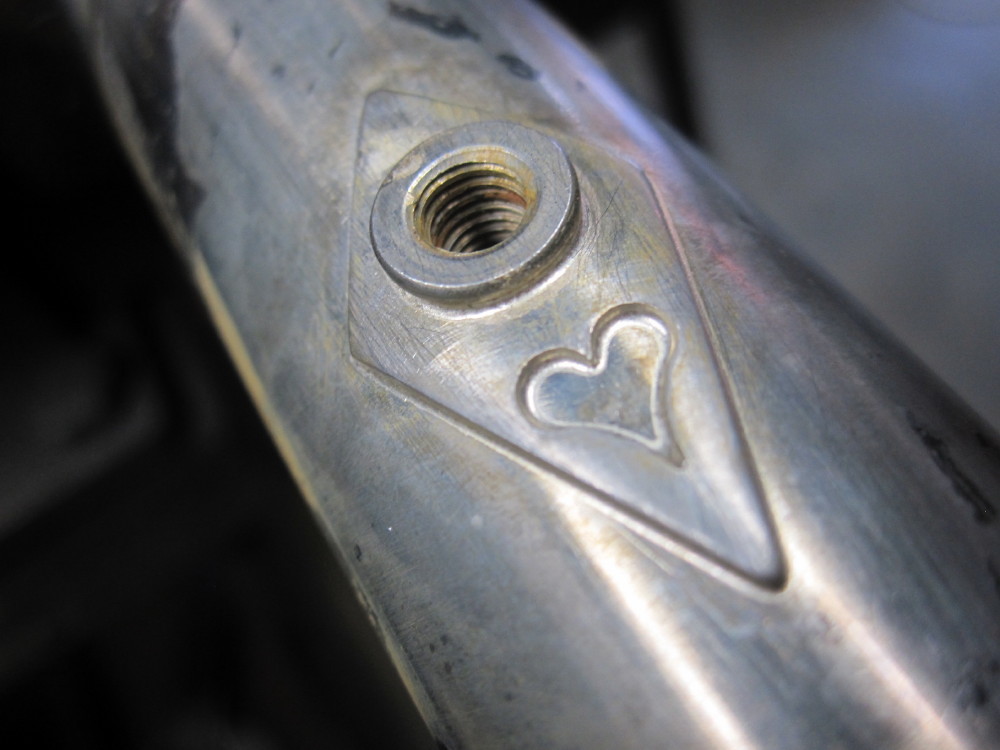 With steel the flux (Harris or Cycle Design) stays put and covers the metal through out the cook-up maintaining a good coverage. Pic is a stainless logo onto steel head tube, still hot.  I have just silver brazed 1/8" copper tube to the gunmetal steam chests and I notice the flux behaves differently to steel. I cannot recall ever brazing copper and or gunmetal before, strange that may seem. I notice the flux thins out and it seems to evaporate! Like it was much too thin and weak. This surprised me. I got acceptable joints but...............I reckon I can do better I then pickled in a fresh made citric acid solution (food grade) and it was a strong brew so I can soak for 5 -10 mins. ( not interested in over night soaks) (my steel frames are washed in hot water and then pickled for an hour in a tank with a phosphoric Kitchen de-scaler brew) It all turns to coppery colour which seemed quite deep when rubbed with 1000 grit. What is the colour change about ?
It seemed to change to this colour post brazing and before pickling.
The pic is a gunmetal steam chest post brazing and pickling and a gunmetal cylinder with PB drains.
Is this normal ?
 |
|
|
|
Post by Roger on Dec 20, 2017 14:20:33 GMT
Hi Dazza,
The flux goes watery and clear but I wouldn't say it's evaporated when I've seen it. What grade did you use?
With regard to the colour change, my theory is that this only happens when you get it too hot. If doesn't seem to affect the part though.
If you're using 55% Silver, you barely need the part to be red hot, it will melt almost at the point where the first redness appears. You do have to get the part a lot hotter if you intend to bring the cold Silver Solder to the joint and expect it to melt. If you wrap a thin wire of it around the joint and cover it with flux, you won't need to get it anywhere near as hot.
There's no reason why you can't leave Bronze parts as long as you like in the Citric Acid. Just don't do it with Steel parts like I did!
|
|
|
|
Post by Oily Rag on Dec 20, 2017 19:58:03 GMT
Hi Dazza, The flux goes watery and clear but I wouldn't say it's evaporated when I've seen it. What grade did you use? With regard to the colour change, my theory is that this only happens when you get it too hot. If doesn't seem to affect the part though. If you're using 55% Silver, you barely need the part to be red hot, it will melt almost at the point where the first redness appears. You do have to get the part a lot hotter if you intend to bring the cold Silver Solder to the joint and expect it to melt. If you wrap a thin wire of it around the joint and cover it with flux, you won't need to get it anywhere near as hot. There's no reason why you can't leave Bronze parts as long as you like in the Citric Acid. Just don't do it with Steel parts like I did! In low light the part did not get any colour that I could see. Warming the silver rod before the touch to the joint is normal for me, so it flows off. One brings the rod into the vicinity of the flame to get warm so the touch is smooth and go and flow. Pic is hot stainless steel lug brazed to 0.80mm wall tube, the flow is witnessed from inside the lug, so the joint is full right through. Not just a shore line braze! Harris 56 T and Cycle Design Stainless Lite flux. (good brew!)  with flux washed off in hot water 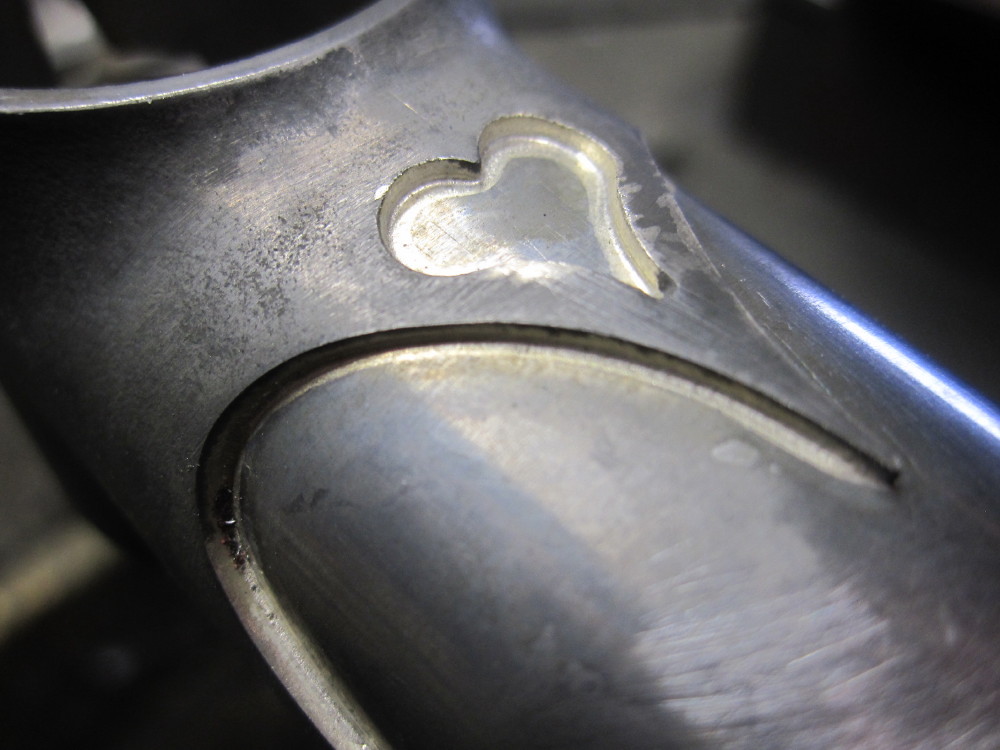 I want to nail the non ferrous brazing, I want a neat boiler etc. I am going to do some tests with gunmetal, first a series of various heat and then brazing using different fluxes. |
|
|
|
Post by Oily Rag on Dec 21, 2017 21:21:39 GMT
I ponder the process for the fitting of the steam chest and cover studding.
Cut down some 3/4" 10 BA screws to make the studding (the left over screw with head is saved , put away in the 10BA screw stash and can be used later for ? ) Silver steel, spot drill, jewelers saw, harden. (did not temper) Silver steel, spot drill, jewelers saw, harden. (did not temper)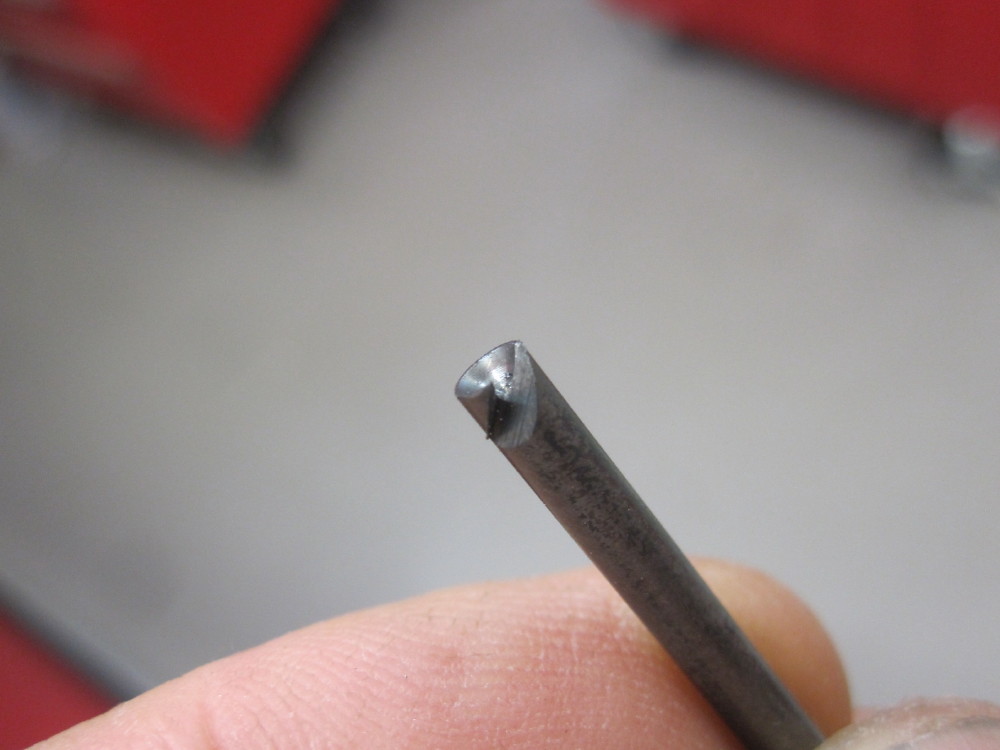 Trial of the idea Trial of the idea
Burr after cutting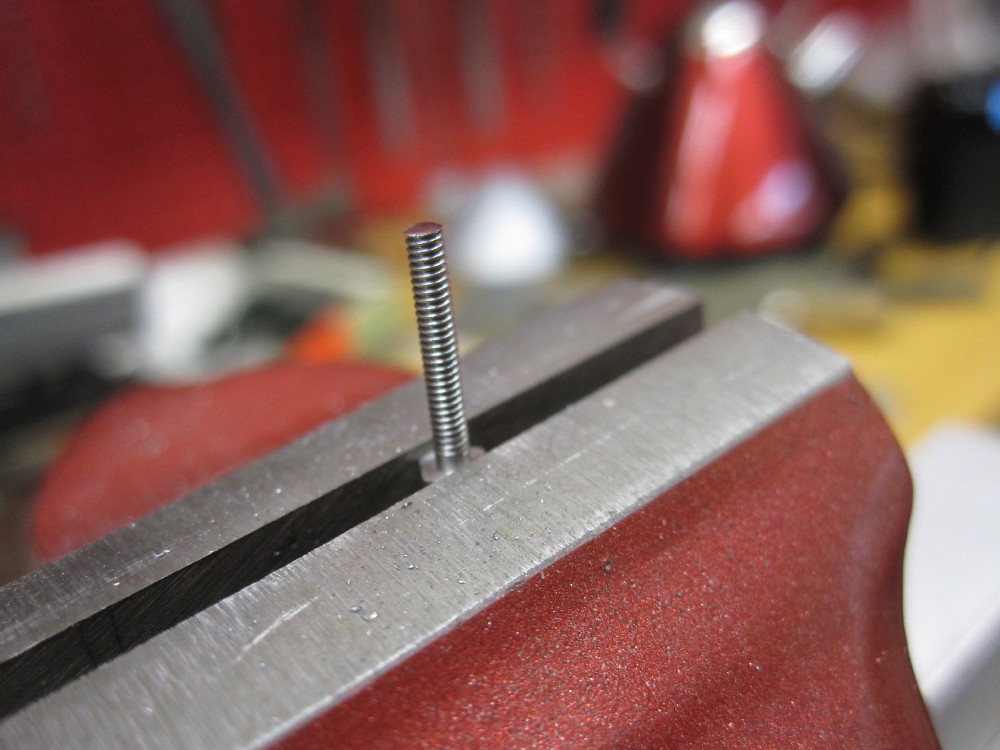 twirl between the fingers twirl between the fingers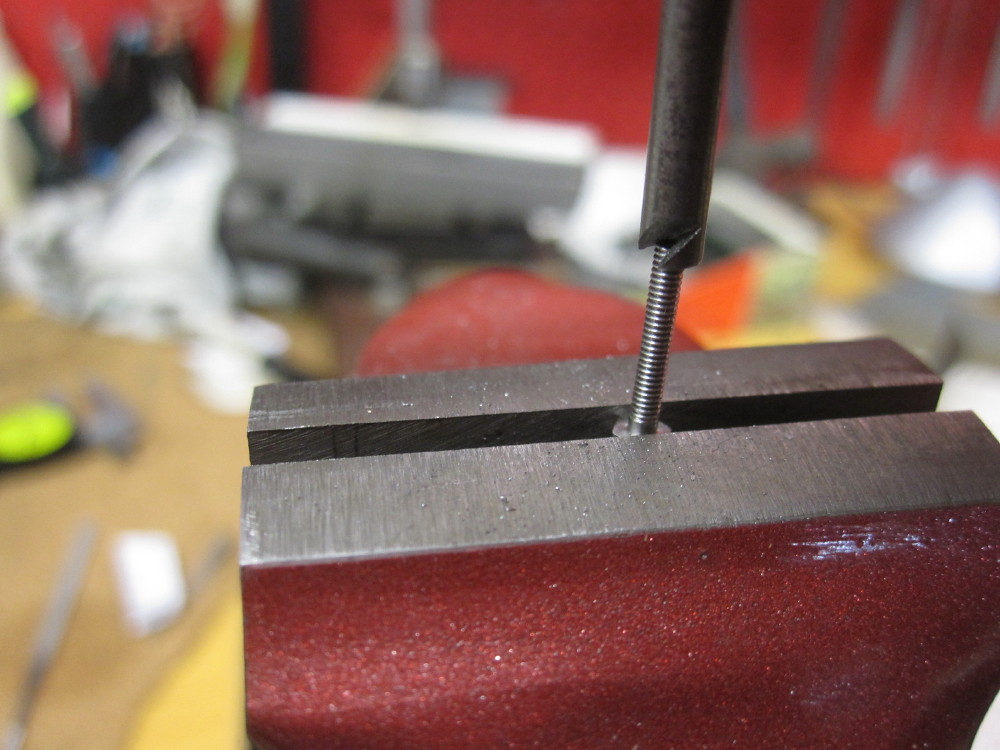 Looks OK Looks OK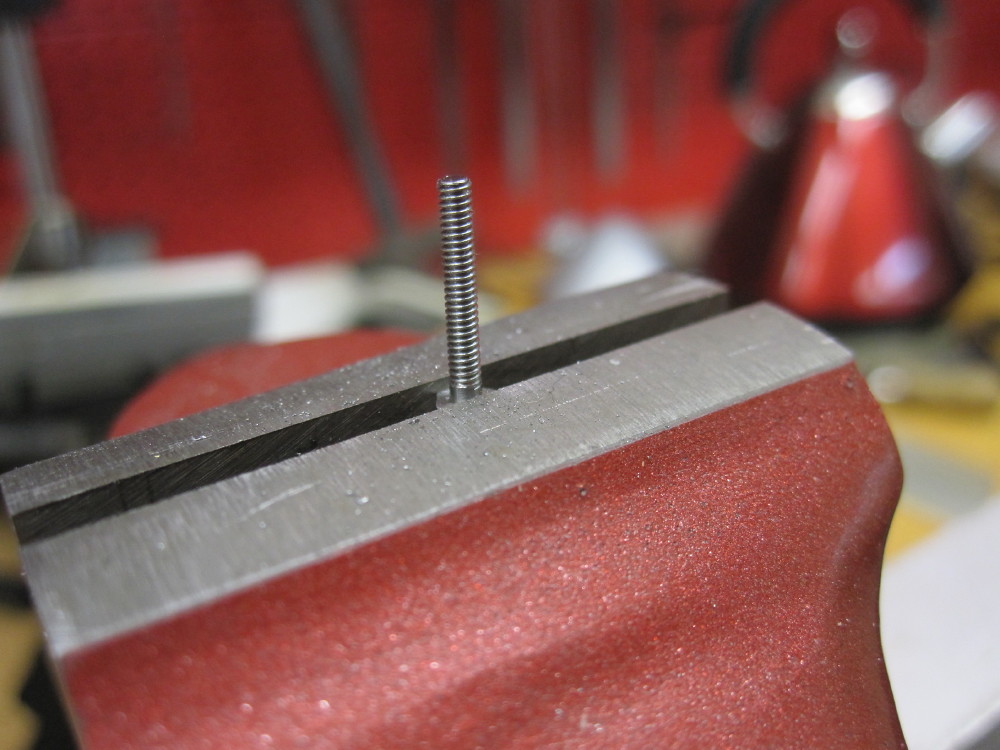 I have not seen this before but I do not claim ownership I have not seen this before but I do not claim ownership
Made a stud nut and in they go after cleaning and a drop of Loctite 263 (which is the brew the Loctite tech help suggested)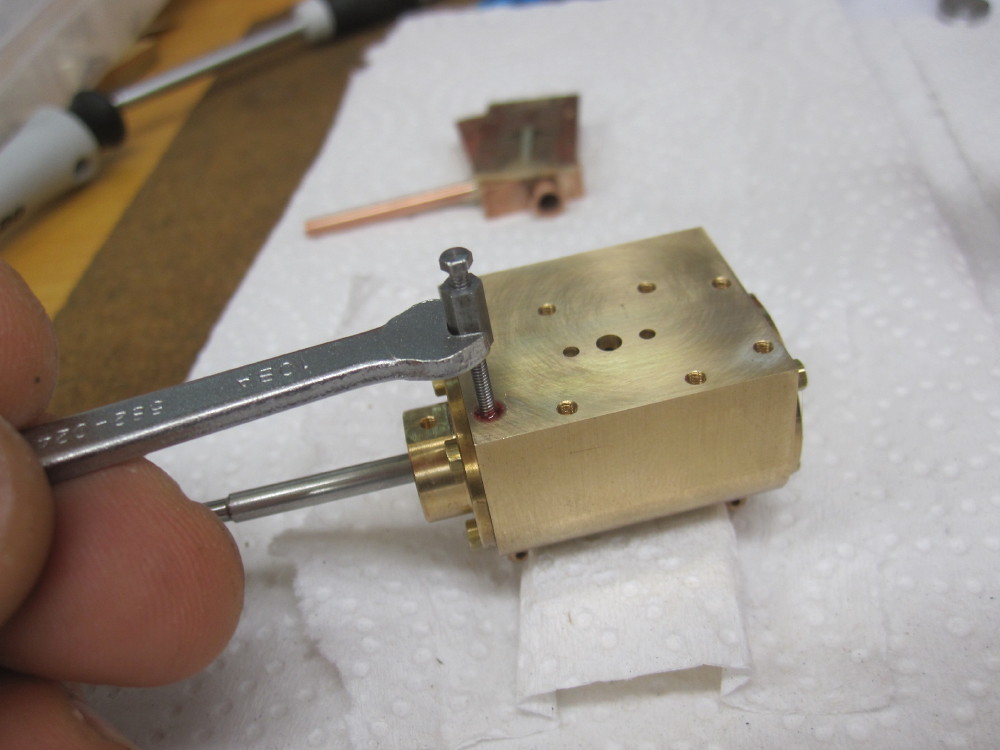 One cylinder is done. Why studs and nuts, just a whim to follow prototypical practice. More work, but what the heck. One cylinder is done. Why studs and nuts, just a whim to follow prototypical practice. More work, but what the heck. 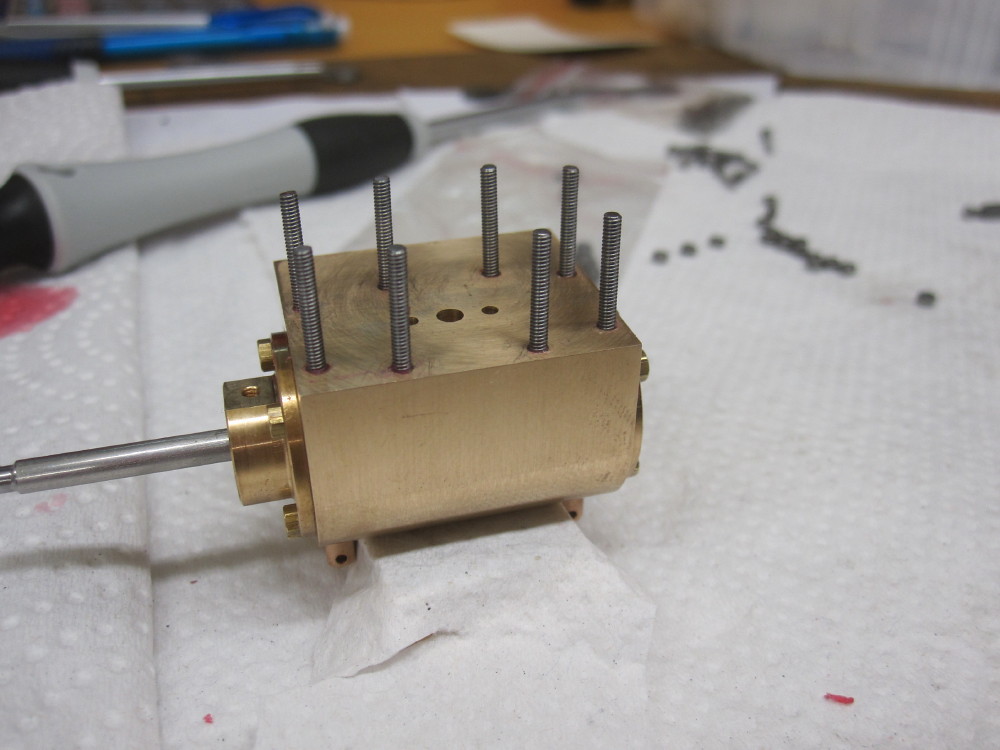 I am intending to do a final trim to height of the studding and do the twirl trick. I wanted to make a slight profile (profiled part tool process) to the end of the studds but that is hard to sort out before fitting and ensure all are within 0.10mm, to get that one and half thread turn showing about the nut when all is fitted. I am going to use Cyberbond SH55 flange sealant rather than gaskets in these small sizes. I am intending to do a final trim to height of the studding and do the twirl trick. I wanted to make a slight profile (profiled part tool process) to the end of the studds but that is hard to sort out before fitting and ensure all are within 0.10mm, to get that one and half thread turn showing about the nut when all is fitted. I am going to use Cyberbond SH55 flange sealant rather than gaskets in these small sizes.
|
|
|
|
Post by simplyloco on Dec 21, 2017 21:52:06 GMT
|
|
|
|
Post by Oily Rag on Dec 21, 2017 22:16:47 GMT
I did not see your thread about this, and I actually did give that same idea some thought, as I have a profile tool for trimming screws and studs set up in the Cowells lathe but I was not confident that the nut and loctite would be secure enough and with the short thread in the cylinder.
Perhaps I was wrong on that.
pause
Ponder
aghhhhh
As Dick" Dastardly would say"DRAT, DOUBLE DRAT, TRIPLE DRAT!"  |
|
|
|
Post by runner42 on Dec 22, 2017 7:32:30 GMT
One cylinder is done. Why studs and nuts, just a whim to follow prototypical practice. More work, but what the heck.
Studs and nuts are preferable to screws because they are more robust, you can shear a screw if over tightening but not so with nuts and studs. I don't know what locomotive you are building but if it has inside valve chests then there is no room to use screws and studs and nuts are the only solution.
Brian
|
|
|
|
Post by Oily Rag on Dec 22, 2017 20:54:34 GMT
One cylinder is done. Why studs and nuts, just a whim to follow prototypical practice. More work, but what the heck.
Studs and nuts are preferable to screws because they are more robust, you can shear a screw if over tightening but not so with nuts and studs. I don't know what locomotive you are building but if it has inside valve chests then there is no room to use screws and studs and nuts are the only solution. Brian It is a 32mm gauge coal fired RC controlled loco based on Brian Wilson's Eric, however it will be a few pages removed from the original. It is outside slide and Walshaerts. |
|
|
|
Post by Oily Rag on Dec 23, 2017 21:05:42 GMT
Mill off the top of the studs to height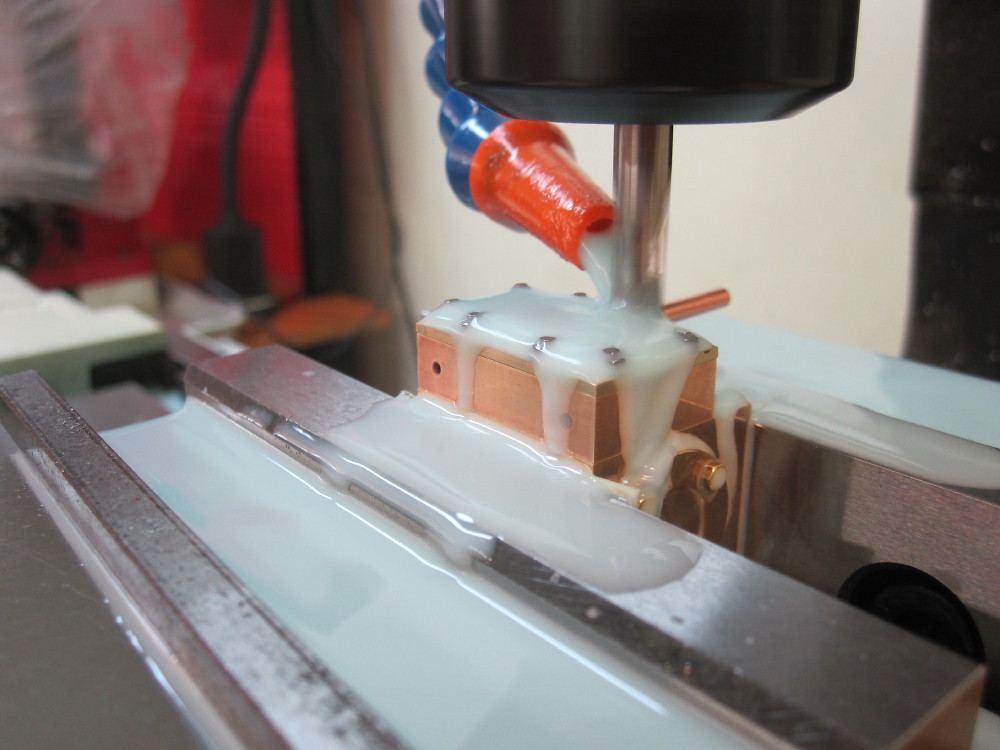 Deburring with the "DSDT" (Dazza Screw Deburring Tool) Deburring with the "DSDT" (Dazza Screw Deburring Tool)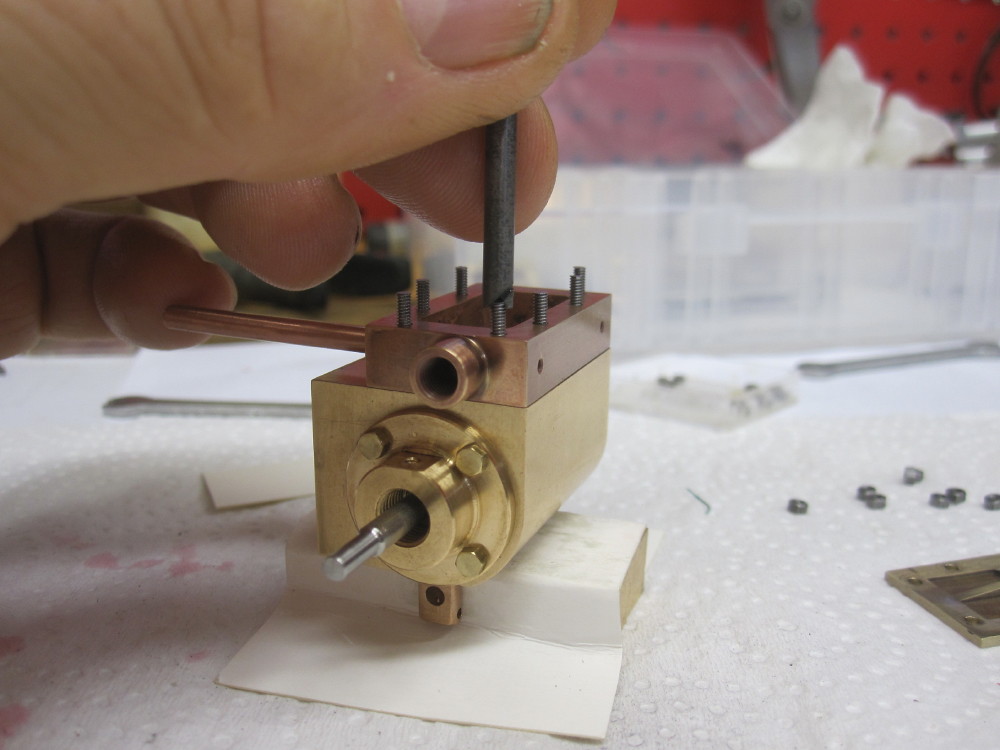 They ponder the cladding. :scratch: They ponder the cladding. :scratch:
Would look better with 6 x 12 BA cylinder end cover studs rather than 4 x 10BA bolts. Next time.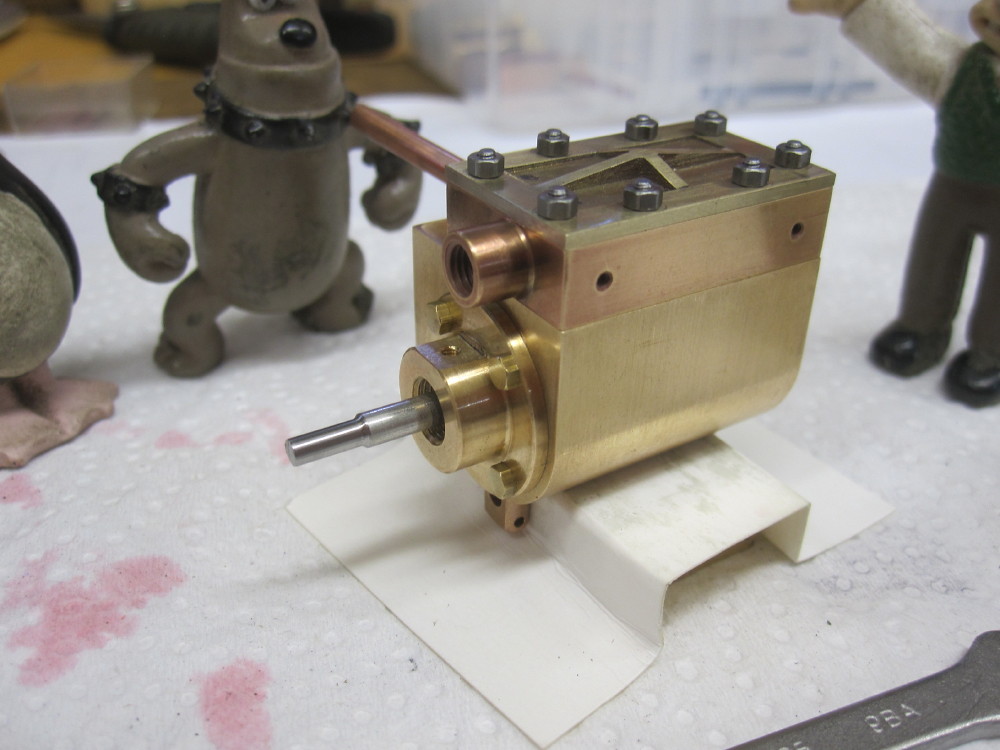 HSS 1.30mm cladding punch. HSS 1.30mm cladding punch.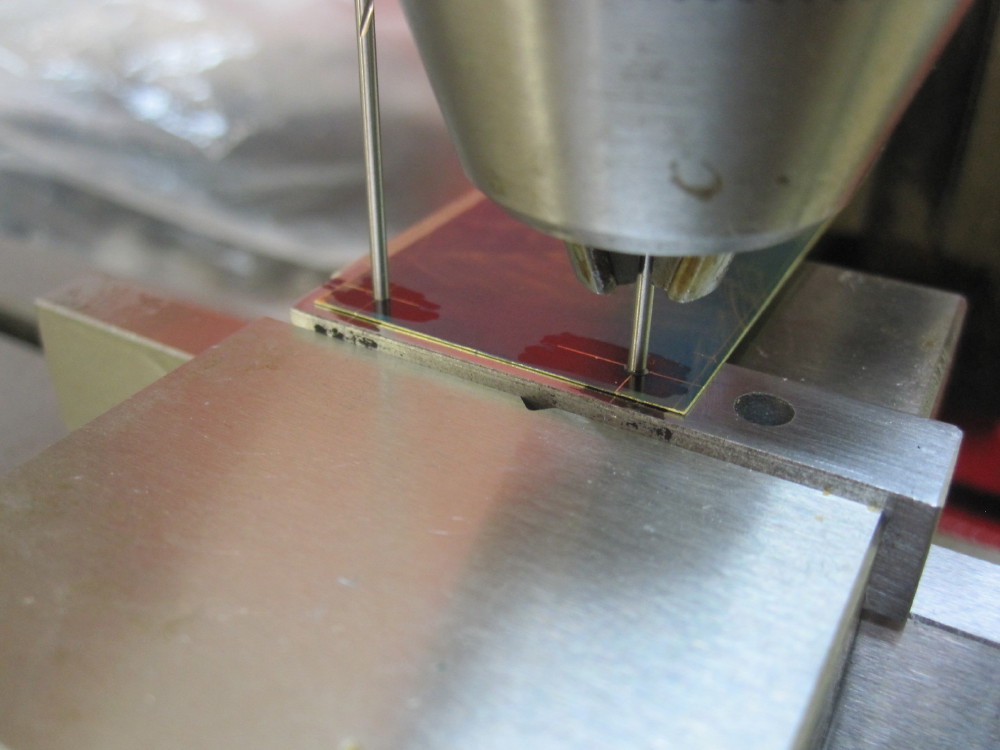 1.00 HSS with point. Chopped off from the ends of 1.00m drill shanks, the drills can still be used 1.00 HSS with point. Chopped off from the ends of 1.00m drill shanks, the drills can still be used  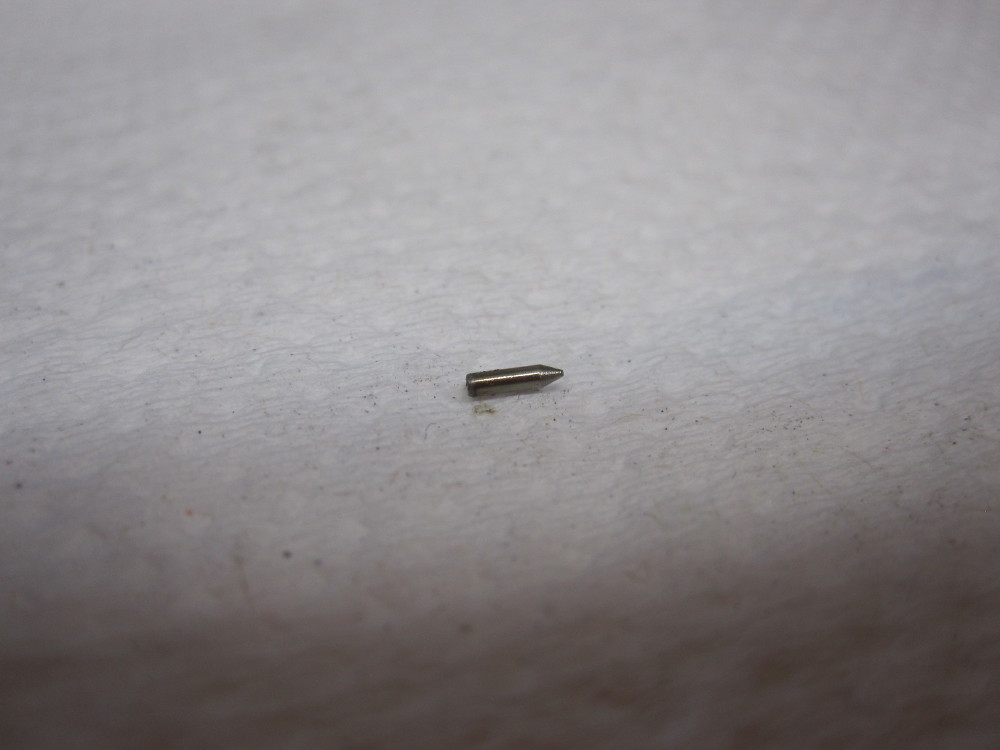 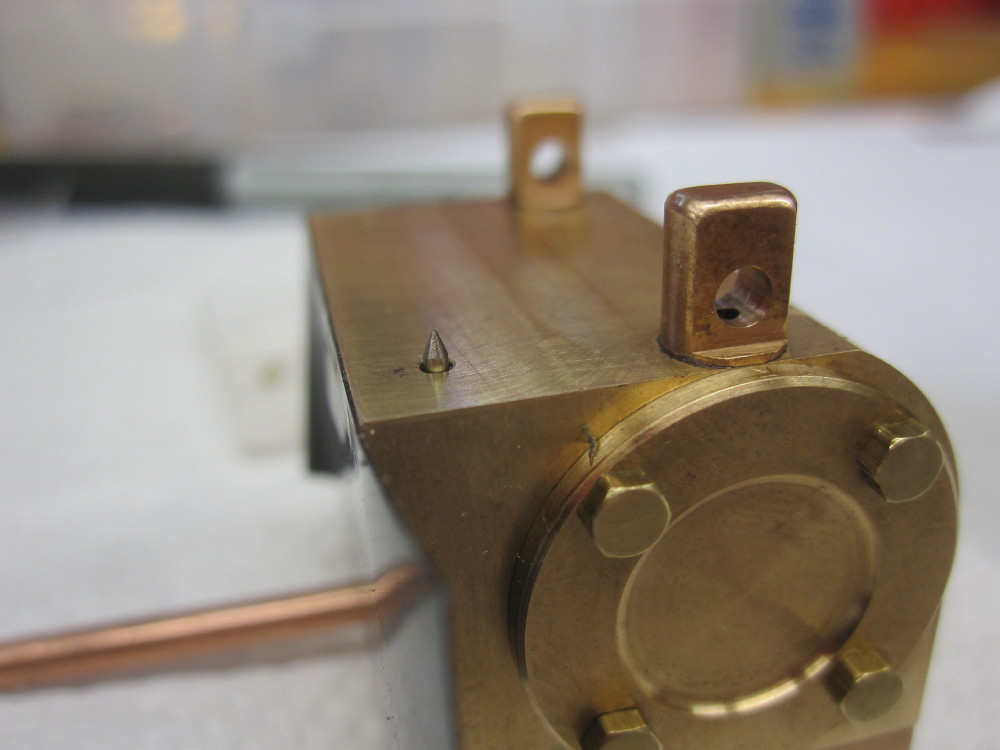 This is a trial piece of 0.25mm brass for the cladding, to get all the process and dimensions sweet.A press with a stick of wood and the location is marked This is a trial piece of 0.25mm brass for the cladding, to get all the process and dimensions sweet.A press with a stick of wood and the location is marked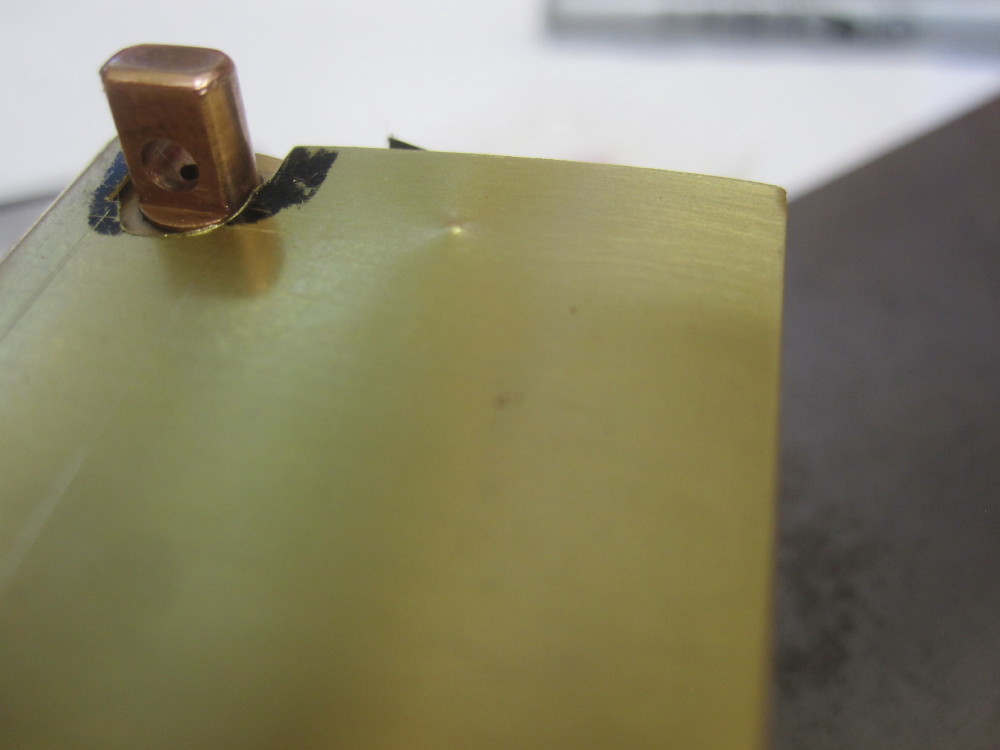 With the trail sheet sorted I made a fair dinkem one. With the trail sheet sorted I made a fair dinkem one.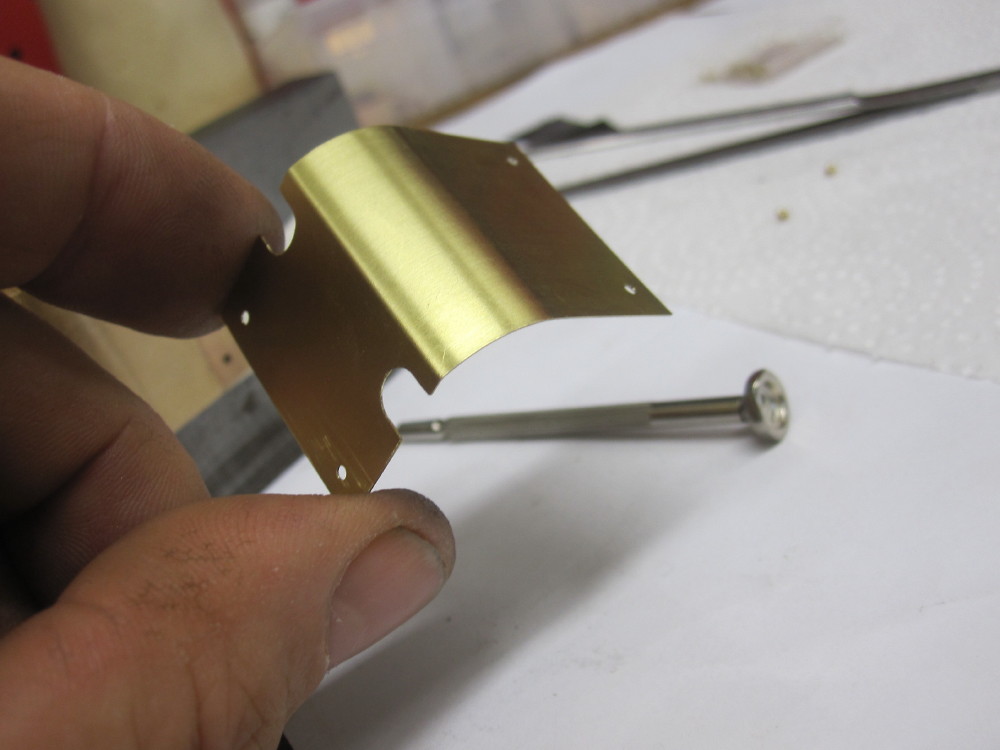 The cylinder design has a crease/edge at the bottom, this allows for a flat for the drains, but I reckon next time the dimensions need altering to make the cladding job easier. The cylinder design has a crease/edge at the bottom, this allows for a flat for the drains, but I reckon next time the dimensions need altering to make the cladding job easier. 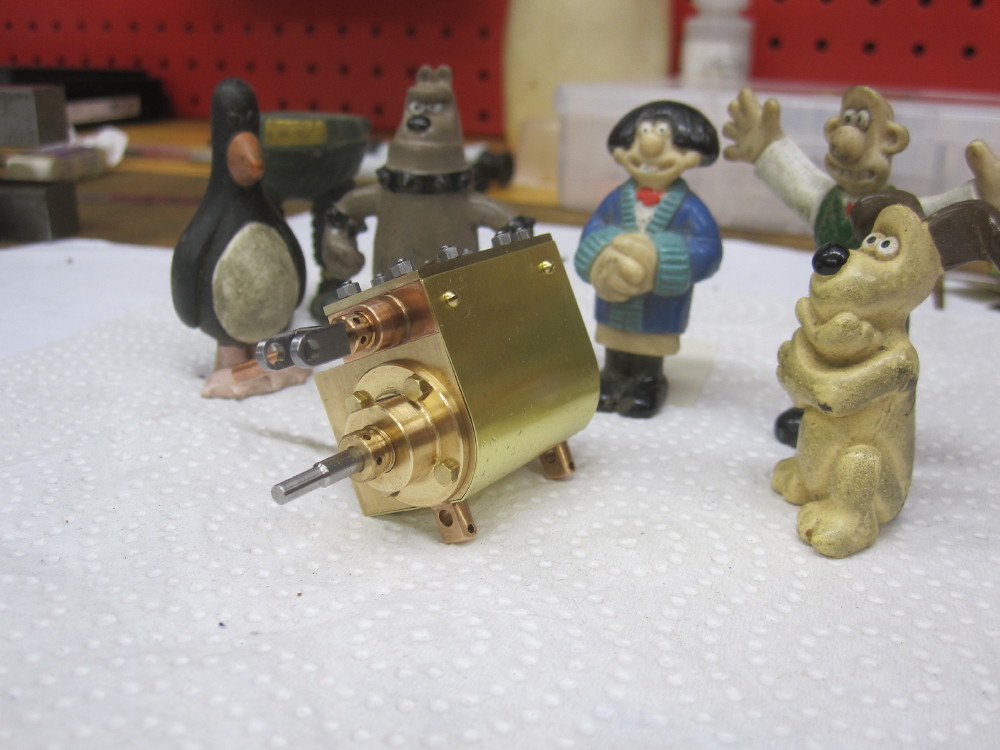 Left hand cylinder assembly to follow Left hand cylinder assembly to follow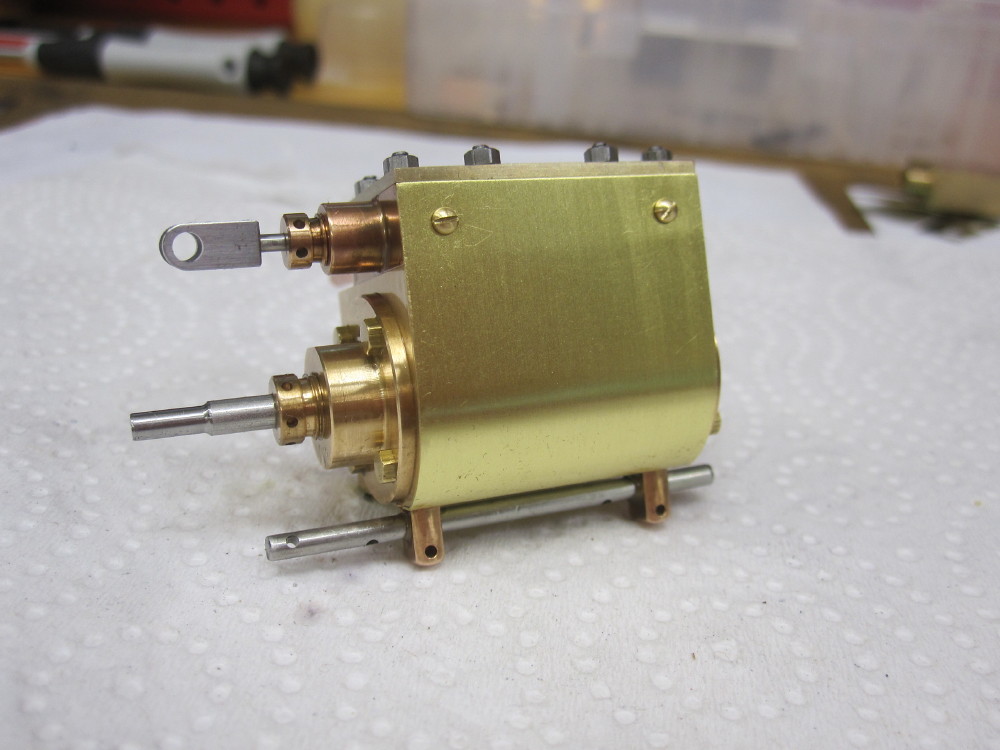 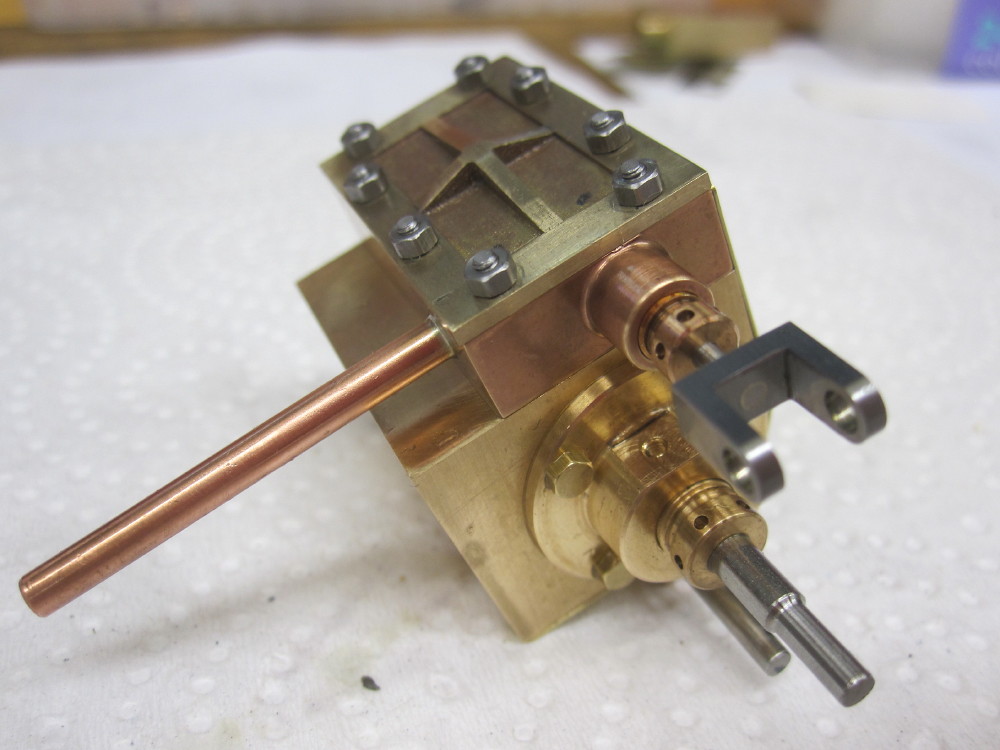 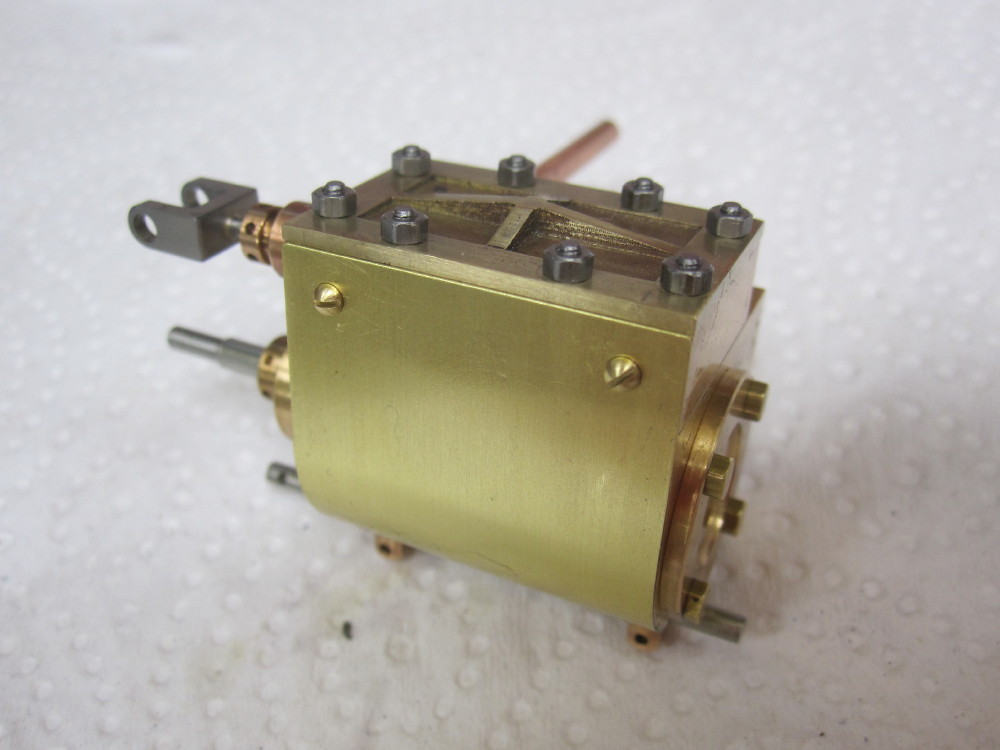 I am pleased that I did the stud and nut process. I am pleased that I did the stud and nut process.
|
|
|
|
Post by steamer5 on Dec 23, 2017 21:25:23 GMT
Hi Dazza,
Like your DSDT tool. I'll file that one away for the future.....upscale for larger studs
Cheers Kerrin
|
|
|
|
Post by Oily Rag on Dec 24, 2017 0:50:40 GMT
Hi Dazza, Like your DSDT tool. I'll file that one away for the future.....upscale for larger studs Cheers Kerrin
I have done this before in bike frame work some time ago for some projects that I cannot recall but it was with M5 and M6 screws.
I was volunteering at the Ipswich Heritage workshops last year and the volunteers were putting the cladding on the Hunslet , a 4-6-0 narrow gauge loco that served on the Western front. It came out to Qld to work the cane fields and it is being restored to static display for the rail/workshops museum, anyhow they were measuring, chopping holes, welding patches in the holes and having another go it was looking Swiss cheese in places, I was imagining some in the years to come looking at the cladding and thinking, "what bunch of clowns did this" so I had to step up and take the lead. I got some BSW bolts, hit the grinder to make the points, cut them down and then screwed them into the crinoline rings. Then got them to start with me at the top of the fire box and work down. Remove, chop the holes and work down in sections, remove and repeat. Then all lines up sweet when pulled up. When one looks at some full size locos you some times wonder, were they pissed when they did the cladding ?, and I am talking about new cladding etc. Any how the head fitter at Ipswich is using this trick now. I am not the first to do this, but I have never seen it done in ME circles with cladding, but I am blind in one eye and cannot see out the other and only a 15 watt cranium and so may have surely missed some one doing this with cladding. |
|