Rebuilding a 2½" Gauge LBSC Green Arrow
Feb 25, 2021 0:53:39 GMT
dscott, dhamblin, and 17 more like this
Post by John Baguley on Feb 25, 2021 0:53:39 GMT
It's a long time since I've put any of my projects on the forum but recently a conversation with another member via pm's suggested that I perhaps ought to do so. Unfortunately, my own projects have fell way behind due to other commitments, other domestic jobs that need doing, and a few rebuild jobs for other people. However, now that I'm fully retired and, in theory, have more time available and also more free cash, I'm hoping to concentrate on my own stuff from now on (we'll see how long that lasts!)
Some people will know that I seem to 'specialise' in trying to turn sow's ears into silk purses (not always by choice) and this project has turned into one such episode.
Last year a member of our club at Whitwich mentioned that he had a 2½" gauge Green Arrow that had been in his shed for years and as he was having a clear-out in readiness for a house move he wanted to move it on. It had come with a 5" gauge loco that he had bought and he had no interest in 2½" gauge. He asked me if I would have a look at it for him and see what condition it was in and suggest a possible value.
I agreed and took it home. From what I could see it looked very well made but wasn't quite finished. The water feed to the boiler wasn't connected and there was no signs of a fire ever being lit in the boiler so it had obviously never been run.

I won't go into great detail about the rebuild here as it is fully documented on my website so anyone who wants to read the nitty gritty should visit that.
I decided to strip the loco completely so that I could see what was what and try and find out why it refused to run on air. The tender looked fine so that was put away for the time being along with the boiler which I will look at when the chassis is sorted and running.
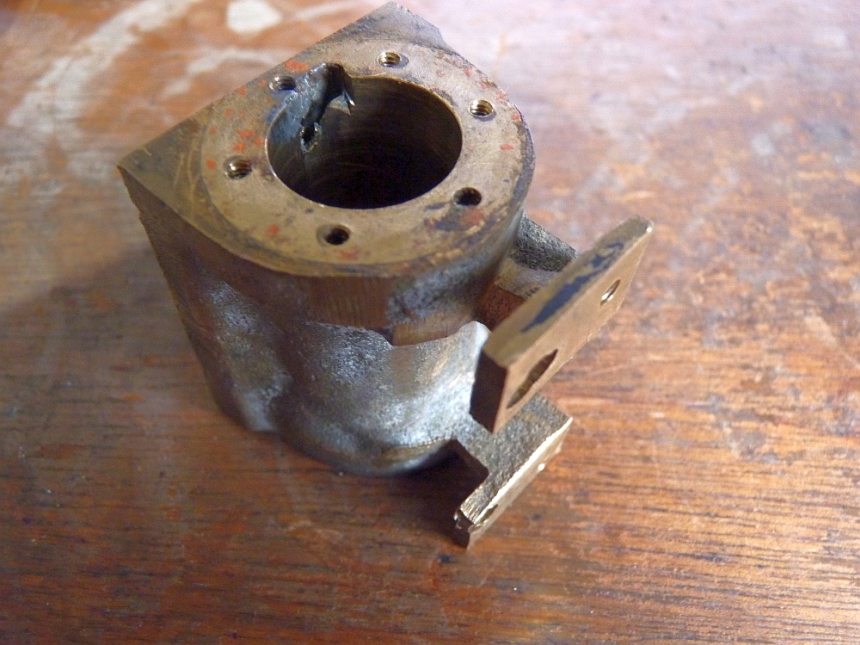
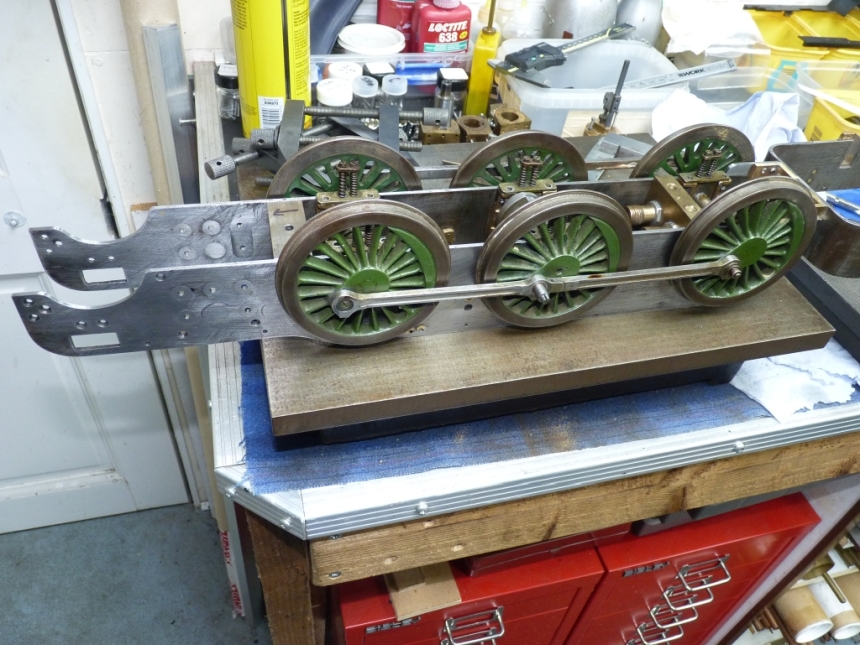
The chassis was stripped down to it's component parts. A lot of the work looked very good but unfortunately, all three cylinders were a mess. and badly machined. They were also full of solid gasket goo which would partly explain why it wouldn't run on air. I decided they were beyond being salvaged and would have to be replaced with new. It seemed obvious that more than one person had built the loco, one good and the other not so. The loco had originally come with a glass display case so I wonder if it had just been finished off as a display model?

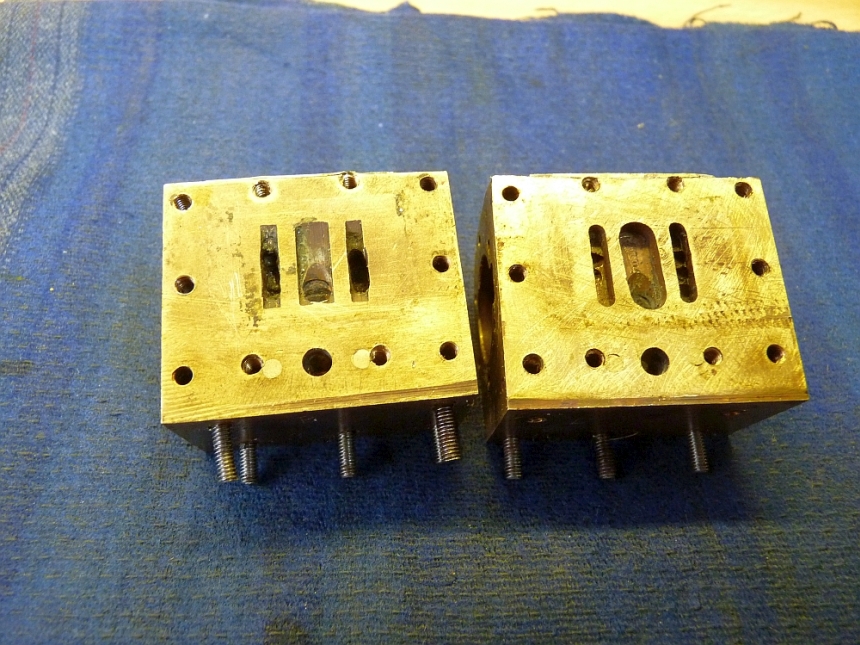
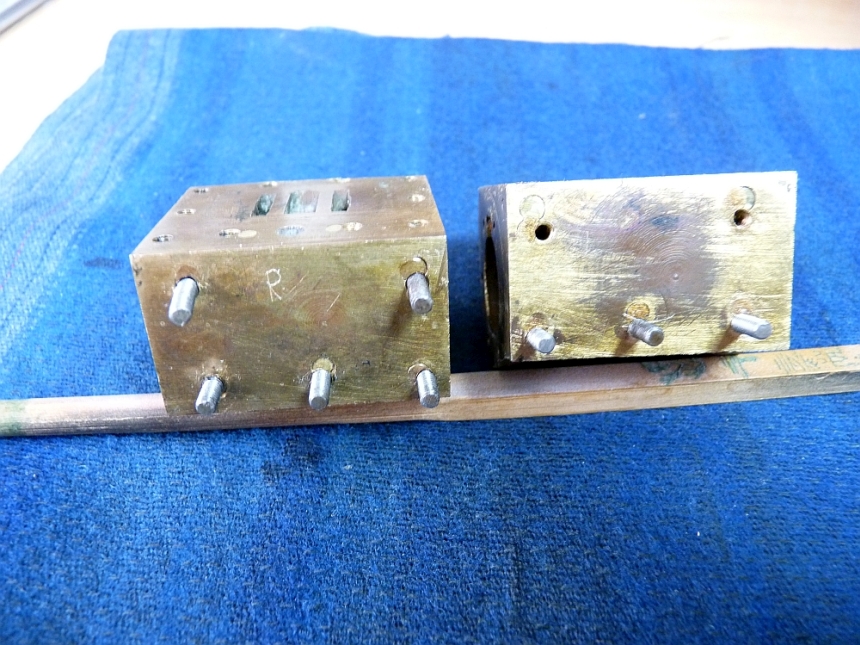
The cylinder castings are no longer available but I was very fortunate that fellow N25GA member Dave (Davewoo on here) had a set for the middle cylinder that he no longer required and he very kindly gave them to me. The outside sets I used are for Nigel Minor and were obtained from the N25GA. The Nigel Minor steamchests caused me problems later with the exhaust passages so were not ideal.

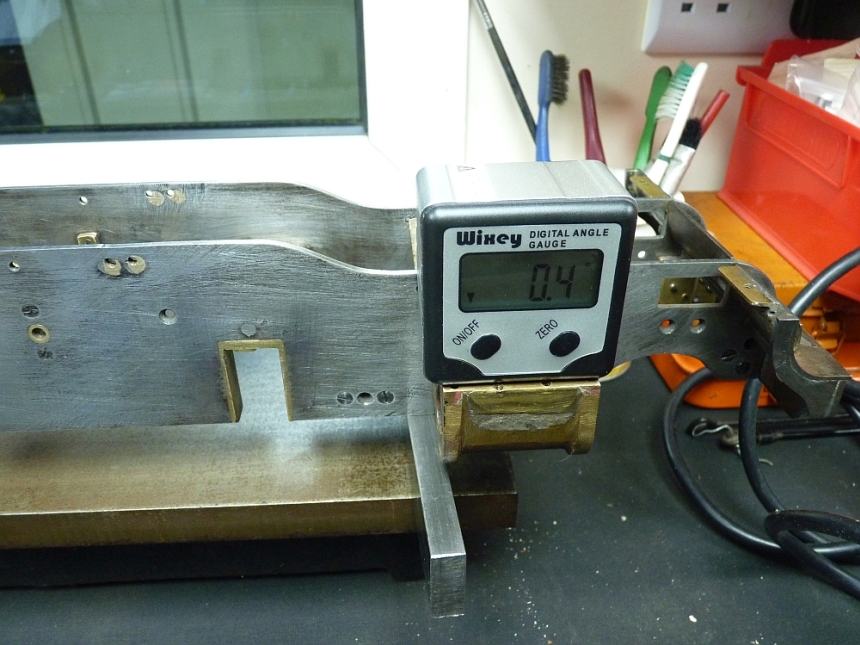
The digital angle gauge is perfect for jobs like this.
I think that will do for now as this is getting a bit long. Next time we'll start machining the new outside cylinders.
Some people will know that I seem to 'specialise' in trying to turn sow's ears into silk purses (not always by choice) and this project has turned into one such episode.
Last year a member of our club at Whitwich mentioned that he had a 2½" gauge Green Arrow that had been in his shed for years and as he was having a clear-out in readiness for a house move he wanted to move it on. It had come with a 5" gauge loco that he had bought and he had no interest in 2½" gauge. He asked me if I would have a look at it for him and see what condition it was in and suggest a possible value.
I agreed and took it home. From what I could see it looked very well made but wasn't quite finished. The water feed to the boiler wasn't connected and there was no signs of a fire ever being lit in the boiler so it had obviously never been run.
The first thing I did was give the boiler a hydraulic test and found a couple of weeping stays in the firebox and a leak on the front tube plate from one of the longitudinal stays. They shouldn't be too difficult to fix as the boiler has threaded and soft solder caulked stays and a bit of Comsol should sort the leaks. I did pump it up to 160psi and it seemed ok apart from the slight weeps.
I then tried running the chassis on air but it wasn't interested at all with no signs of life. I noticed that the lubricator didn't go round which turned out to be the ratchet wheel loose on the shaft.
I reckoned that it wouldn't take too much to get it finished and running (oh, how wrong can you be!) so I had a rush of blood to the head and made him an offer for it which he accepted and that is where it all started!
Loco as bought:

I won't go into great detail about the rebuild here as it is fully documented on my website so anyone who wants to read the nitty gritty should visit that.
I decided to strip the loco completely so that I could see what was what and try and find out why it refused to run on air. The tender looked fine so that was put away for the time being along with the boiler which I will look at when the chassis is sorted and running.
The chassis was stripped down to it's component parts. A lot of the work looked very good but unfortunately, all three cylinders were a mess. and badly machined. They were also full of solid gasket goo which would partly explain why it wouldn't run on air. I decided they were beyond being salvaged and would have to be replaced with new. It seemed obvious that more than one person had built the loco, one good and the other not so. The loco had originally come with a glass display case so I wonder if it had just been finished off as a display model?
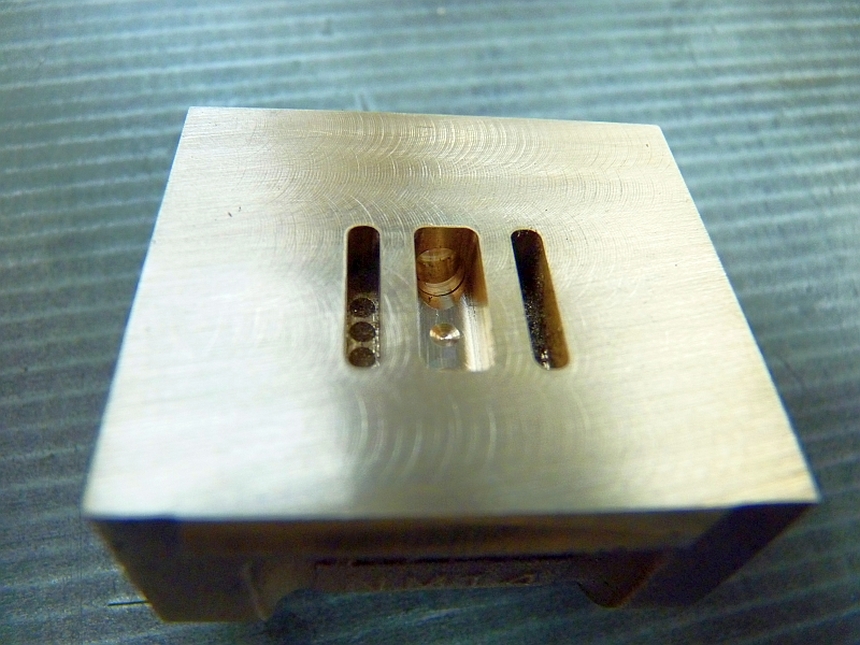
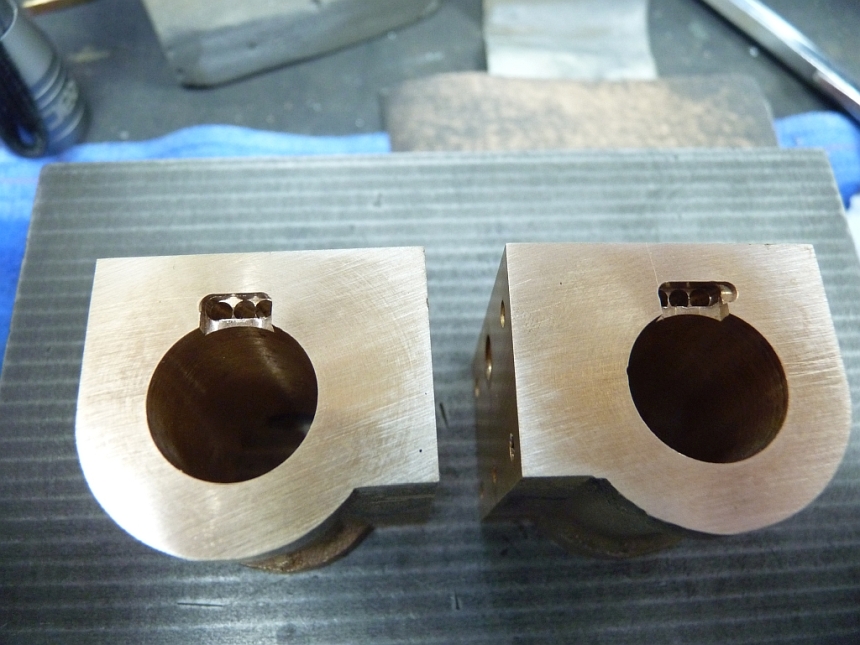
The middle cylinder was particularly bad. The ports were poorly machined and at one end the steam passage had broken through into the bore.

The mounting holes were a bit of a mess as well.

The outside cylinders were a little better but a lot of the holes for the steamchests and the cylinder mounting bolts had been drilled in the wrong place to begin with, plugged and then redrilled.


I decided to get all new castings and start again from scratch. I mentioned this to the chap I had bought the loco off and he gave me a refund for the cost of the new castings which was very good of him. He had had no idea what state the loco was in so wasn't really obliged to and I had bought it as seen.
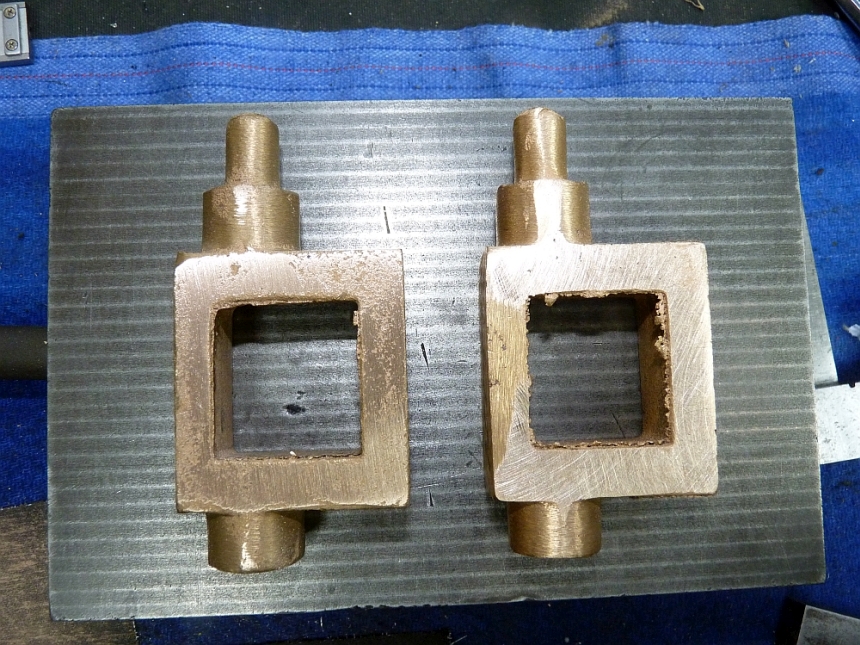
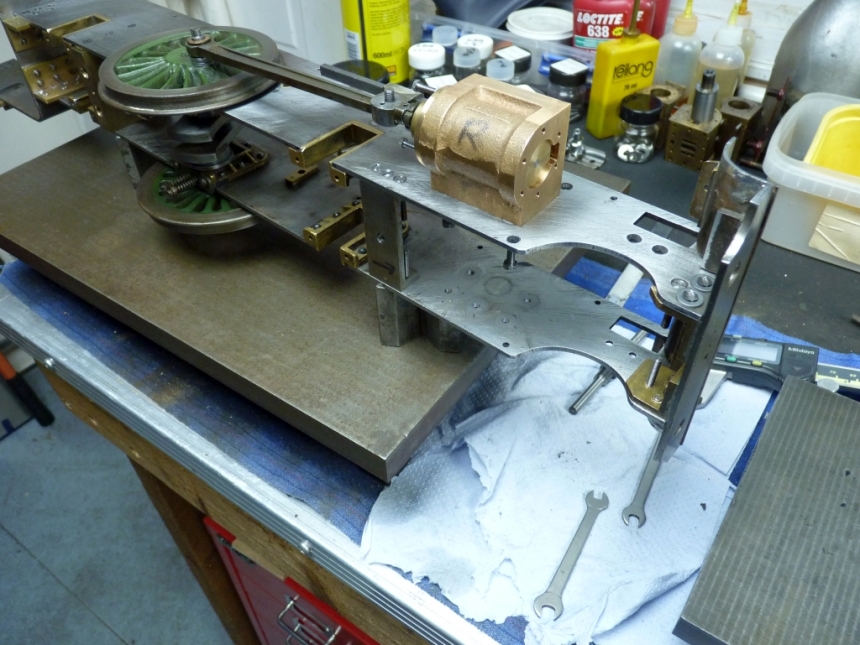
The cylinder castings are no longer available but I was very fortunate that fellow N25GA member Dave (Davewoo on here) had a set for the middle cylinder that he no longer required and he very kindly gave them to me. The outside sets I used are for Nigel Minor and were obtained from the N25GA. The Nigel Minor steamchests caused me problems later with the exhaust passages so were not ideal.
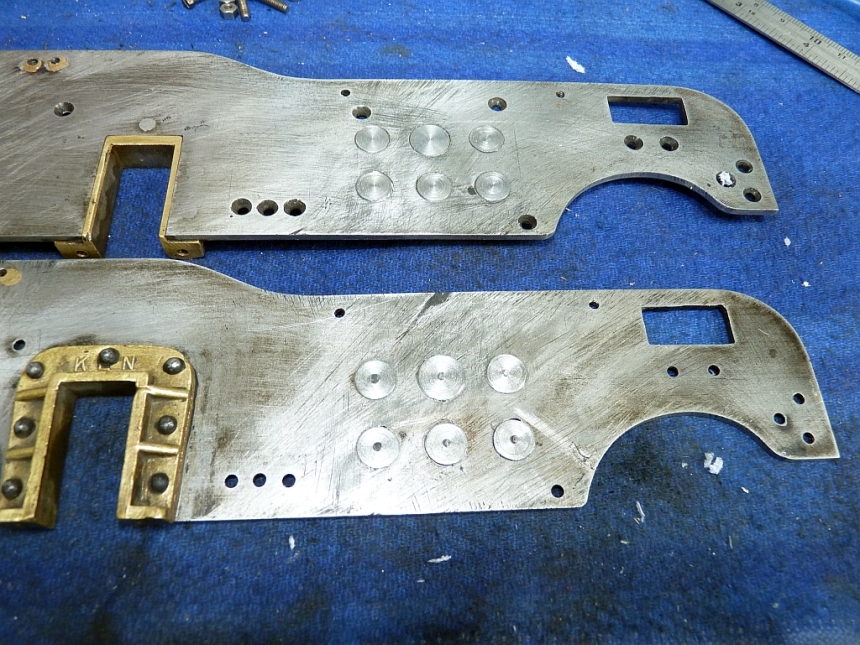
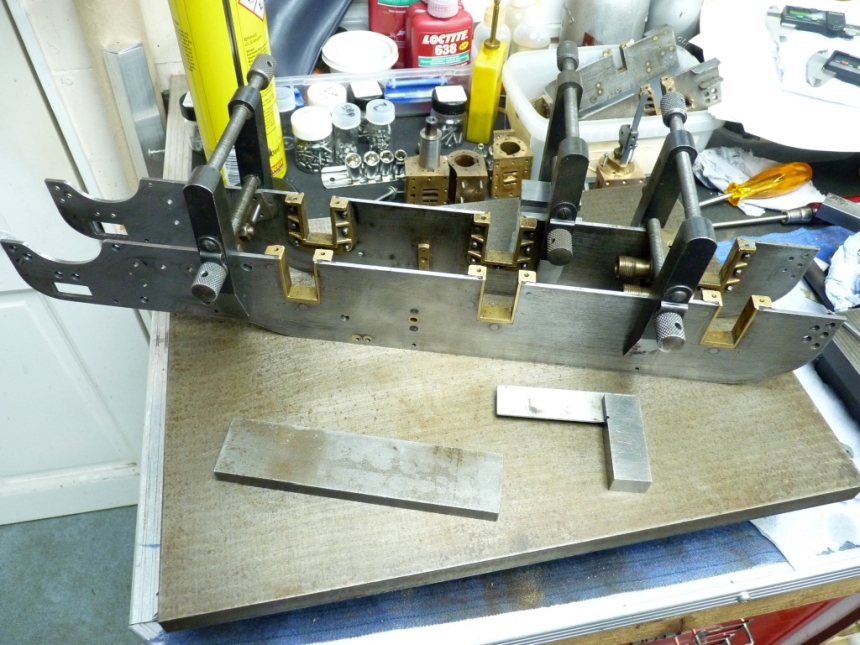
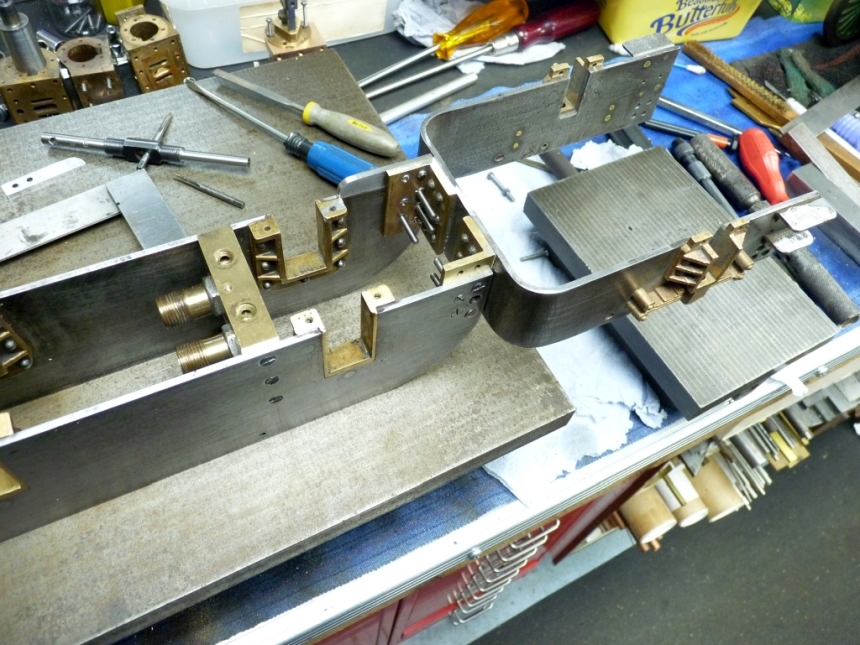
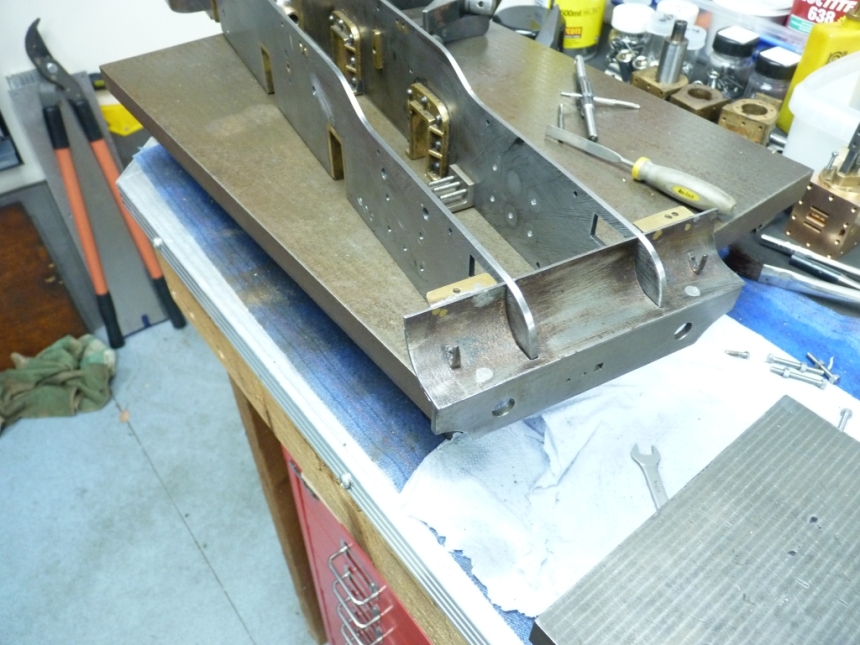
I thought it best to start the rebuild with the frames first. It was obvious that the holes for the fixing bolts for the outside cylinders had been drilled in the wrong place to begin with as they had been plugged and redrilled, as it turns out, still in the wrong place!

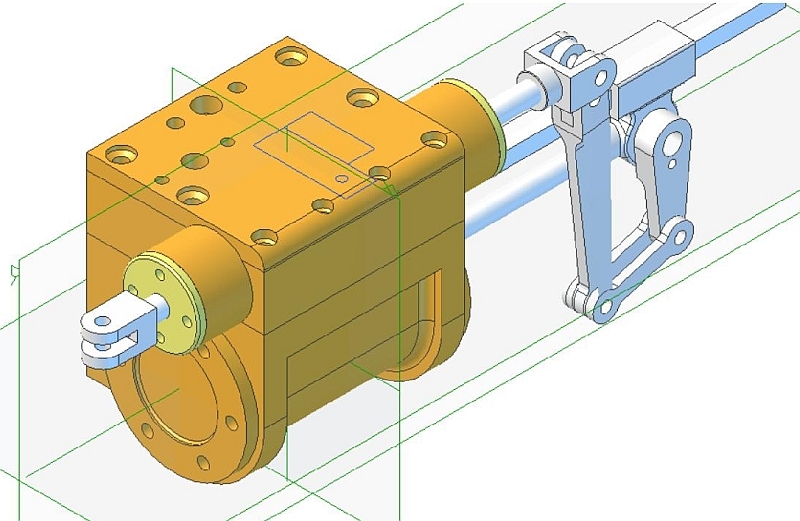
Out of interest, I temporarily put the frames back together, refitted the original cylinders and measured the angles that the cylinders were inclined at. The outside cylinders should be at 1.3° and the middle cylinder should be at 7.3° to the horizontal ( I drew up a 3D model of the loco to check all the dimensions and get the cylinder angles). The righthand cylinder was at 0.4°, the lefthand cylinder was at 1.4° and the middle cylinder was at 6.3°. Slightly out!

The digital angle gauge is perfect for jobs like this.
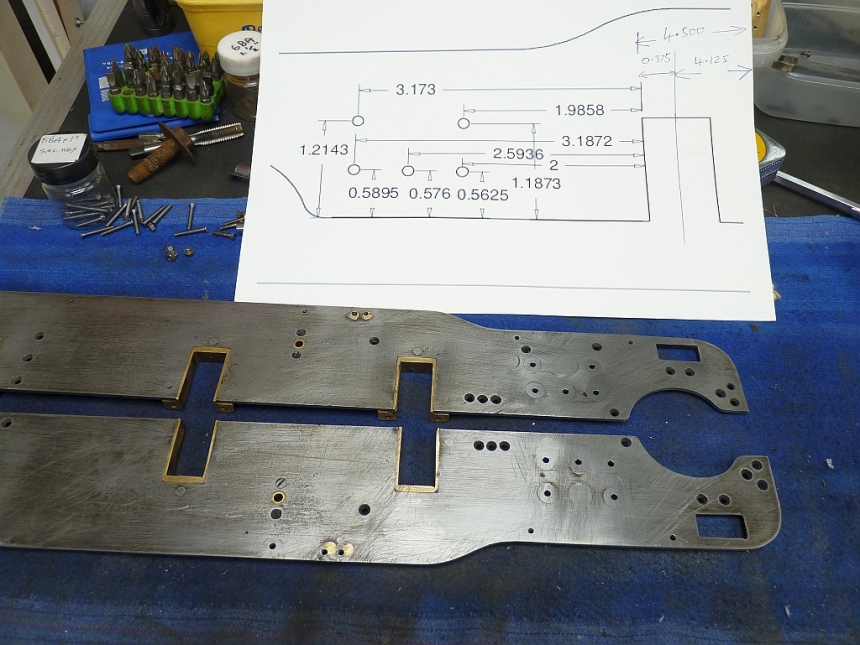
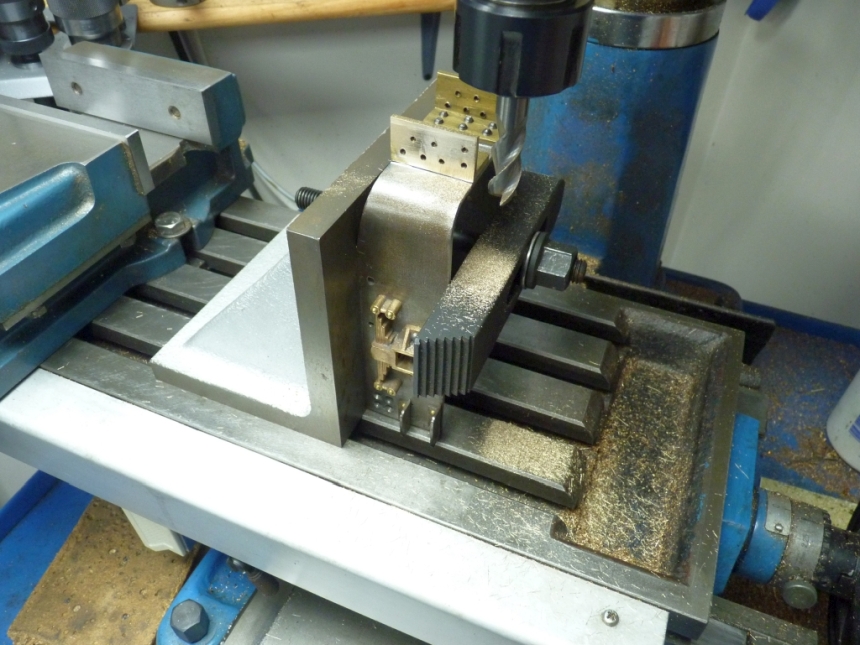
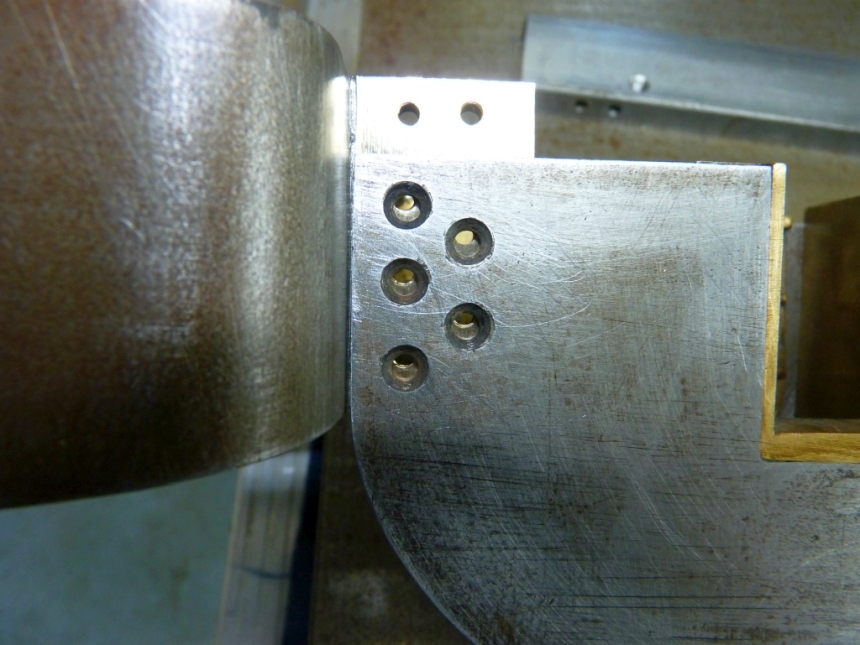
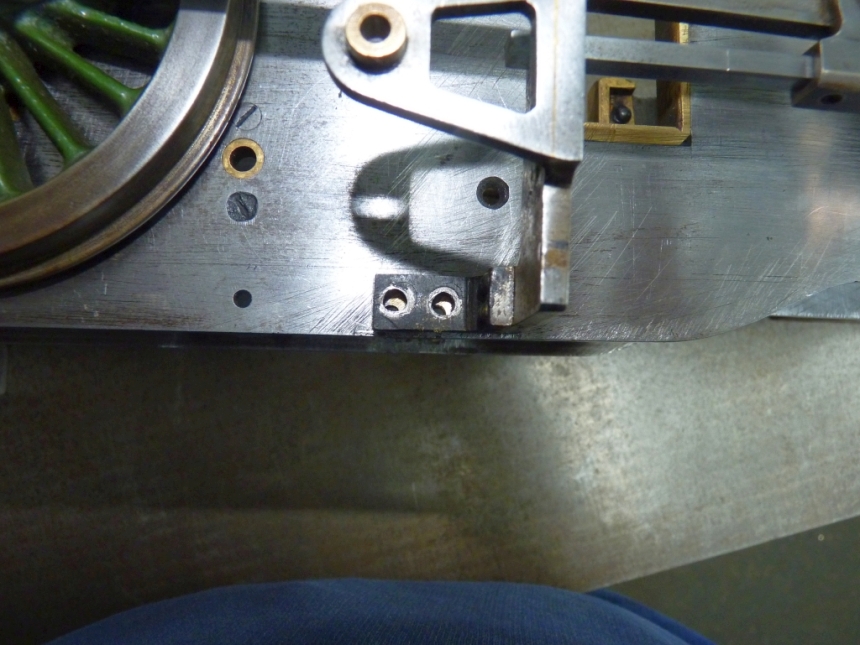
Back to the frames and I drilled out all the original plugs, threaded the holes and Loctited in new plugs made from steel bar.

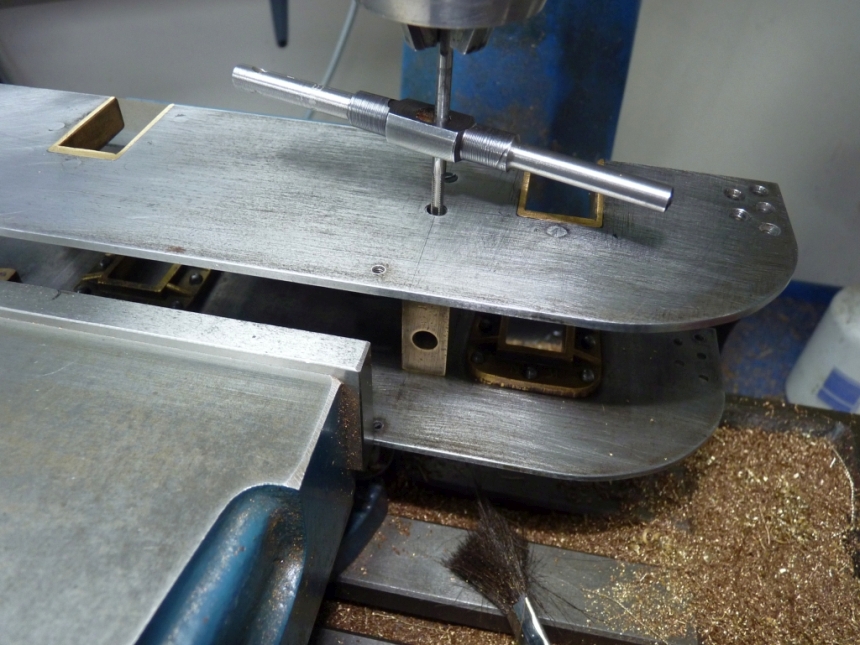
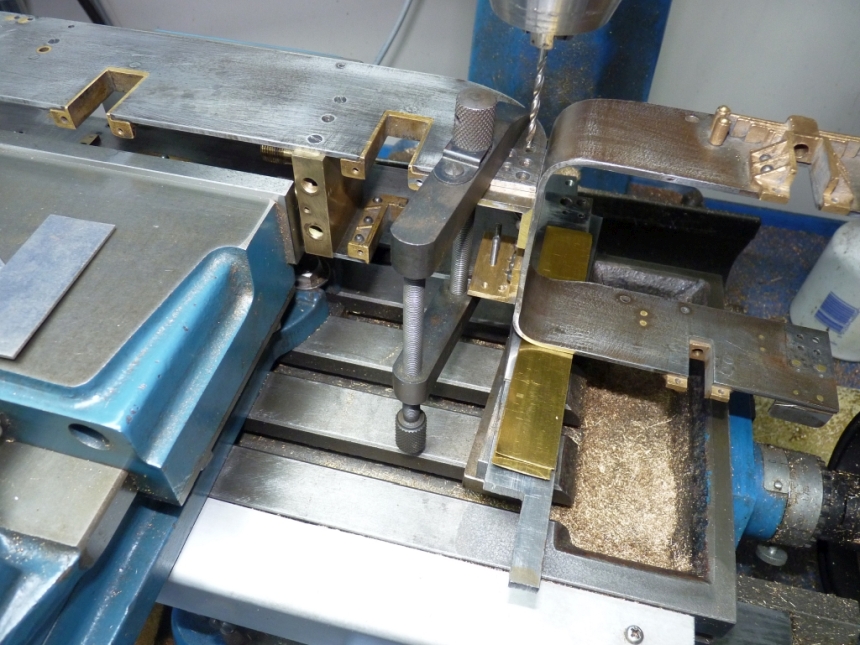
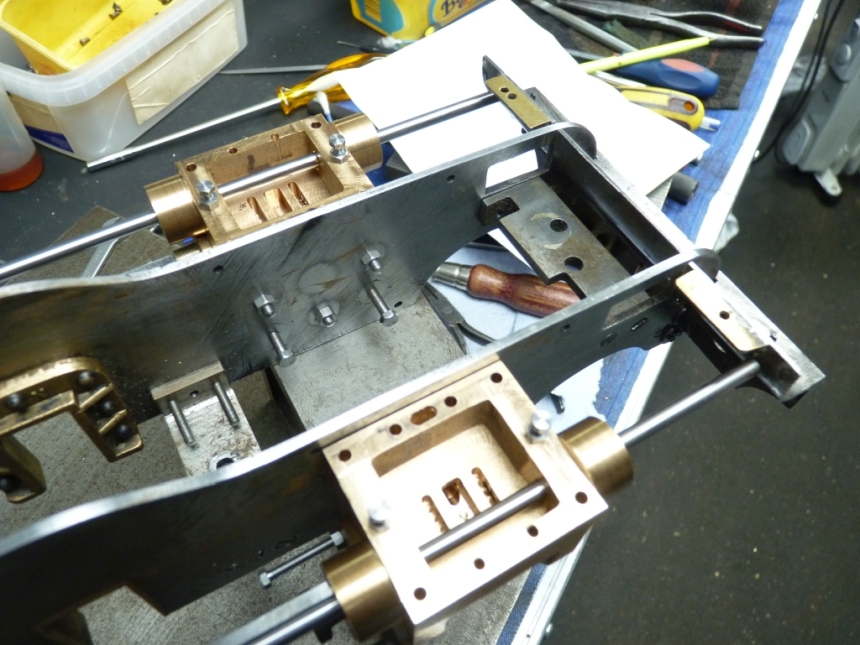
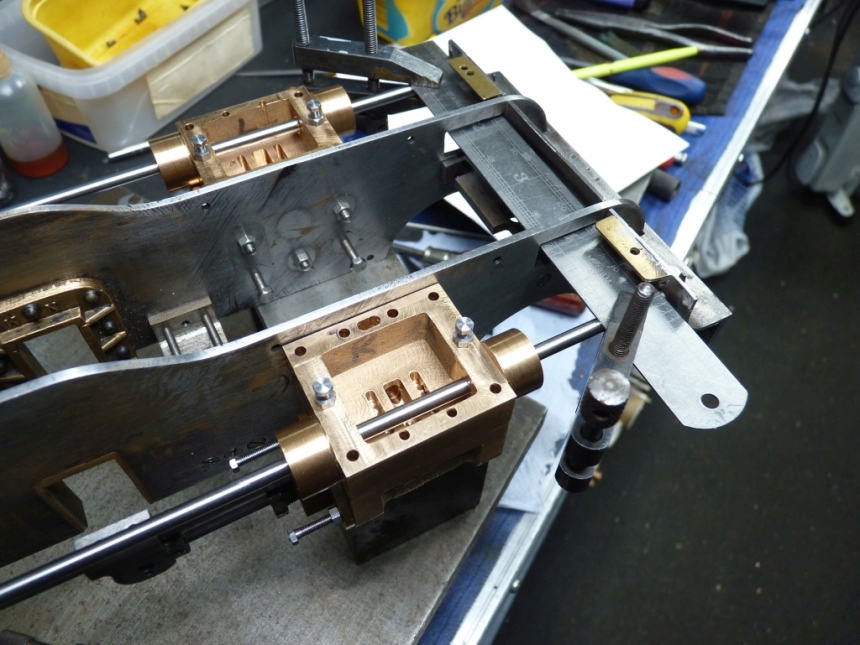
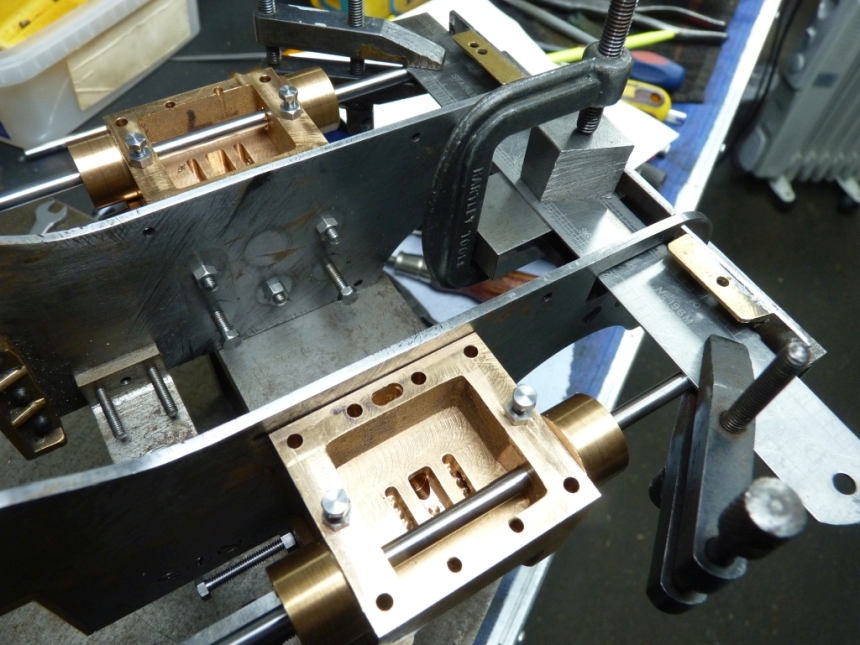
New cylinder mounting holes were then drilled using the DRO on the mill and a CAD drawing from the 3D model.

I didn't redrill the large holes for the exhaust from the outside cylinders as, although they are shown on the drawings, the exhaust goes through the wall of the steamchest and not through the frames so the holes are not needed.
I think that will do for now as this is getting a bit long. Next time we'll start machining the new outside cylinders.


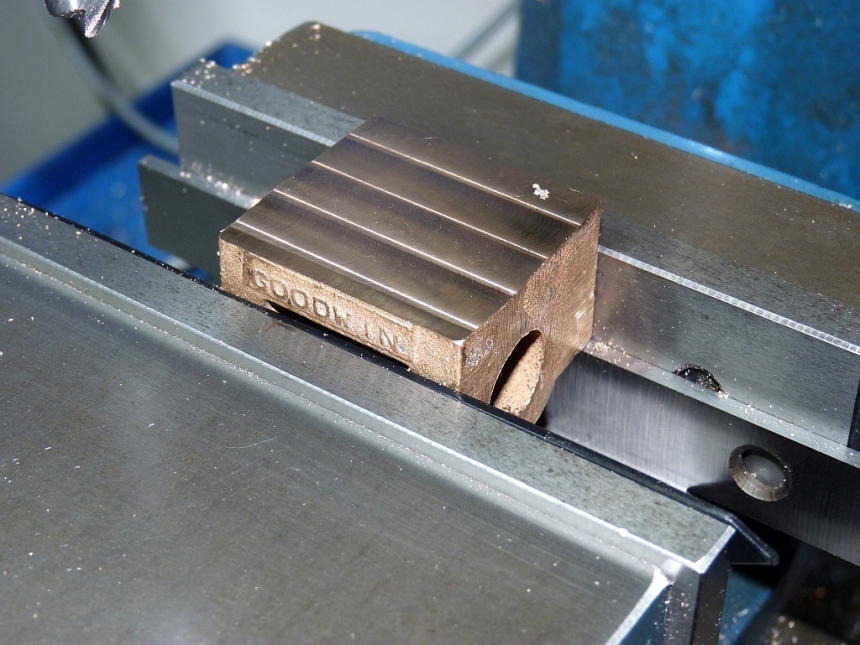
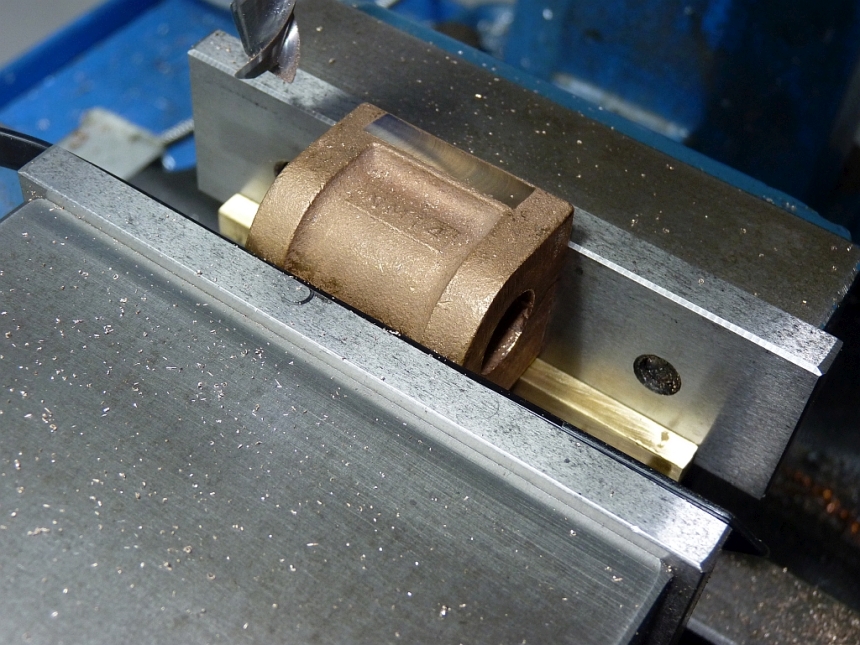
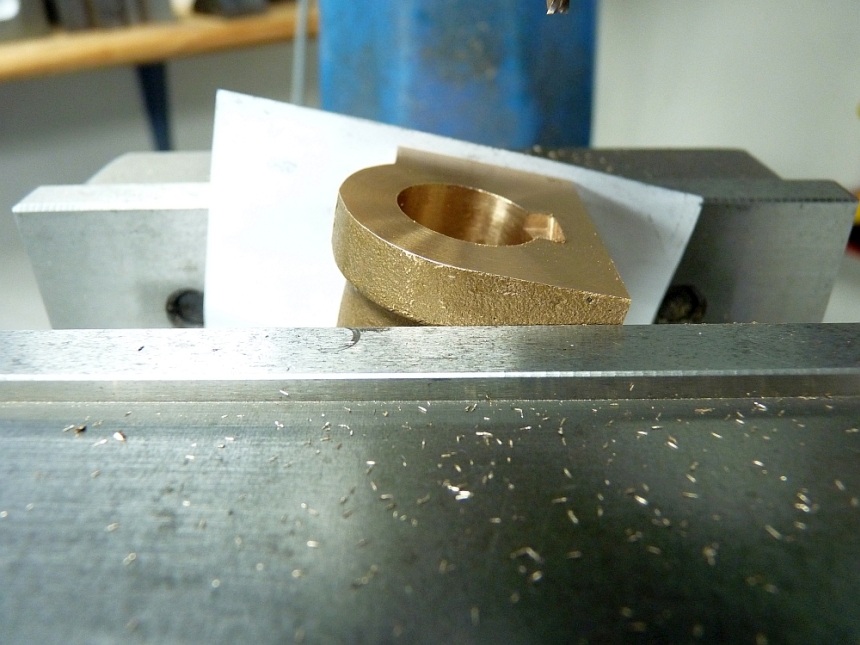
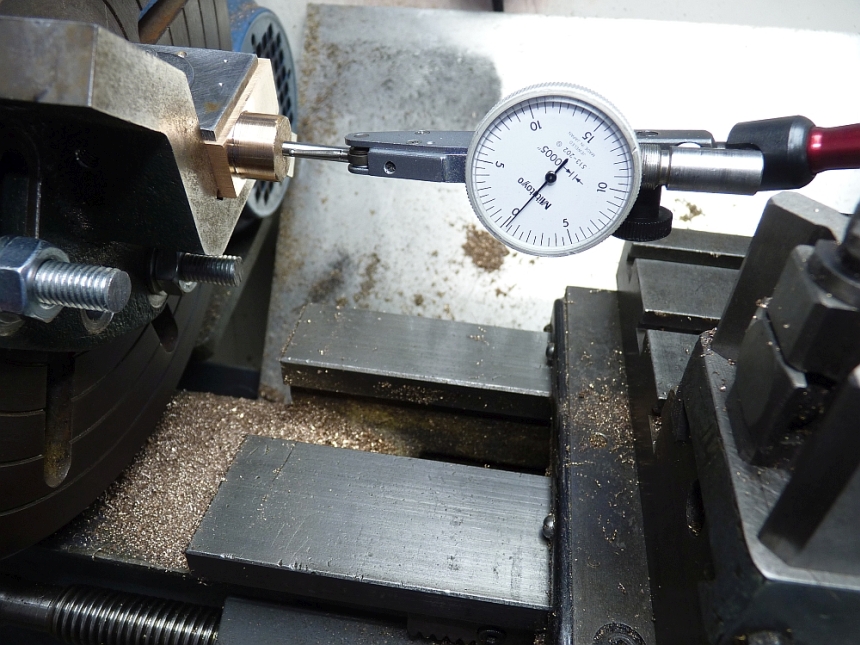
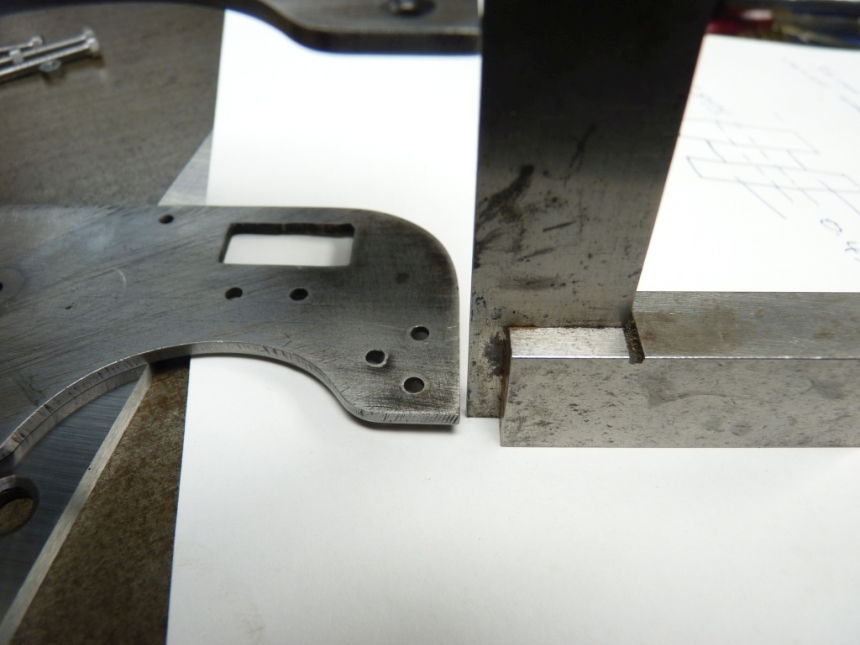
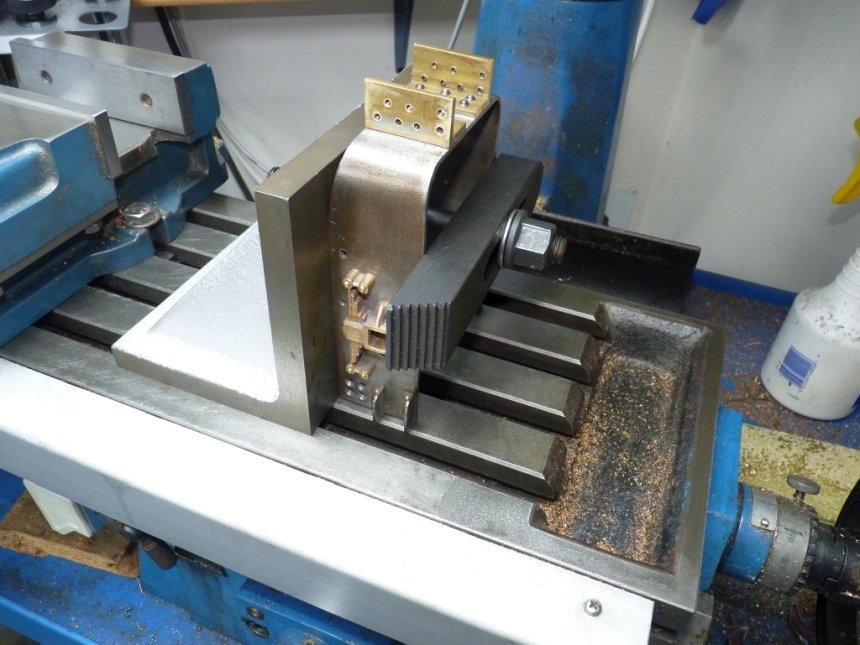
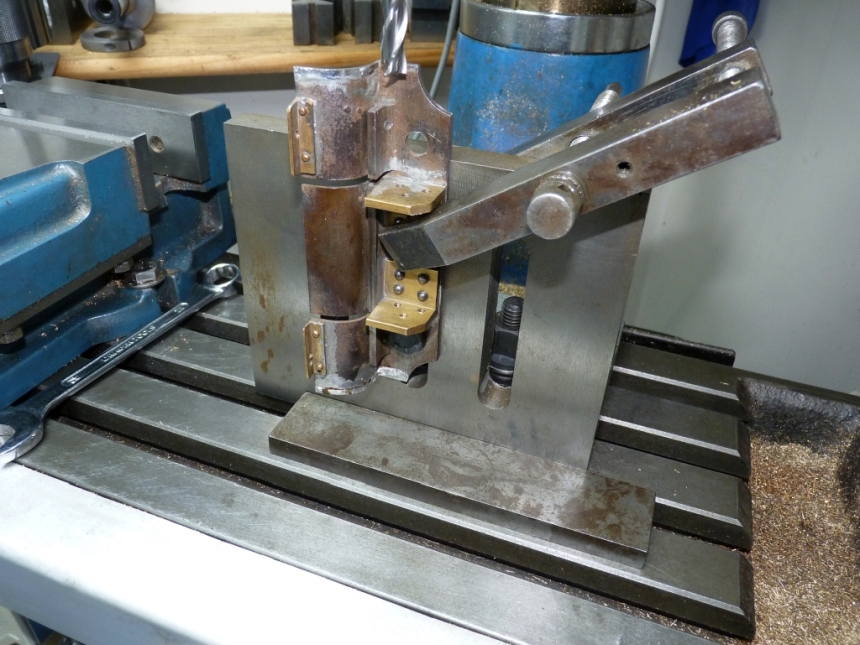
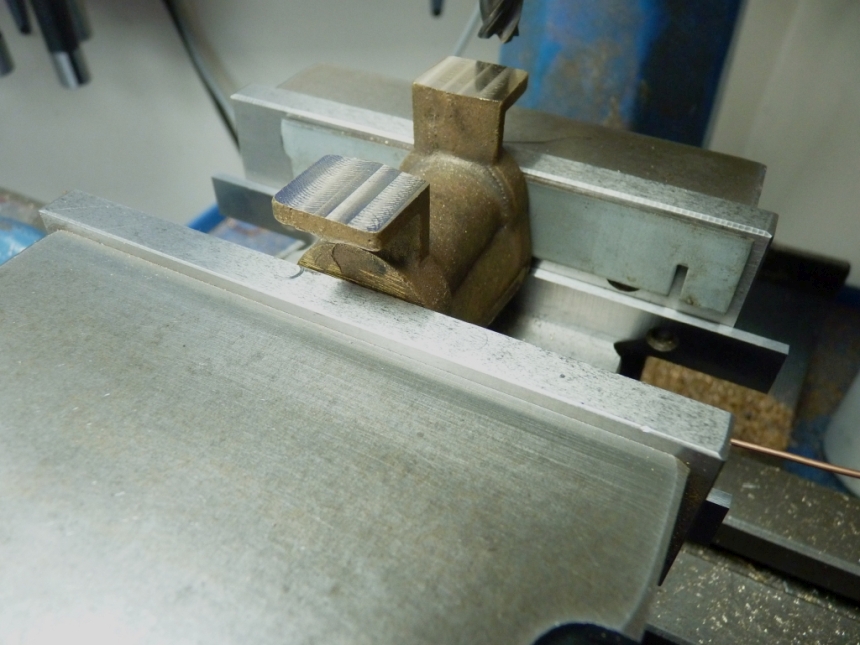
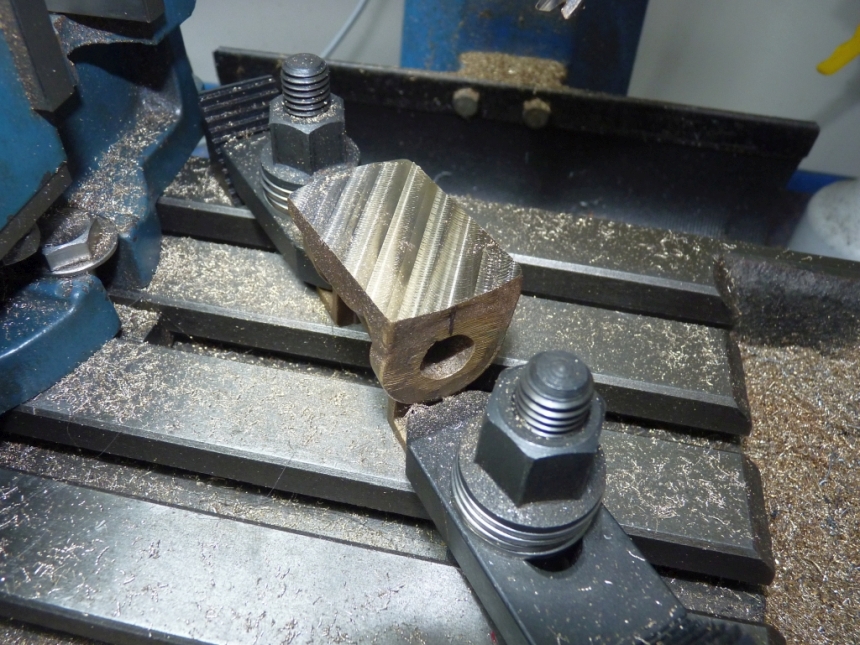
 I had made the mistake of assuming that the angle plate would be fit for purpose and accurate. Motto - always check and don't assume anything!
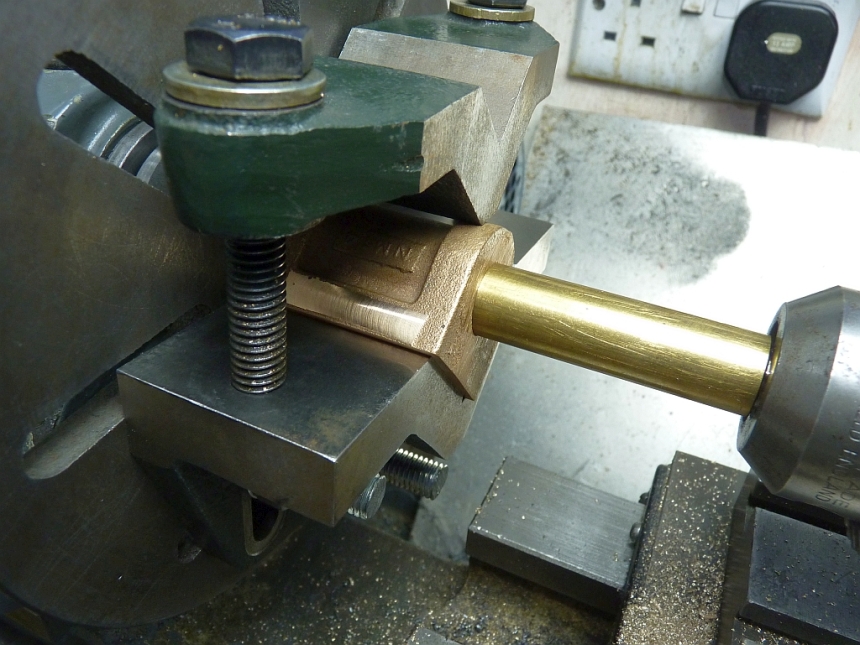
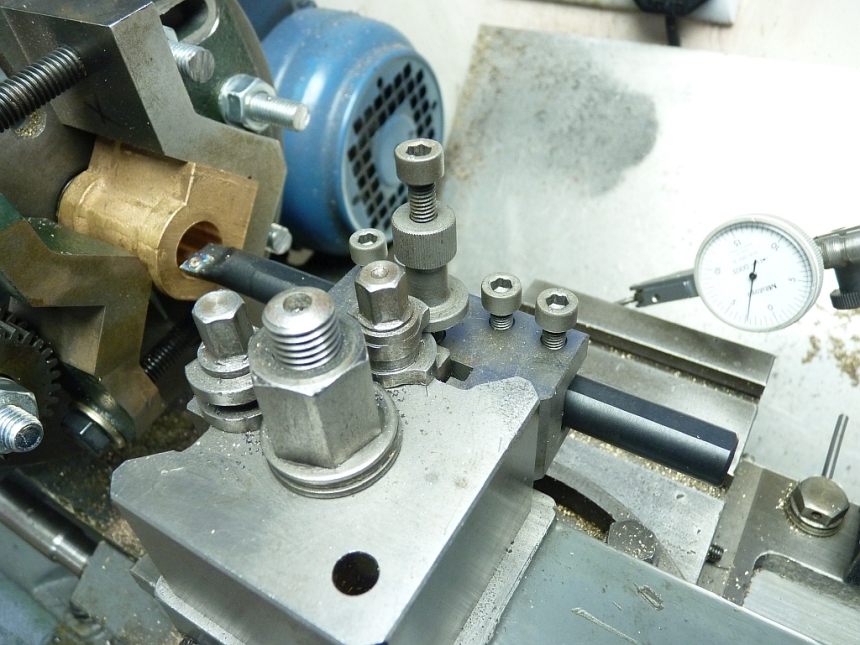
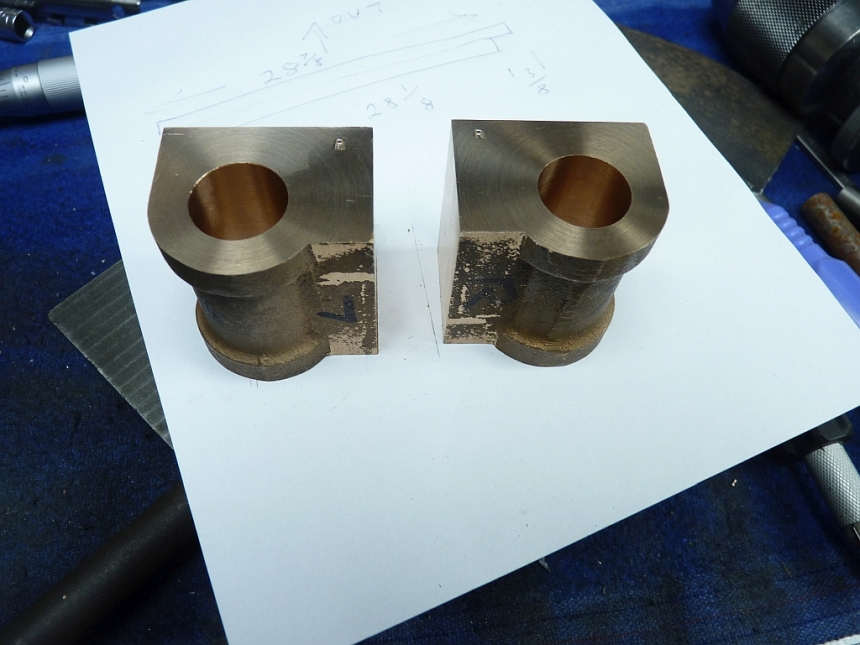
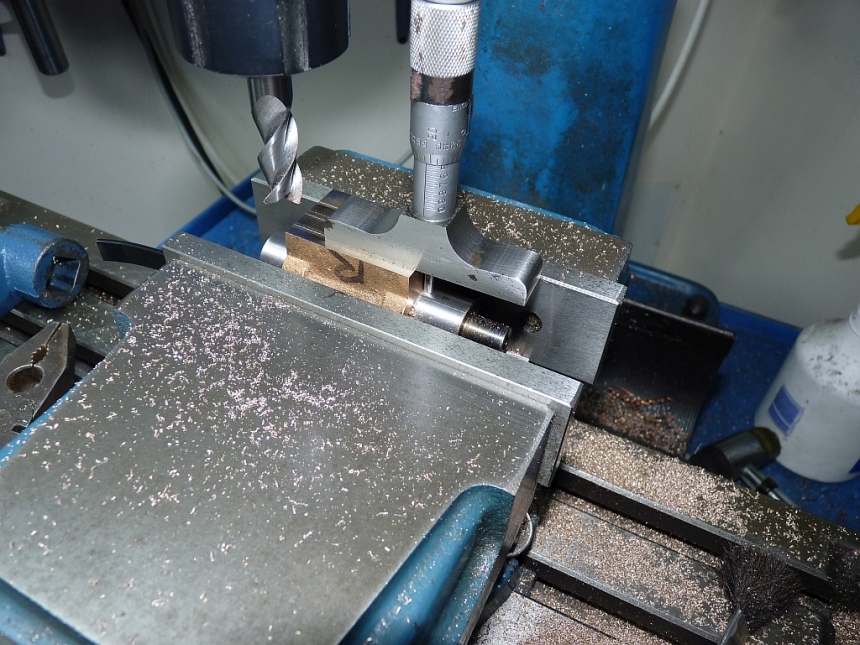










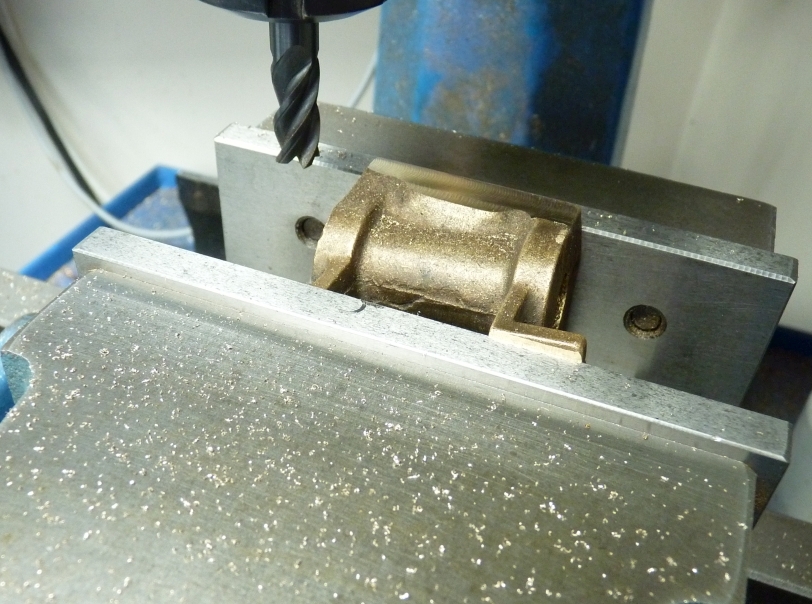
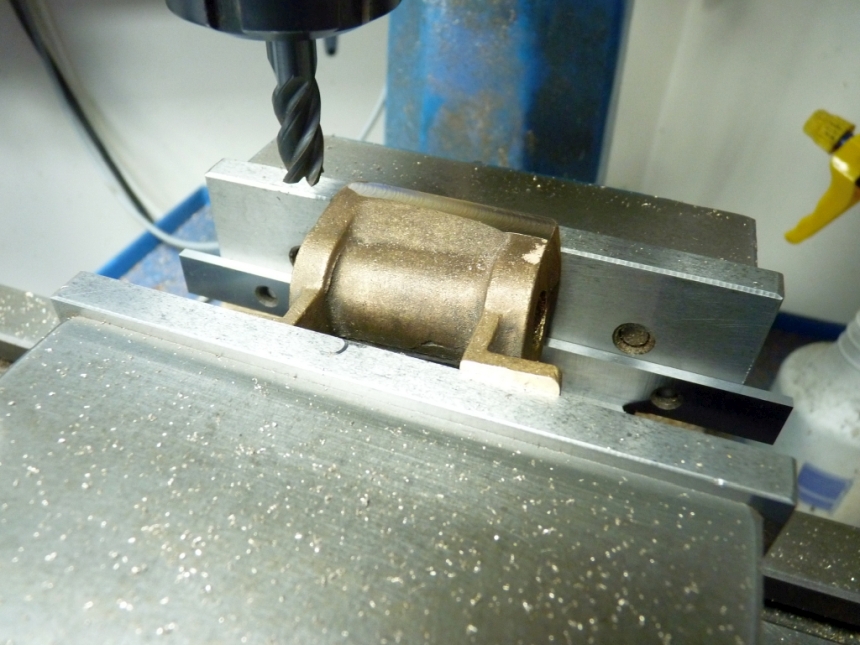
 I'll look into it.