|
|
Post by Jim on Jul 9, 2012 23:51:25 GMT
Many thanks for that information John. You're spot on regarding the lubricators they are the same as yours and yes, I too have had problems with a similar roller clutch system on my Burrell. As you have suggested I'll add some adjustment holes to the lubricator arms and look out those additional spacers you mention. At present the pumps seem to be delivering once every 15 revolutions of the driving wheel. Does that sound right compared with your experience John? Thanks again for you input, it's much appreciated   Jim. |
|
|
|
Post by Deleted on Jul 10, 2012 10:44:36 GMT
Hi Jim
I've just checked mine rolling back and forward on the display track and it takes 13 strokes of the crank to turn the lubricators once, so about the same as yours. One thing I did to reduce the delivery was to fit an O ring on the spindle inside the tank, nipped between the tank wall and the crank disk. The added friction is just sufficient to stop the spindle springing round instantly on the return stroke driven by the spring under the pump piston. Instead it is pulled round by the cranking action and this almost doubles the number of crank strokes needed for a full revolution.
I also replaced the mild steel pump spindles with hardened 4mm silver steel, which is a more accurate diameter and I'm told makes the clutches more reliable - it certainly improved mine.
Regards, John
|
|
|
|
Post by Jim on Jul 10, 2012 11:17:41 GMT
Again thank you John for checking that out for me. I had read on your site that you'd had problems with the spindles and replaced them with silver steel. I shall keep an eye on that issue. As you can tell I'm still way short of the first steam up. The weather here is just too cold and windy to be mucking about in the open cutting up sheets of copper, I still have the outer wrapper for the firebox to make, so I have been getting on with other parts of the loco. I visit your site on a pretty regular basis as it's a great source of information.   Jim |
|
|
|
Post by Jim on Jul 13, 2012 8:16:09 GMT
Have now completed the lubricator linkage on both sides but will have to wait for the first steam run to see if the delivery of oil is right and given the static state of boiler work at present that may be a while yet.  The days have started to gain a minute or two so it's not all gloom. ;D 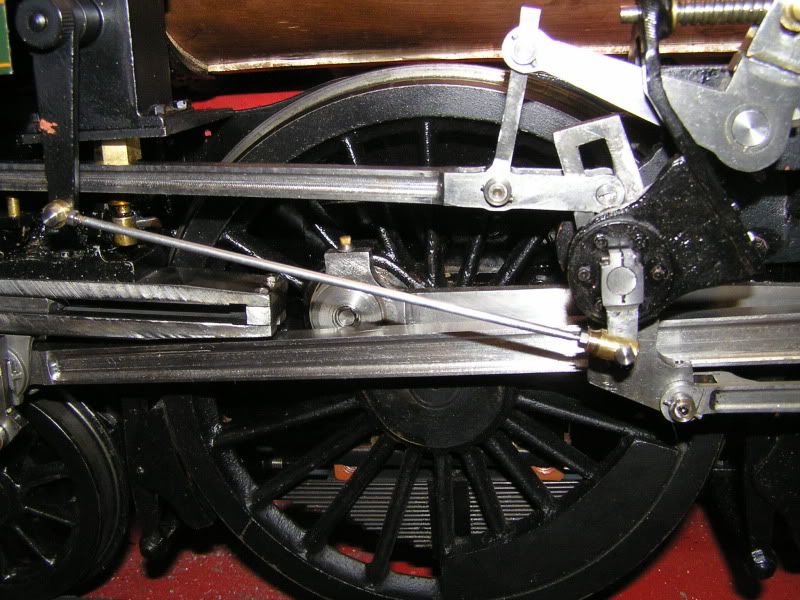 Jim |
|
|
|
Post by Jim on Jul 25, 2012 6:23:59 GMT
The last couple of days have been spent making and fitting the footplate supports and one half of the footplate. Because I decided on a Rosebud grate I then had to vary the way in which the footplate supports were attached; in this case to the grate frame rather than the boiler as originally drawn by Perrier. The photos show the supports and one half of the under floor. 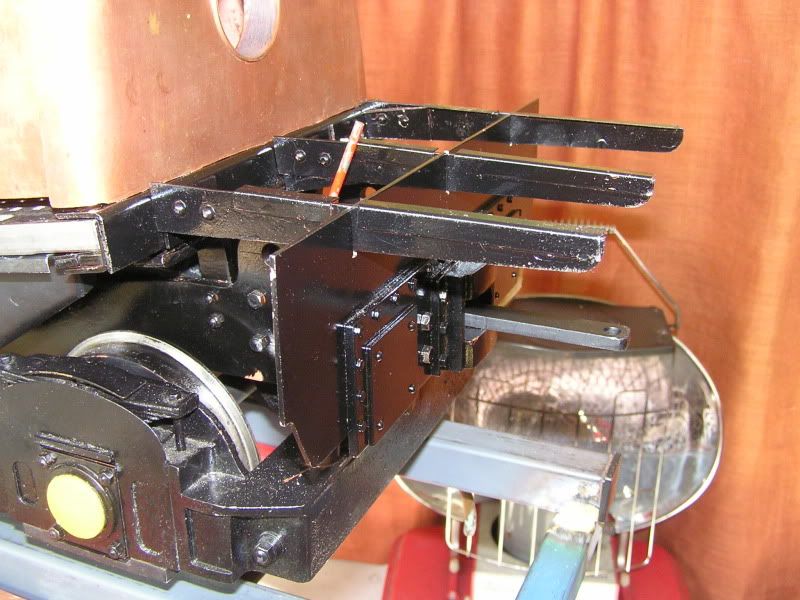 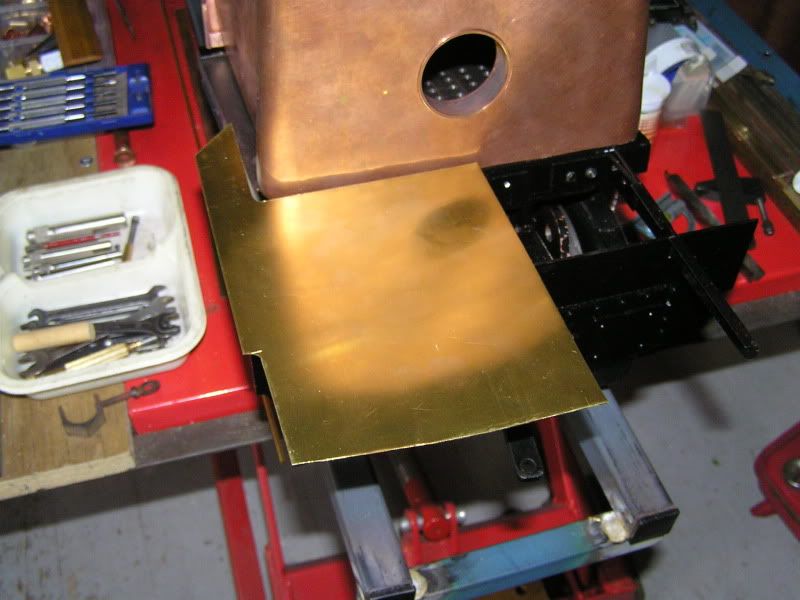 I watched, courtesy of John Johnson (Britannia Builder) the Youtube video clips of 70039 Sir Christopher Wren competing at IMLEC. The sight and sound of the loco working and running at speed really stirred the blood. Once the weather warms up I'll get back on the boiler. www.youtube.com/watch?v=q_nB_0pb9wc. Jim |
|
|
|
Post by Geoff (Carlisle) on Jul 25, 2012 19:47:16 GMT
Hi Jim, a nice piece of engineering, I think a lot of people in the U.K. think that you are gasping for breath because of the heat all year round.
Geoff (Carlisle).
|
|
|
|
Post by Jim on Jul 25, 2012 21:44:23 GMT
Hi Geoff, Yes there is a perception we all live beside the beach and it's summer all year round, sadly though the reality is a bit different. Here in Canberra we're about 100 kms from the Southern Alps with very extensive ski fields. We don't get the snow just the icy cold winds that even boiler making can't lessen    . but the days are starting to lengthen so I'll get back and finish it.  I hope you spotted the identical tube spanners to yours sitting in the white plastic tray in the last photo. When I saw yours I thought the useless workshop gnomes I got to make my boiler had taken them to your place so gave 'em all a clip on the ear'ole. Now I'll have to apologise to the useless twirps  . Jim |
|
|
|
Post by Jim on Jul 27, 2012 6:30:34 GMT
Turned the workshop into a sawmill today and started cutting up the boards for the floor of the cab. Slitting saws have various uses. The GA drawings of Britannia show the flooring to be 1.5" thick but there's no indication of width. From photographs they look to be about 4" to 5" wide, at present my boards are a scale 6" wide to allow for cutting down. Does anyone has any information on the width of the floor boards ? Jim 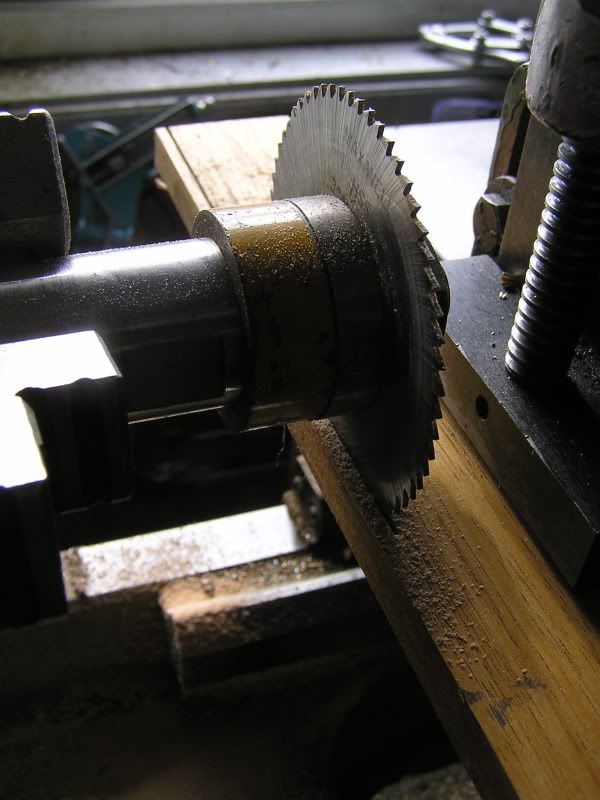 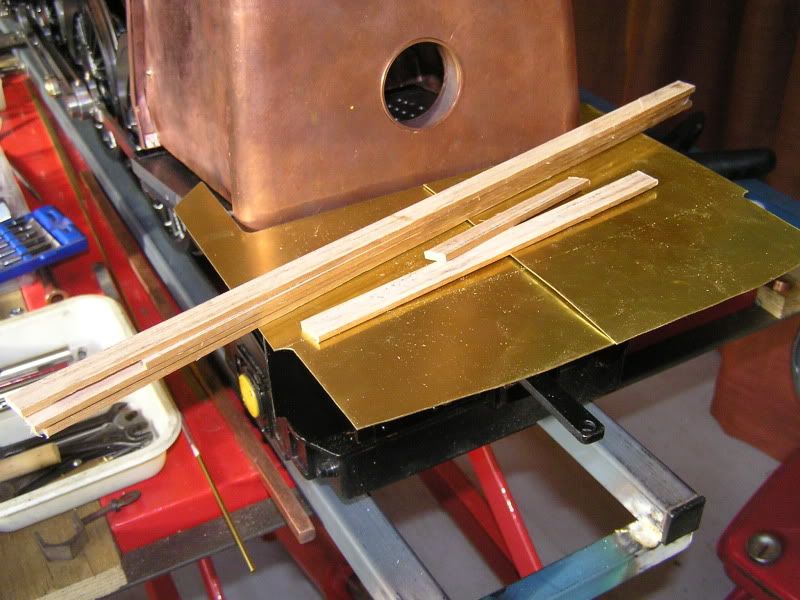 |
|
|
|
Post by Jim on Aug 29, 2012 7:57:05 GMT
Things have been ambling along slowly with Boadicea. The cab floor is in place, a template for the cab side has been made and shows the same mismatch with the footplates that Simplyloco found. Weather wise things are a bit less icy so I should really get back to the boiler. In the meantime work has started on the tender with the frames marked out and a start made on machining the 6 axle boxes. For years I battled with home made boring bars before getting a micrometer boring head..it's magic and makes the job of boring out the recesses for the ball races a joy. ;D The boring head in action 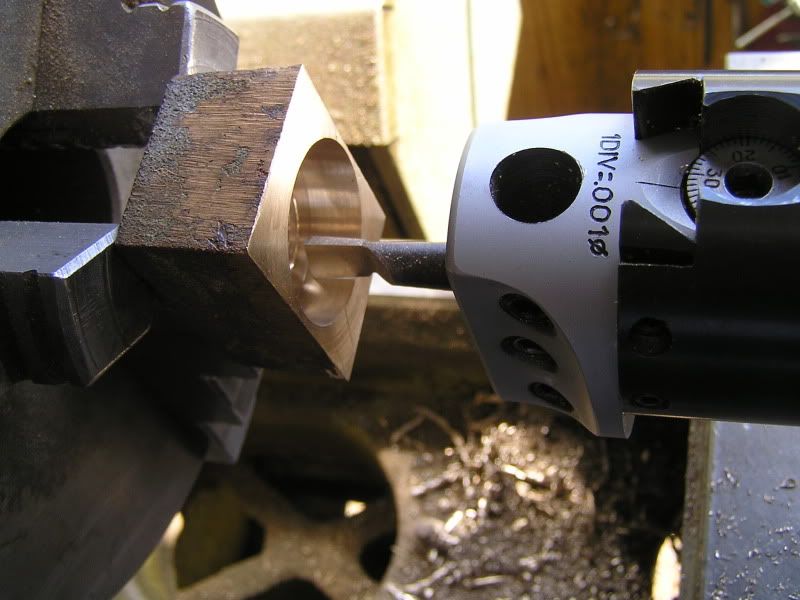 A before and after shot of the axle box with the sides yet to be milled true and to size. 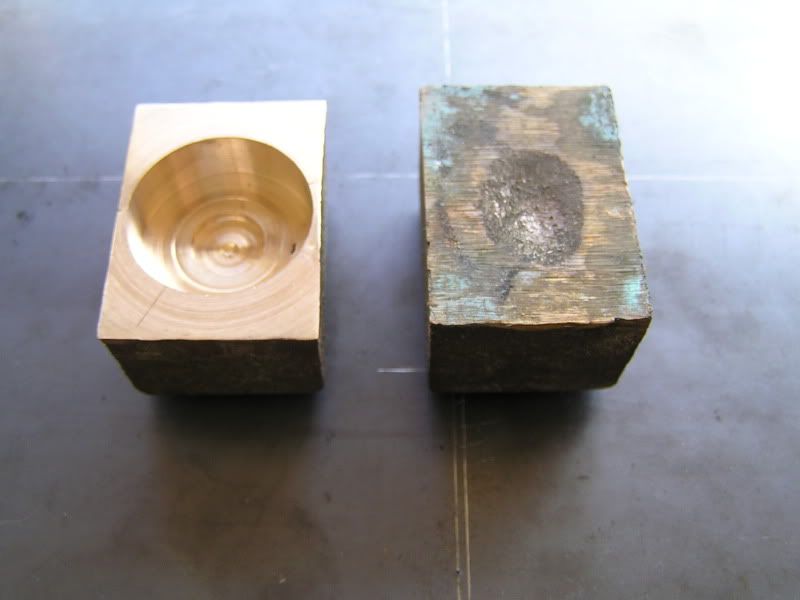 Jim. |
|
|
|
Post by Jim on Sept 6, 2012 0:23:30 GMT
Just a short progress update. The 6 tender axle boxes now have the bearings in place and the front faces machined to fit the Timken bearing covers. The next task is to mill all the sides true and to size. At the start of this project I was very aware that I only had a part set of castings but along the way that fact slipped from the old memory bank until I got the spring castings out and found that I only had 5 of the 6 needed.  Ah well it'll be off to the fabricating shop.... along with a soothing ale or two  Jim The small chuck from the rotary table used to hold the axle box while light cuts were taken to clean up the front of the casting. 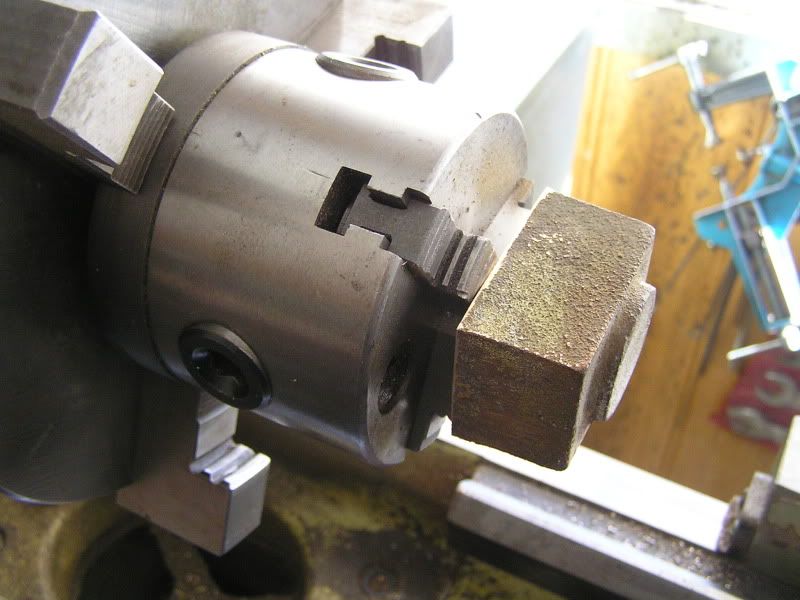 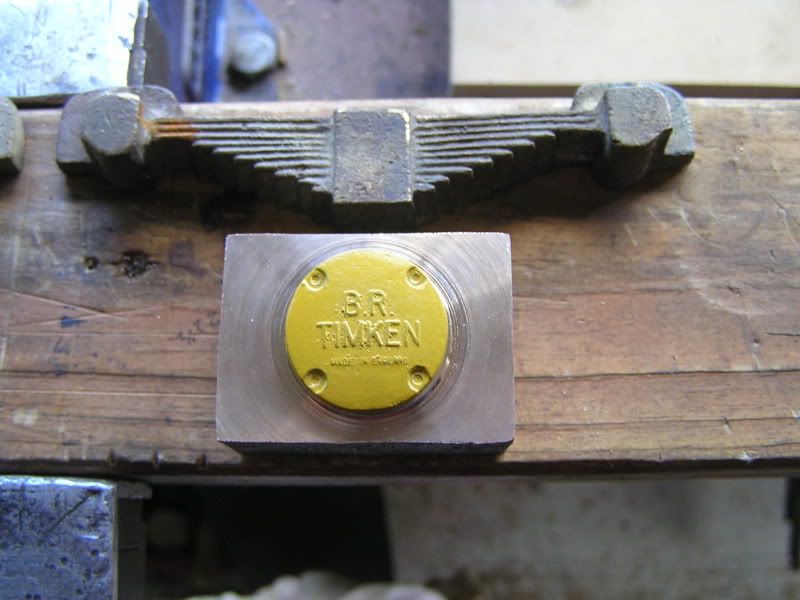 |
|
|
|
Post by Geoff (Carlisle) on Sept 7, 2012 21:23:13 GMT
Hi Jim, the reply i received from my very good friend and colleague regarding the sealing of the tender tank, this saves you from sealing the dummy rivets with soft solder. The chap from Frost &Co Ltd. says that the success of this liquid seal is down to the preperation before hand, not even a finger print must be on the brass sheet, but there is another liquid you use before the seal to dissipate any grease or flux. Geoff (Carlisle)  |
|
|
|
Post by Geoff (Carlisle) on Sept 21, 2012 20:48:20 GMT
Hi Jim, I must thank you and Reg for those words of encouragement, but i'm missing a 7BA. socket spanner and i wondered if you know anything about that. To- night i have just come in from the workshop having fitted the rear top plate on the tender and now celebrating with a glass of Hardys shiraz from S.E. Australia. Geoff (Carlisle)  |
|
|
|
Post by Jim on Sept 21, 2012 21:06:10 GMT
Sorry about that Reg, I'll drop that socket spanner back asap. You do realize don't you that you're leading me astray with your SA Reds which is probably why Boadicea is progressing at the speed of grass growing.  Jim |
|
|
|
Post by Geoff (Carlisle) on Oct 20, 2012 20:00:03 GMT
Hi Jim you've been very quiet lately so i think you've been hard at it with a lot to show very shortly , your drawing my be faded but mine are all sellotaped up .  Geoff (Carlisle). |
|
|
|
Post by Jim on Oct 21, 2012 0:10:53 GMT
Oh dear Geoff if only I could burst forth with Boadicea almost ready for her first steam test but sadly not  The boiler is still waiting for me to get back and silver in all the bushes, form the outer firebox wrapper then take it for inspection before closing it all up. Spring has sprung so will get back to it and in fact managed to get the water gauges and Everlasting blow down valve at the recent Melbourne ME Exhibition. In the meantime I've been milling the horns for the tender as a change of interest. 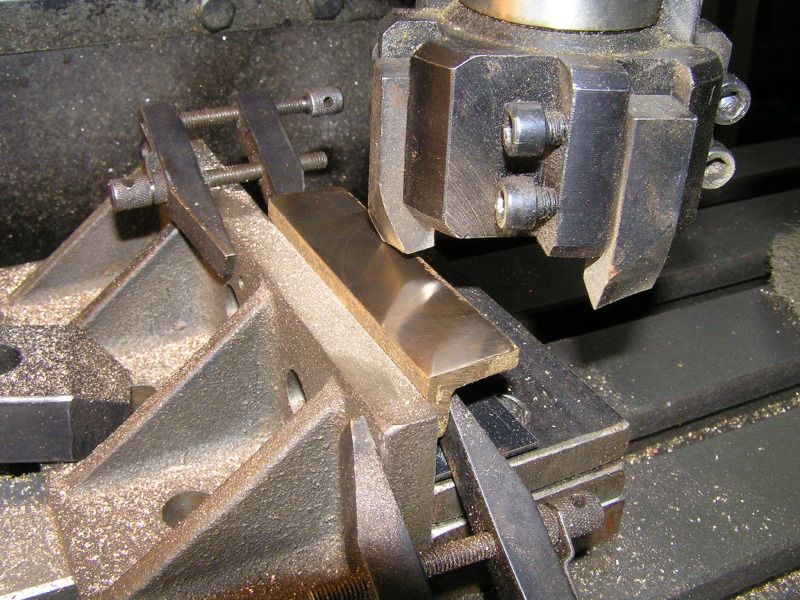 The back head with the water gauges temporarily fitted with steel rods to check alignments. 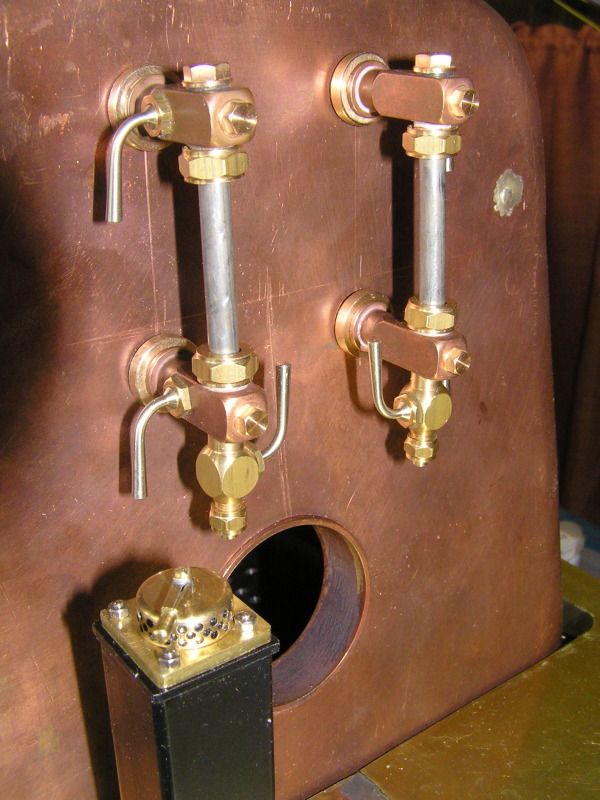 The DNC 's Everlasting blow down valve and clevis. 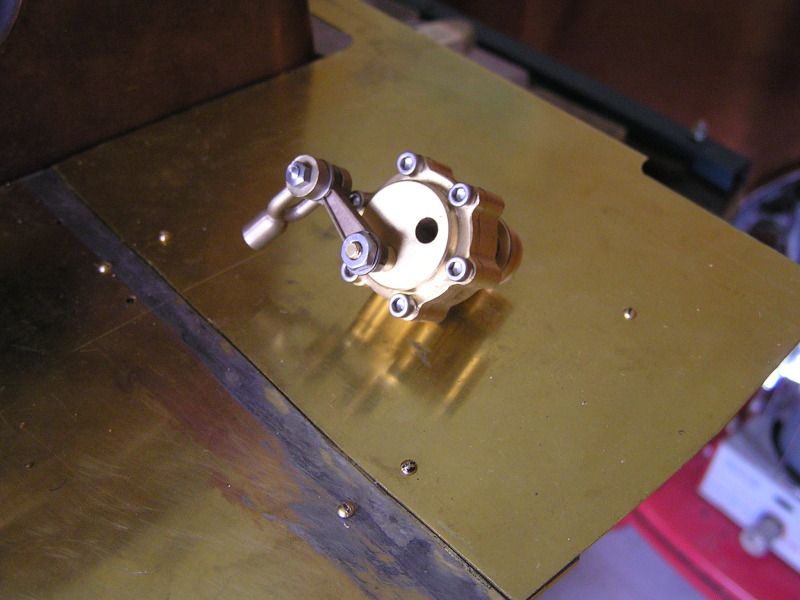 Jim. |
|
|
|
Post by Jim on Oct 22, 2012 10:53:40 GMT
One of the really handy bits of kit I find is the metal band saw seen here cutting off the excess from what will become the tender frames. 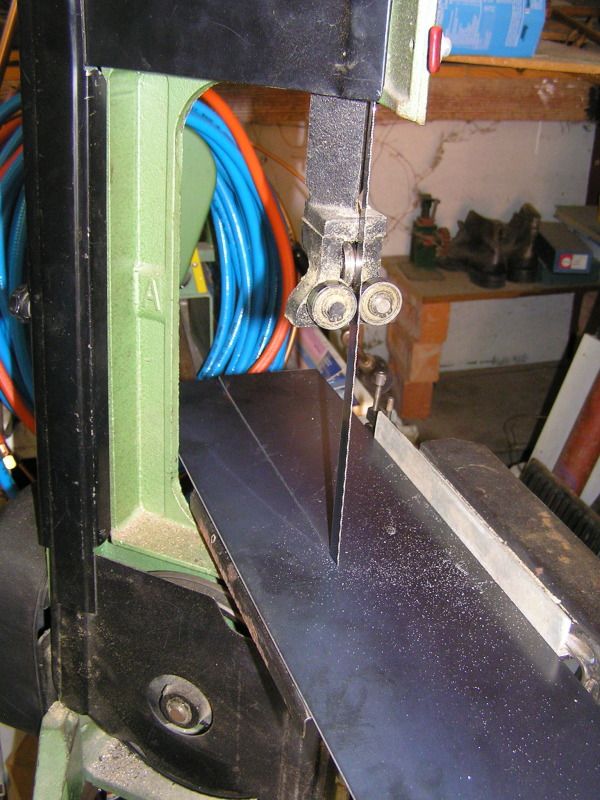 Slowly getting back into the swing of things with the horns now completed including all the holes for the securing bolts. Now if I could just borrow Geoff's tender.....  Jim |
|
|
|
Post by Deleted on Oct 22, 2012 11:13:59 GMT
Gosh Jim, and I thought that I had a well equipped workshop!
JB
|
|
gwr1475
Seasoned Member
 "Make every part like its the only part"
Posts: 110
|
Post by gwr1475 on Oct 24, 2012 13:46:13 GMT
Hi Jim
Where did you get that everlasting blow down valve.
thanks
Mark
|
|
|
|
Post by Jim on Oct 24, 2012 20:49:54 GMT
Hello Mark, I got the Everlasting blowdown valve from DNC Technologies here in Australia. www.dncsystems.dynalias.com/minirail/ It comes assembled but with the clevis extra. The valves are supplied for either RH or LH operation. Doug Hewson supplies the castings for the two halves of the body of a slightly smaller Everlasting valve leaving you to make and assemble the rest. My order from Doug came without drawings or instructions, maybe an oversight or misunderstanding. I did have Doug's ME article covering the valve but the drawings were far too small to be of much use  (see bottom of p 9 of this thread) Hope this is of help. Jim |
|
gwr1475
Seasoned Member
 "Make every part like its the only part"
Posts: 110
|
Post by gwr1475 on Oct 25, 2012 1:20:43 GMT
Hello Jim,
Thanks for replying. lots of nice stuff there.
Mark
|
|