|
|
Post by Jim on Apr 24, 2017 8:05:07 GMT
Thanks Bob the two drawings are brilliant and fill in nicely the details shown in the photos Reg has sent. I've yet to shape it but I have assembled the wood former for the tender sides and now with the water level aperture completed the actual gauge can be made and fitted, it will be non working I hasten to add. I've had to do a bit tweeking for, as anyone who has worked with gal steel sheet will know it does tend to flex until fully assembled and secured. All is good now.  Jim. |
|
|
|
Post by 92220 on Apr 24, 2017 10:01:59 GMT
Hi Jim.
I've just got the drawing for the water treatment equipment. Interestingly, it wasn't available from the NRM, but I got it from the Great Western Society in Didcot. They have an archive of around 10,000 drawings - mostly available digitally.
The manhole cover for your tender is different to mine but I'll sort out the drawings for yours and post details. The internal details of the water treatment equipment is different for the various tenders, but the manhole is the same on all B1G tenders except the ones fitted to the 9Fs.
Bob
|
|
|
|
Post by Jim on Apr 24, 2017 11:47:03 GMT
I look forward to seeing the drawings Bob. I must you certainly have been busy searching the source for these drawings for which I and I'm sure others building or contemplating a model of a Standard are very grateful.
Jim
|
|
|
|
Post by springcrocus on Apr 24, 2017 18:19:59 GMT
Something like this, then?   Regards, Steve |
|
|
|
Post by Jim on Apr 26, 2017 7:27:30 GMT
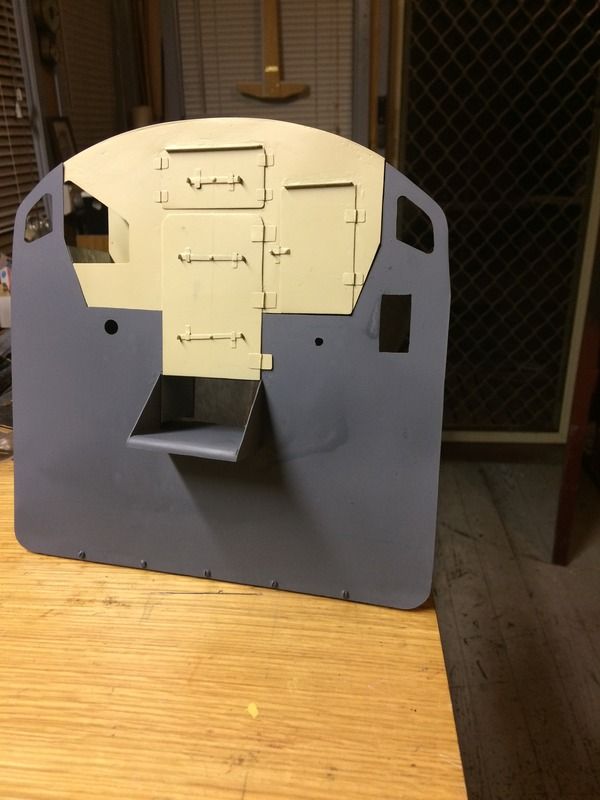
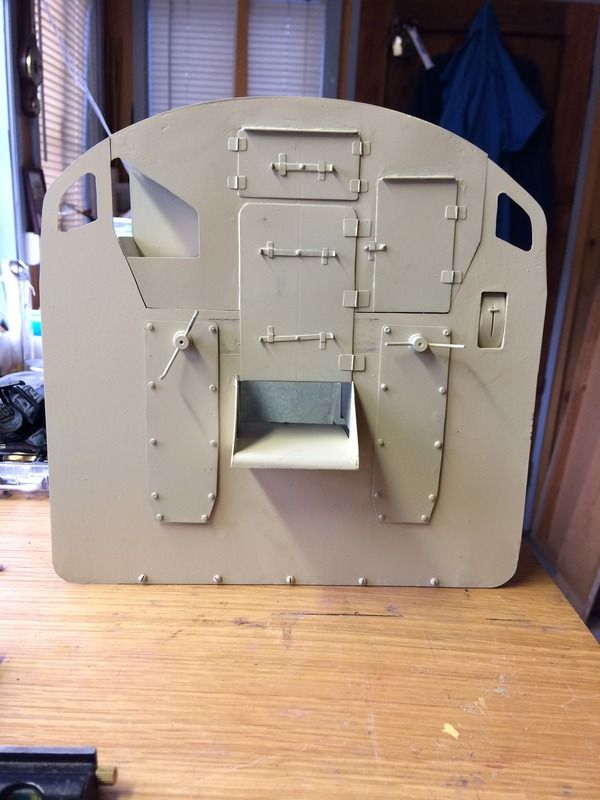
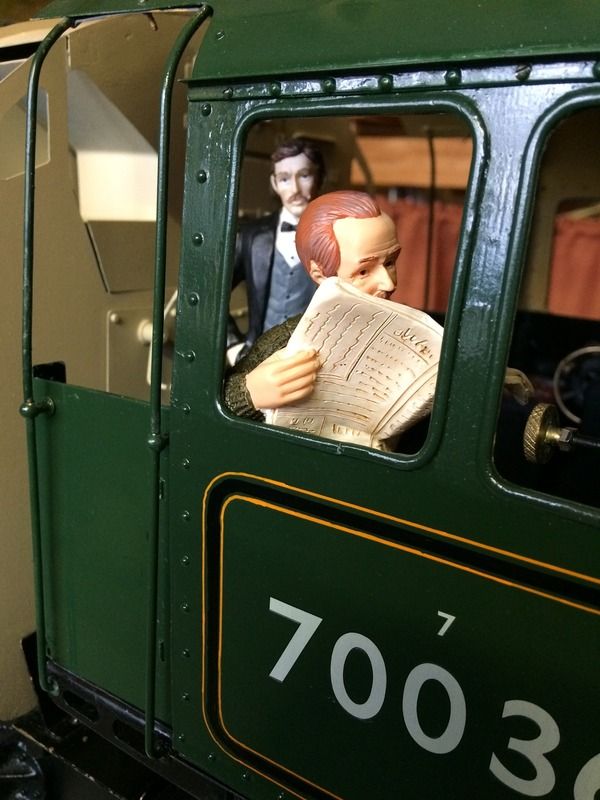
Just a quick update with a photo of a temporary lash up of the tender front to see how it looks now the water level gauge is in place. The cover plates for the brakes and water scoop are currently held with sticky tape and came adrift 5 minutes after the last photo was taken.   Finally I couldn't pass up the chance to get a photo of a visitor from 'up north' having a quiet read of the Sunday paper as the CME looked on disapprovingly.   Cheers, Jim |
|
|
|
Post by springcrocus on Apr 26, 2017 7:47:50 GMT
Getting a bit crowded on the footplate, Jim. And not a grease-top in sight!  That photo of your tender is just perfect - I still fancy cut-and-pasting it over my brasswork. Lovely work, and really admire your water gauge. Regards, Steve |
|
|
|
Post by Jim on Apr 26, 2017 9:29:50 GMT
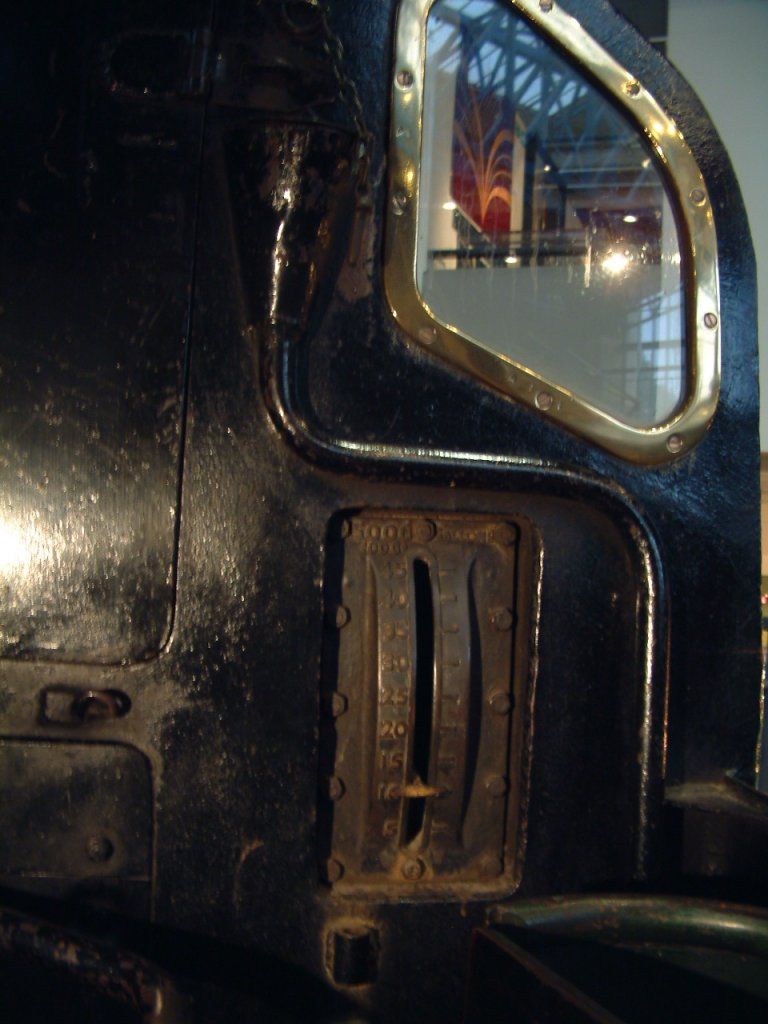
Thanks Steve but your tender looks brilliant and especially with the latest addition of the hatch to the water level mechanism. Bob of 92220 fame has posted a very nice close up photo of the water level gauge in a PM to me which I tried to re-post here for the information of other BR tender builders but sadly for some reason it won't let me, maybe if Bob sees this he'll repost it here...hint, hint, hint.  Jim |
|
barlowworks
Statesman
  Now finished my other projects, Britannia here I come
Posts: 878 
|
Post by barlowworks on Apr 26, 2017 10:59:45 GMT
Shame on you Jim, you should know us northern lads always start to read a paper from the back to the front. 😀
|
|
|
|
Post by 92220 on Apr 26, 2017 11:29:59 GMT
Hi Folks. This is the photo Jim is referring to:  Bob |
|
|
|
Post by Jim on Apr 26, 2017 12:45:33 GMT
Thanks for posting that photo Bob it's great to see that part of the tender wall and water gauge in such detail.
Jim.
|
|
barlowworks
Statesman
  Now finished my other projects, Britannia here I come
Posts: 878 
|
Post by barlowworks on Apr 27, 2017 13:05:38 GMT
I knew I'd seen all this before, check out page 60 on this thread.
Mike
|
|
|
|
Post by Jim on Apr 27, 2017 23:44:12 GMT
It's interesting in a frustrating way the little variations that exist on the BR tenders. For example the little water down pipe in Bob's photo of, I'm assuming the tender on 'Evening Star', isn't featured in Mike's photo of 'Oliver Cromwell's' tender on p60 of this thread and neither photo has the mechanism for the water scoop yet that is feature in all the drawings I've seen. As a modeller friend once said,'There's a prototype for everything.' Today's job is to make the former for the tender sides as I surreptitiously steal Steve's ideas and methods.  Jim. |
|
|
|
Post by 92220 on Apr 28, 2017 7:57:44 GMT
Hi Jim.
I've looked through all my drawings, that I can think would be relevant, and can't find any reference to that pipe, although I do feel I've seen a drawing somewhere with it on. I will keep looking. I haven't seen any other photos, of tender fronts, with that pipe on either.
Bob
|
|
|
|
Post by Jim on Apr 28, 2017 8:39:02 GMT
Hi Bob, Back on the previous page (71) Reg posted some photos of front wall of 92220's tender showing a similar pipe on the fireman's side of the cab. My guess is it was a later mod and presumably to take away rain water coming off the weather strips above the locker doors.
Jim
|
|
barlowworks
Statesman
  Now finished my other projects, Britannia here I come
Posts: 878 
|
Post by barlowworks on Apr 28, 2017 10:23:28 GMT
Hi Jim
I've checked all the tender bulkhead photo's I can find and there is no reference of the pipe with the funnel on any of them, as you say it could be a later mod (or a drinks dispenser of some kind because the 9F crews worked so hard). As for the shoveling plate, it appears that they were originally square with the top rounded but soon were modified to the triangular shape you have modeled. Just to get you reaching for the soothing ales again it also had a curved lip on the front edge (Frazer Ker again).
Mike
|
|
|
|
Post by Jim on Apr 28, 2017 13:35:18 GMT
Phew! Mike I'm reaching for the champers. It may not be apparent in the photo but I do have a curved front edge to the shoveling plate.   Thanks for all your efforts in checking and cross checking the available records. Frazer Ker is a wonderful source for photos as is John Johnson's photos of the restoration of Oliver Cromwell. Another source of information on the Britannia's in general is David Hey's site. Thanks again Mike I can sleep happily tonight. Jim |
|
barlowworks
Statesman
  Now finished my other projects, Britannia here I come
Posts: 878 
|
Post by barlowworks on May 1, 2017 7:30:37 GMT
Hi Jim , I've sent you a PM.
Mike
|
|
|
|
Post by Jim on May 1, 2017 11:32:35 GMT
Thanks Mike I've seen it and found the details you were after.
Jim
|
|
|
|
Post by Jim on May 1, 2017 12:13:29 GMT
Today I managed to complete the wood former needed to fold up the tender sides. I still need to remove 2mm from the bottom to allow for the thickness of the metal but that aside I'm happy with how it's shaping up. 😄😄 groan. Jim  |
|
|
|
Post by simplyloco on May 1, 2017 13:15:11 GMT
Today I managed to complete the wood former needed to fold up the tender sides. I still need to remove 2mm from the bottom to allow for the thickness of the metal but that aside I'm happy with how it's shaping up. 😄😄 groan. Jim On form then! I'm not trying to be funny at all, but why have you made a former? John |
|