JonL
Elder Statesman
   WWSME (Wiltshire)
Posts: 2,990
|
Post by JonL on Apr 1, 2019 18:21:08 GMT
That looks fantastic. Well done John on an extraordinary achievement.
I wonder if I should get a register of 3.5 Britannia going on my website... (whats the plural of Britannia?)
|
|
|
|
Post by simplyloco on Jun 7, 2019 16:35:36 GMT
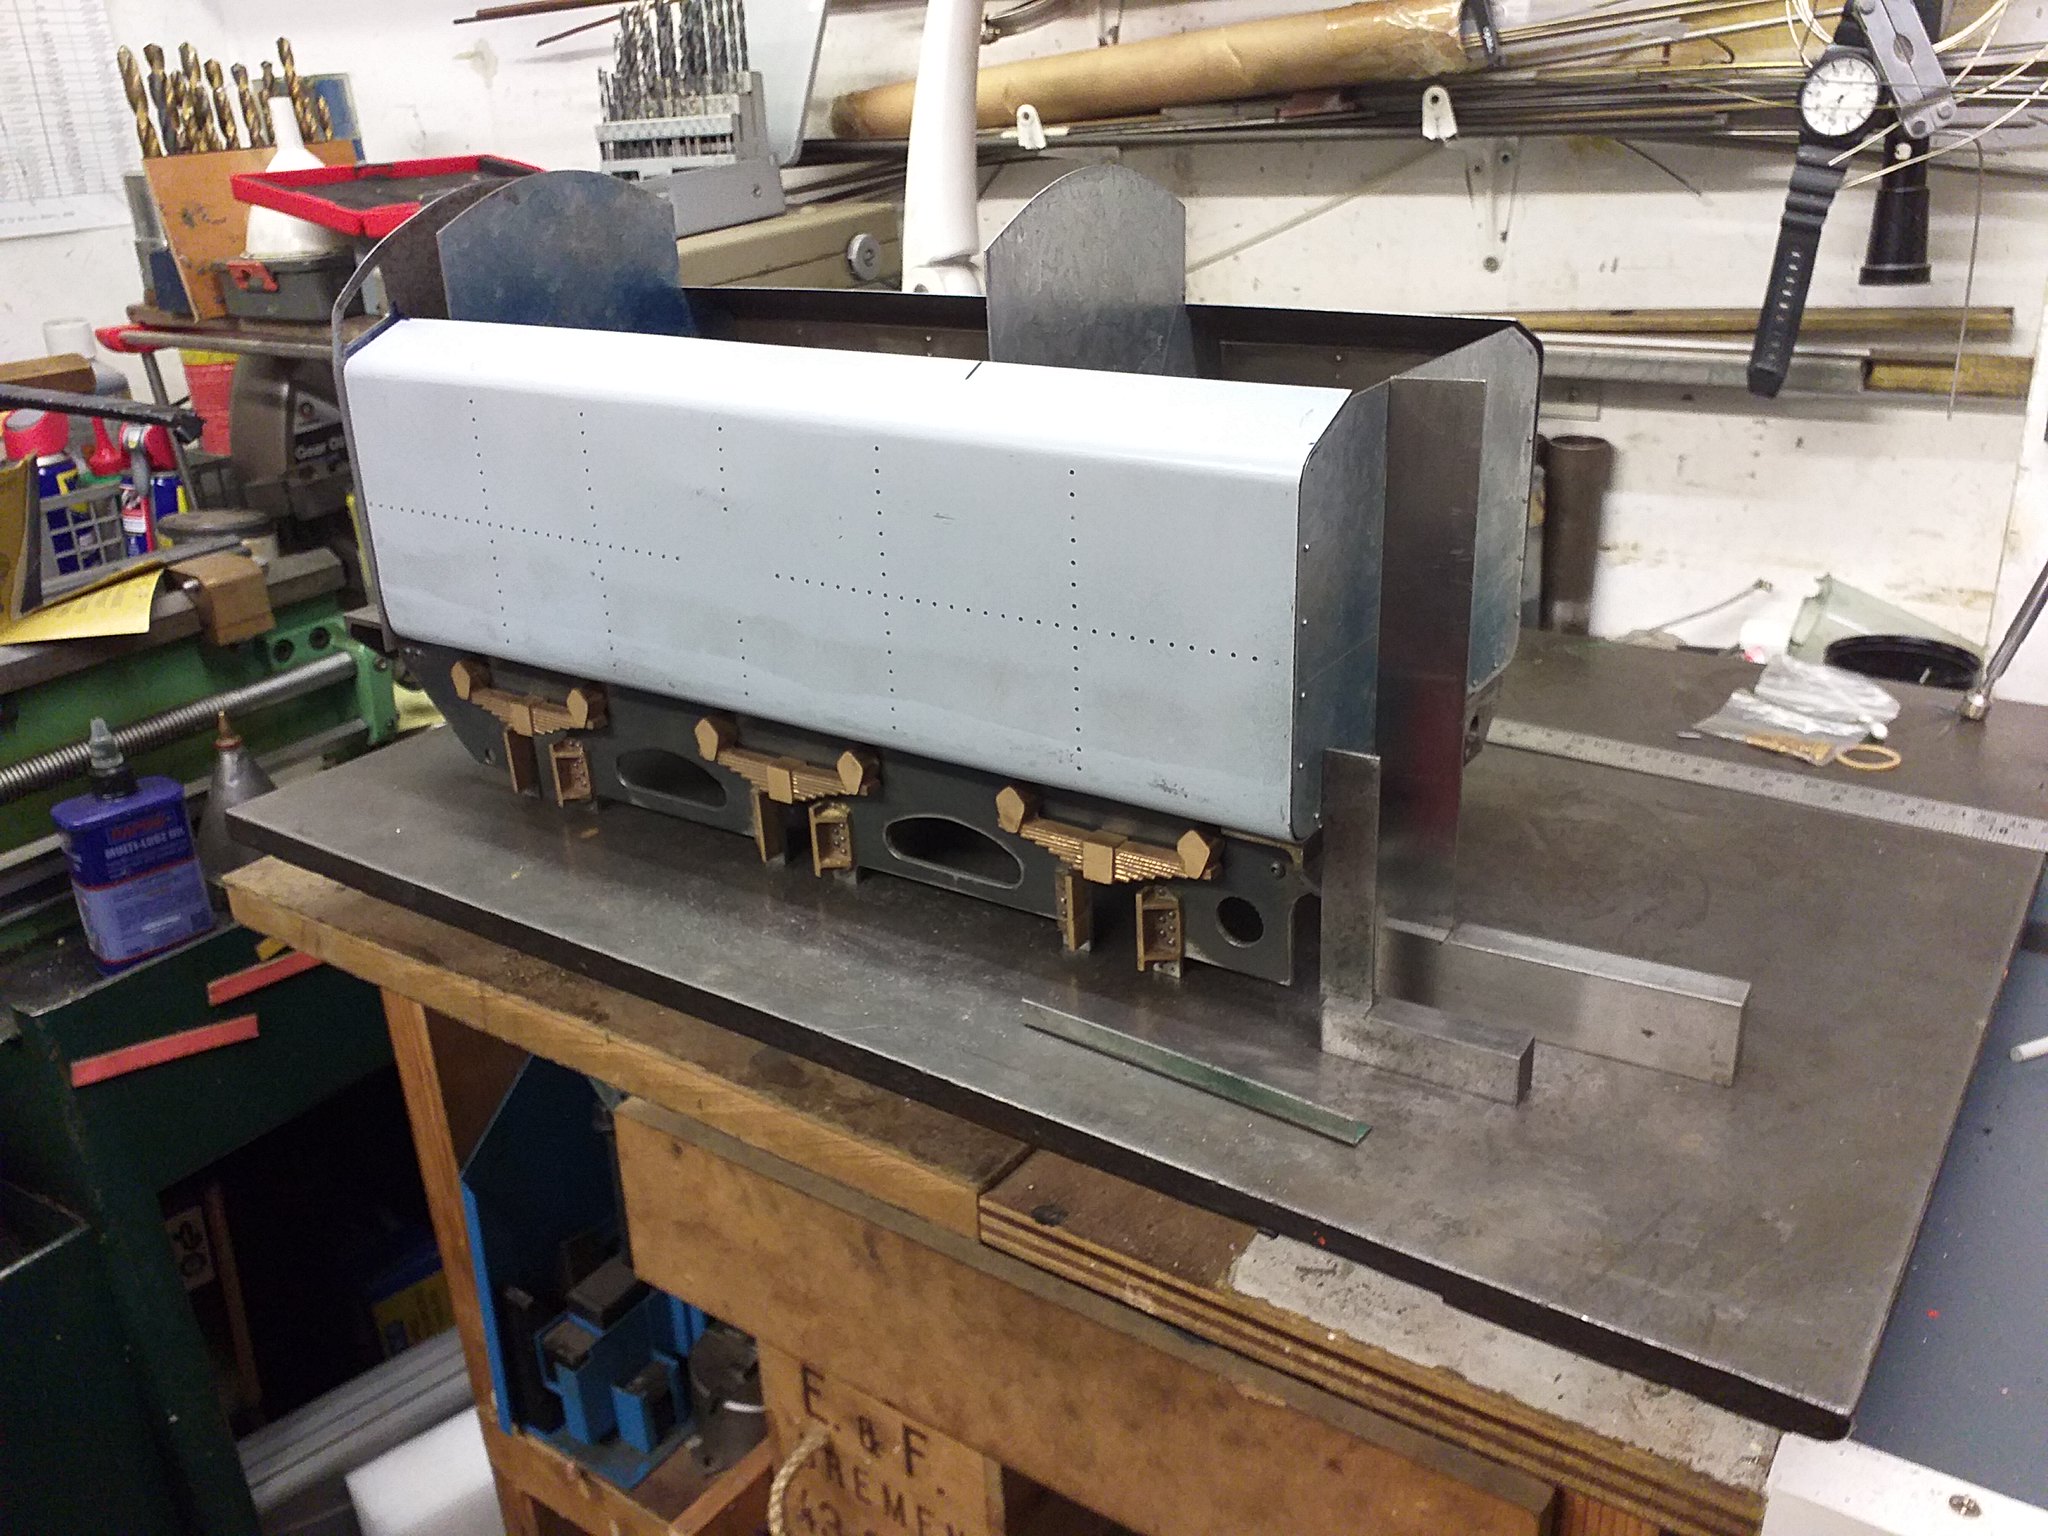
There may be a few among you who will be pleased to hear that I'm going to complete the tender: I've gone back to proper engineering - to quote Eddie (GWR14XX)! I blame David for this... Here's the thing retrieved from the under bench shelf. The end plate is for sizing purposes only. There are a few traders out there who would say that this is 80% complete...!  20190607_153939 20190607_153939 by inkaboat, on Flickr I only have to make what is on this drawing and it is finished!  . I made a gash pump some time ago, but there was this very nice one in the job lot I bought this year, so that will do nicely.  20190607_165916 20190607_165916 by inkaboat, on Flickr Such was my enthusiasm today that I made the tank bottom joining strip, but I have to decide whether to put proper cut to length rivets in the tender sides before I join them, or cheat and superglue full size ones in them in later like wot some folks do...  20190607_162853 20190607_162853 by inkaboat, on Flickr It's nice to be back!  John |
|
|
|
Post by Deleted on Jun 7, 2019 18:02:03 GMT
Great stuff John...it always amazes me what some describe as nearly completed....  |
|
|
|
Post by Jim on Jun 7, 2019 22:25:03 GMT
"Such was my enthusiasm today that I made the tank bottom joining strip, but I have to decide whether to put proper cut to length rivets in the tender sides before I join them, or cheat and superglue full size ones in them in later like wot some folks do..."
It's not a question of cheating John but doing what best suits you and what you feel comfortable with.
Jim
|
|
|
|
Post by simplyloco on Jun 8, 2019 7:25:13 GMT
It's not a question of cheating John but doing what best suits you and what you feel comfortable with.
Jim
Every rivet on the loco is a 'real' one, so I will feel more comfortable doing that on the tender. Trouble is, at 72 years old do I want to shorten and fix over 400 of the little b*gg*rs!  John |
|
JonL
Elder Statesman
   WWSME (Wiltshire)
Posts: 2,990
|
Post by JonL on Jun 9, 2019 9:43:52 GMT
Really pleased to hear this, this will finish it off beautifully.
|
|
|
|
Post by simplyloco on Jun 10, 2019 20:07:17 GMT
I had a rivetting time this evening, joining the two galvanised steel sides. Much to my surprise they fit OK! Here's the first side having used the drilling jig, rivetted without the use of snaps or countersunks: just snip the rivets off and hit them against a stake held in the vice! I'm not worried about watertightness...  20190610_181842 20190610_181842 by inkaboat, on Flickr The other side clamped up and being drilled 1.3mm with the trusty minicraft drill. It helps to paint a little cutting compound into all the holes.  20190610_194804 20190610_194804 by inkaboat, on Flickr Here's the rivetting arrangement: a simple 10mm bar in the vice, set level with a conveniently near object. Just poke a steel rivet through from underneath, snip it off inside leaving a mm or so, and whack it!  20190610_202348 20190610_202348 by inkaboat, on Flickr Sitting nicely square and ready for the end panels. Well pleased. John  20190610_203457 20190610_203457 by inkaboat, on Flickr |
|
JonL
Elder Statesman
   WWSME (Wiltshire)
Posts: 2,990
|
Post by JonL on Jun 10, 2019 20:57:47 GMT
Excuse my ignorance, how are you snipping off the excess rivet shaft?
|
|
|
|
Post by simplyloco on Jun 10, 2019 21:03:17 GMT
Excuse my ignorance, how are you snipping off the excess rivet shaft? Hi Jon Just ordinary cable snips: the jaws leave just enough meat on the rivet. John |
|
|
|
Post by David on Jun 12, 2019 2:41:38 GMT
Would it not have been easier to put the rivets in the sides before doing this step? Or are you gluing them in so it makes no difference? Some of mine are glued in where it was just too difficult to get even a punch in place to rivet them over. Mostly at the corners of 3 plates.
Does the tank sit flat on the chassis? I made the mistake on my tank engine of putting the rivet heads on the outside on the rear plate of the side tanks meaning they can't sit flush against the cab front. I could grind them down but I'd have to repaint it! So I've lived it for a long time now.
|
|
|
|
Post by simplyloco on Jun 12, 2019 7:17:56 GMT
Would it not have been easier to put the rivets in the sides before doing this step? SNIP Does the tank sit flat on the chassis? SNIP David I thought long and hard about this, and I'm going to glue them in! I've made sure that the tender sides will take paint afterwards without further sanding. I've got some rivet headed screws for the awkward bits! The tank sits on the chassis rails without interference from rivet heads, so no worries there, but thanks for pointing it out. John |
|
|
|
Post by simplyloco on Jun 12, 2019 20:52:10 GMT
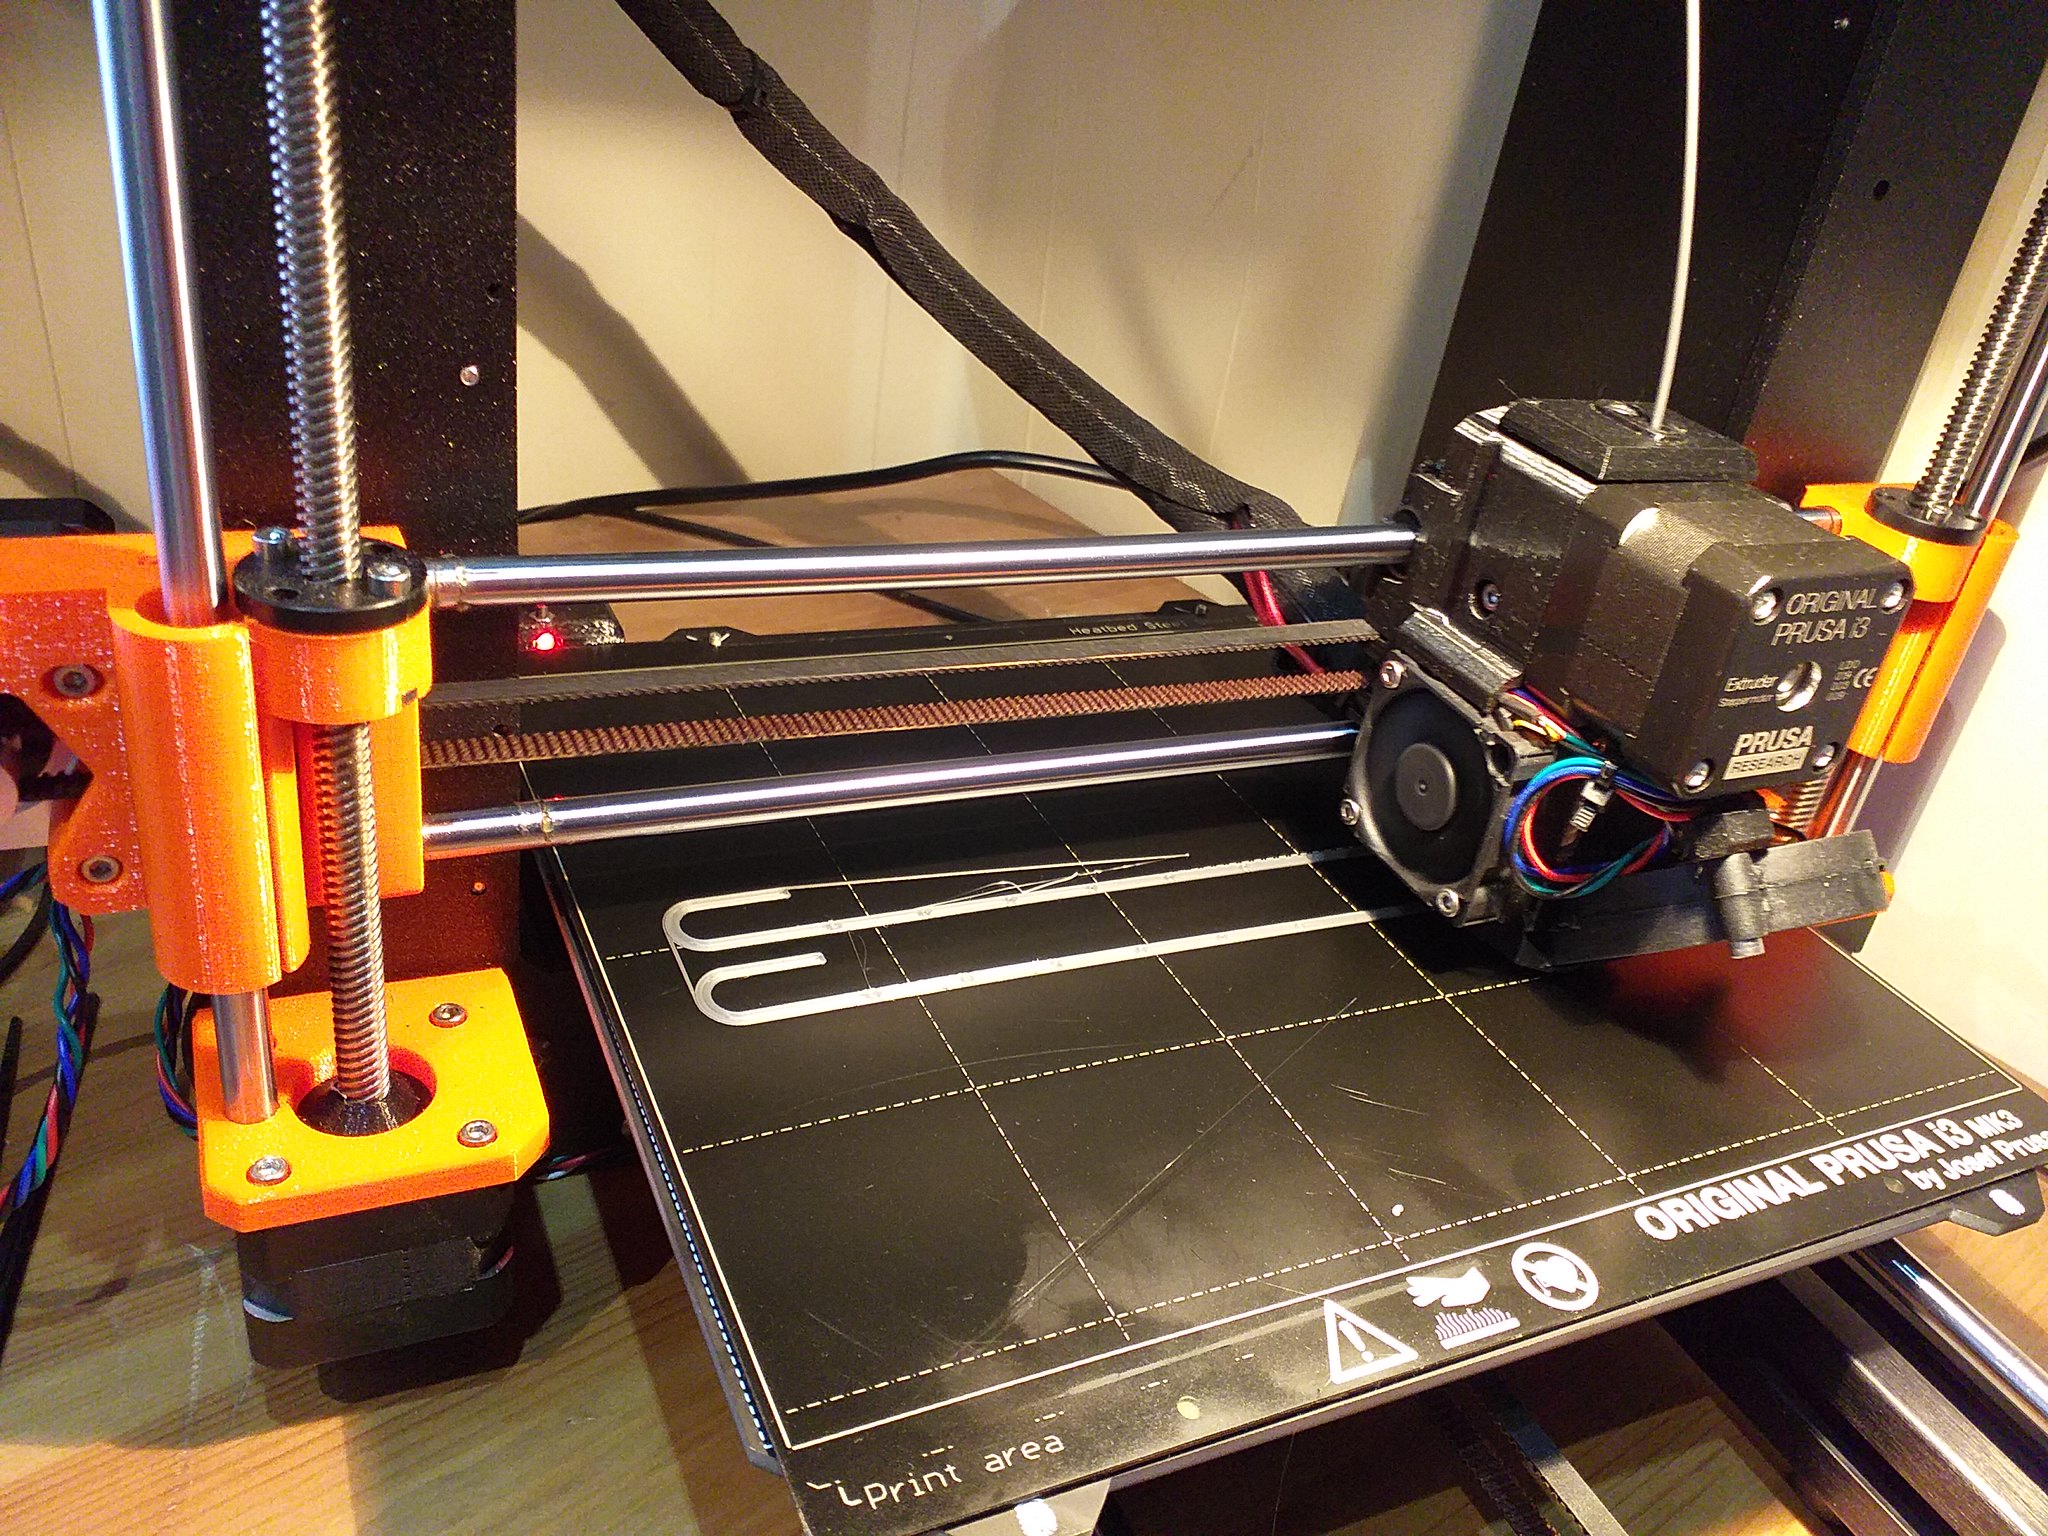
I've had some fun this evening with the new gadget. I cut out the tender windows with the jeweller's saw, but wondered if I could make the frames on the new machine... Templates created in F360  20190612_160232[1] 20190612_160232[1] by inkaboat, on Flickr Frames printed from the same drawing  20190612_214108[1] 20190612_214108[1] by inkaboat, on Flickr Frames applied to the panel. Wow!  20190612_214306[1] 20190612_214306[1] by inkaboat, on Flickr Such was my enthusiasm I drew up and printed the ladder frames, complete with 1.0 mm holes for rungs at the correct interval!  20190612_211029[1] 20190612_211029[1] by inkaboat, on Flickr This is getting quite interesting...  John |
|
|
|
Post by simplyloco on Jun 13, 2019 13:31:08 GMT
Tender Steps
First try at something useful. It seems to have been a step in the right direction! John  20190613_141923 20190613_141923 by inkaboat, on Flickr The backplate is a bit too thin, therefore the surface isn't as good as it could be. Next time...   20190613_142056 20190613_142056 by inkaboat, on Flickr
|
|
|
|
Post by simplyloco on Jun 14, 2019 20:46:22 GMT
Working on the rear bulkhead this affy, which is pushed up against the piece of HSS which is against the two dowels which ensure parallelism, and secured with the two small clamps. The brass angle was pushed against the the hss whilst drilling the rivet holes at 20mm intervals, thus ensuring a perfect face join: well, it should be, hopefully...  .  20190614_175102 20190614_175102 by inkaboat, on Flickr I couldn't resist yet another tryout for the Prusa. Here is the rear shelf, drawn in ten minutes and printed in 25. I'l spend five minutes with some 800 wet and dry and after painting it will be indistinguishable from a metal fabrication. I challenge anyone on here to make one in less time...  Forgive the pun, but this is what I call a scale ladder! John  20190614_212330 20190614_212330 by inkaboat, on Flickr |
|
|
|
Post by simplyloco on Jun 15, 2019 17:57:18 GMT
A productive few hours in the workshop today after a further jab at the F360 learning curve this morning! Rear bulkhead is now ready for installation: like an idiot I didn't shorten the base joining strip, so I just gashed a lump out of the bottom! It will take filler...  20190615_175300 20190615_175300 by inkaboat, on Flickr I also made the internal tall bulkhead, and it fits nicely, keeping the tender sides nice and parallel. I'll do the brass angle tomorrow. I did some research this morning and printed these new shelves. I am very pleased with them!  However, as I'm making small bits, I've ordered a 0.2mm nozzle, just to be sure, to be sure... John  20190615_182617 20190615_182617 by inkaboat, on Flickr |
|
JonL
Elder Statesman
   WWSME (Wiltshire)
Posts: 2,990
|
Post by JonL on Jun 15, 2019 18:44:52 GMT
Very rapid progress indeed!
|
|
|
|
Post by simplyloco on Jun 19, 2019 18:35:40 GMT
The tender is now fixed to the chassis, ready for the bulkheads to be installed. I'm not adopting the LBSC design, as it doesn't do the loco justice: it will look something like a BR1 but not as nice as Jim's!  20190619_183130 20190619_183130 by inkaboat, on Flickr I've always had a problem with soldering galvanised steel but today I trialled a joint using Bakers's Fluid and some solder paste - which was half the price of the Fry's equivalent. A good solid joint was obtained: just the pressure of a frog was needed, so I will get on with the bulkheads tomorrow! John  20190619_180452 20190619_180452 by inkaboat, on Flickr |
|
|
|
Post by simplyloco on Jun 22, 2019 13:04:30 GMT
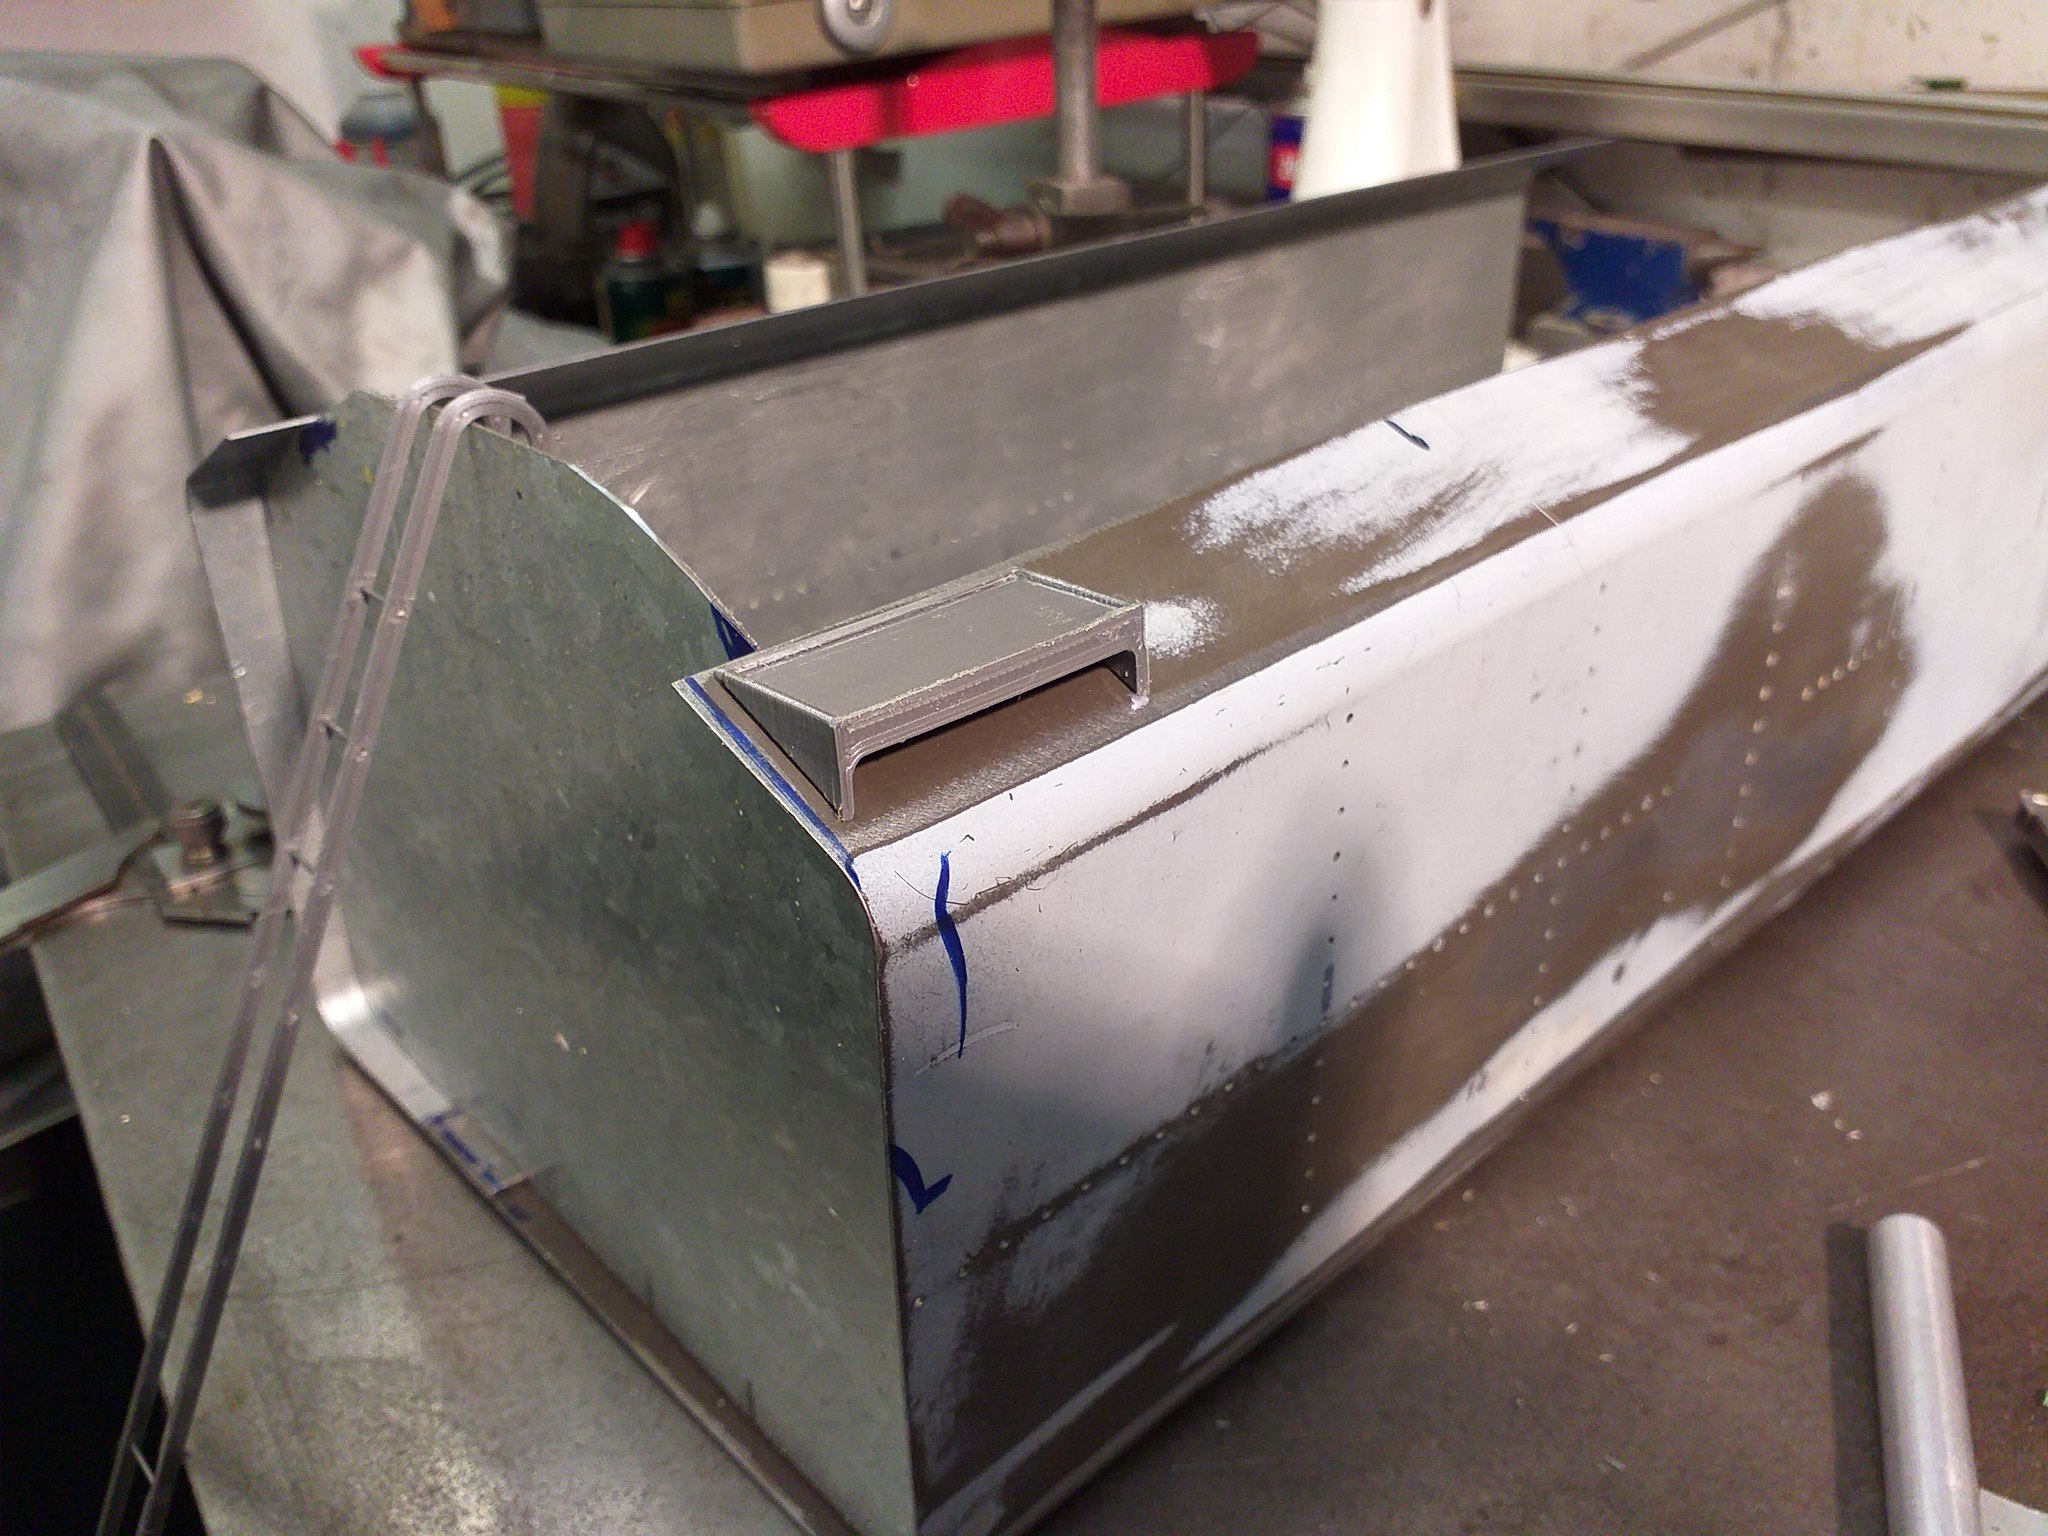
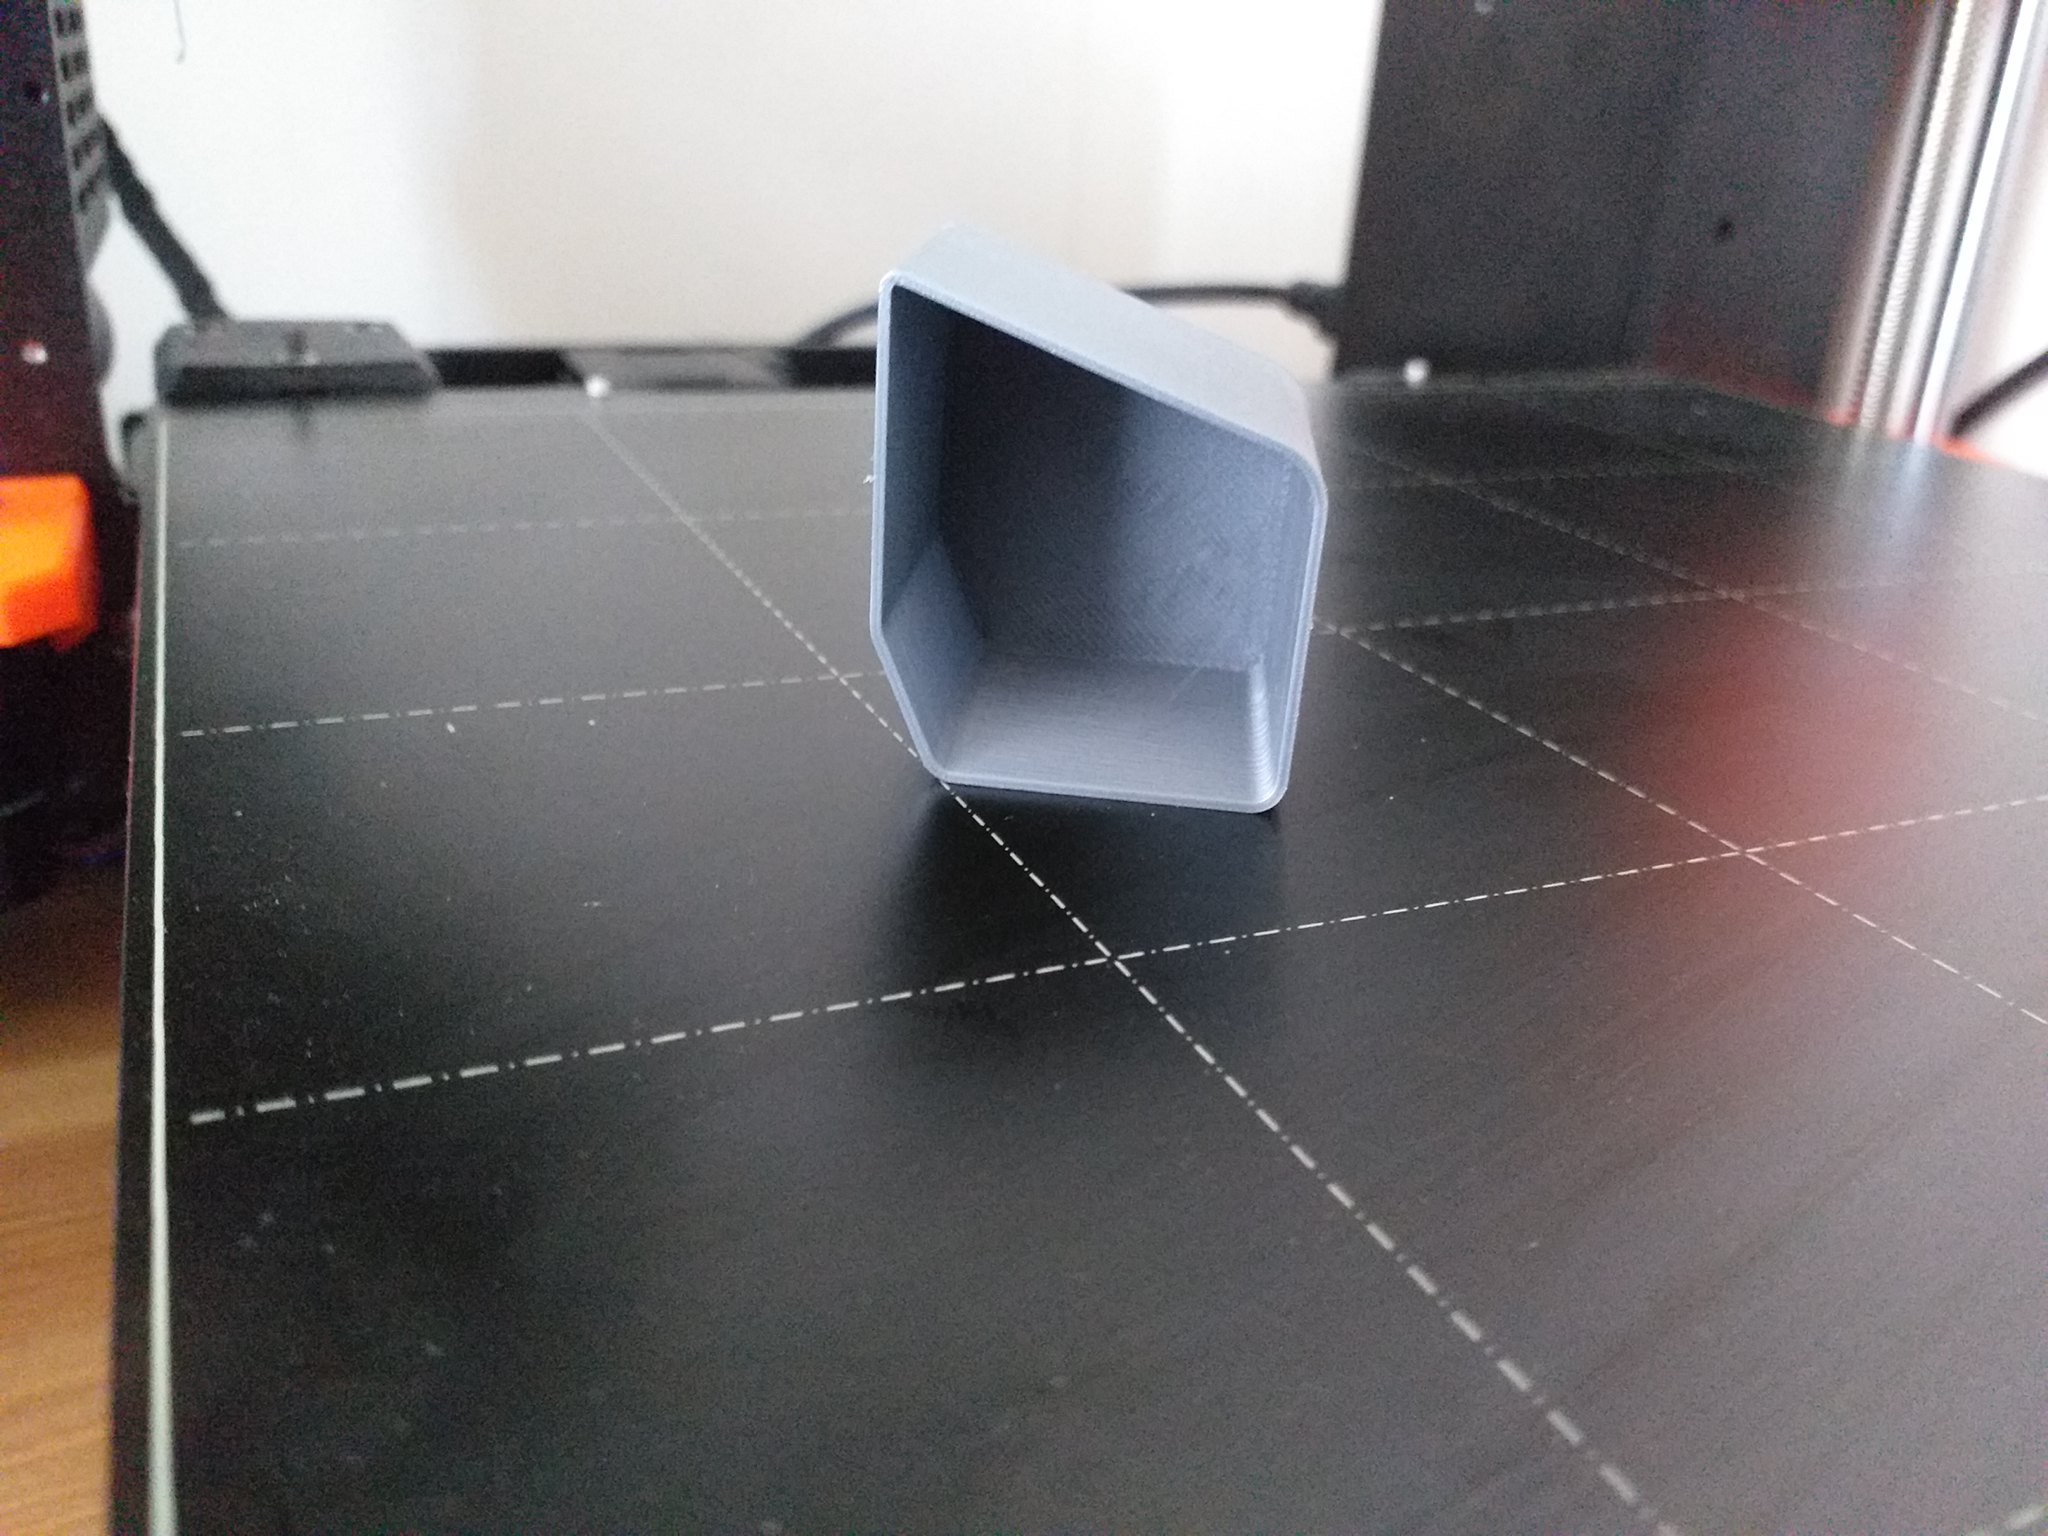
Aren't 3D printers wonderful?  20190622_134407[1] 20190622_134407[1] by inkaboat, on Flickr And here's the tool tunnel : tooooo easy!   20190622_141546[1] 20190622_141546[1] by inkaboat, on Flickr Tool tunnel tried for size. I've run out of suitable saw blades so the chute will have to wait. The fake door is just a whim at the moment... Exciting, what! John  20190622_170309[1] 20190622_170309[1] by inkaboat, on Flickr The rear end is coming along nicely too, but I'm afraid I'm going to need some filler for the first time on this Brit! There are no screws in the bottom rail yet, so that will pull out flush. John  20190621_201410[1] 20190621_201410[1] by inkaboat, on Flickr |
|
Midland
Elder Statesman
  
Posts: 1,875
|
Post by Midland on Jun 22, 2019 20:54:51 GMT
Lovely detail!
D
|
|
|
|
Post by springcrocus on Jun 22, 2019 22:22:47 GMT
I agree these 3D printers are a fantastic tool but, for me, it's getting a bit too Airfix-ey. Learning the skills needed to produce these items is worth an accolade in it's own right but I think it veers away from traditional model engineering and should more correctly be called computerised engineering. Each to his own, but I prefer to bash the tin.
But, hey, you're already a very good machinist and time to showcase a new skill, maybe?
Regards, Steve
|
|