tim
E-xcellent poster
  
Posts: 236
|
Post by tim on Mar 15, 2014 23:48:46 GMT
Reg they're called Kurt vices, and I wish they were mine!, alas I was using a machine where I work, I'm not sure where my employer bought them from but I believe they cost about £400 to £500 each. One thing is for sure they are good.
Tim
|
|
|
|
Post by RGR 60130 on Mar 16, 2014 0:05:19 GMT
Thanks very much for that info Tim. I'll keep a lookout for some. Sadly, there is a steady stream of closing down sales and all sorts of stuff comes up so I may get lucky at some point.
Thanks again,
Reg
|
|
greensands
Part of the e-furniture
 Building a Don Young 5" Black Five
Posts: 409
|
Post by greensands on Mar 16, 2014 12:16:05 GMT
I made up a pair of similar vices from the description given in the Model Engineer for 3rd July 1987 and found them to be very useful for gripping frames and the like.
Regards
Reg
|
|
tim
E-xcellent poster
  
Posts: 236
|
Post by tim on Mar 16, 2014 15:37:40 GMT
Thanks very much for that info Tim. I'll keep a lookout for some. Sadly, there is a steady stream of closing down sales and all sorts of stuff comes up so I may get lucky at some point. Thanks again, Reg Reg I had a look at work today and I'm not 100% certain but I think we may have got the vices from CIS tools. Tim. |
|
|
|
Post by Deleted on Mar 16, 2014 17:39:50 GMT
|
|
tim
E-xcellent poster
  
Posts: 236
|
Post by tim on Mar 17, 2014 22:38:59 GMT
Just another small update for tonight guys, the horn stays. Not sure what's next yet, I should probably go for the rest of the parts that rivet to the outside of the frames first such as the outriggers and spring hanger brackets. Tim. 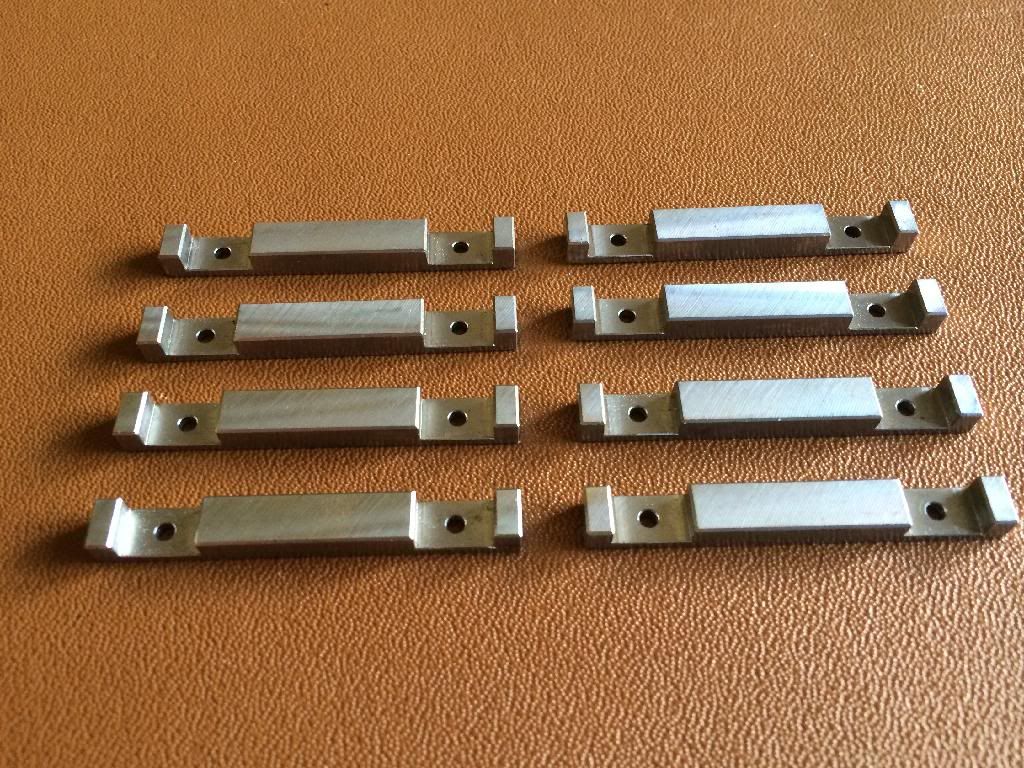 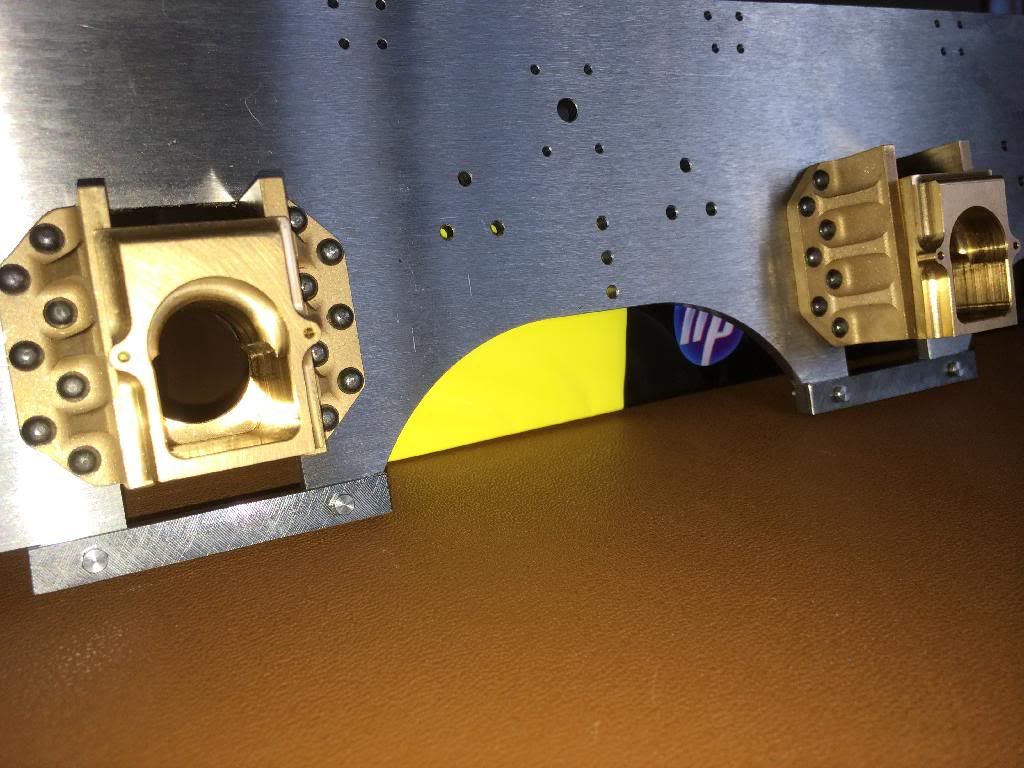 |
|
|
|
Post by Shawki Shlemon on Mar 18, 2014 9:15:31 GMT
Very nice indeed .
|
|
tim
E-xcellent poster
  
Posts: 236
|
Post by tim on Mar 18, 2014 9:18:49 GMT
Thanks Shawki.
|
|
tim
E-xcellent poster
  
Posts: 236
|
Post by tim on Mar 20, 2014 9:19:02 GMT
So moving onto the spring hanger brackets, and as can be seen in the first picture.these were halfway done when I ended up taking a break from the project a couple of years ago. 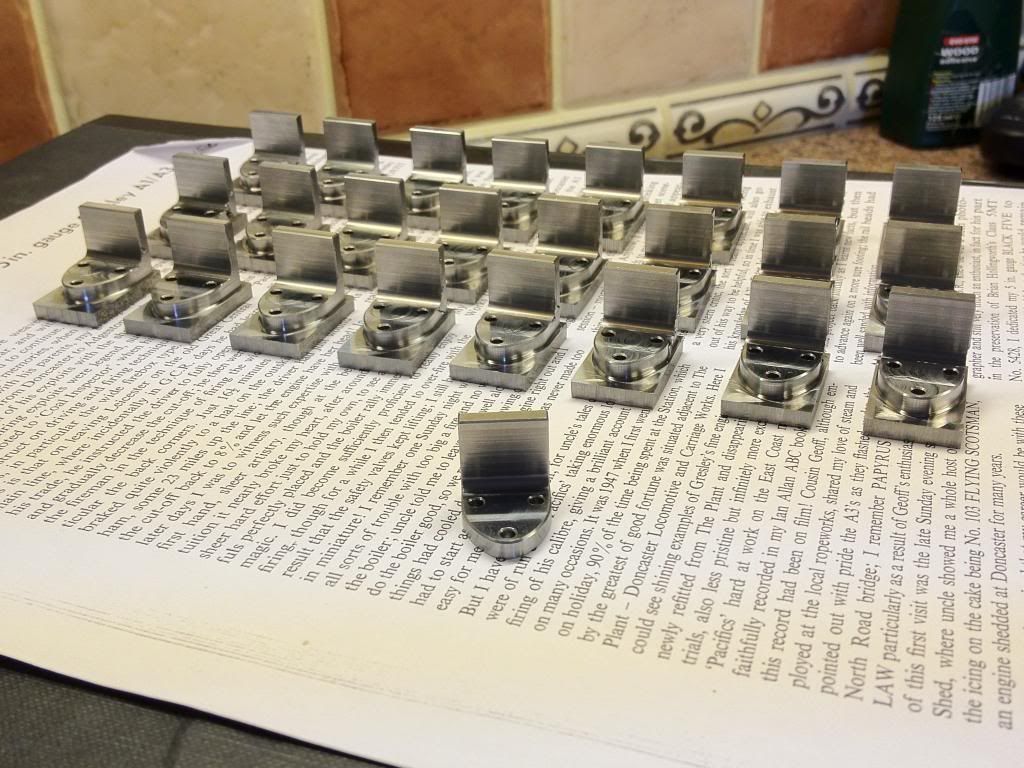 So now it was a case of machining the backs off and drilling the hole for the hanger to pass through, then machining a radiused slot with a 3/16" ballnose cutter for the shock to seat in to, and machining a radius on the front edge. 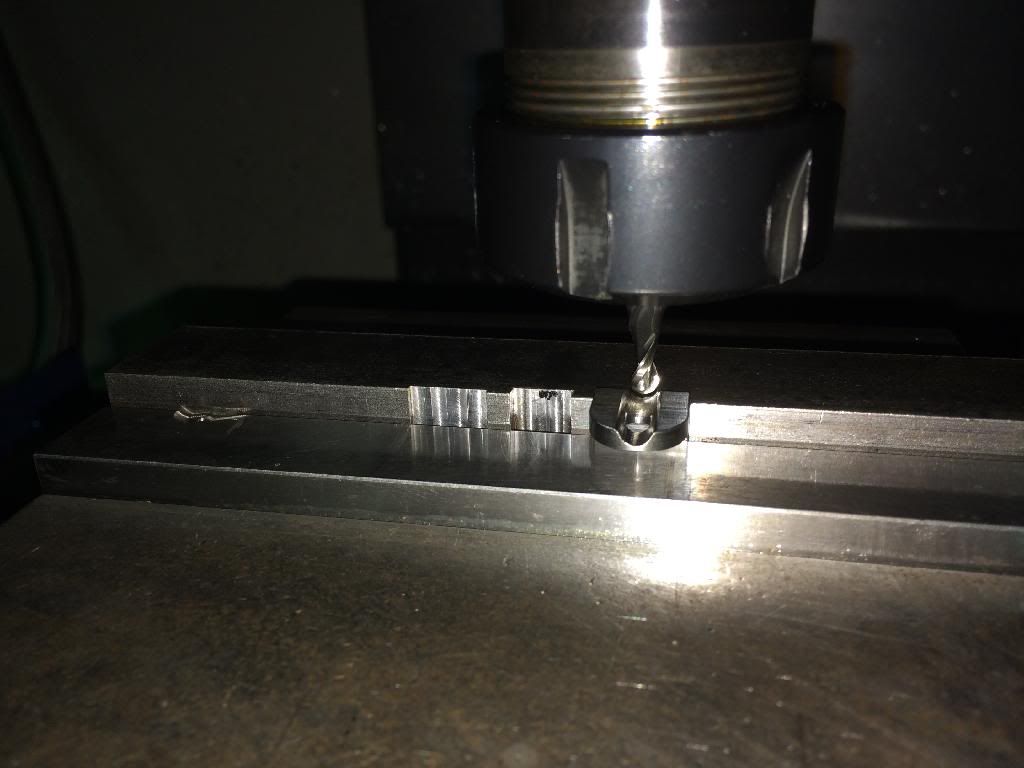 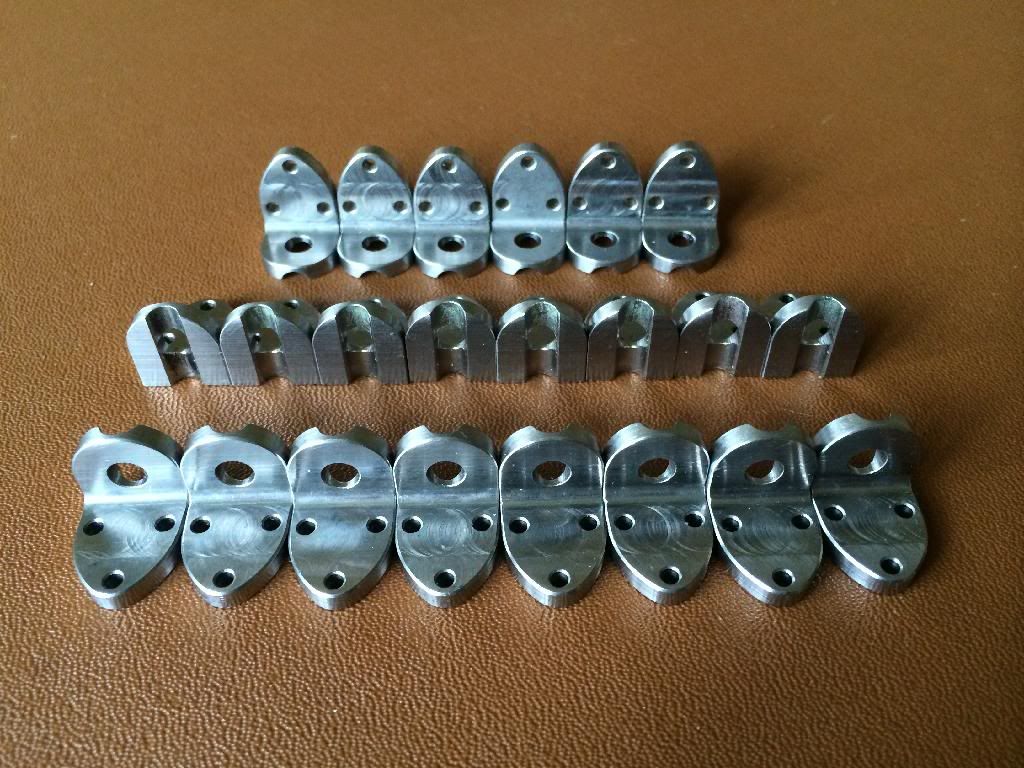 And so for now, I guess it`s time to get back to riveting for a bit. Tim. |
|
|
|
Post by Deleted on Mar 20, 2014 9:43:14 GMT
Very nice Tim, make mine look shocking!
|
|
tim
E-xcellent poster
  
Posts: 236
|
Post by tim on Mar 27, 2014 10:51:06 GMT
Morning chaps, a very brief update, just showing the spring hanger brackets all riveted on where they belong. Tim. 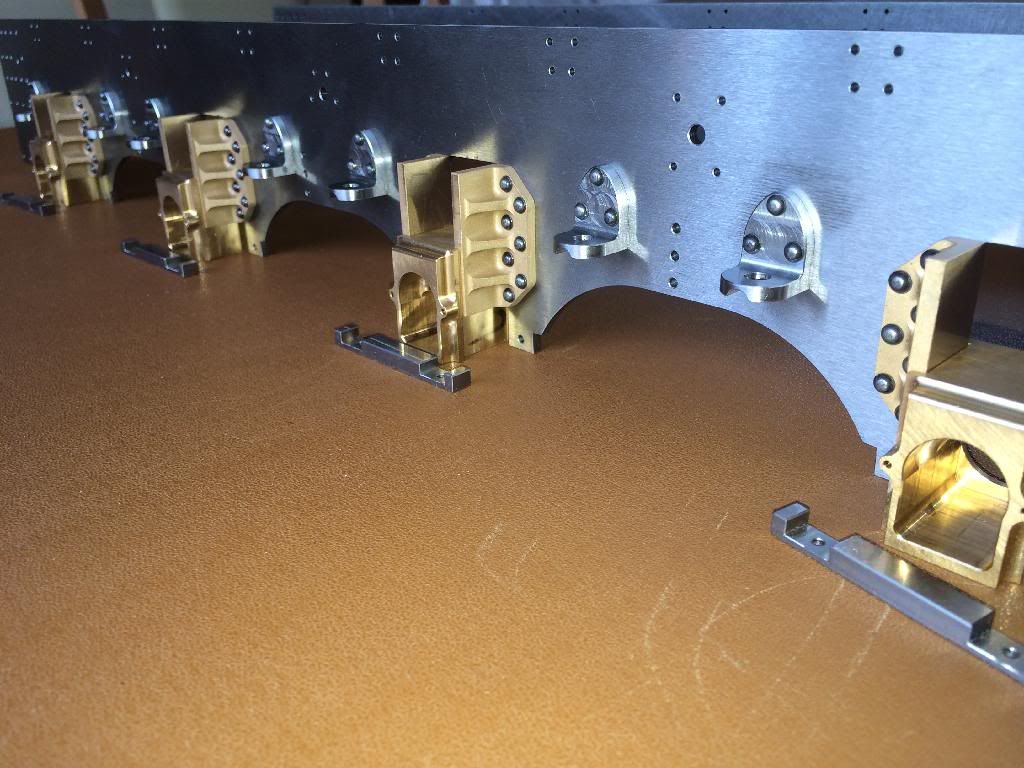 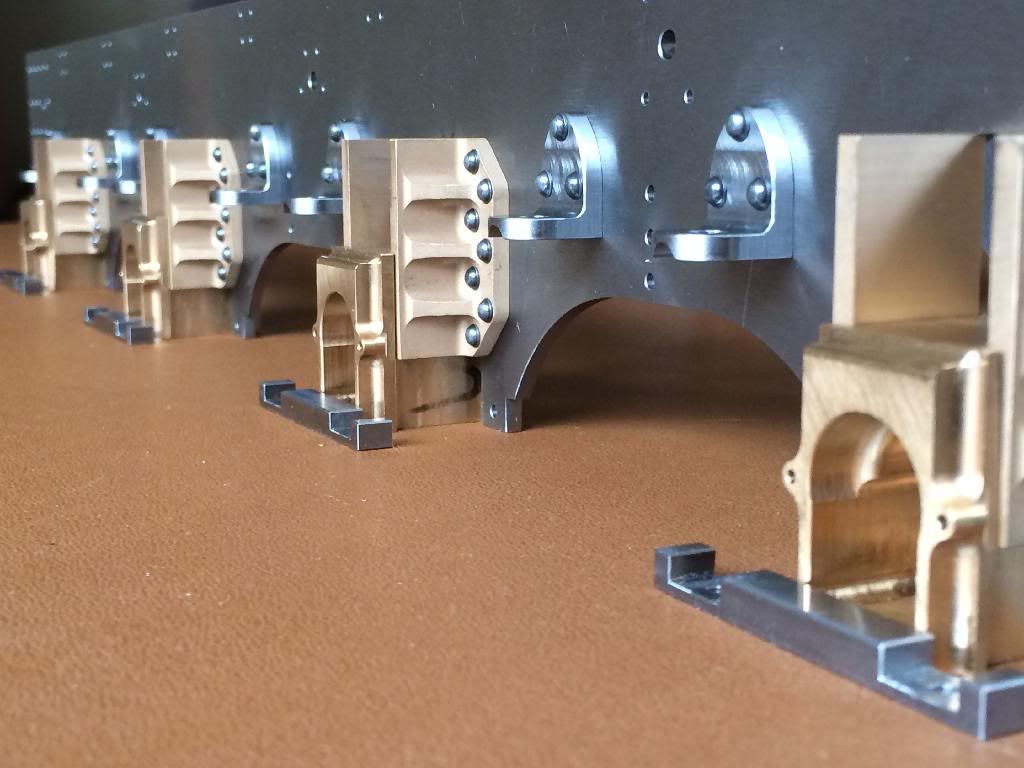 |
|
tim
E-xcellent poster
  
Posts: 236
|
Post by tim on Mar 28, 2014 0:11:33 GMT
Good evening, here are the outriggers completed, 8 left hand and 8 right hand required plus a few spare. 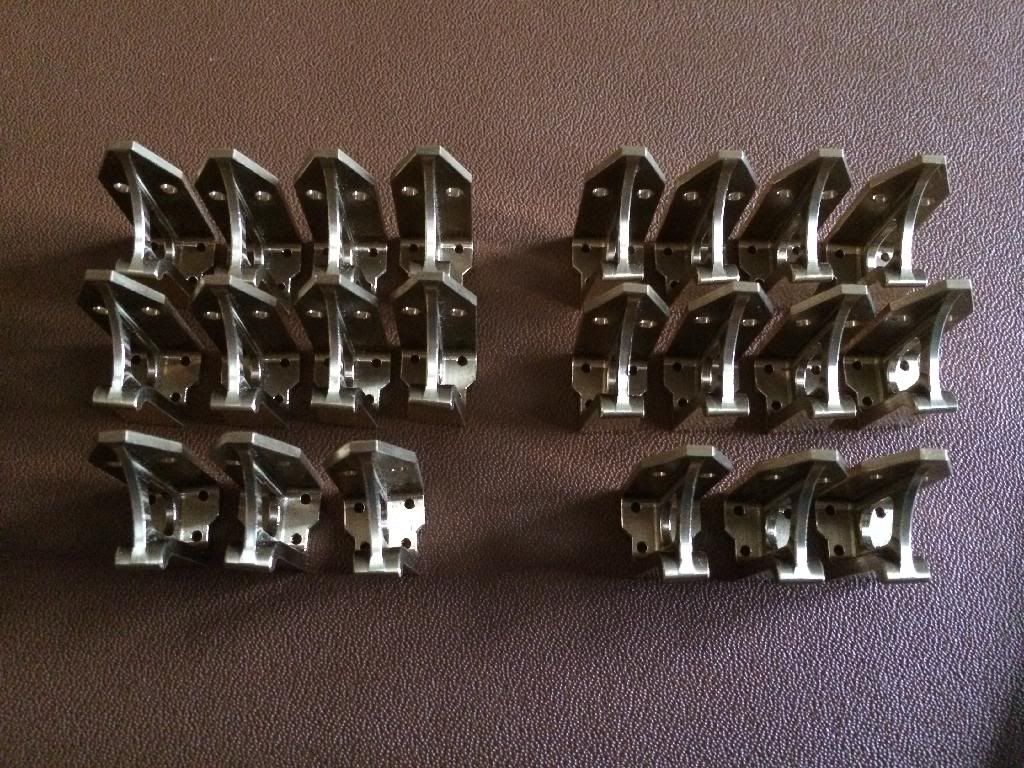 I decided to machine these from 1" brass bar in a 4th axis unit on a CNC. 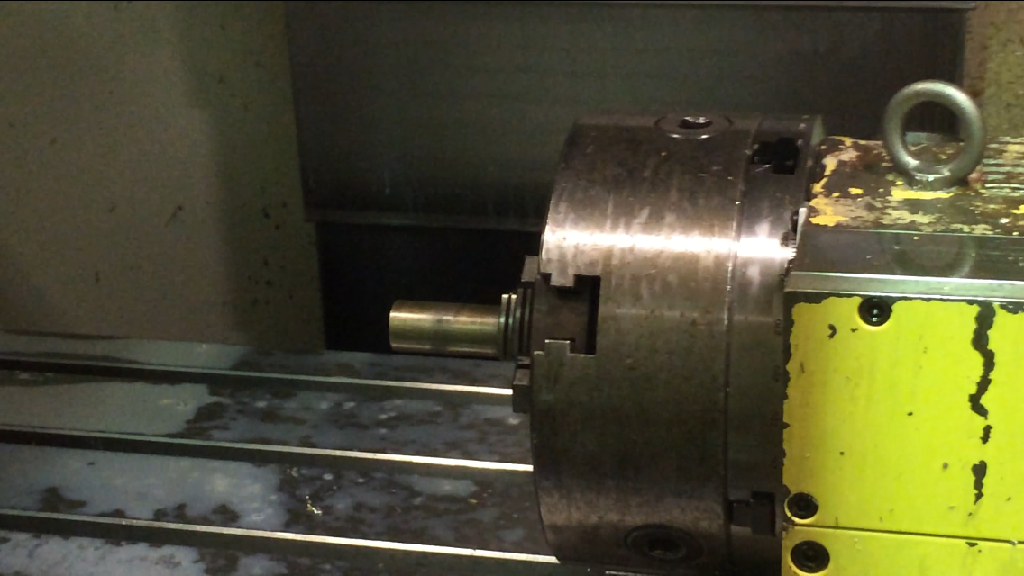 This picture is showing a setting up piece which doesn't yet have the two holes in the top face. 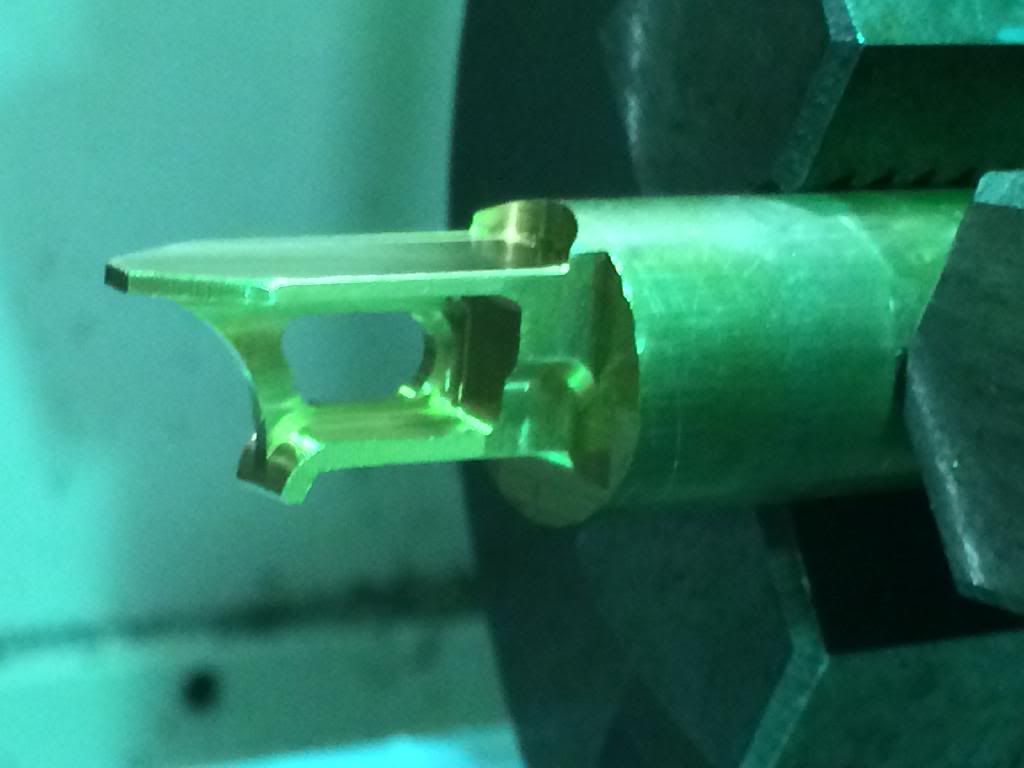 Once set and running, as each one finished I simply cut it off with a hacksaw, pulled the bar out to a measured distance and then run the program again. Once all the milling was done the next job was to skim the sawn back edge and drill the 4 rivet holes. 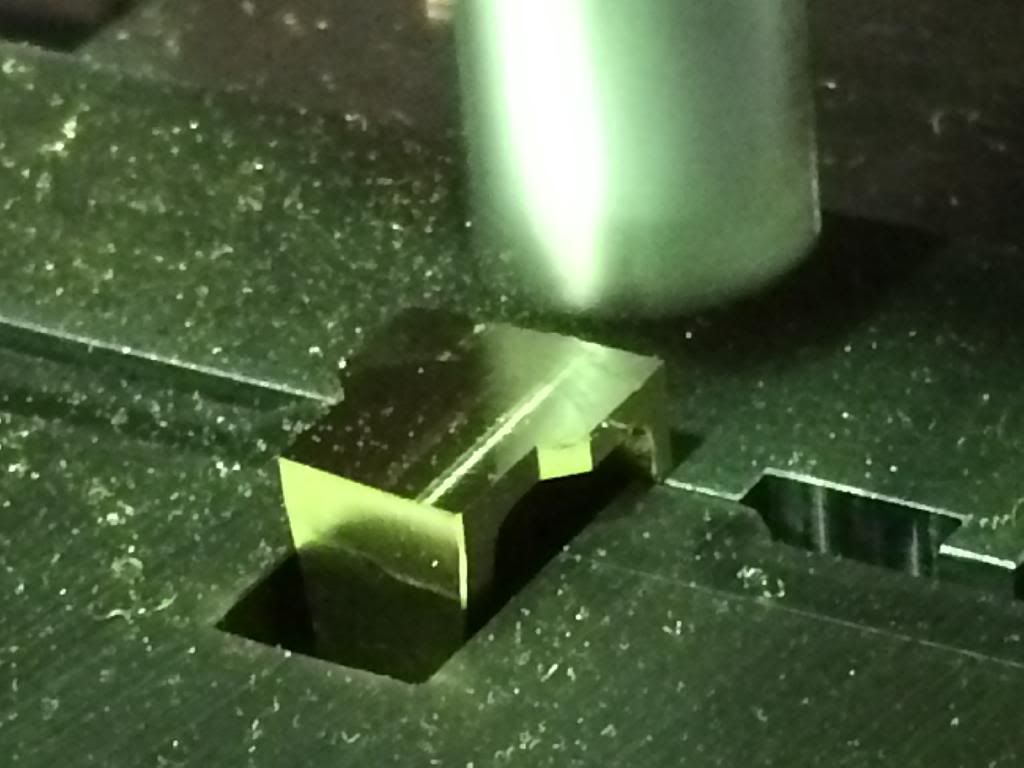 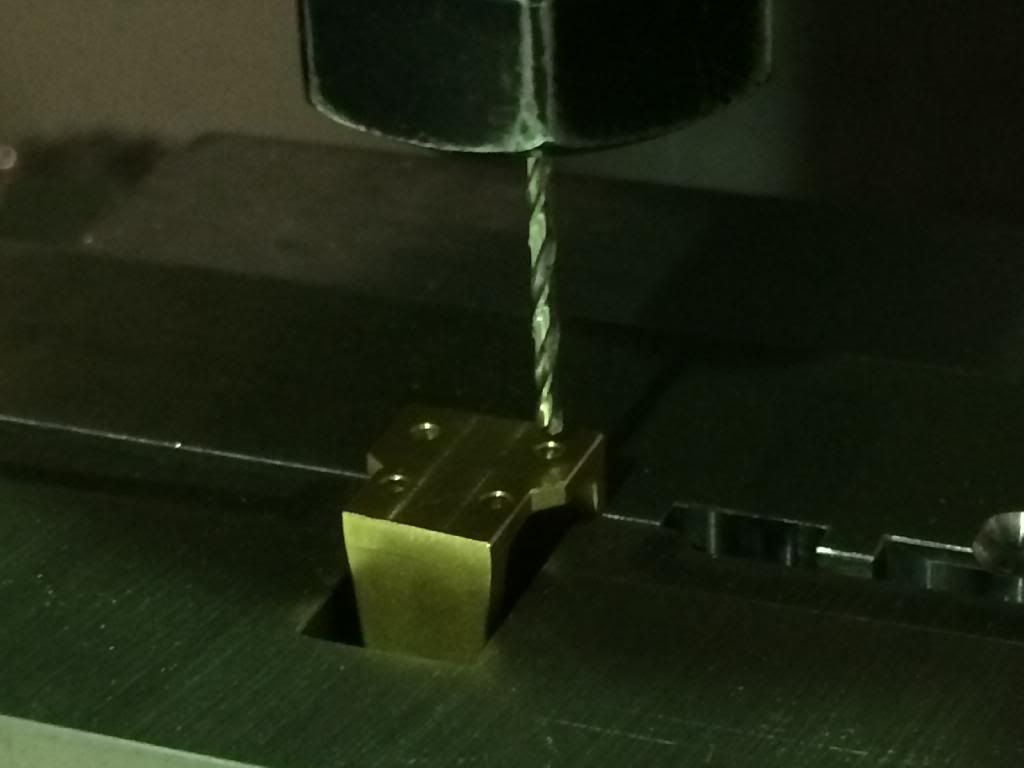 Now all that remains is for some therapeutic riveting to fix them on! 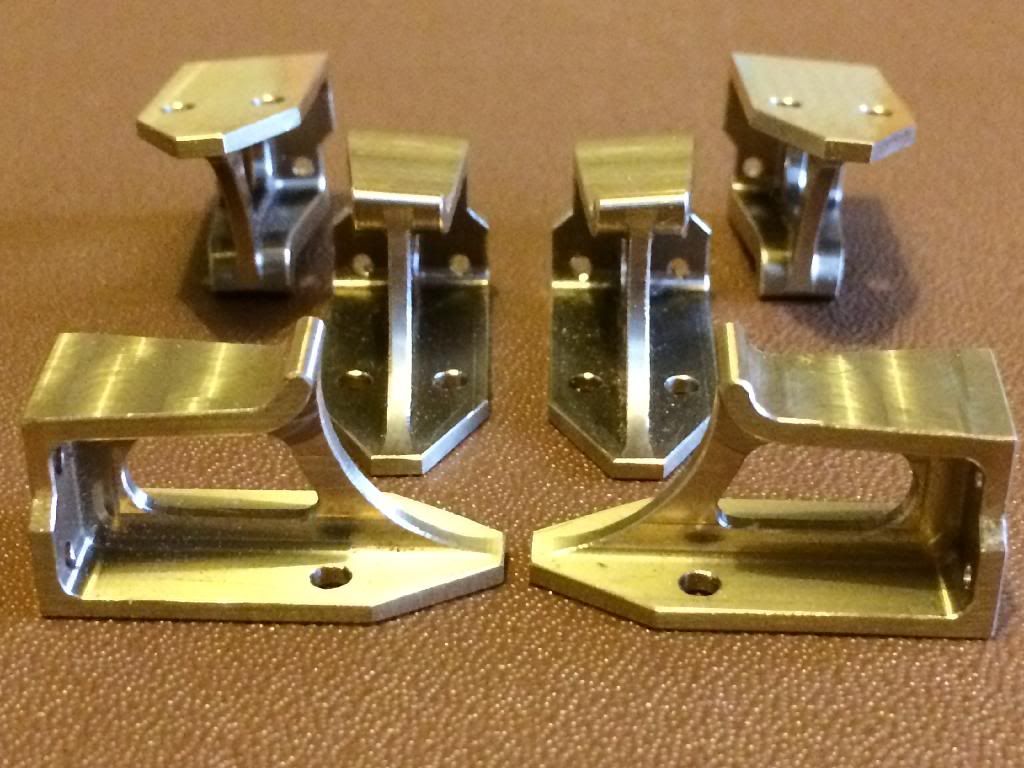 Tim. |
|
|
|
Post by Shawki Shlemon on Mar 28, 2014 8:05:53 GMT
They look better than full size , it is a credit to you .
|
|
|
|
Post by Deleted on Mar 28, 2014 9:05:23 GMT
Very impressive Tim... I know nothing about CNC but to me these particular items I would have thought very difficult and perhaps impossible for many using CNC techniques, you have made it look easy and the finished results are testimony to how good you have mastered the use of CNC machines.
Top stuff tim... they look great..
Pete
|
|
shooter
Part of the e-furniture
 If it 'aint broke....don't fix it!
Posts: 252
|
Post by shooter on Mar 28, 2014 9:05:54 GMT
Hi Tim,
Very impressive work, I love looking at threads with photo,s such as yours as it makes me realize how it should look when done properly. Then back to reality with my own build!!
I would clear a space on the shelf for the cups your gonna win when you enter it in shows.
Cheers for now
Steve
|
|
tim
E-xcellent poster
  
Posts: 236
|
Post by tim on Mar 28, 2014 10:29:34 GMT
Thanks Shawki, Pete and Steve for the kind words, Pete I don't know about having mastered cncs but I do know that having read Don`s method of making these I felt it was a much easier way for me, but even so they were a challenge and I still spent days wondering how to best attempt them from solid. I do have a video of one being machined which I thought I`d post a link to for anyone who was interested. Steve I`m flattered! but honestly I`m just scratching the surface of this project, I know nothing of fabricating, brazing, soldering ect and I know I cant keep dodging them forever! They seem to be the real skills required for these builds so I wont hold my breath, who knows, maybe when Pete finishes his he will come round and help with mine!!!
Cheers Tim.
|
|
|
|
Post by Roger on Mar 28, 2014 11:20:39 GMT
Very nicely done Tim, and a real challenge to know how to hold them. I see they're handed too, just to make life a bit harder. Still, it's great when it all comes together and you get results like that, a cracking job!
|
|
tim
E-xcellent poster
  
Posts: 236
|
Post by tim on Mar 28, 2014 18:19:53 GMT
Cheers Roger, yes it was a bit of a brain ache working out to hold them but at least that way in a chuck and sawing each one off I avoided having to actually hold the job itself. And the beauty of a CNC is all I had to do was add a mirror image to the program in the relevant axis and it automatically makes the opposite hand for you.
Tim.
|
|
|
|
Post by Roger on Mar 28, 2014 21:05:15 GMT
Cheers Roger, yes it was a bit of a brain ache working out to hold them but at least that way in a chuck and sawing each one off I avoided having to actually hold the job itself. And the beauty of a CNC is all I had to do was add a mirror image to the program in the relevant axis and it automatically makes the opposite hand for you. Tim. I'm a huge fan of the 'part on a stick' method, although I've not done anything as complex as your one yet. You can do some of these things in the version of Alibre that I have, but they've locked out some of the more cute functions and sell those as an 'Expert' version at enormous cost. I can't justify that so I work round not being able to have multiple references and axis swapping. |
|
tim
E-xcellent poster
  
Posts: 236
|
Post by tim on Mar 29, 2014 10:27:36 GMT
Cheers Roger, yes it was a bit of a brain ache working out to hold them but at least that way in a chuck and sawing each one off I avoided having to actually hold the job itself. And the beauty of a CNC is all I had to do was add a mirror image to the program in the relevant axis and it automatically makes the opposite hand for you. Tim. I'm a huge fan of the 'part on a stick' method, although I've not done anything as complex as your one yet. You can do some of these things in the version of Alibre that I have, but they've locked out some of the more cute functions and sell those as an 'Expert' version at enormous cost. I can't justify that so I work round not being able to have multiple references and axis swapping. The software package we use is called featurecam but we mostly only use it where 3d milling is required or when a customer sends the component as a usable model with multiple holes and profiles, otherwise it is just as quick to write the program in by hand at the machine. Tim. |
|