tim
E-xcellent poster
  
Posts: 236
|
Post by tim on Oct 1, 2015 8:12:05 GMT
So with the rear of the boxes scolloped to clear the axles they now fit neatly in the axle boxes. And with the covers on I think they're starting to look the part. 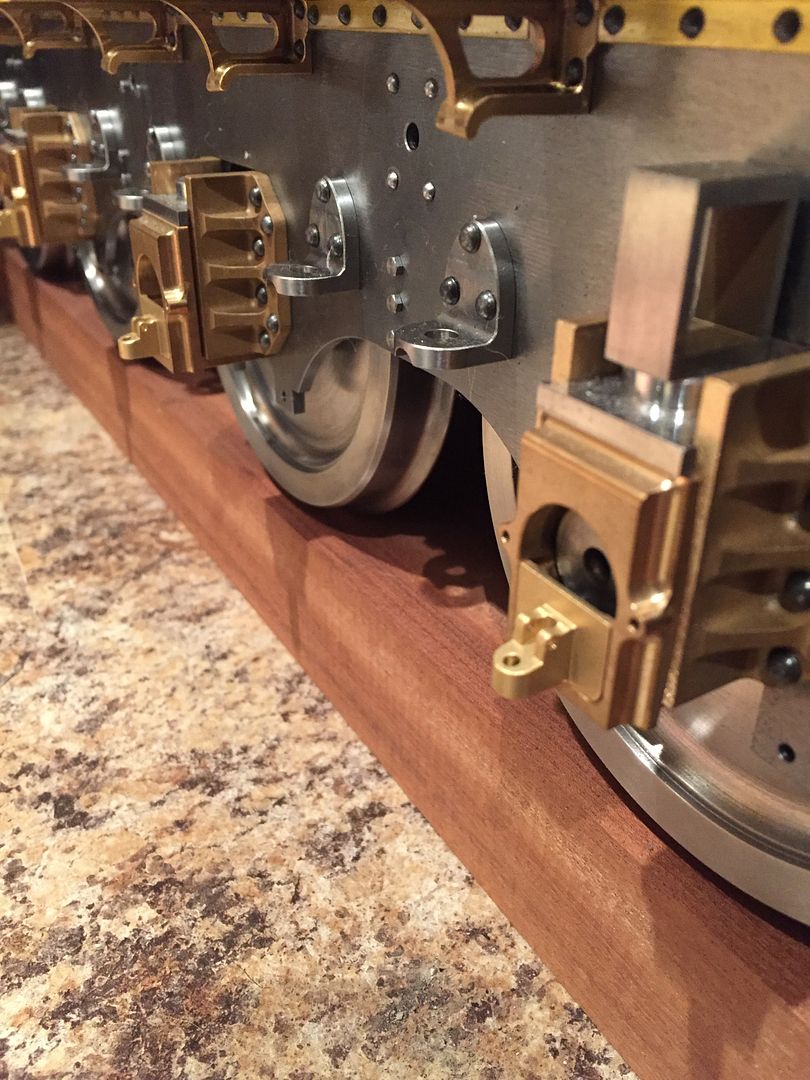  Tim. |
|
tim
E-xcellent poster
  
Posts: 236
|
Post by tim on Oct 1, 2015 8:19:19 GMT
Next I've made a start on the tiny hinged lids. These will be made in two stages, firstly I've done as much as I can from the top as can be seen. 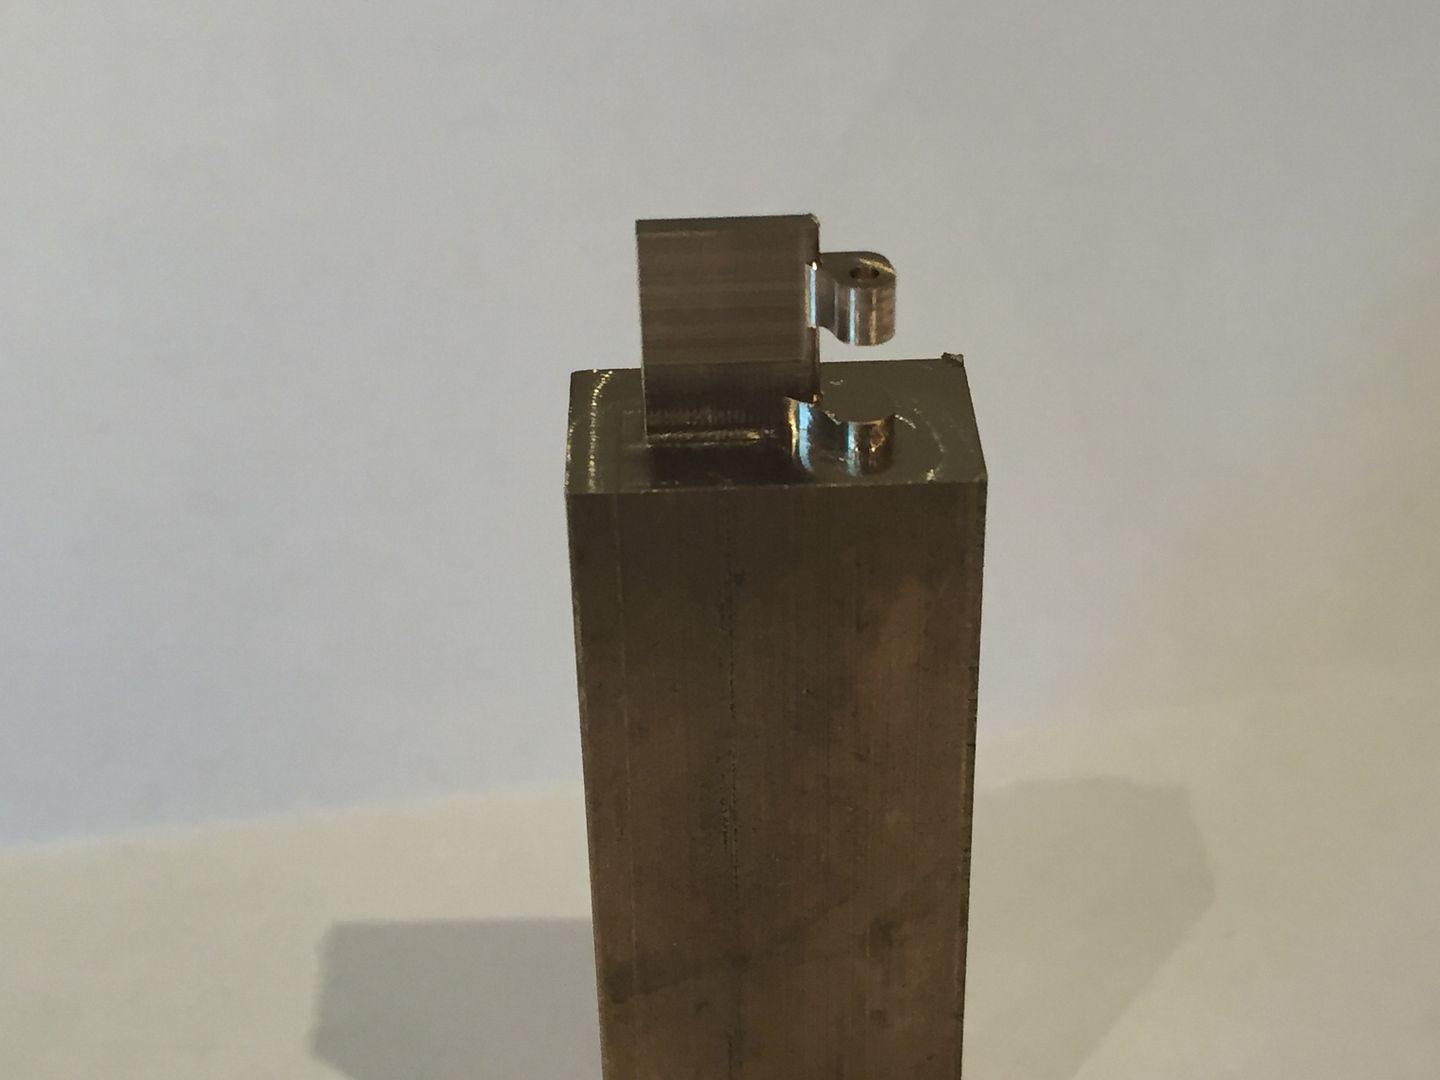 The next operation being to turn the bar on its side and finish the end-profile and which will hopefully leave just a tiny lug which can be sawn off and cleaned up with a file. Tim. |
|
|
|
Post by Roger on Oct 1, 2015 8:44:34 GMT
Very neat Tim, I guess you have some Tee slot cutters at your disposal for the cutout?
Is it that you can't reach deep enough with a small enough diameter cutter to get the fillet the same for the bottom lug, or maybe it's supposed to be like that?
I sometimes use a drill to define a tight radius where I can't quite get in there with a small enough cutter. It makes cleaning it up with a file a bit easier.
|
|
tim
E-xcellent poster
  
Posts: 236
|
Post by tim on Oct 1, 2015 8:58:58 GMT
I see what your saying Roger but that lug at the bottom is just where I went deeper than I needed with a larger cutter first leaving clearance to get underneath the job with a small slitting saw, there is only one lug on the finished job and the rest will be left on the bar when the lid is sawn off.
Tim.
|
|
|
|
Post by Roger on Oct 1, 2015 9:39:27 GMT
Aha! I see what you're making now. I usually leave at least 1mm extra on the depth whatever I'm making that way, and a little more if sawing off like you are going to do.
I presume you've used rectangular bar so you can hold it in a vice rather than have to swap that for a 4-jaw to hold round stock? My vice seems to be forever being swapped for other holding methods, thank goodness it's quick to clock up.
|
|
tim
E-xcellent poster
  
Posts: 236
|
Post by tim on Oct 1, 2015 9:57:27 GMT
yep that`s the plan! I was going to use round bar in the 4th axis and do them complete in one go but they are so small the tool lengths down the side of the chuck would be quite considerable.
|
|
|
|
Post by vulcanbomber on Oct 1, 2015 12:19:14 GMT
Aha! I see what you're making now. I usually leave at least 1mm extra on the depth whatever I'm making that way, and a little more if sawing off like you are going to do. I presume you've used rectangular bar so you can hold it in a vice rather than have to swap that for a 4-jaw to hold round stock? My vice seems to be forever being swapped for other holding methods, thank goodness it's quick to clock up. Put a V up against the fixed jaw of the vice and then put your round bit in the V and clamp up as normal. A very sturdy way of holding stuff... |
|
tim
E-xcellent poster
  
Posts: 236
|
Post by tim on Nov 4, 2015 10:59:55 GMT
So after a long delay with getting some 1.1mm pins and then cutting them into 7/32 lengths for the hinges, I've finally finished the lids and trays. From where I left off with a trial process for the lid I made another 9... 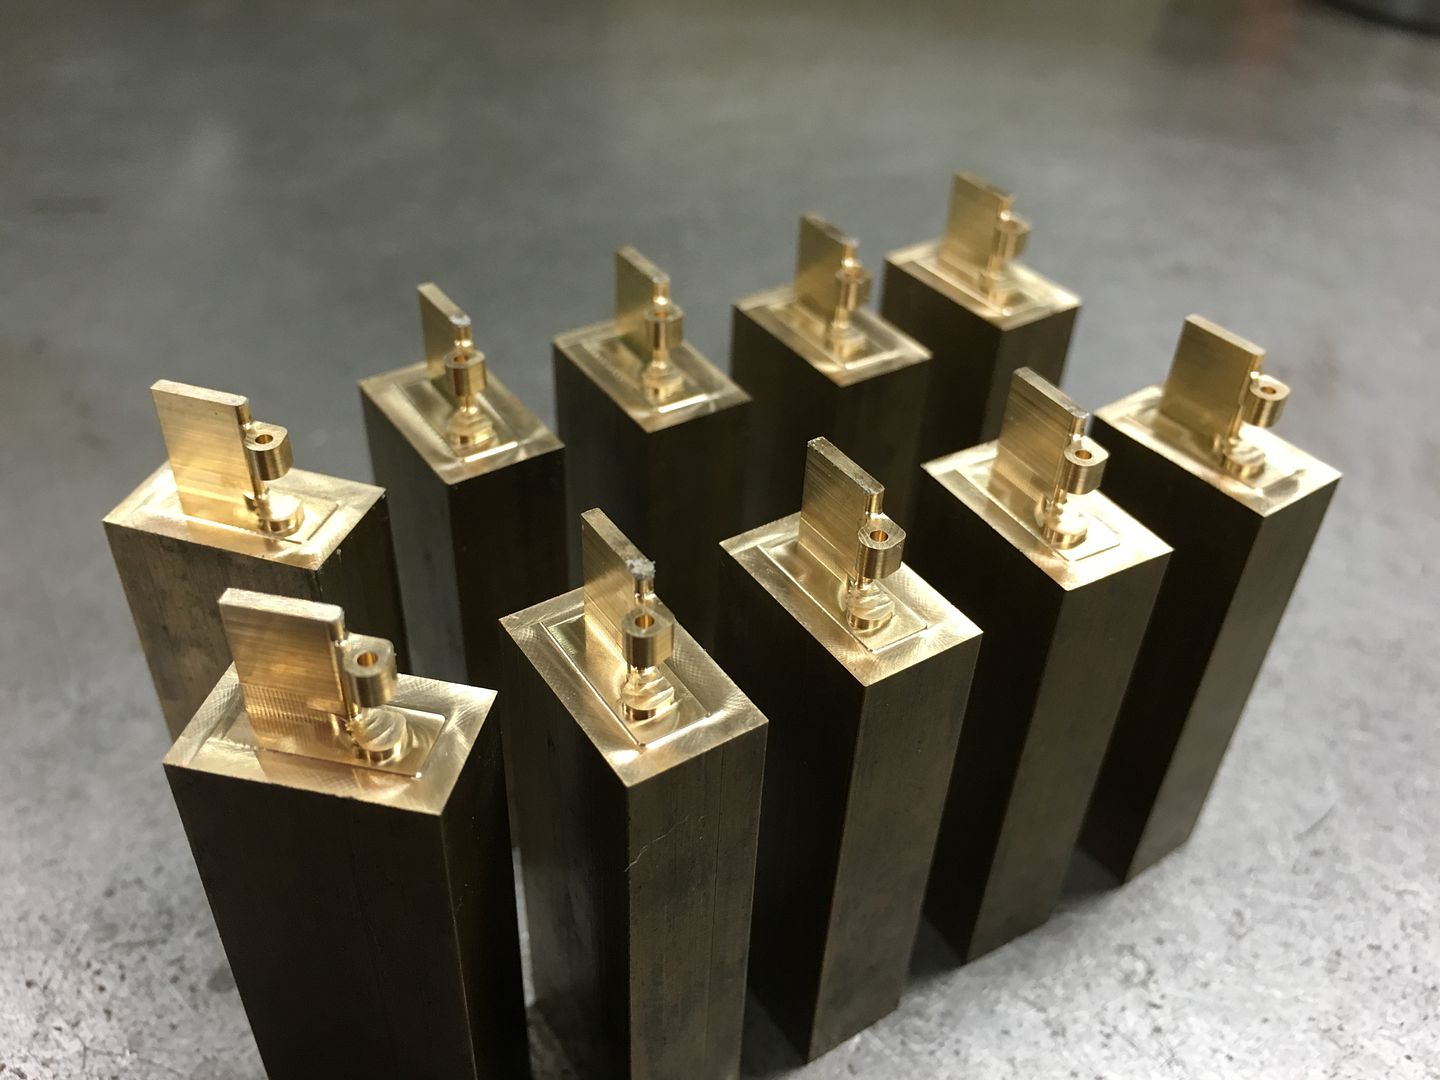 And then milled them off the blocks. youtu.be/z1Xy642m-OYAnd after some fine tuning with files and emery cloth, here are the finished lids on their trays, Tim. 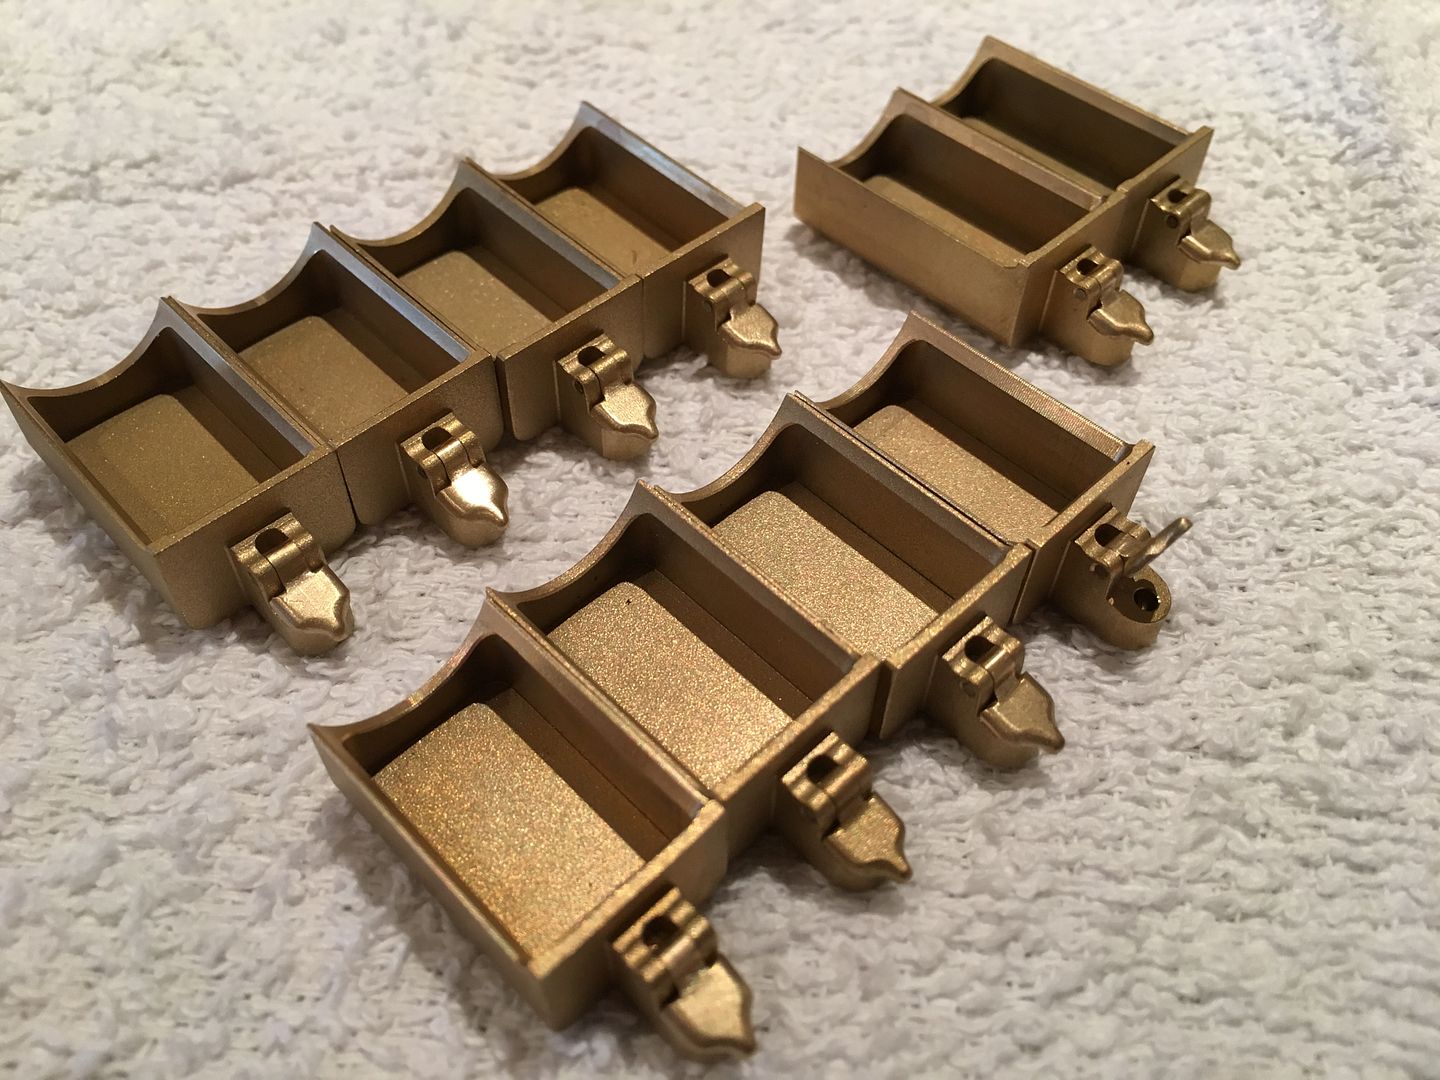 |
|
|
|
Post by Roger on Nov 4, 2015 11:07:10 GMT
Absolutely stunning Tim, a cracking job.
|
|
tim
E-xcellent poster
  
Posts: 236
|
Post by tim on Nov 4, 2015 11:11:43 GMT
Absolutely stunning Tim, a cracking job. Thanks Roger, I only wish I had more time to spend on them, they probably took a couple of days in reality but more like 3 months in the end! |
|
|
|
Post by Deleted on Nov 6, 2015 16:56:24 GMT
This might seem a bit stupid, but are you going to ruin all this fantastic work by painting it one day or are you going to send it unpainted round all the clubs so we can all get a look at it?
|
|
tim
E-xcellent poster
  
Posts: 236
|
Post by tim on Nov 8, 2015 19:07:16 GMT
This might seem a bit stupid, but are you going to ruin all this fantastic work by painting it one day or are you going to send it unpainted round all the clubs so we can all get a look at it? Paul, thanks for the kind words, I don't know when or if I`ll ever paint it anytime soon, I will need to learn to paint before I would go anywhere near it! I have considered paying to have it done but that would be a long time from now. Thankfully I managed to talk my wife into letting me keep it indoors so there is no hurry, (rust wise.) Tim. |
|
tim
E-xcellent poster
  
Posts: 236
|
Post by tim on Nov 8, 2015 20:28:36 GMT
Evening all, this weekend I made the shock absorbers. The first op was to mill the pocket and the outside tapered profile, plus an m4 tapped hole through the middle for holding on a fixture. 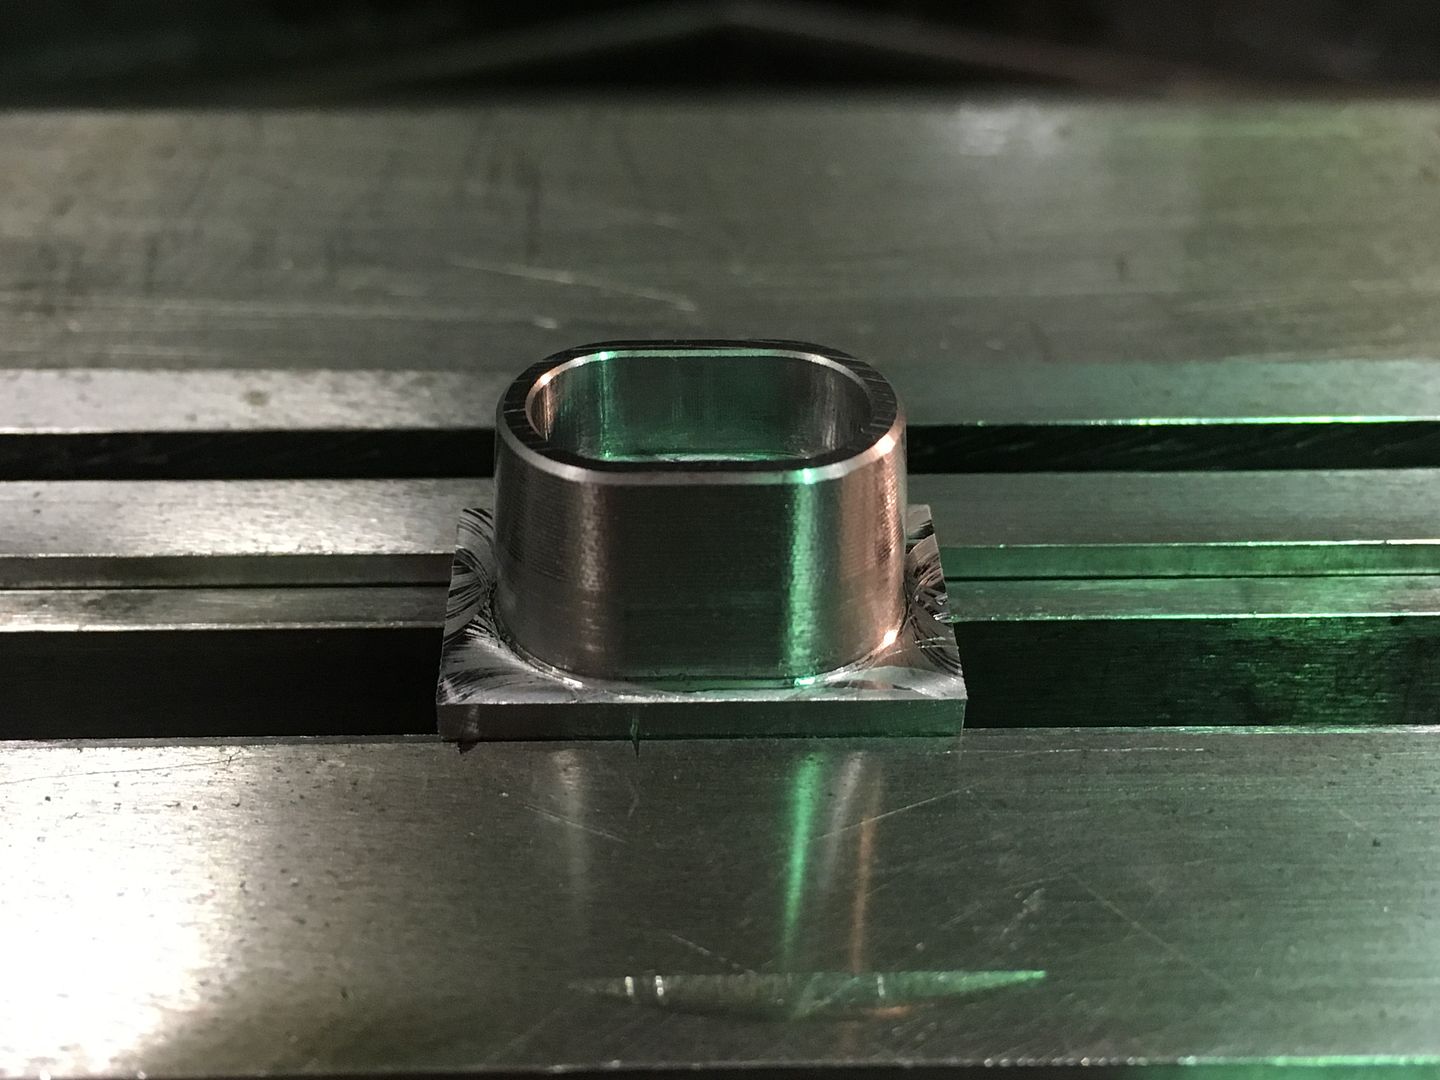 Once they were all done I roughed the backs off. 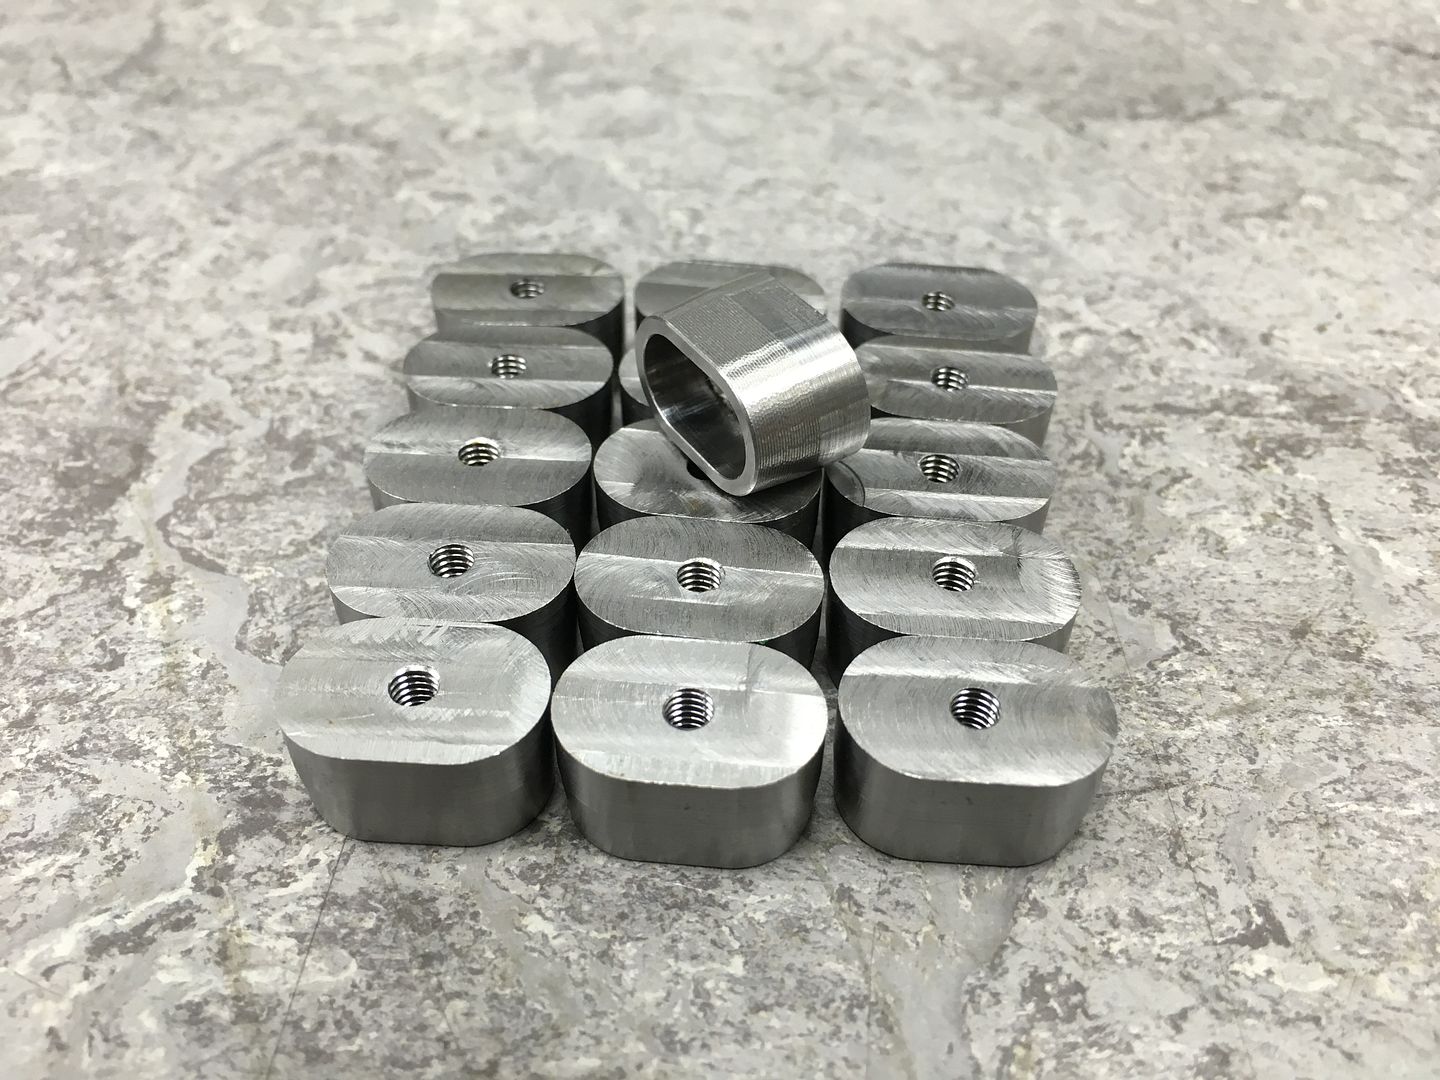 At this point I remembered that the trailing wheels needed the same type so I made 4 more while the machine was still set. Next I made a fixture for the shock absorbers to locate onto snugly to 3d machine the top profile. These were bolted from underneath, and once the profile was machined, the bolt was removed and an end mill was run down the hole opening it out to the correct size. 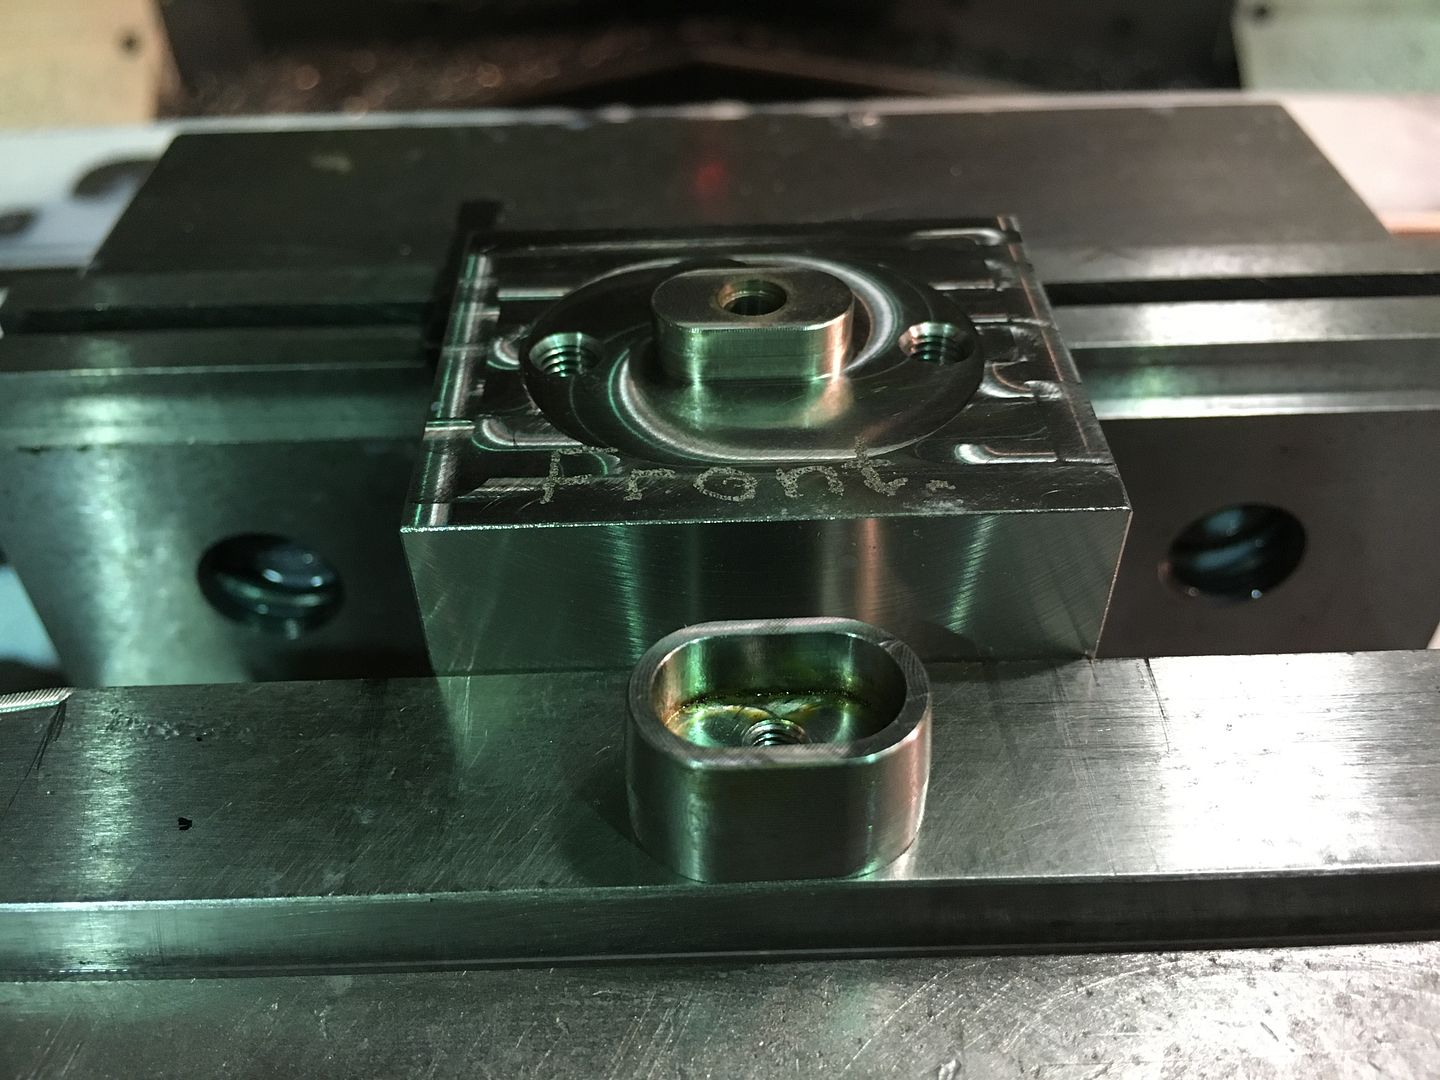 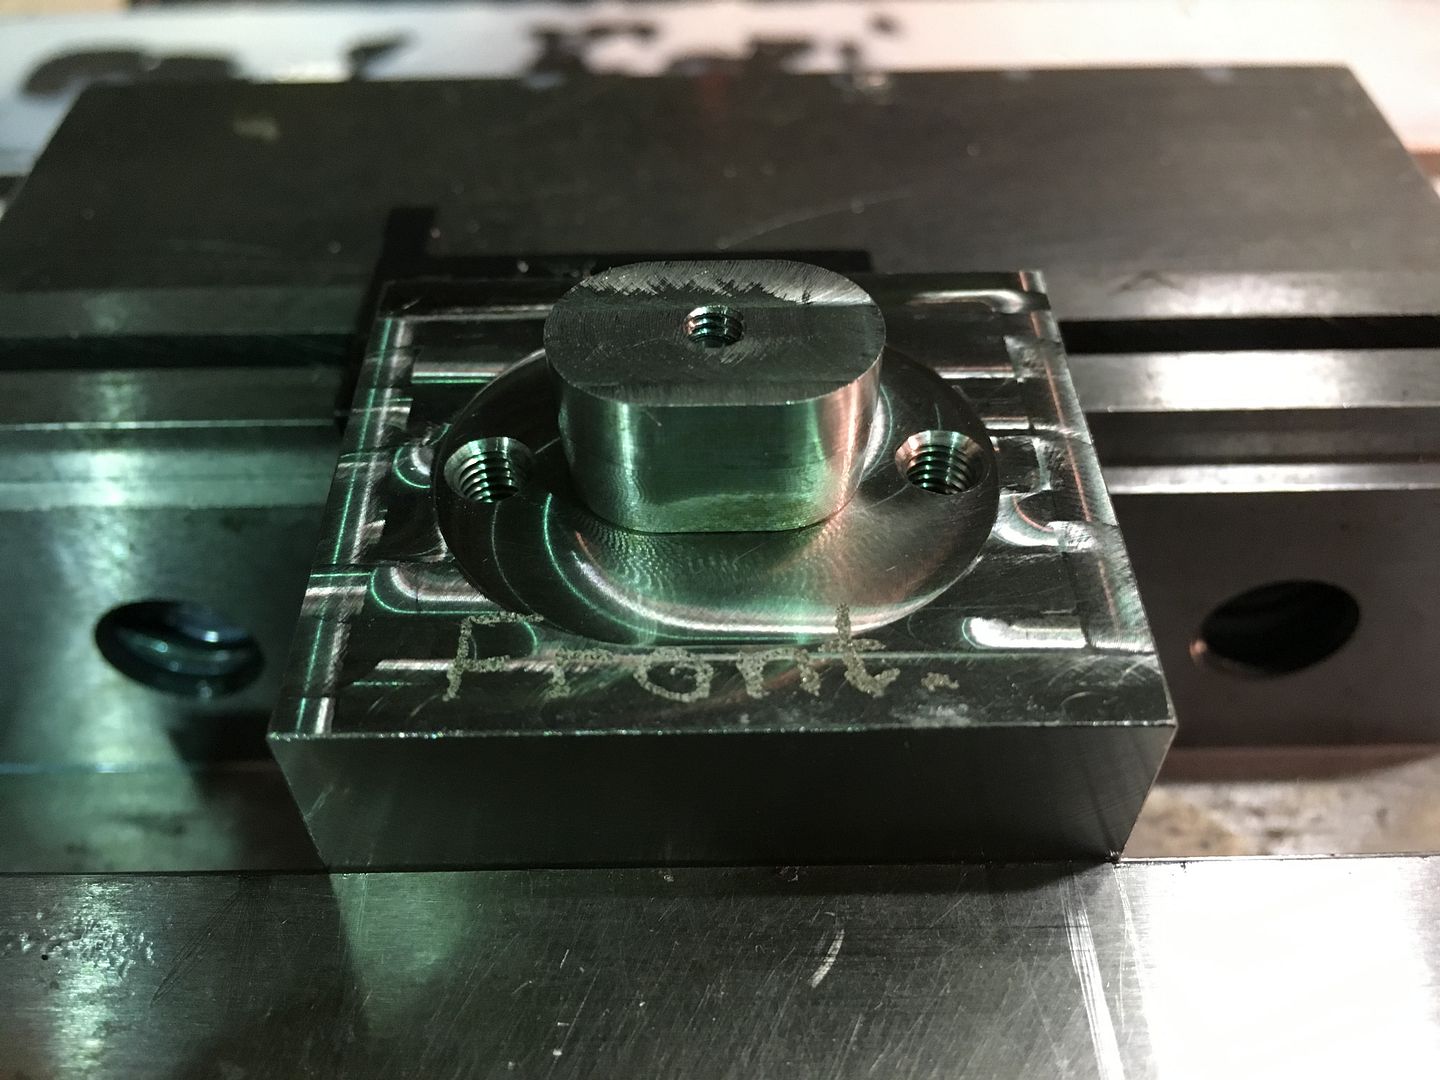 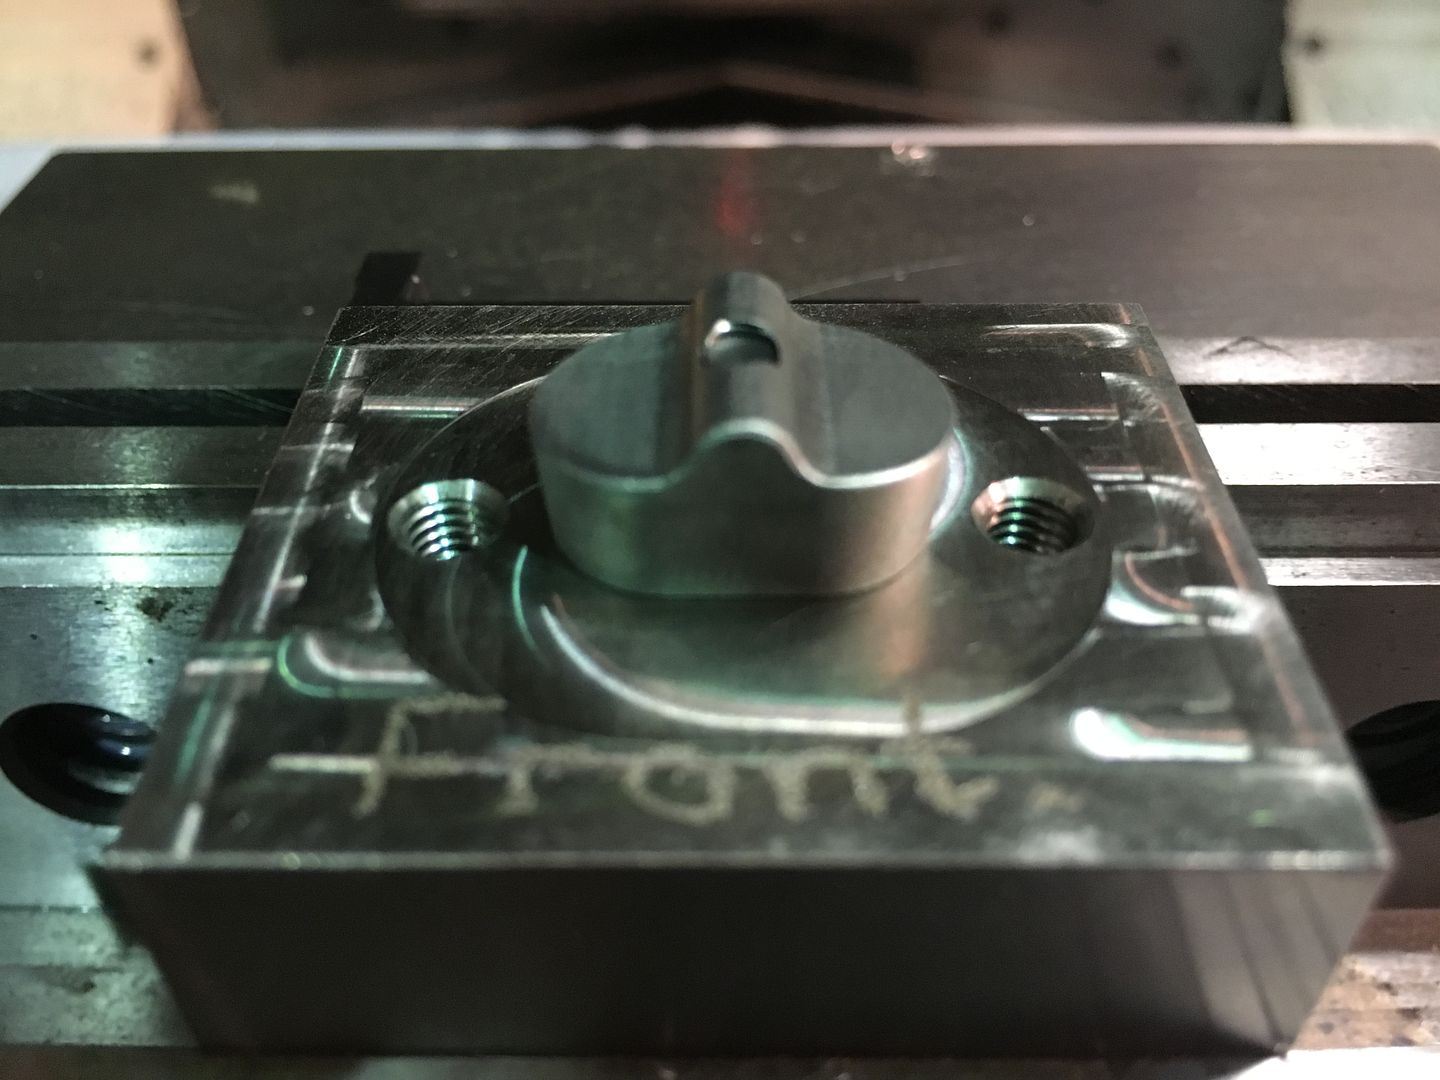 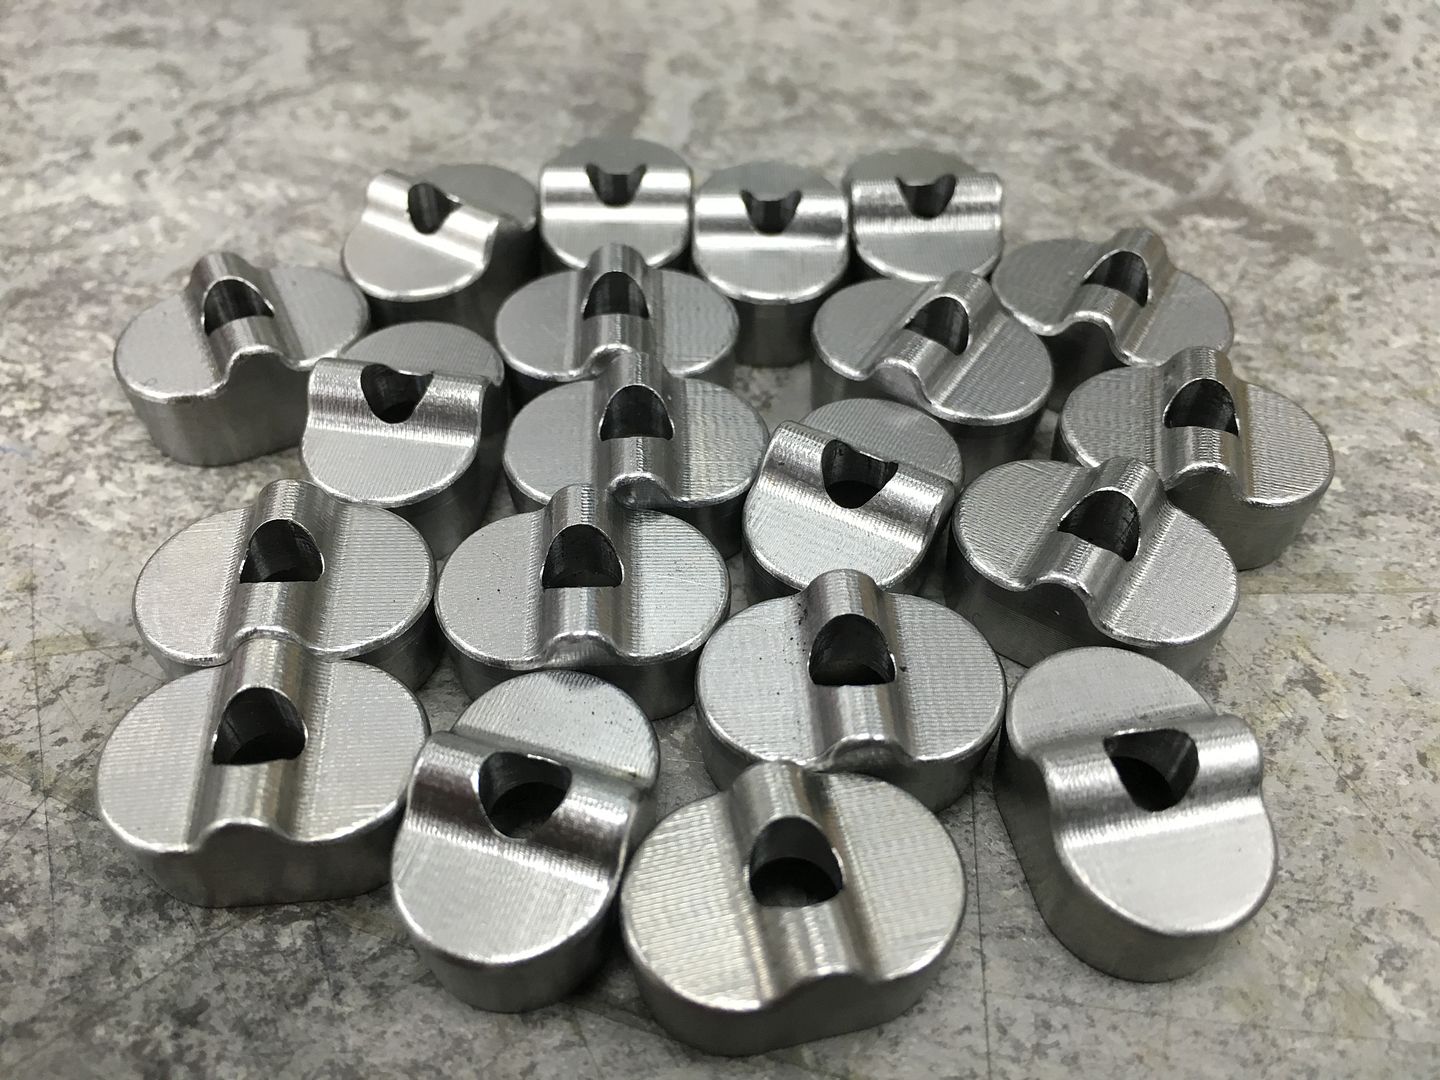 Regards Tim. |
|
|
|
|
|
Post by Roger on Nov 11, 2015 11:48:32 GMT
Lovely work as always Tim. I'm curious as to why you spent a lot of time drilling and tapping a fixture for the plates when they could have been made without a fixture as a part on a stick then parted off? If you use two pieces of bar for that, you can be parting one off while the other is being made.
|
|
tim
E-xcellent poster
  
Posts: 236
|
Post by tim on Nov 11, 2015 12:13:27 GMT
I never thought of that! But as I had the 1/16" plate to hand it seemed the best way at the time. And honestly Roger it literally only took about 15 minutes to drill and tap the all the holes.
|
|
|
|
Post by Roger on Nov 11, 2015 13:30:07 GMT
Lots of ways to make these, I'd probably have left a wafer if they were done in sheet, but that's me being lazy. These days I try to avoid using sheet, it's a pain in the neck to machine compared to free cutting bar. Sometimes it's unavoidable though.
They came out really well though, and there was no chance of them moving with those big bolts.
|
|
tim
E-xcellent poster
  
Posts: 236
|
Post by tim on Nov 15, 2015 22:51:38 GMT
So next up, the spring hangers. These were made in several stages. The first part being a job for the lathe. 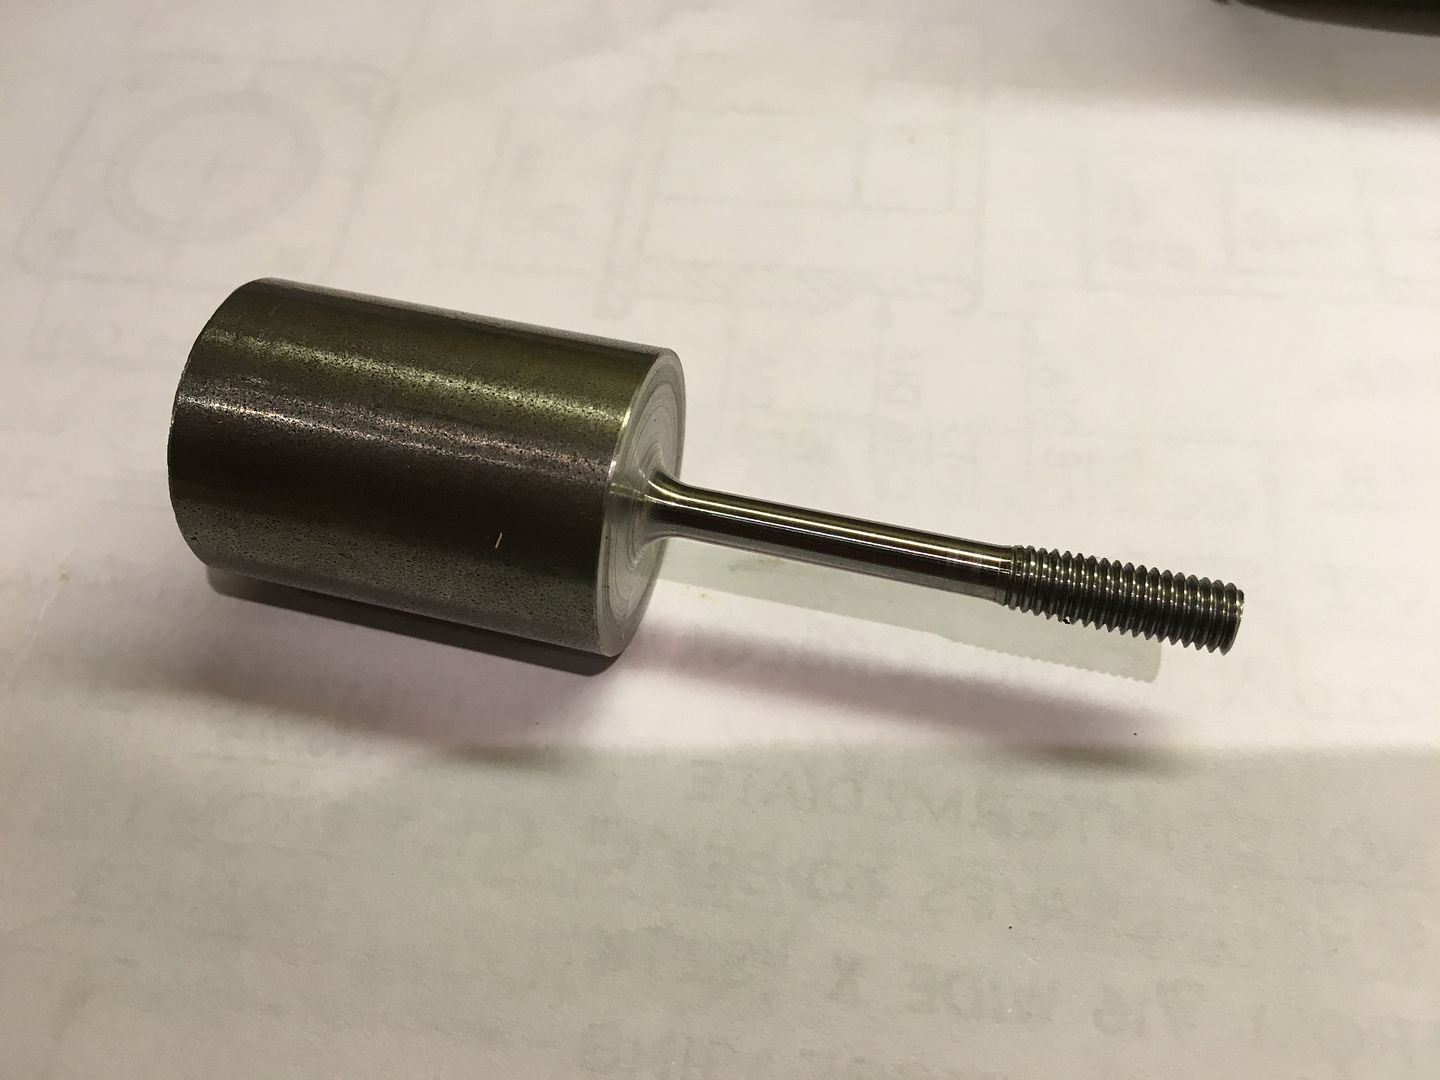 Next they were machined down to the outside dimensions of the hook end.  Another set up to part machine the hook profile and drill and tap the hole for a locking bolt to hold the leaf spring in place. 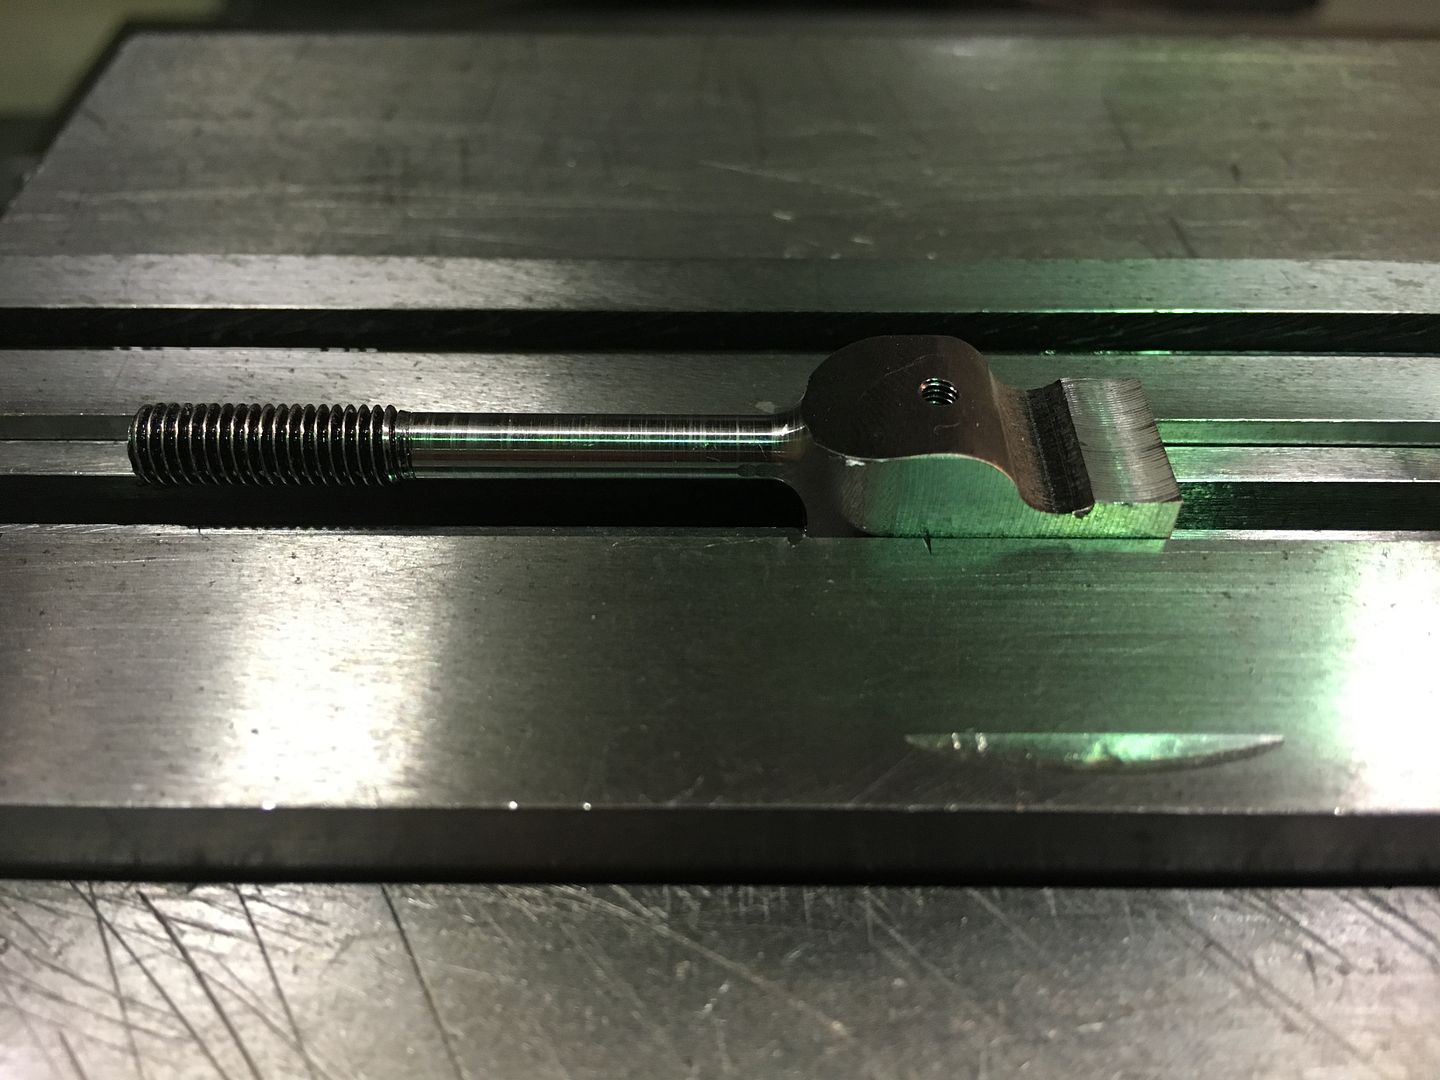 And finally held in soft jaws to finish the hook detail.  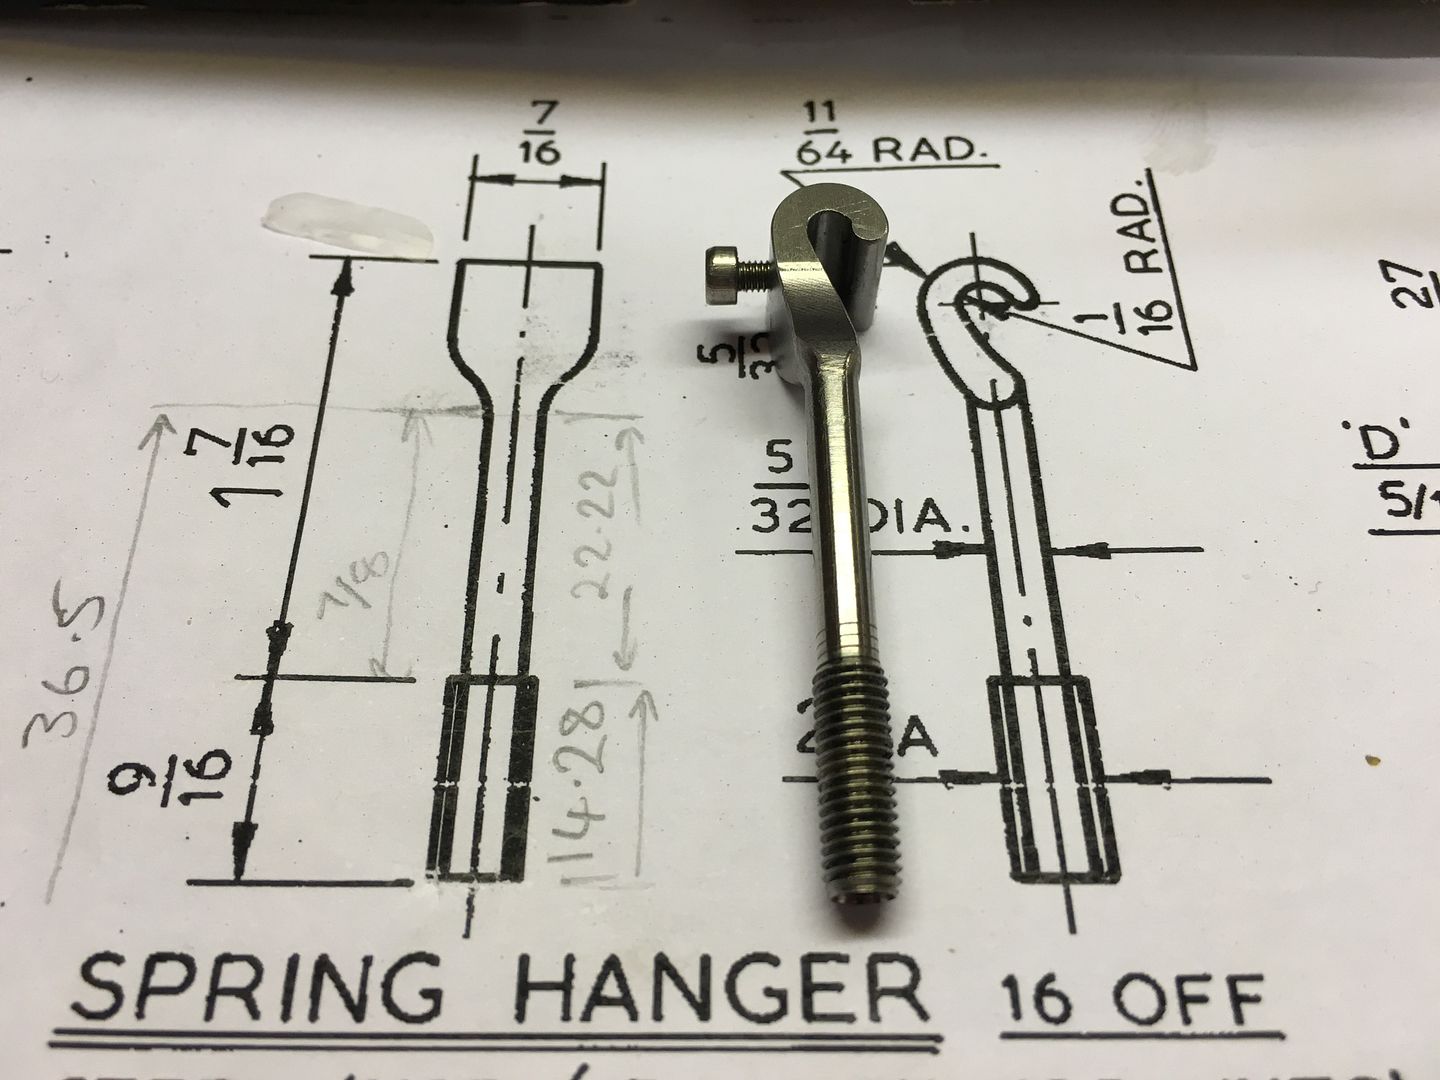 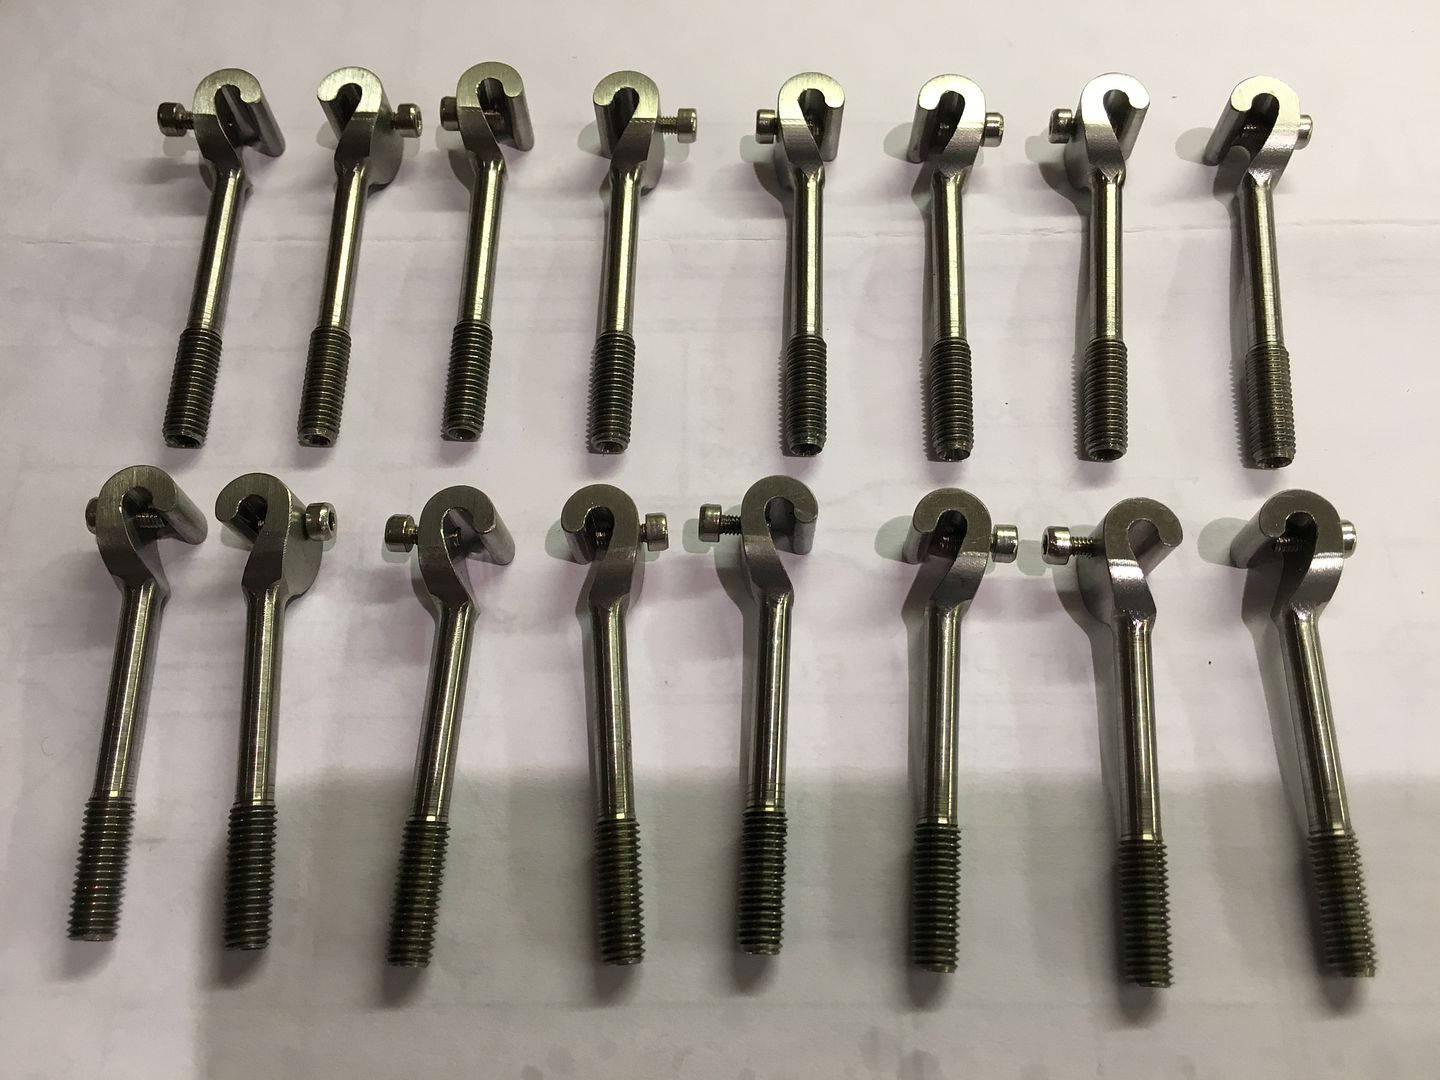 The cap head bolts are just temporary until I sort out some hex head ones, but one thing's for sure, I'm not going to be able to put off the leaf springs for much longer! Regards Tim. |
|
tim
E-xcellent poster
  
Posts: 236
|
Post by tim on Nov 23, 2015 19:48:29 GMT
Good evening guys, I have now made the buffer components.  Since many here have documented some quite ingenious methods to produce buffers, I'll keep this short and dispense with their process. Having said that there was still a lot of work involved in these, and now they are on the tender I am pleased with the way they turned out.  Regards Tim. |
|
Midland
Elder Statesman
  
Posts: 1,875
|
Post by Midland on Nov 23, 2015 19:59:36 GMT
Tim
Absolutley beautiful, you do wonderful work, I wish I had the skills. I learn every time I go through these threads!!
A basher and mangler!!!
D
|
|