tim
E-xcellent poster
  
Posts: 236
|
Post by tim on Nov 23, 2015 20:30:39 GMT
Tim Absolutley beautiful, you do wonderful work, I wish I had the skills. I learn every time I go through these threads!! A basher and mangler!!! D Thanks for your kind words, I am loving your new workshop, very homely! |
|
|
|
Post by Geoff (Carlisle) on Nov 25, 2015 17:36:07 GMT
Hi Tim, it would be a shame to paint it.
Geoff (Carlisle).
|
|
|
|
Post by chris vine on Nov 25, 2015 22:20:52 GMT
Hi Tim,
Just to counter that, I think it would be a great shame not to paint it!!!
It is going to be a beautiful model whatever you do...
Chris.
|
|
tim
E-xcellent poster
  
Posts: 236
|
Post by tim on Dec 14, 2015 11:21:14 GMT
So for this update I`ve finally decided on the name that I will be modelling my build on. It will be 4476 Royal Lancer as an A1, and coupled with the non corridor tender I'm making gives me a era of 1937-1943. With this established I am able to take a break from the tender and have a look at the Bogie Frames, something I`ve been wanting to do for a long time! Now although there are 2 types of bogie side control to consider, i.e. swing link and sprung side control, as the majority of the Pacifics were modified to the latter between 1933-44 I have had this decision made for me and I will be fitting the sprung control version to mine. However some time back as a Christmas present my father bought me the castings for the swing link type, so rather than leave them to just sit there, plus the fact that I`m particularly keen to see how the swing link version would have turned out anyway, as mad as it may sound, I decided to go all out and make both Bogie Frame types. Rather than buy the additional castings though I will make everything else myself. So here is the start of the frames. The plate is big enough to get a pair of frames from it. 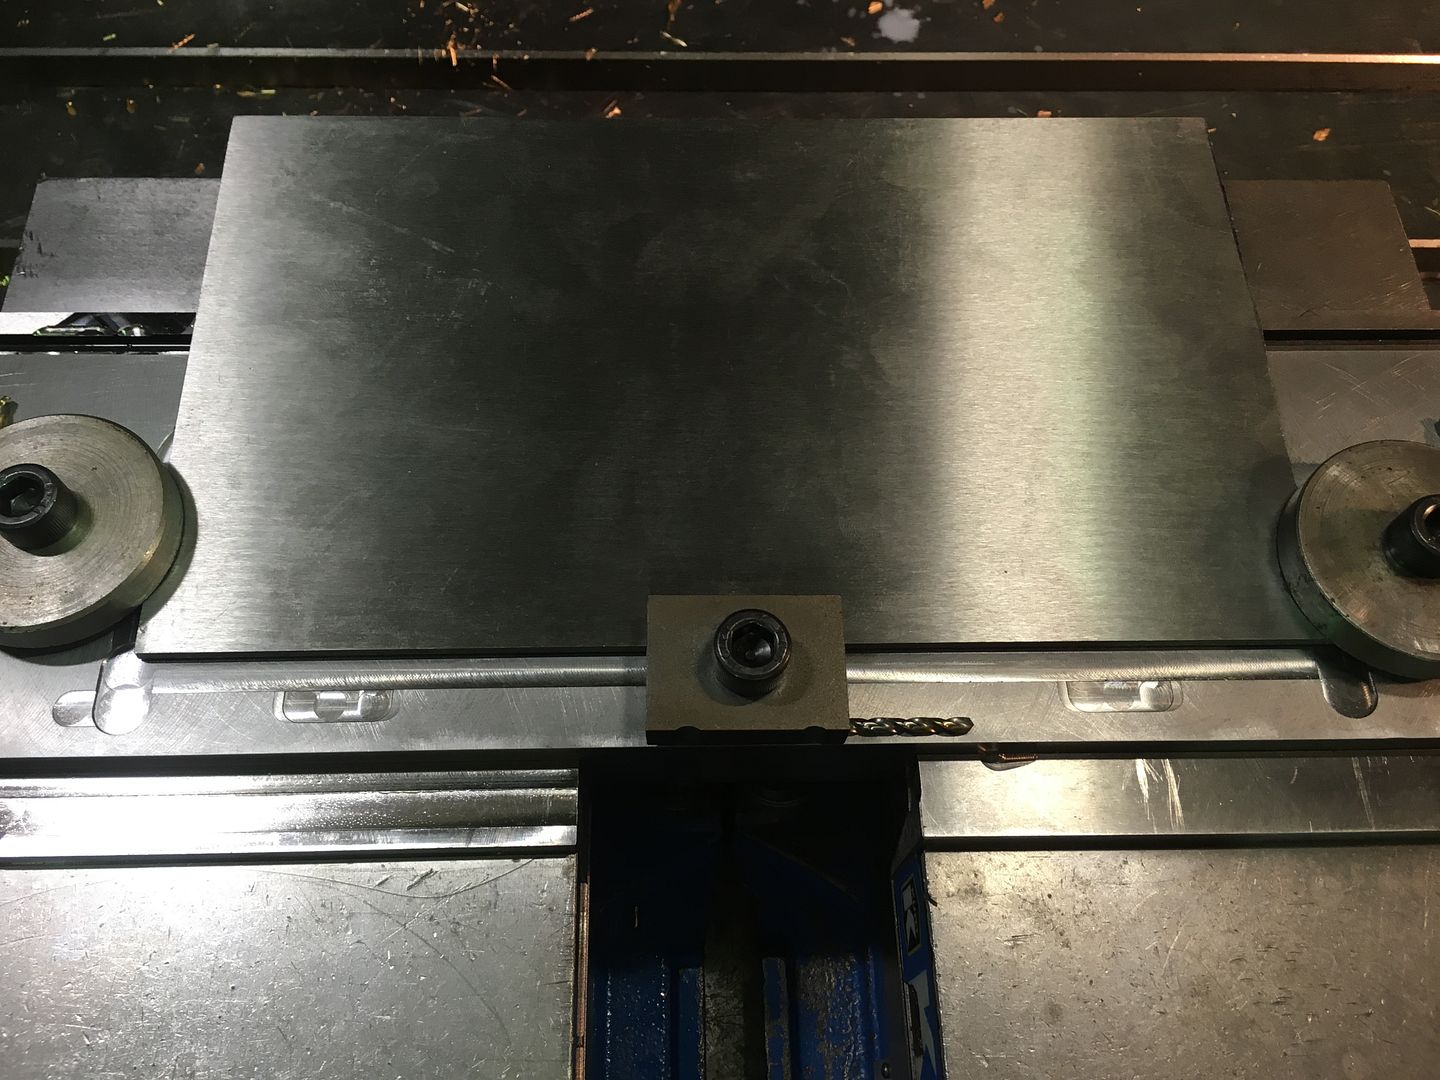 This was a process of machine a bit, clamp through it machine some more and move the clamps and so on... 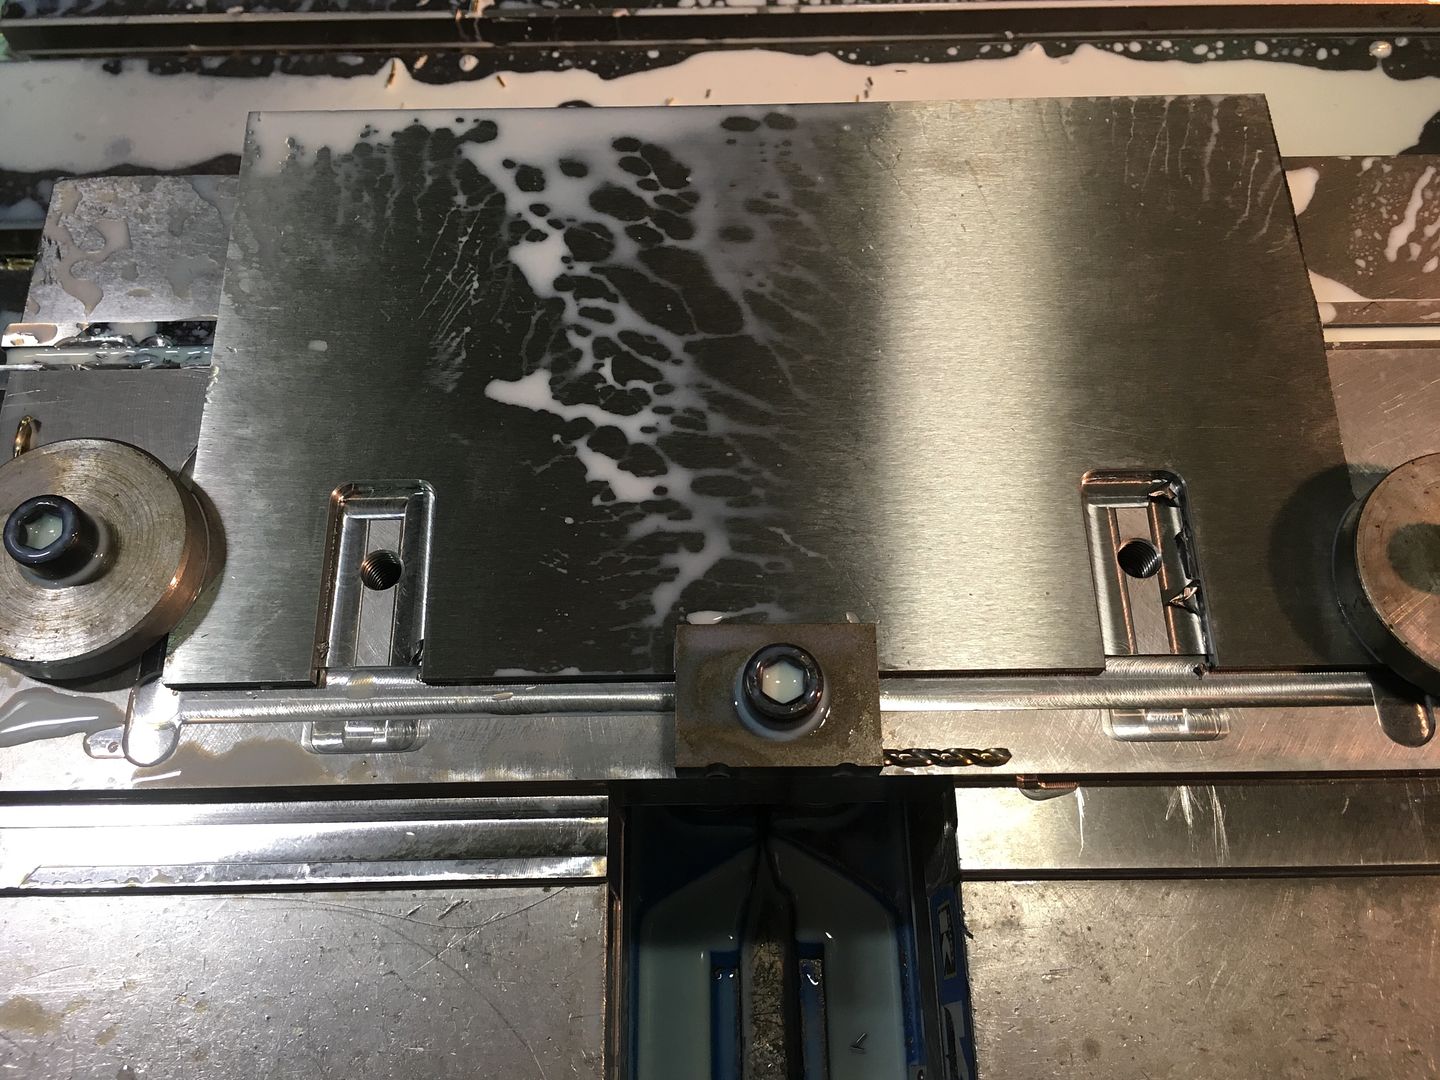 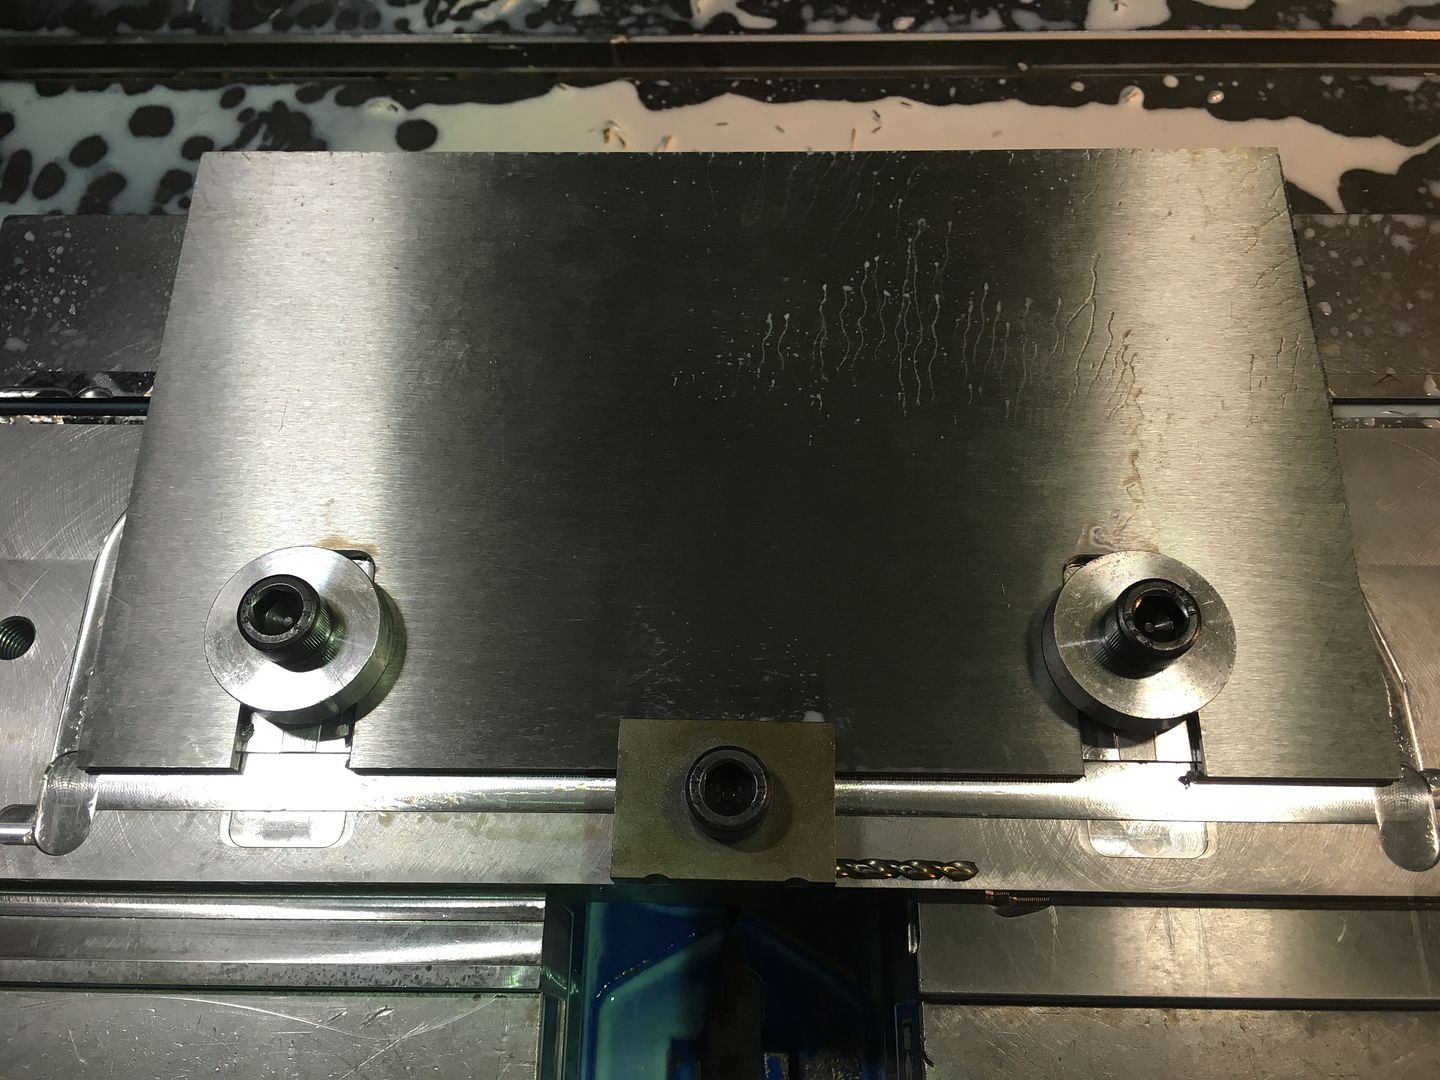 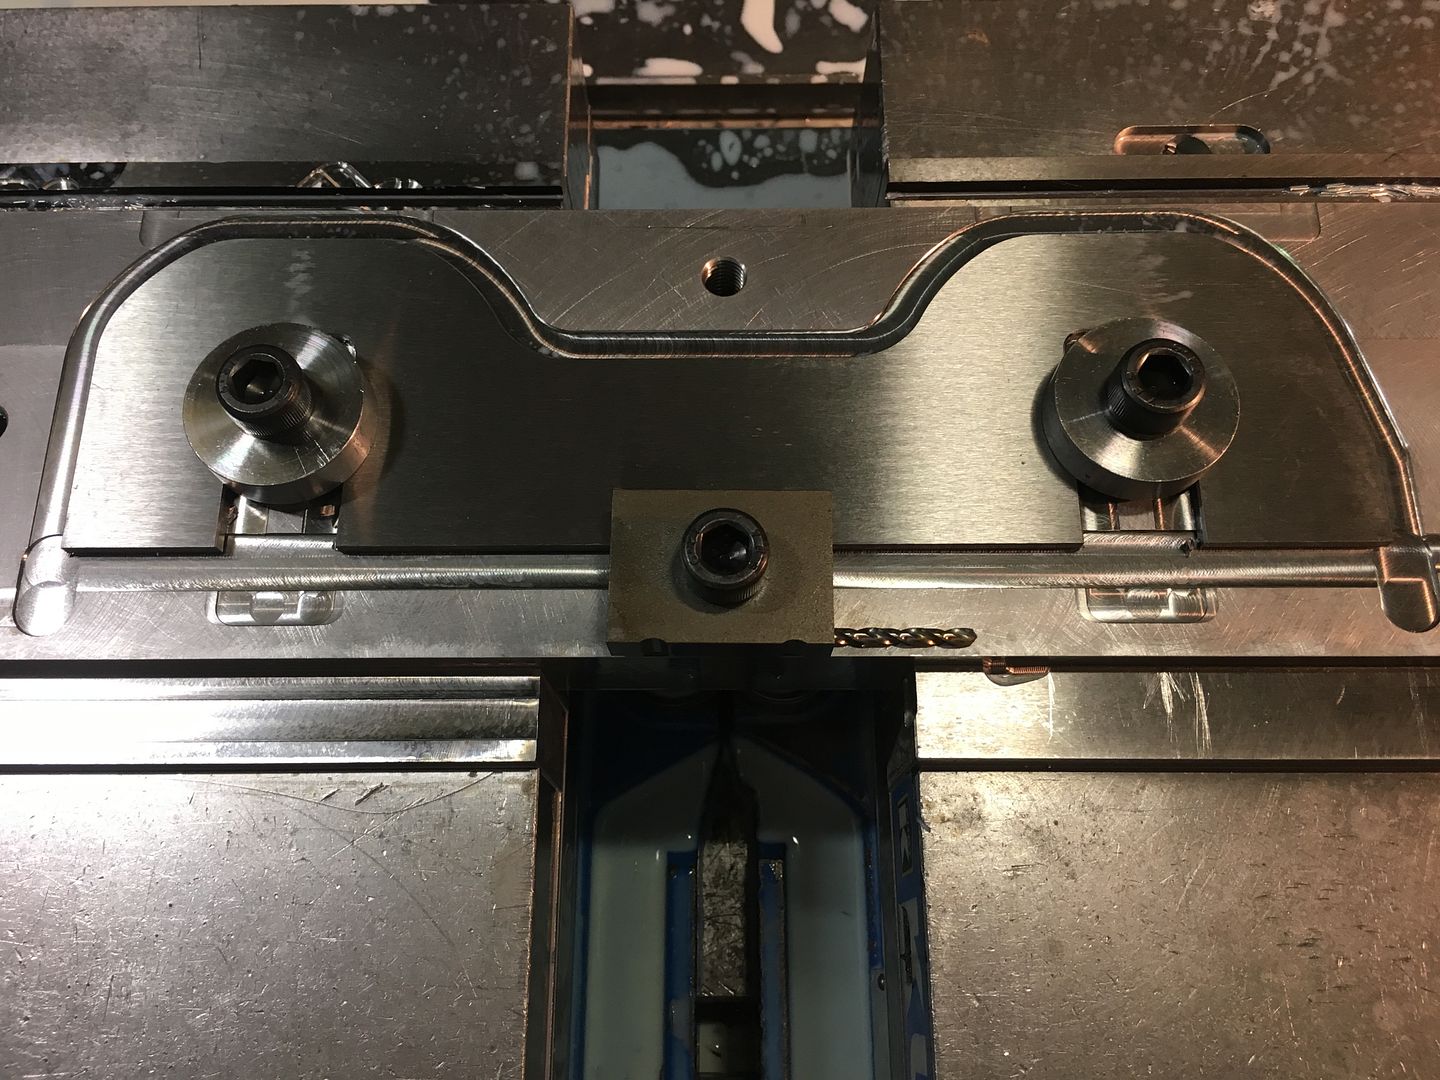 Once the profile was complete it was then a case of drilling all the necessary holes, the only difference between each pair of frames being the arrangement of the holes for each bogie centre. Also since the distance between the webs on the cast horns I have are not uniform, I`ve not yet drilled one set of frames for them, but as I am making another set myself those holes should line up ok. So here are the 2 pairs of frames, the swing link type at the front. 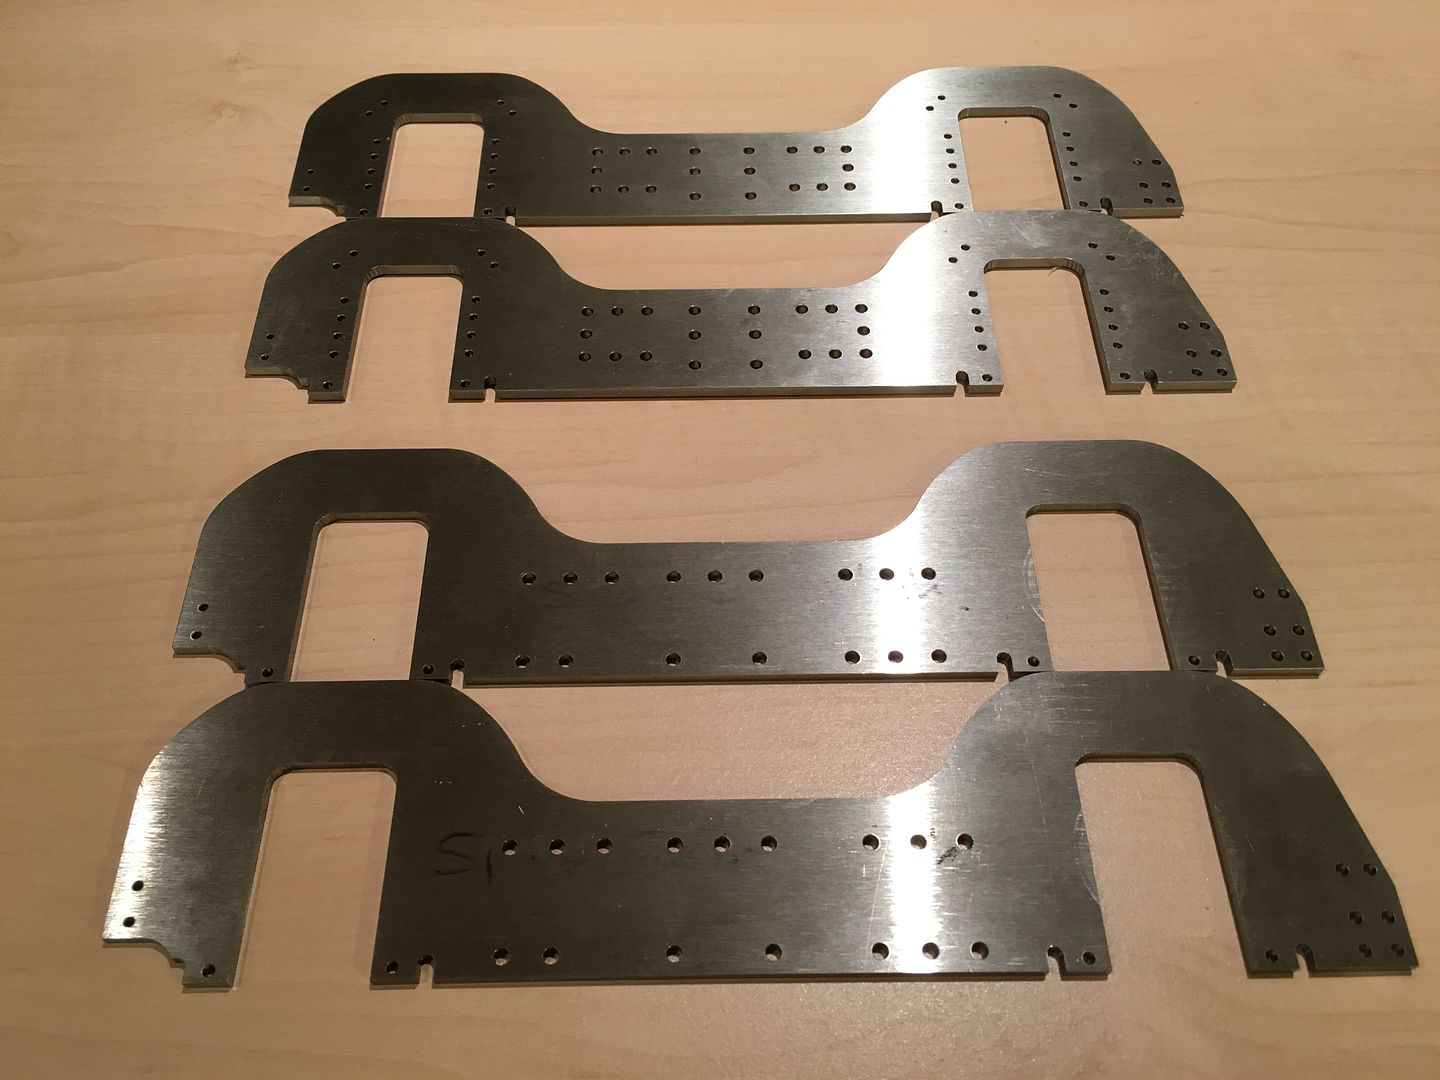 Hopefully more soon. I would also like to take this opportunity to wish everyone here a very Merry Xmas and Best wishes for the New Year. Regards Tim. |
|
|
|
Post by Deleted on Dec 14, 2015 11:35:30 GMT
lovely work as always Tim...I'm assuming that the swing link will just be an exercise in building rather than an alternative for a later date. Reason I ask is iirc you can only fit one type to the frames once the bogie mounting plate has been fitted as it's position if different for each type of bogie.There's not a lot of difference, I think it's about 1/8th but the bogie will foul the cylinders if in the wrong position. Mind you, you may be able to cheat with two mounting plates with the holes on one offset by 1/8th,may work or at least that's what my poor memory is trying to tell me. Merry Xmas to you too mate....  Pete |
|
tim
E-xcellent poster
  
Posts: 236
|
Post by tim on Dec 14, 2015 11:45:07 GMT
lovely work as always Tim...I'm assuming that the swing link will just be an exercise in building rather than an alternative for a later date. Reason I ask is iirc you can only fit one type to the frames once the bogie mounting plate has been fitted as it's position if different for each type of bogie.There's not a lot of difference, I think it's about 1/8th but the bogie will foul the cylinders if in the wrong position. Mind you, you may be able to cheat with two mounting plates with the holes on one offset by 1/8th,may work or at least that's what my poor memory is trying to tell me. Merry Xmas to you too mate....  Pete Yes it's just curiosity really I'm definitely going with the sprung version I'll probably draw the line at a completed frame I'm not going for two sets of wheels that would be mad! Tim. |
|
|
|
Post by Deleted on Dec 14, 2015 11:51:16 GMT
i do like the swing link, such a lovely design but it didn't perform so well in practice, I do recall reading the details just can't remember what was written.. Another builder of the A1 has sent me a picture of his swing link to my FB page...looks a lovely piece of engineering, there are a few of us building Don's masterpiece right now...  Pete |
|
tim
E-xcellent poster
  
Posts: 236
|
Post by tim on Dec 14, 2015 12:01:29 GMT
I'd love to see that would you mind if I checked it out.
|
|
|
|
Post by Roger on Dec 14, 2015 12:39:28 GMT
Superb job as always Tim, I'm always interested to see how you go about these things and the way you hold them. Those little button clamps are something I ought to make a few of. I presume you have a soft subplate you bolt down first, one that ends up like Swiss Cheese and end up ultimately being thrown away?
|
|
|
|
Post by martinp on Dec 14, 2015 12:50:14 GMT
 Hi Tim, Here is my swing link bogie that Pete was referring to. Martin |
|
tim
E-xcellent poster
  
Posts: 236
|
Post by tim on Dec 14, 2015 14:06:12 GMT
 Hi Tim, Here is my swing link bogie that Pete was referring to. Martin Wow that looks superb Martin. Thanks for sharing that. Tim. |
|
|
|
Post by Deleted on Dec 14, 2015 14:07:36 GMT
ah.. well done Martin... sorry Tim I had popped out shopping and didn't see your request until just now, you are welcome to use anything on my page although Martin's picture was in a personal msg so wouldn't be seen...it's beautiful isn't it?.....  cheers Pete |
|
tim
E-xcellent poster
  
Posts: 236
|
Post by tim on Dec 14, 2015 14:58:29 GMT
ah.. well done Martin... sorry Tim I had popped out shopping and didn't see your request until just now, you are welcome to use anything on my page although Martin's picture was in a personal msg so wouldn't be seen...it's beautiful isn't it?.....  cheers Pete It certainly is Pete Now I'm very keen to make my own. I love how involved it looks. Tim. |
|
tim
E-xcellent poster
  
Posts: 236
|
Post by tim on Dec 14, 2015 15:02:48 GMT
Superb job as always Tim, I'm always interested to see how you go about these things and the way you hold them. Those little button clamps are something I ought to make a few of. I presume you have a soft subplate you bolt down first, one that ends up like Swiss Cheese and end up ultimately being thrown away? On this occasion I just used a piece of 16mm plate in 2 vices as the tooling plate. Tim. |
|
tim
E-xcellent poster
  
Posts: 236
|
Post by tim on Dec 17, 2015 10:13:15 GMT
So here is the finished swing link bogie casting. 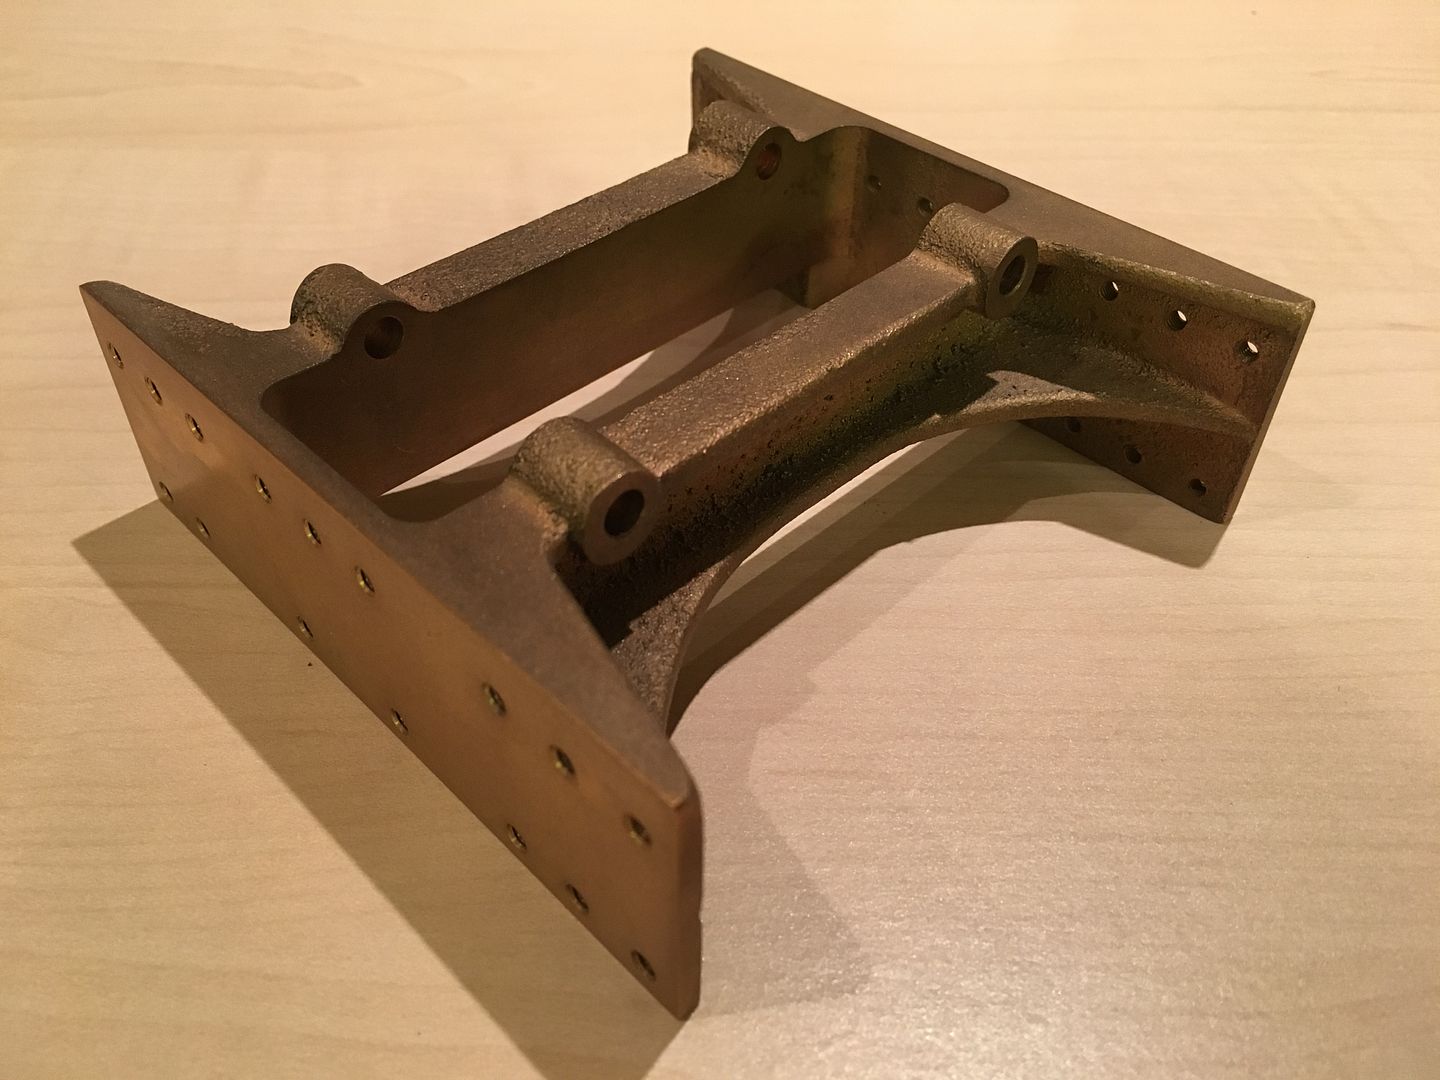 There wasn't much to do to this, just skim to 4" wide, m/c the slot in the middle and drill and tap the holes to suit the frames plus the holes for the pins. And here it is fitted to the frames.  I've decided to go for button head screws for now on the outside of the frames since that's as close as I can get to this look at the moment. 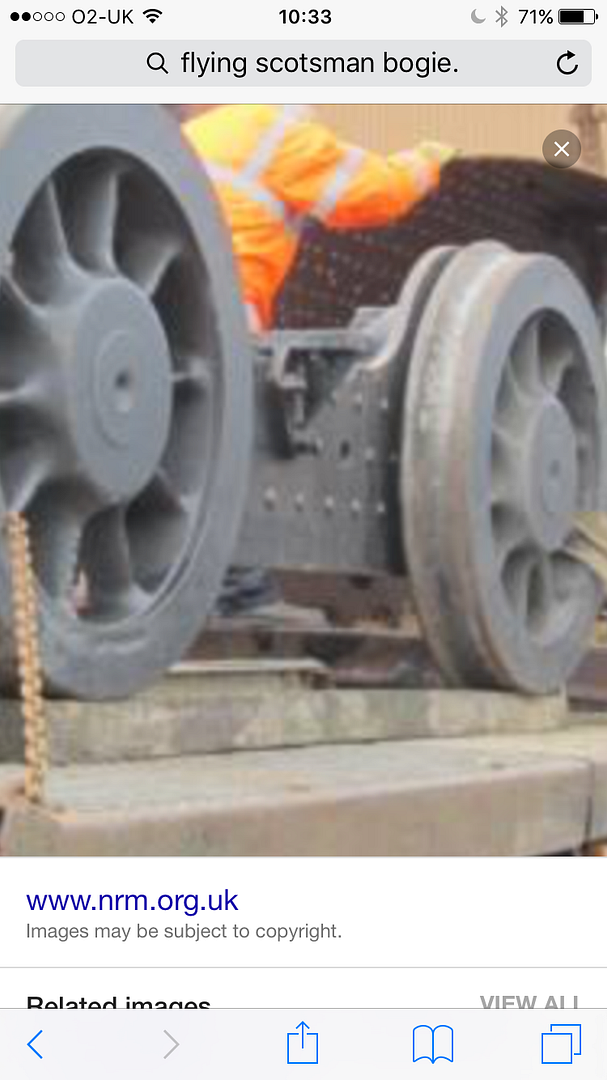 They look like rivet heads although they seem flatter. Anyhow the plan is to get the other frames to this stage next, so plenty to be getting on with. Regards Tim. |
|
|
|
Post by ejparrott on Dec 17, 2015 11:26:03 GMT
I've used button heads on my MW, filled the holes with plastic metal. They're never coming out again anyway, look much better.
|
|
tim
E-xcellent poster
  
Posts: 236
|
Post by tim on Dec 17, 2015 20:11:31 GMT
I've used button heads on my MW, filled the holes with plastic metal. They're never coming out again anyway, look much better. I think so to, no doubt after a coat of paint they will blend away a bit anyway. |
|
tim
E-xcellent poster
  
Posts: 236
|
Post by tim on Dec 20, 2015 23:00:59 GMT
Only a small update for tonight, this is the start on the bogie centre for the sprung control version. As can be seen there's still a lot to do here since it would normally be a casting, so plenty to be doing. 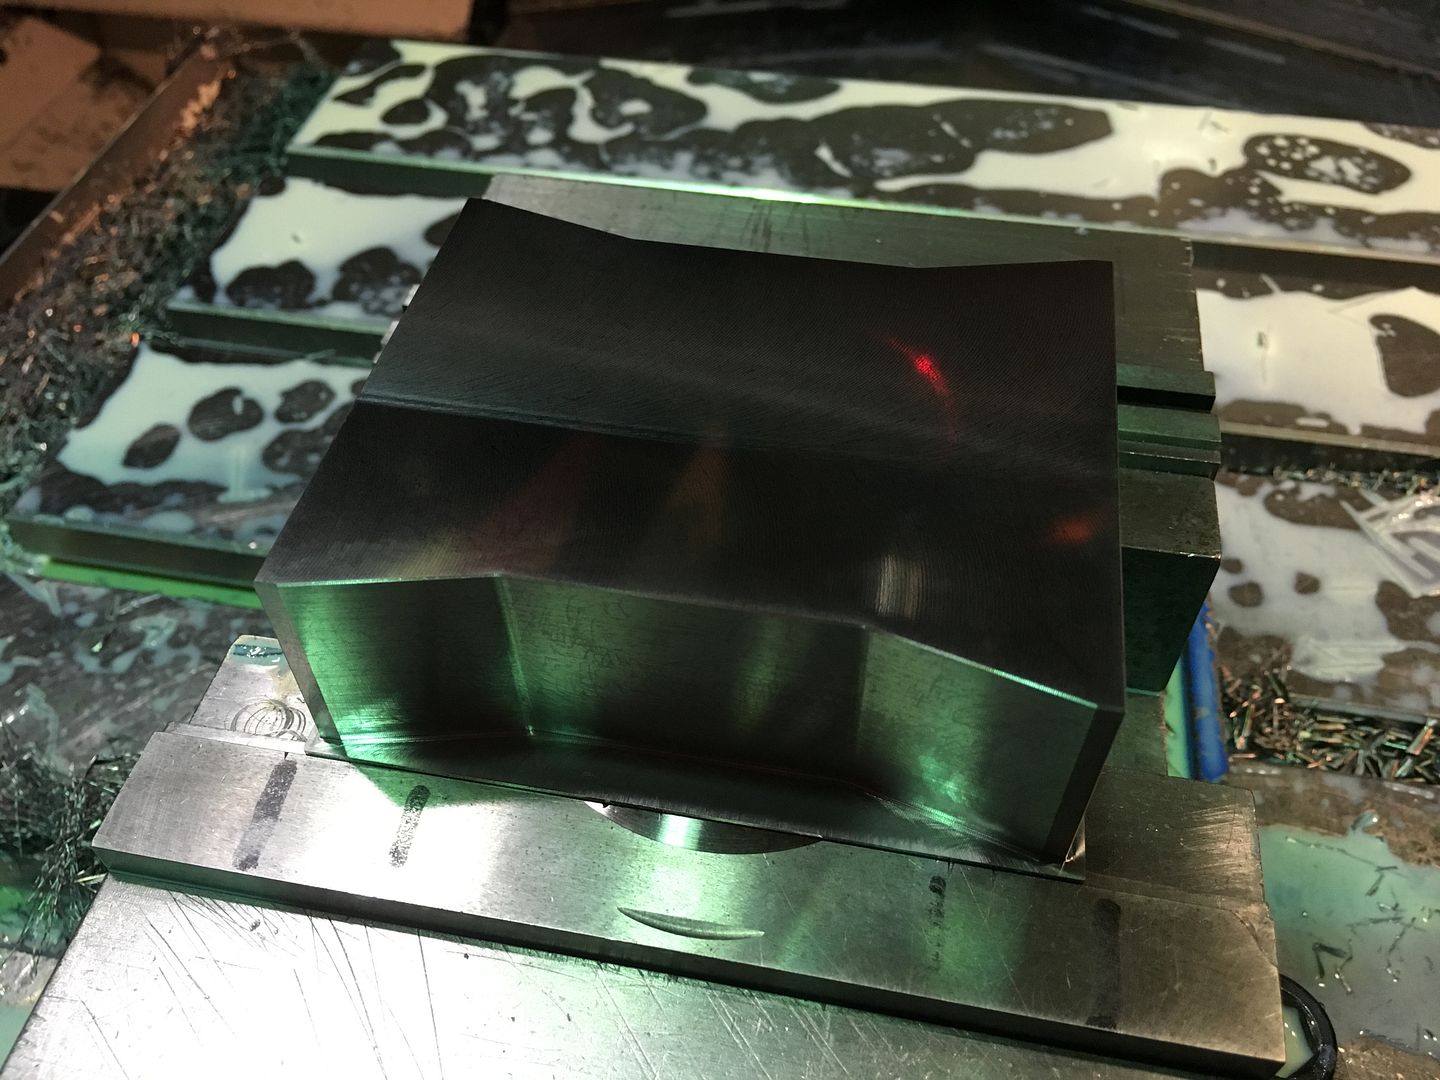 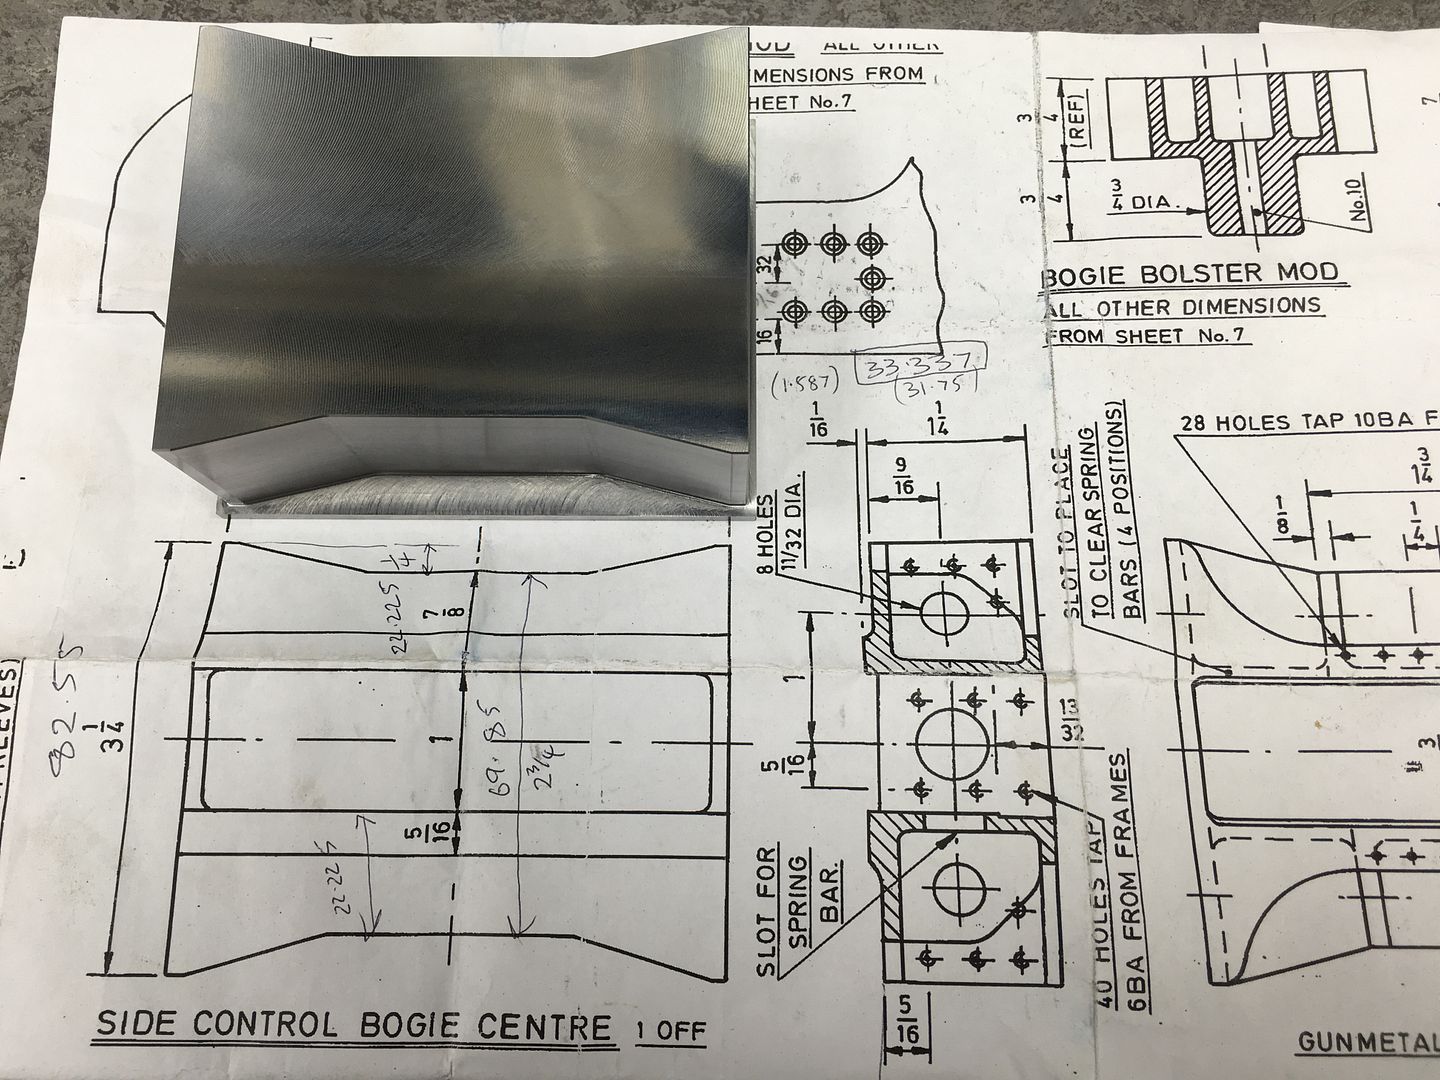 Regards Tim. |
|
tim
E-xcellent poster
  
Posts: 236
|
Post by tim on Dec 28, 2015 17:19:54 GMT
So a little more progress on the bogie centre. My main aim here is to reach a similar stage to the as supplied casting, before all the final machining is done. To start, the next op was to turn it over to remove the excess material from the back and to rough machine the slot. 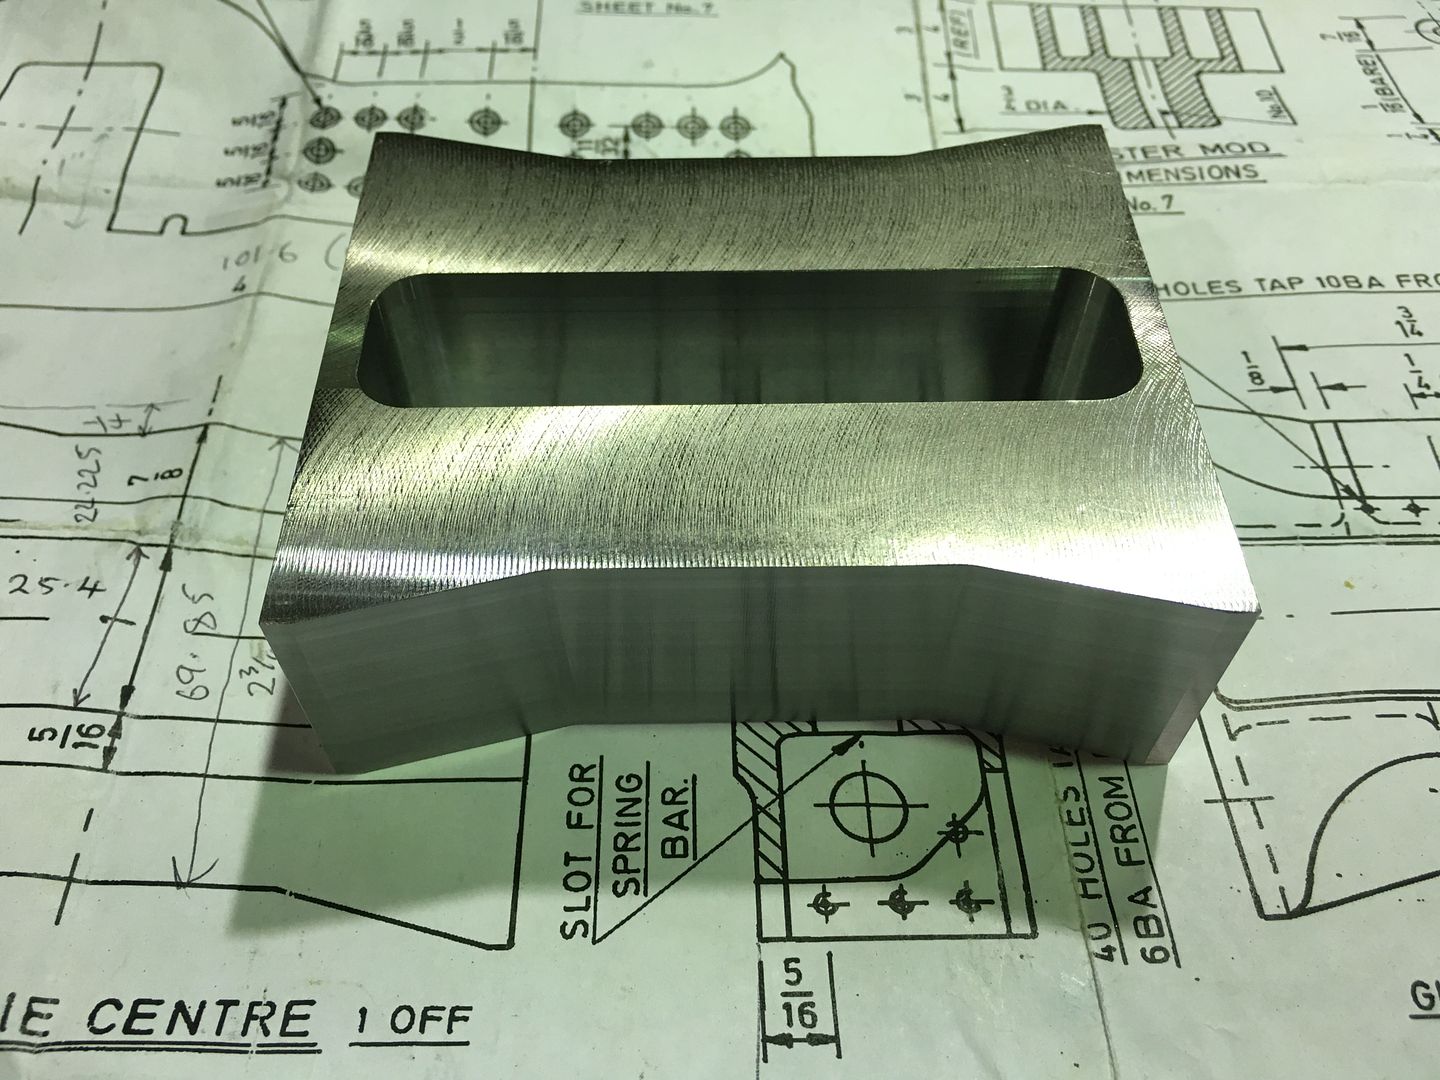 Next was to stand it up and machine 3 pockets out of each side. 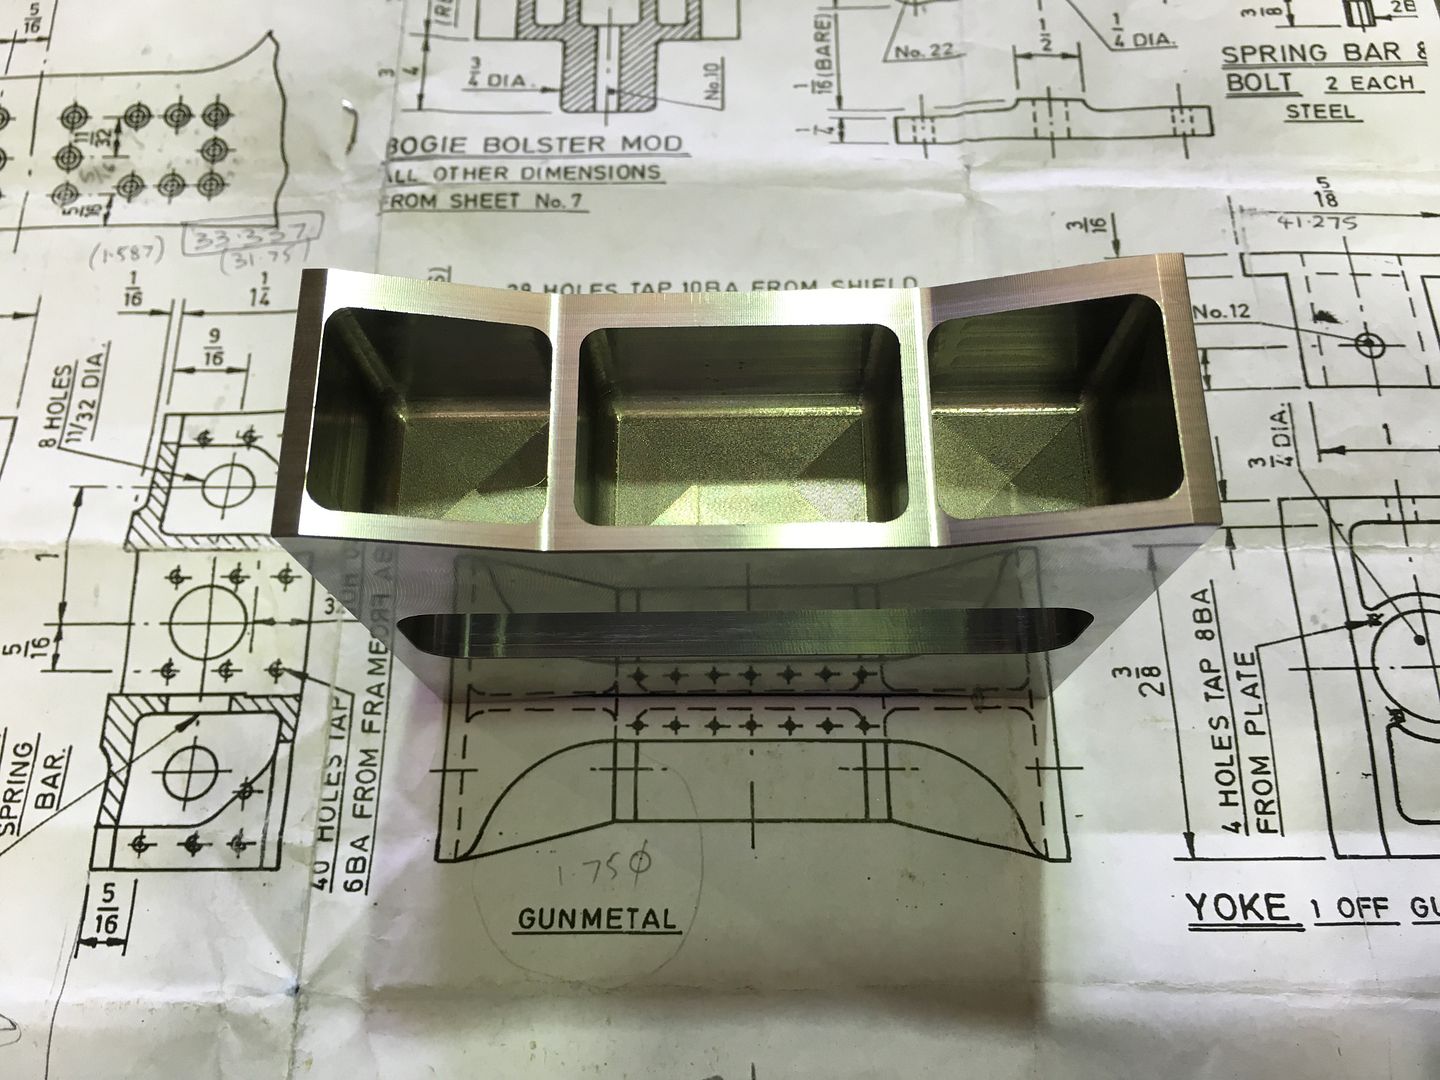 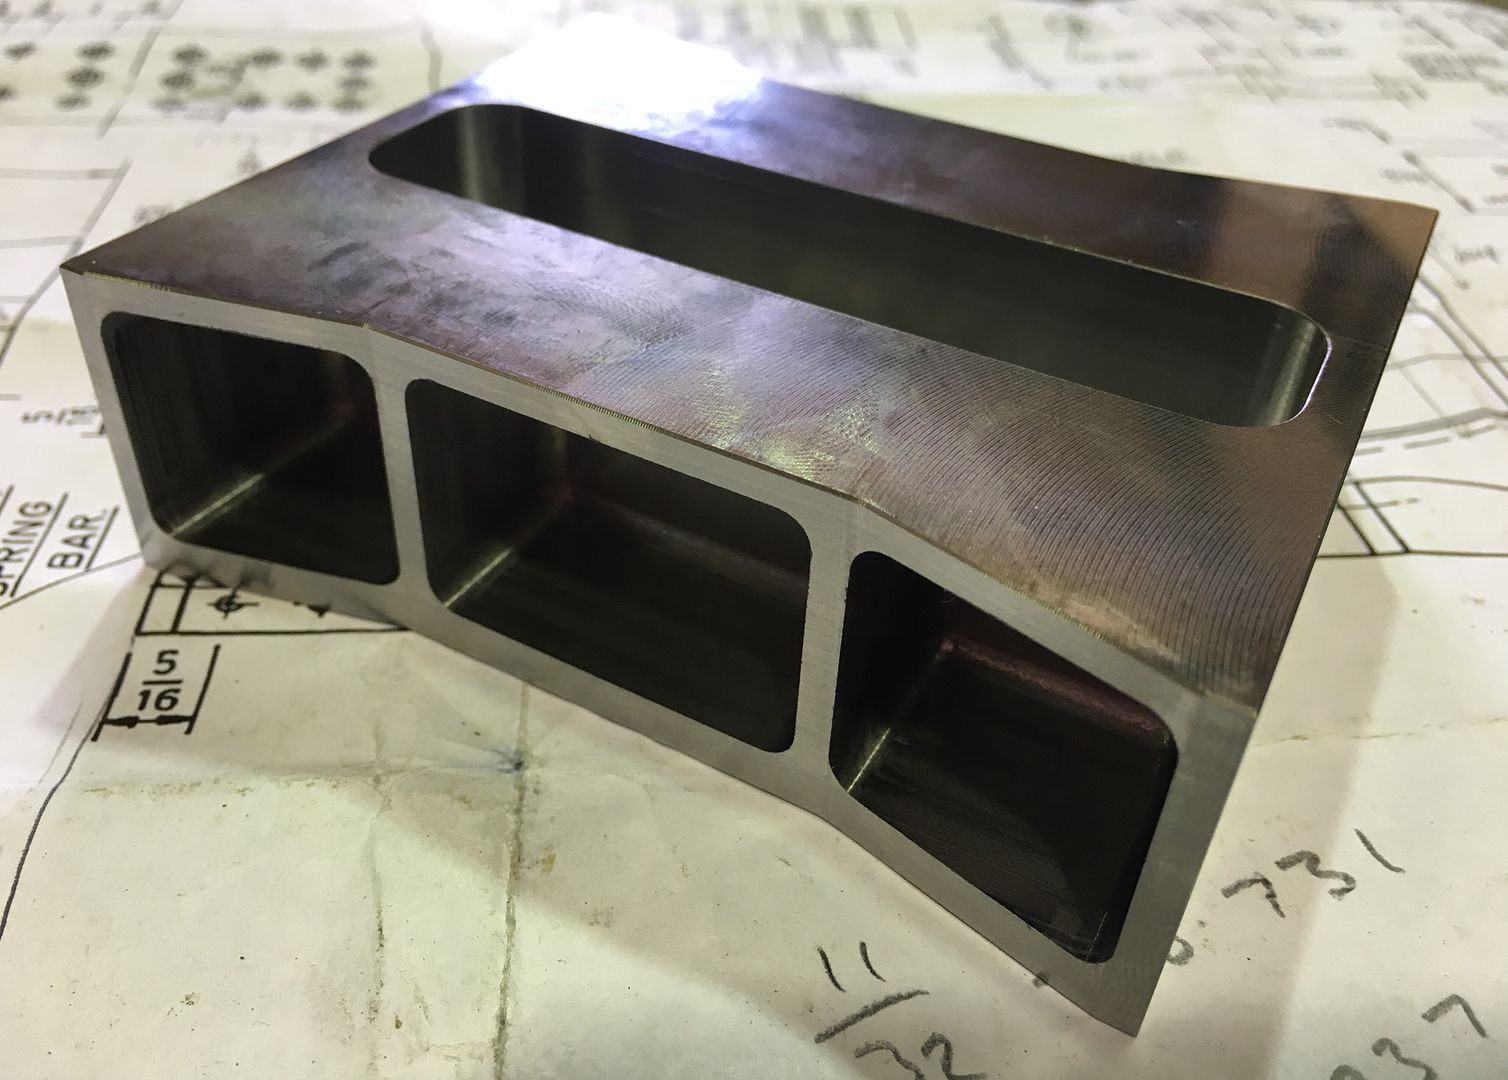 Now it could be layed down flat again to reduce the external profile and machine the shape on the exposed webs. 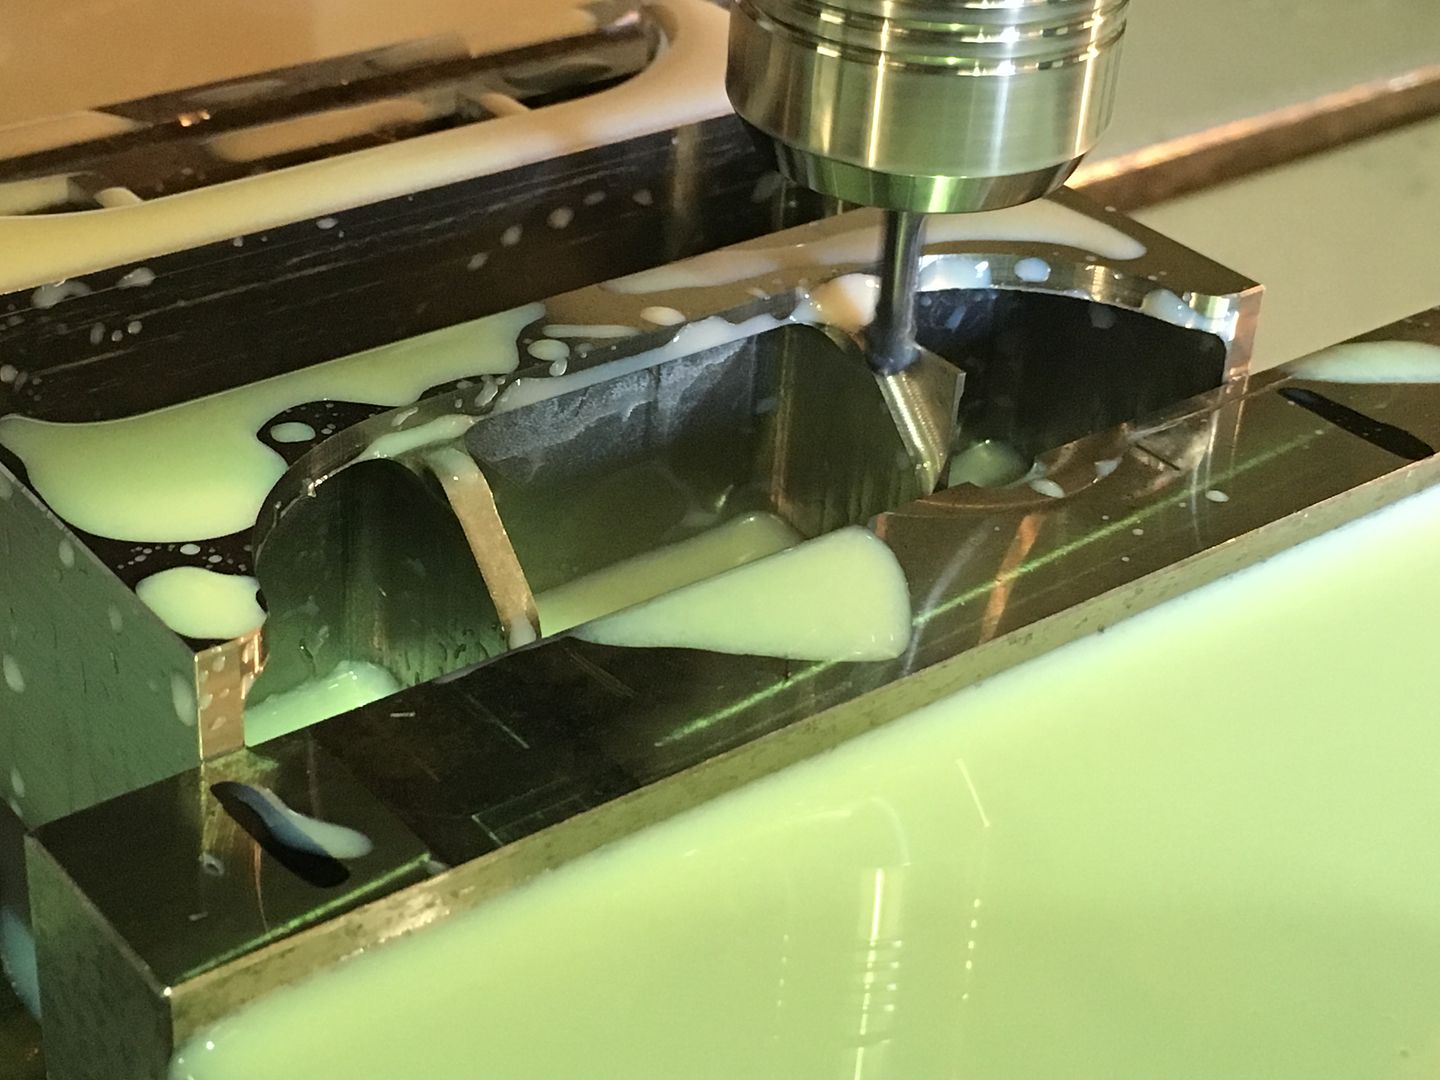 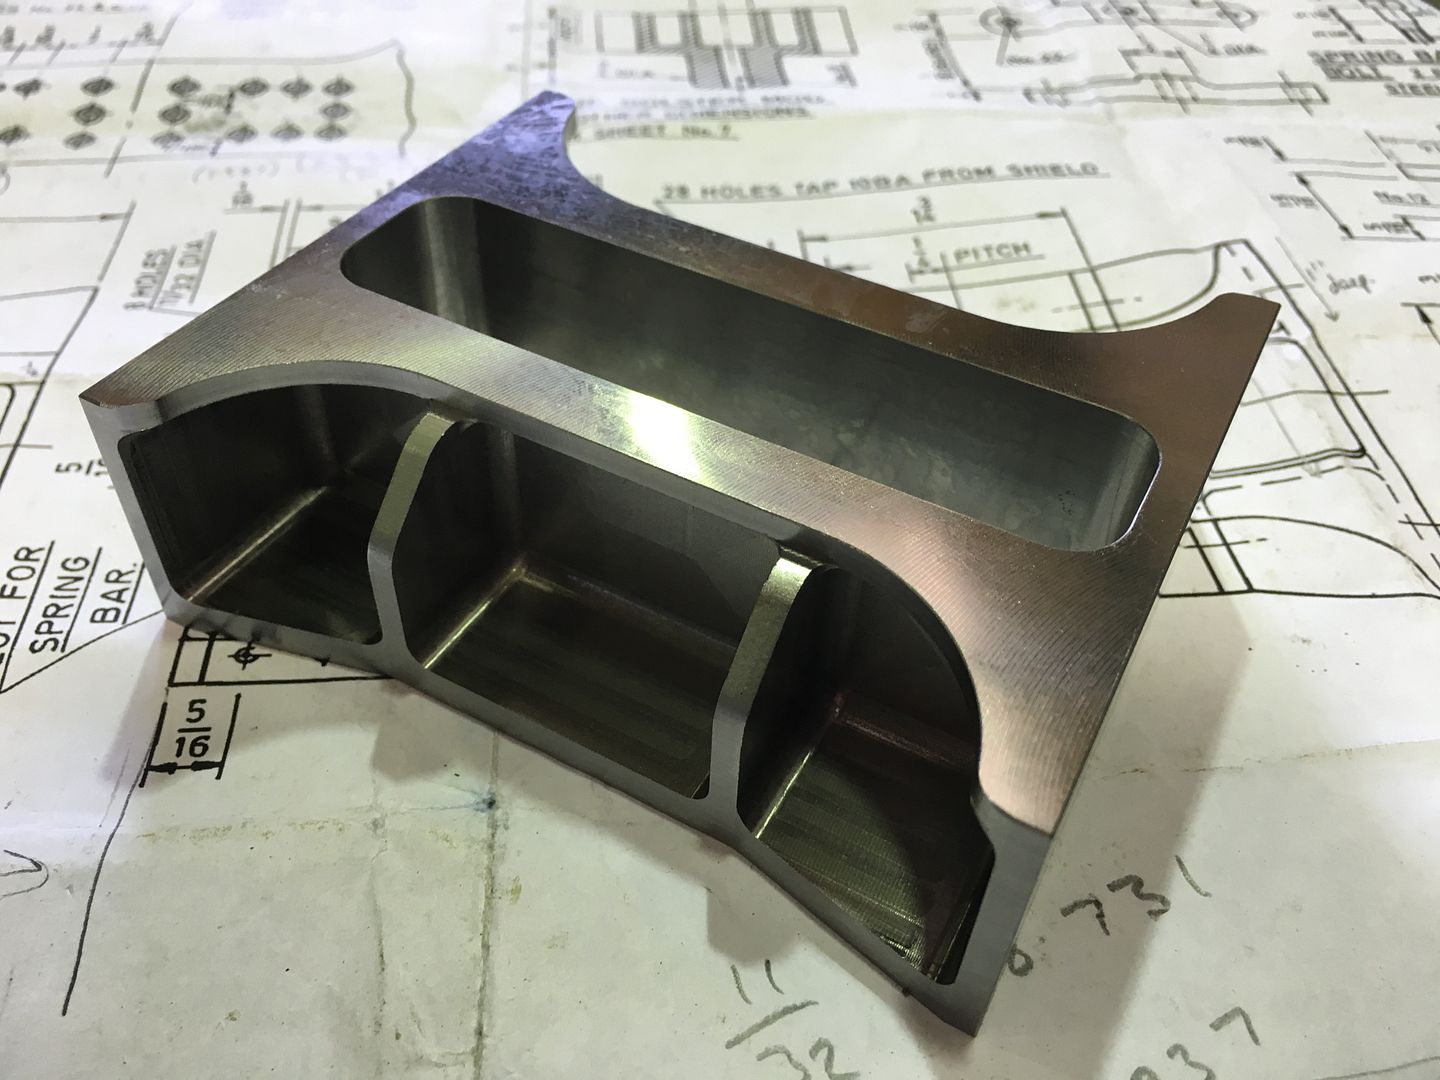 I`m happy that this is more or less as cast now, and I can commence with the finer details. Regards Tim. |
|
|
|
Post by Deleted on Dec 28, 2015 18:28:27 GMT
That's a lovely piece of machining Tim...far better than the casting...keep it up mate..oh and Happy Xmas...  Pete |
|