|
|
Post by NSWGR Steambuff on Nov 7, 2014 19:49:42 GMT
Jim, thanks for your encouragement. Shawki, I rang Winters and sure enough the splashers/sand boxes are available as castings, but they don't appear anywhere in his list of castings for the C32. Thanks for the information. The same applies to the availability of tender spring castings which I found out about quite by accident. The tender springs were giving me a bit of grief in that I doubted my ability to be able to make eight of them and have them all exactly the same. Work progresses on tender frame and leading truck and I hope to start the main frames shortly. I would be interested in hearing the opinions of you more experienced builders with regard to using bright steel versus black for making the coupling and connecting rods, as they are looming as my next challenge in the learning process. 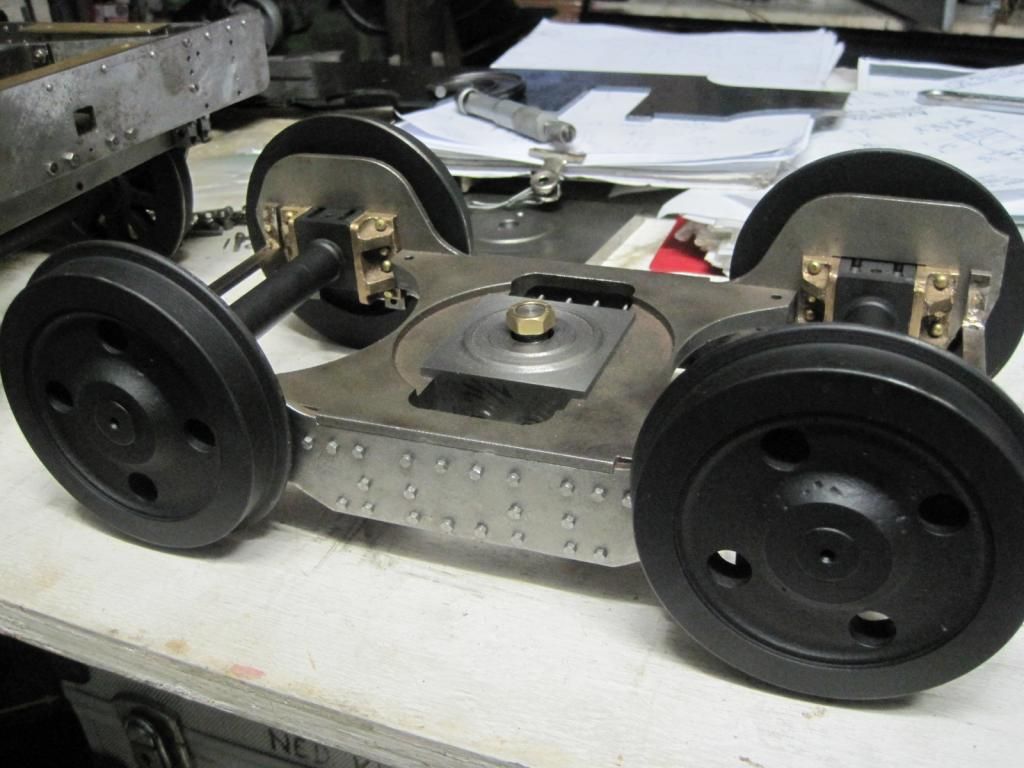 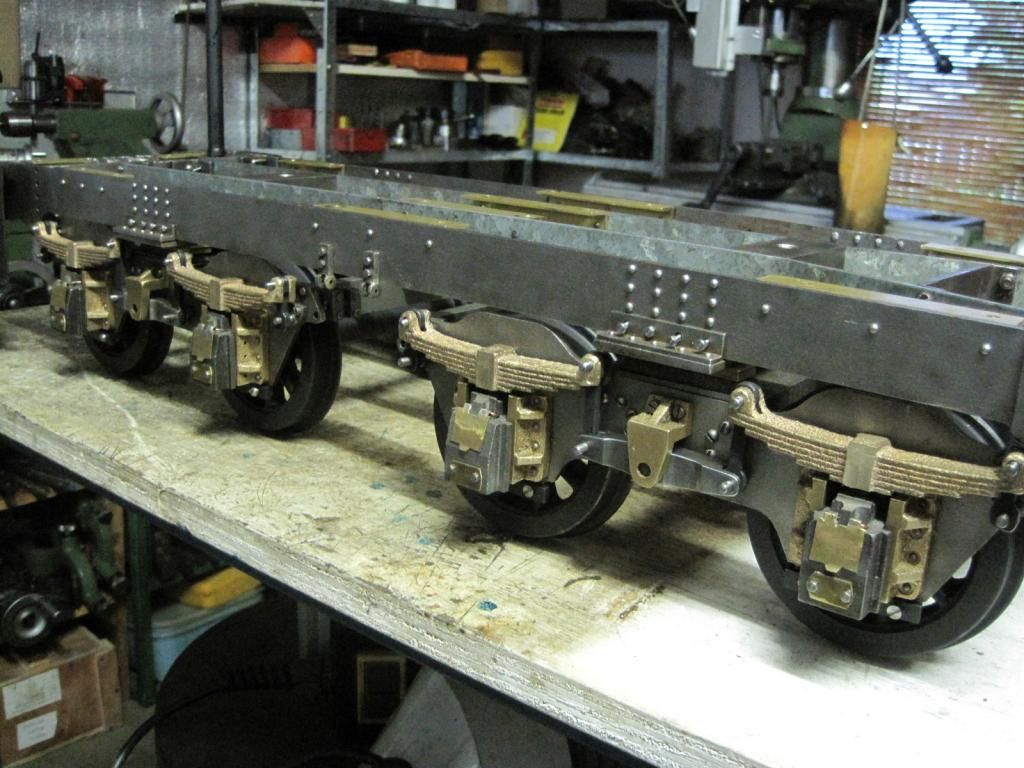 |
|
|
|
Post by Jim on Nov 7, 2014 20:43:00 GMT
Wow! the tender looks very impressive Ned and even more so compared with the earlier photos of it in a 'this is how it was' state.
As to which steel to use for the connecting rods I've found both OK but I'm sure there will be more views and suggestions from others on the site.
Jim
|
|
|
|
Post by Rob on Nov 7, 2014 23:25:10 GMT
I've heard that once machined, the bright tends to decide it wants to be a banana. I have some lengths of bright that would be perfect, but I'm reluctant to use it for that reason. Perhaps I should give it a go if other members have had success, though!
|
|
|
|
Post by ejparrott on Nov 8, 2014 8:50:36 GMT
Bright can be heat treated to stop it bending, and it can be straightened after machining. Black is the better option if you're going to machine them complete
|
|
|
|
Post by NSWGR Steambuff on Nov 8, 2014 9:12:06 GMT
EJP
Thanks for the input. When you say "machine them complete", I am not quite sure what you mean. Would you mind expanding on that a bit please.
Thanks,
Ned
|
|
|
|
Post by vulcanbomber on Nov 8, 2014 17:48:16 GMT
EJP Thanks for the input. When you say "machine them complete", I am not quite sure what you mean. Would you mind expanding on that a bit please. Thanks, Ned As in machining from start to finish... You can as said stress relieve Bright bar or you can do lots of roughing out before starting to finish the component. |
|
|
|
Post by ejparrott on Nov 8, 2014 18:24:37 GMT
Machine complete as opposed to starting with a laser cut profile, or using bar that is already the correct thickness so you don't have to machine it to thickness.
|
|
|
|
Post by Shawki Shlemon on Nov 10, 2014 9:13:06 GMT
I normalize BMS flats and then machine , flute as much as I like without any distortion .
|
|
|
|
Post by suctionhose on Nov 10, 2014 11:36:49 GMT
My preference is to leave extra length both ends and hold them between 2 vices on the mill.
Whatever you use they all need straightening for the final fit up.
It's only the centres that matter. The rest I'd cosmetic. Important but not dimensionally critical.
|
|
|
|
Post by Rob on Nov 10, 2014 11:39:22 GMT
Do you do that with an oven and do you hold a particular temperature for any period of time? I'll give it a shot if it can be done with an ordinary propane torch  |
|
|
|
Post by ejparrott on Nov 10, 2014 12:46:35 GMT
General stress relieve for 'mild steel' is around 650C, typically about 10 mins once stable at temp.
|
|
|
|
Post by Shawki Shlemon on Nov 11, 2014 9:32:30 GMT
I use propane , I construct sort of a box with fire bricks , heat till red , keep the heat for a while ( few minutes ) then cover with a fire brick and heat it then let it cool as slowly as possible . Then machine , no distortion , it works for me every time . no straitening required . Its true the only important holes are the main driving holes and the rest is for show .
|
|
|
|
Post by Rob on Nov 11, 2014 13:47:45 GMT
Thanks chaps.
I had thought about creating a box on all sides except the front with heat insulating bricks and once up to temp, covering the opening with another insulating brick. Ideally, you could then place a fireproof blanket over the lot to slow the cooling down even further.
Shawki, when you say fire brick, do you mean insulating bricks rather than the kind that absorb heat and release it slowly? I can sort of see that both might be useful here, the insulating kind to keep the heat in, but the absorbing kind to help slow down the cooling process.
|
|
|
|
Post by Shawki Shlemon on Nov 12, 2014 9:23:50 GMT
I think all will work as long as slow down the cooling , the best is in an oven ( controlled ) but the primitive way we do it does work , may be not as good .
|
|
|
|
Post by NSWGR Steambuff on Nov 15, 2014 6:26:23 GMT
My thanks go to all who have contributed to the discussion on materials, heat treating and making the rods. I have certainly gained some new knowledge on the subject. I reached a small, but significant for me, milestone today in that I got the leading pony truck finished and painted, and also got the tender base and running gear painted and assembled, including all the brake rigging so that all now works. The tender has been a real labour intensive exercise in that someone had started it 20 or so years ago, and apart from breaking off quite a few taps, and incorrect drilling, had not stuck to the plans exactly, so there was a lot of head scratching and re-working to be done. With the the great benefit of hindsight, I would be a little hesitant about taking on another project that somebody else had started, unless I had an idea of the level of workmanship already undertaken. Anyhow, I have just started drilling and riveting the horn blocks onto the frames. I decided I needed a "change of scenery", so I will get the frames started before I get back to finishing off the tender tank and its fittings. A couple of pics. 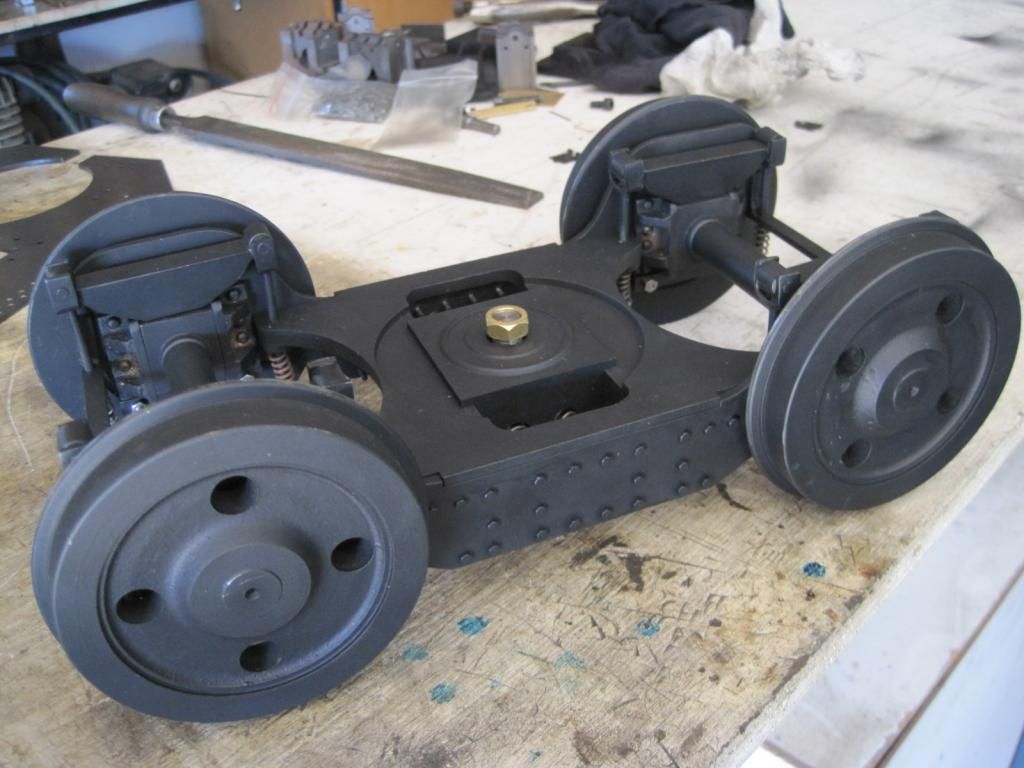 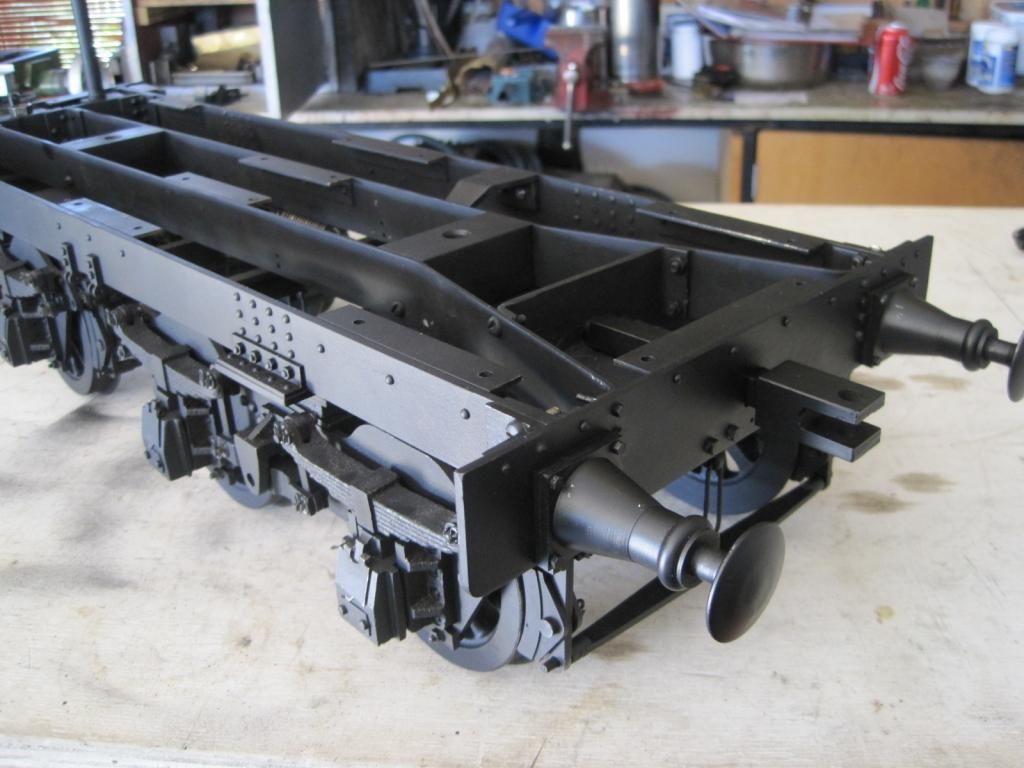 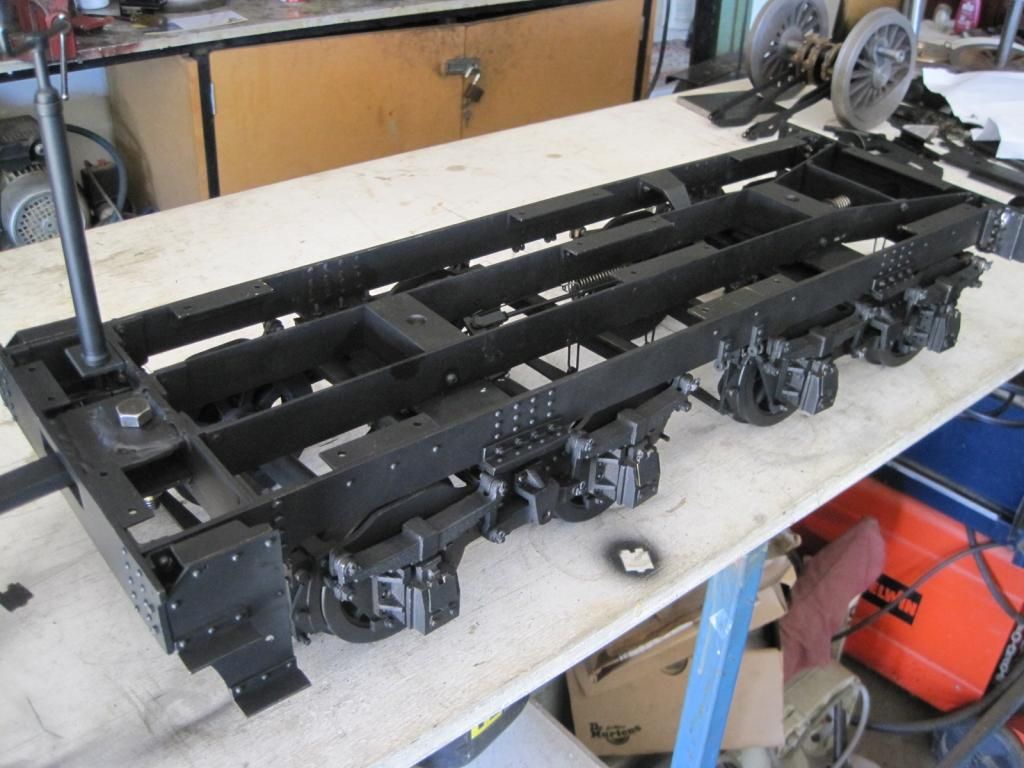 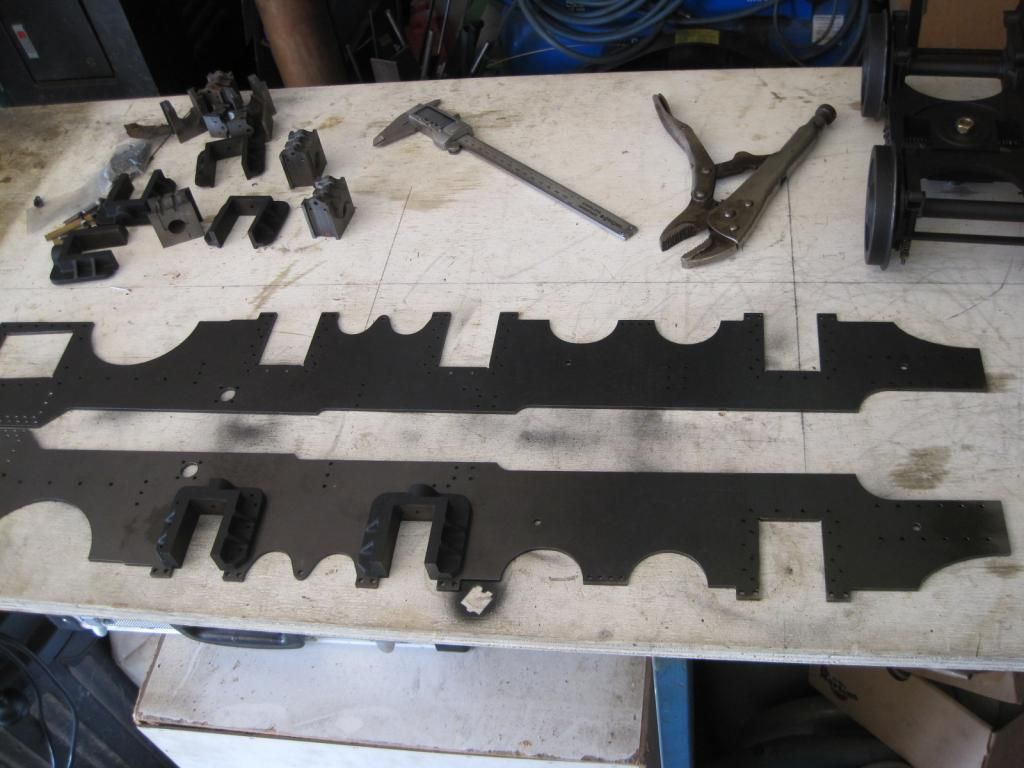 |
|
|
|
Post by Jim on Nov 15, 2014 7:22:06 GMT
Looking great and as a NSWGR fan (ex Katoomba NSW), looking at the front bogie and tender frames brings back a heap of memories of, as a youngster, watching the pilot engine being turned at Katoomba after assisting a train up the ruling gradient of 1:32.
You're doing a great job and especially so given it's completing someone elses work.
Jim.
|
|
|
|
Post by NSWGR Steambuff on Nov 15, 2014 8:29:04 GMT
Jim,
Thanks for your kind comments. I also grew up in Central Western NSW (Wellington) and have great memories of watching C30T, C32, D50, D53 engines shunting in the yards, and of travelling to Sydney on the Bourke and Coonamble mail trains behind a C38 or sometimes a C36. The AD60 Garratt was also a common sight hauling grain and general goods trains. Whilst diesels may be more efficient the steamers had the character, noise and smell.
Cheers,
Ned
|
|
|
|
Post by NSWGR Steambuff on Dec 10, 2014 5:27:40 GMT
There has been a little bit of progress, some work on the main frames and in particular, I have made a start on the coupling and connecting rods. I have them basically profiled but before I do the finish filing, and end rounding and bushing, I need to flute them. I only intend to flute the outer sides. I have yet to get the cutter to do the fluting, but can't decide which way to go. I am showing my lack of experience here. I thought of a slot cutter or woodruff cutter, but if I use one of those I don't see a method of accurately getting the rounded edge on the flutes. Incidentally, I took Shawki's advice and normalised some bright mild steel in a friend's forge, and so far they have stayed perfectly true with so sign of warping, bending or twisting. So, I would like some advice on how you more experienced guys go about getting a nice neat looking flute in the rods thanks. A couple of progress pics. Cheers, Ned 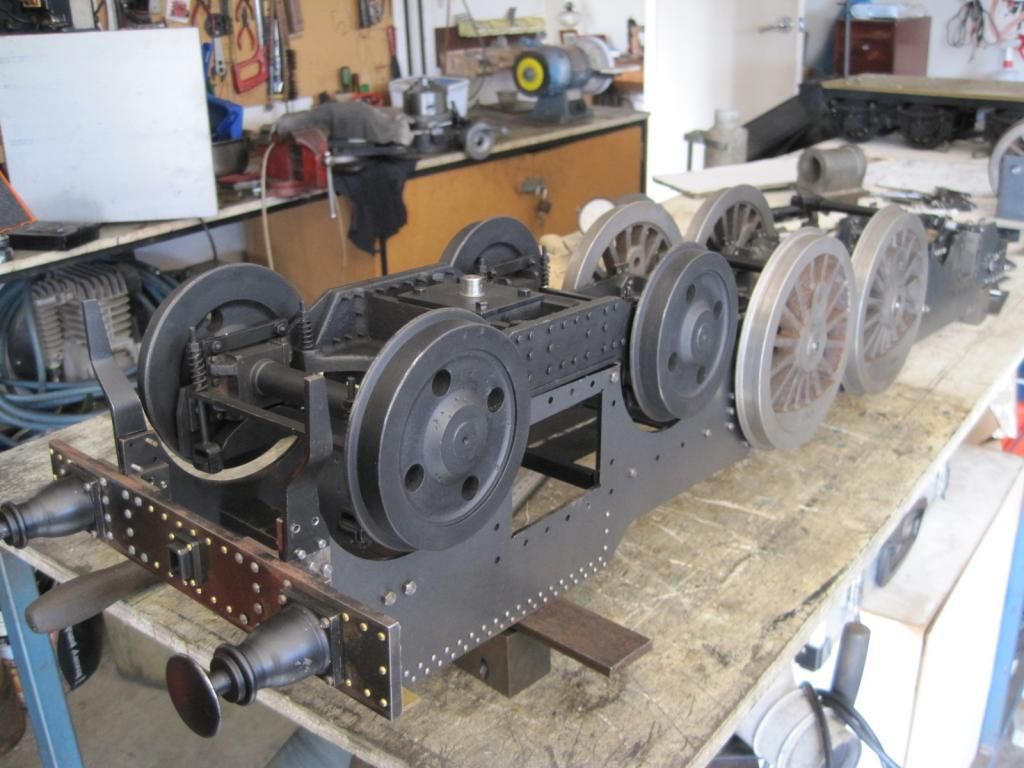 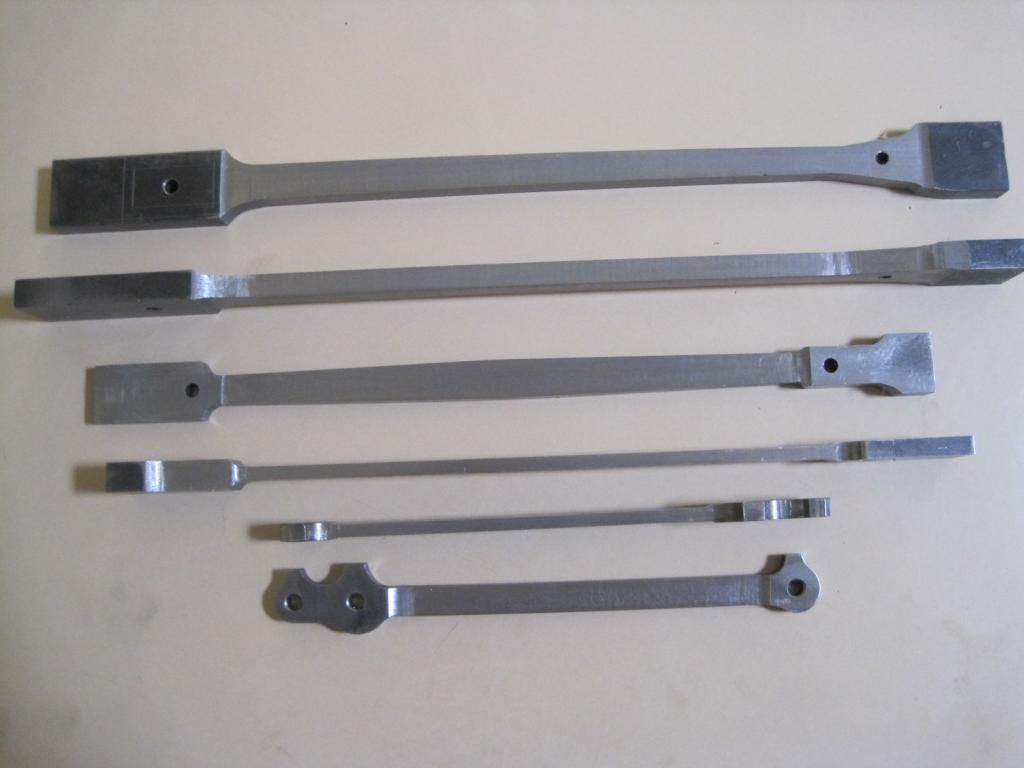 |
|
|
|
Post by Deleted on Dec 10, 2014 8:40:52 GMT
|
|
|
|
Post by ejparrott on Dec 10, 2014 9:17:03 GMT
Woodruff is the normal way. Just keep an eye on the rods as you machine them, you may find you do need to flute both sides, or straighten them again later, or having normalised them you might be fine! We had a well meaning member of our club put a deep flute in the coupling rods of the club Romulus, in an attempt to stop the nodding by reducing the flailing weight. What it needed was proper springing, and what we got was a 1/32" bend in the rods which wouldn't go back on the crankpins because of the angle it threw the bushes too!
|
|